Sure, you can grab a box of Hamburger Helper from the store and make up a batch of stick-to-your-ribs pasta and burger. It’s the perfect one-dish meal. Or you could make this copycat Chili Cheese Hamburger Helper and do what I did: add more cheese! Ok, no, you don’t have to add more cheese. But you could. Ah, the joys of cooking at home, specially when it’s cold out and you need something to warm you up. This dish fits the bill perfectly.
It really can’t get much easier than this copycat Chili Cheese Hamburger Helper. I’ve been known to change it up a bit sometimes. You definitely don’t have to use elbow macaroni, though it is the classic ingredient for sure. Pepper jack cheese makes for a nice change instead of cheddar. A little kick never hurt anyone. Ground turkey or chicken instead of beef are winners, too! So go crazy with it!
Just make sure you do drain the beef (or whatever protein you use) well before adding the rest of the ingredients.
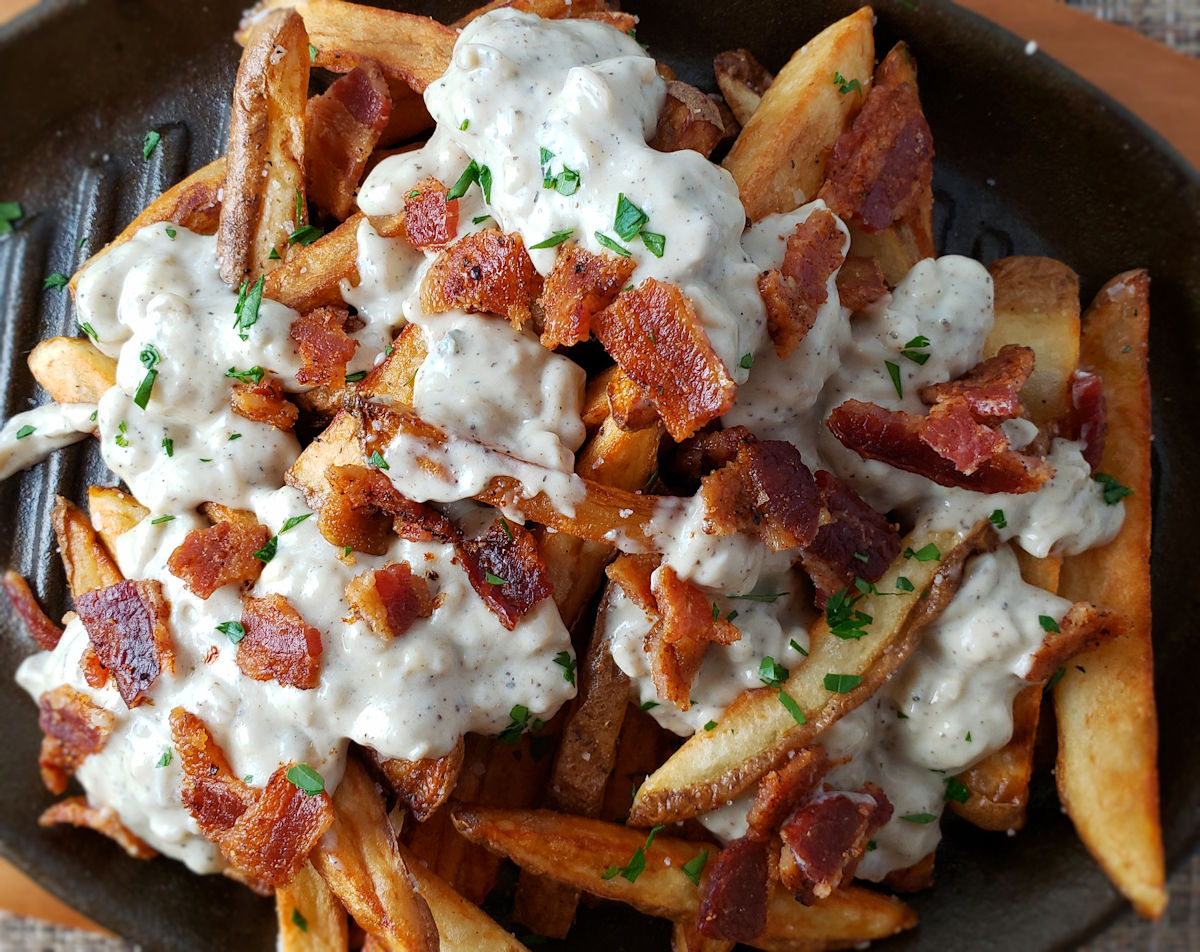
Oh me. There are few things as dangerous as a plate of bacon and blue cheese French fries. If ever there was something that causes my self-control to go totally out the window, this is it. It all starts with perfectly crispy, delicious French fries. Homemade. Hot out of the deep-fryer. Then comes the blue cheese sauce. That wonderful funky cheese flavor. Creamy with hints of garlic and shallot. Delicious. And finally, bacon. Crispy, smoky, perfectly-cooked bacon. These are the fries dreams are made of.
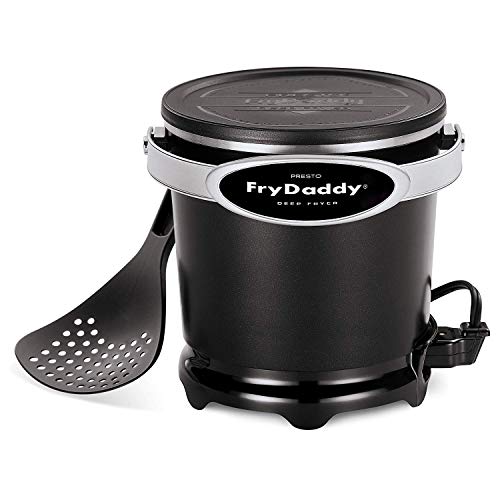
If I’m cooking these bacon and blue cheese French fries for a crowd, I’ll break out my big deep fryer. But, if it’s just the two of us, I’ll fire up my Fry Daddy fryer. It’s the perfect size for both of us. It fries everything perfectly. And as an added bonus, it doesn’t use a lot of oil, which saves me money.
If you’d rather not make fries from scratch, you can use frozen ones instead. Just bake the fries per the package instructions, making sure you get them good and crispy While they’re baking, make the sauce and cook the bacon. Serve hot-out-of-the-oven.
For the blue cheese sauce (make first and keep warm while making the fries)
Add butter to a small skillet over medium heat.
Add shallot and garlic. Saute for 4-5 minutes or until just starting to soften.
Add the cheese, milk and pepper.
Stirring constantly, raise the heat to medium-high and let the mixture get to a simmer. The cheese should be melted and the sauce will start to thicken.
Remove from heat and cover until ready to use.
For the fries
Fill a large bowl with cold water.
Slice the potatoes into thin, 1/8″-1/4″ sticks. Try to keep them the same thickness.
Place fries into the water. Add more water if needed to keep them full submerged.
Add the oil to the fryer and plug it in according to the manufacturer’s instructions.
Drain the fries. Refill with more cold water. Stir the potatoes. Repeat this step (draining, refilling) until the water is no longer cloudy. This usually just takes me two times.
Drain the potatoes well and transfer to a large kitchen towel. Pat dry. Make sure you get them dry or they will splatter when you add them to the hot oil.
Working in batches if needed, fry the potatoes until just starting to turn a light brown. You are not cooking them fully, you do not want them to be golden brown yet. Do not over-crowd the fryer.
Remove the fries from the fryer using the slotted spoon that comes with the unit. Place on a wire rack over a baking pan to drain. Spread them out evenly.
Let the fries cool to room temperature, about 10 minutes.
Working in batches if necessary, return the fries to the fryer and finish cooking them. You want them nice and lightly golden brown. I’ve found that you can actually crowd the fryer a little more than usual for this step. The fries are mostly cooked, you’re just crisping them up and giving them some color so a little extra potatoes in there isn’t going to hurt. Just don’t over-fill the fryer.
Remove the fries to the wire rack again to drain. Season well with salt and pepper. I prefer to transfer the fries from the rack to a large bowl, sprinkle them with the seasonings, and toss to season evenly.
Transfer the fries to a serving dish and top with the cheese sauce and sprinkle with the bacon.
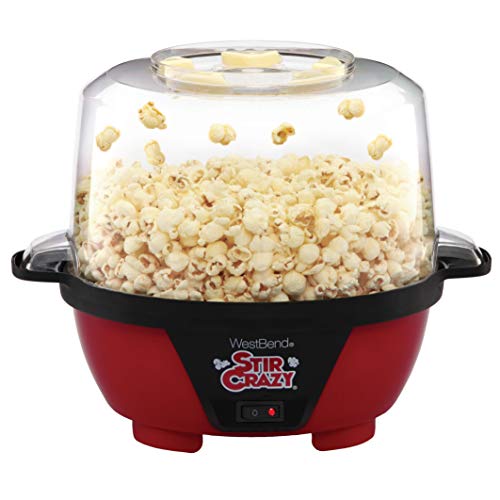
Now that it’s a bit cooler out, Sunday afternoons have become our ‘movie time’. We curl up on the sofa and find a classic movie we’ve both always wanted to see. And that means we need a snack to go with it. This French onion dip popcorn was the ideal bowl of crunchy delicious goodness for our latest film choice, Rebel Without A Cause. Quite frankly, I’m not sure which was better. The popcorn or the film!
You betcha, French onion dip popcorn is packed with that classic dip flavor. A little onion flavor. A little beef bouillon. A bit salty. But hey, don’t stop there. You need more crunch! More onion flavor! Oh yes, bring in the French fried onions! And don’t be shy with them!
Oh. It probably doesn’t need to be mentioned but, yeah, you’re gonna have onion breath.
If using bagged pre-popped popcorn, spread the popcorn out onto a large baking sheet and place in a pre-heated 350 F oven for 5 minutes to warm the popcorn.
Transfer popcorn to a large bowl.
Combine the butter and soup mix and drizzle over the popcorn.
Add the French fried onions and stir to combine and coat well. Serve immediately.
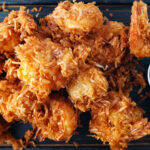
Oh me. It was a happy day for the shrimp addict in me. I made copycat Outback Steakhouse Gold Coast coconut shrimp, along with an orange marmalade dipping sauce. The shrimp were incredible. So crispy. The perfect batter. And loaded with fantastic coconut. They were delicious and great on their own. But oh, they weren’t served by themselves. Alongside, the dipping sauce added a unique taste that offset some of that coconut sweetness. The two made for an unforgettable dinner dish.
Although the shrimp are the star of the show in these copycat Outback Steakhouse Gold Coast coconut shrimp, I cannot overstate how great the dipping sauce is. It’s somewhat reminiscent of cocktail sauce in that it has a good horseradish flavor. The orange keeps the tropical theme going. And along comes a great mustardy hit. It may sound a bit different, but I assure you, it’s different in a great way. There were no leftover shrimp or dipping sauce.
I used by small Fry Daddy fryer to make this dish. That required me to cook them in batches. For a quicker fry, ensuring that everything is done at the same time, I’d recommend using a larger fryer or Dutch oven.
Place all ingredients in a small bowl. Stir until well combined. Cover and refrigerate for at least 1 hour before serving. Note: Also prepare the batter (below) at this time since it also requires 1 hour of resting time.
For the shrimp
To prepare the batter, place the beer, flour and 1/2 cup of the coconut flakes, sugar and salt into a medium-sized bowl. Whisk to combine well. Cover. Let sit for 1 hour.
Heat a few inches of oil in a Dutch oven or deep fryer to 350 F.
Place remaining coconut in a pie plate or shallow bowl.
Pat shrimp dry and sprinkle with paprika.
Working in batches if needed, dip shrimp into the beer batter, turning to coat completely.
Transfer the shrimp to the coconut and roll to coat well.
Fry shrimp 2-3 minutes or until shrimp are golden brown, turning them as they cook. Remove to a paper towel-lined plate to drain.
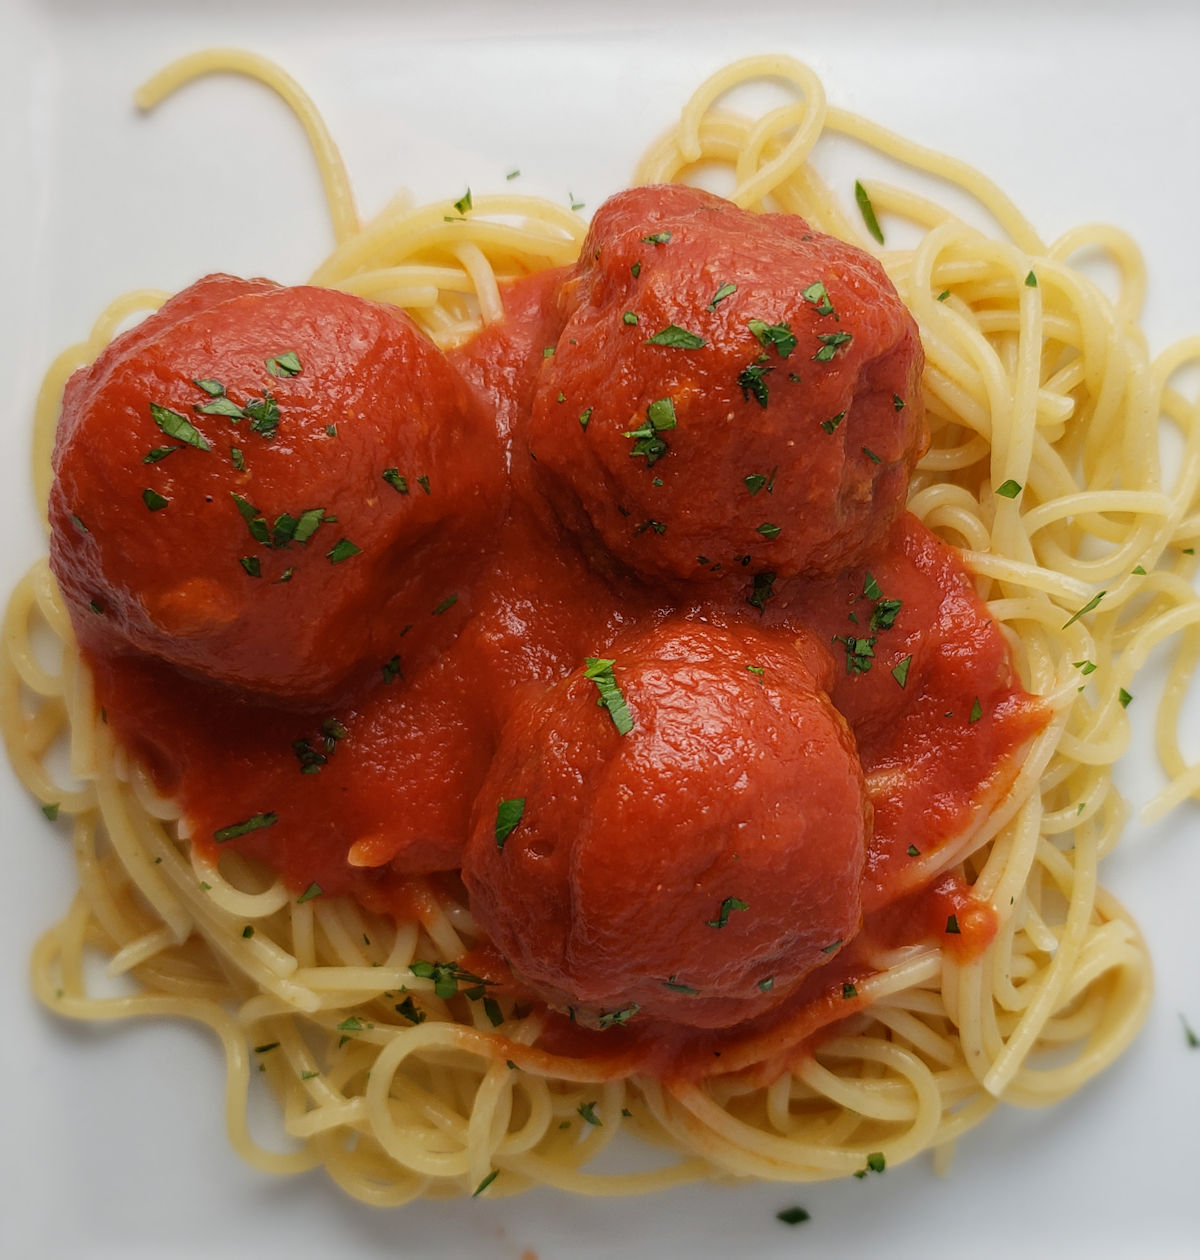
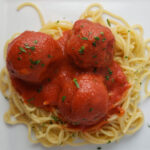
We both really enjoyed these copycat Old Spaghetti Factory meatballs. To begin with, they were super-easy to make. Second, the recipe makes a good-sized batch of meatballs, perfect for keeping on-hand during the colder months. We actually doubled the recipe so we’d have plenty around for quick dinners or even lunches. Last, they of course taste fantastic! Super tender meatballs with basic, simple flavors. We were able to make these with ingredients we already had on hand. Nothing fancy going on here, just great meatballs!
You don’t have to make the tomato sauce for these copycat Old Spaghetti Factory meatballs if you don’t want to. You can use any tomato-based sauced that you want. Or cream sauce for that matter. The meatballs are great anywhere you need, well, meatballs of course! They are completely cooked when they come out of the oven, ready for pasta, pizzas or sub sandwiches!
Place onion, garlic, parsley and bread crumbs into a food processor. Process for 30 seconds, scraping down the sides as needed.
Break the egg into a large bowl and whisk. Add the water, olive oil, salt, pepper and nutmeg and whisk until well combined.
Add the bread mixture to the bowl and stir with a spatula.
Crumble in the ground beef. Using your hands, mix thoroughly until the bread crumb mixture is distributed evenly throughout.
Preheat oven to 425 F.
Line a large baking sheet with foil. Spray lightly with non-stick spray. Add 1/4 cup to the bottom of the pan.
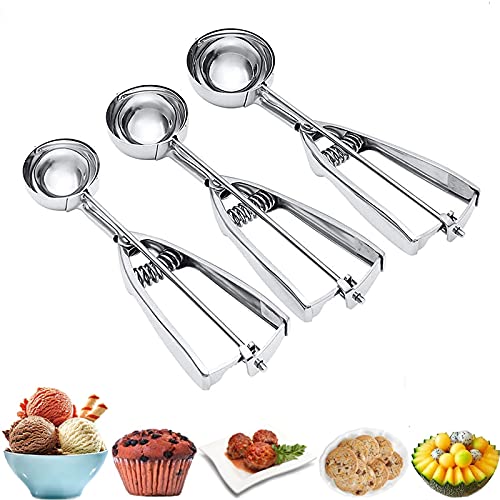
Using an ice scream scoop, scoop a portion of the meat into the palm of your hand and form into a ball about the size of a golf ball. Try to keep the meatballs all about the same size so that they cook evenly. Transfer to the baking pan but do not let the meatballs touch each other.
Bake for 15 minutes. Using a fork or spatula, break the meatballs lose of the pan if they are sticking.
Bake another 10 minutes or until meatballs reach 165 F.
Heat the tomato sauce in a large skillet. Season with salt and pepper and heat until just simmering.
Add the meatballs and cover and simmer for 2 minutes.
Serve meatballs over pasta with some of the tomato sauce.
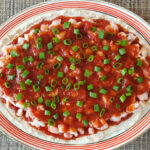
I absolutely could not get enough of this old fashioned shrimp dip. My wife made this for the Superbowl. When she brought it out I admit I might have made a face. But I grabbed a cracker and dug in and wow! What a great dip! Fantastically creamy rich, but with the tang of cocktail sauce, this dip packs in tons of flavor and of course my favorite, shrimp!
I think this old fashioned shrimp dip is perfect just as it is. You could, though, substitute crab for the shrimp. I’d be ok with that. Specially since I’m a crab addict in addition to being a shrimp addict. It’s a great dip either way. Just grab lots of crackers!
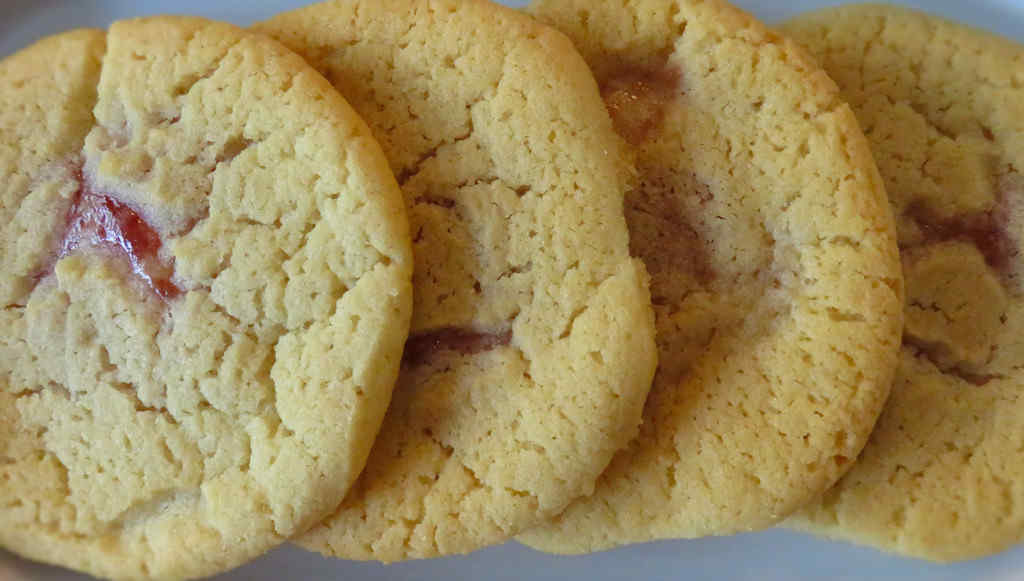
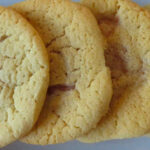
I was trying to make vampire sugar cookies. They look like regular ole sugar cookies but with two holes that make it look like a vampire took a bite out of them. Well, that failed, but that failure ended up tasting fantastic and being a big hit at my wife’s office. Heck, these quick fix strawberry sugar cookies are so good that I made them twice in two weeks. And truth is, they are scary easy to make.
I opted for strawberry jam when I made these quick fix strawberry sugar cookies, but you could use anything you’d like. I think thicker is better so that the middles aren’t too terribly soggy. And don’t put too much of whatever you use on them. They won’t seal well and you’ll have ‘blowouts’. Why did I pick strawberry jam? Well, because it’s my favorite! That and grape.
I’m also contemplating doing a mix of jams. A little grape, a little raspberry, a little strawberry, etc. I think that’d look great on a plate at Thanksgiving or Christmas. I could put a few of each flavor in fru-fru decorative cookie boxes and give them out as gifts!
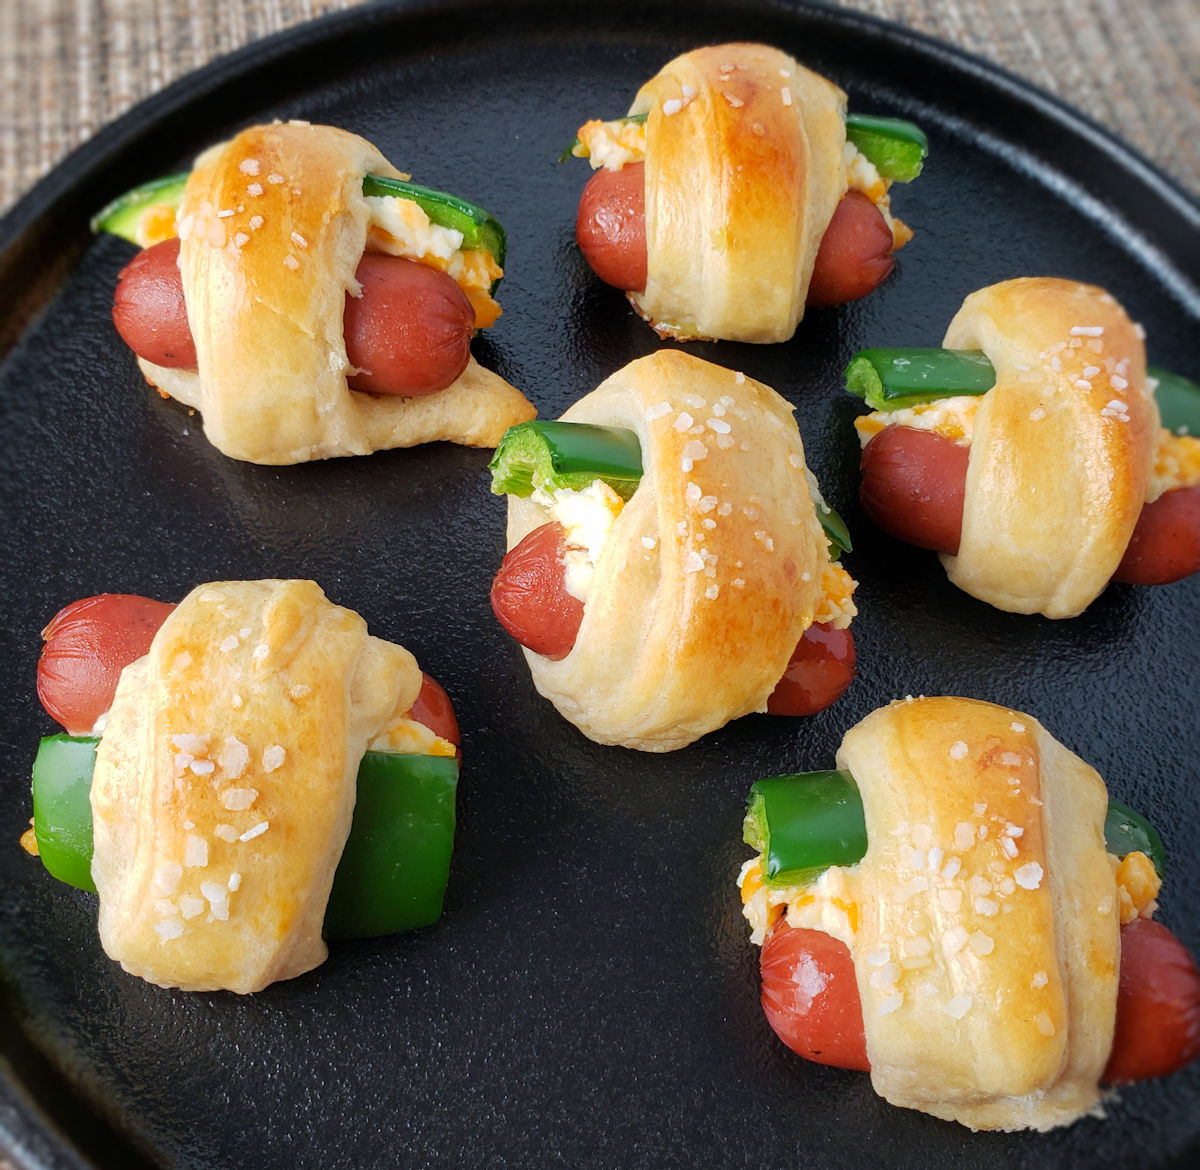
We like to make something new to snack on each New Year’s eve. And we’re always up for something with a little kick, a little spiciness. Like pretty much everyone, we’re fans of the classic pigs in a blanket treat. But, it needs a bit of a tweak to make it a little different and bring in the heat. These jalapeno popper pigs in a blanket are just as easy to make as the favorite. Each bite has just the right amount of spiciness to it. They’ll make your lips tingle in a good way!
Making jalapeno popper pigs in a blanket isn’t meant to be a stressful task. They don’t take that long to prepare. About as long as they’ll take to disappear, really. If you don’t cut the jalapenos into 24 perfectly-shaped equally-sized pieces, don’t fret. There’s no need to panic if you don’t get the dough cut into 24 lovely triangles. And hey, if you can’t roll them each up to look all the same… who cares? They’re delicious! You’ll love them just like we did!
I highly recommend that you shred or grate your own cheese at home. Don’t buy the pre-shredded or pre-grated stuff. It has stuff added to it to keep it from sticking together. That ‘stuff’ affects how the cheese melts. Shred it yourself and use the good stuff.
In a small bowl, mix together the softened cream cheese, cheddar and lime juice.
Cut each jalapeno in half lengthwise. Remove the seeds and any membrane. You will have 6 pieces.
Cut each jalapeno half in half again lengthwise. You will have 12 pieces.
Cut each jalapeno slice in half in the middle (not lengthwise). You will now have 24 pieces.
Spoon about 1 good teaspoon of the cheese mixture onto each jalapeno piece. Push a mini sausage into the cream cheese.
Open the crescent roll dough and tear into triangles. Cut each triangle into 3 strips, starting at the small pointed end and then cutting upwards. to the larger end. You'll end up with 24 thin triangular pieces of dough.
Place a jalapeno-cheese-frank on the large end of one of the small triangles and roll it up to the smaller end. Transfer to the parchment paper-lined baking sheet seam-side down. Repeat with the remaining franks, leaving about 1" of clearance between each one.
Place the baking sheet into the fridge for 10 minutes.
Meanwhile, preheat oven to 375 F. Also whisk together the egg and milk in a small bowl.
Remove tray from fridge and brush the tops of each pastry bite with the egg wash. Sprinkle with a bit of the salt.
Bake 12-20 minutes or until golden brown.
Let rest 5 minutes before transferring to a platter and serving.
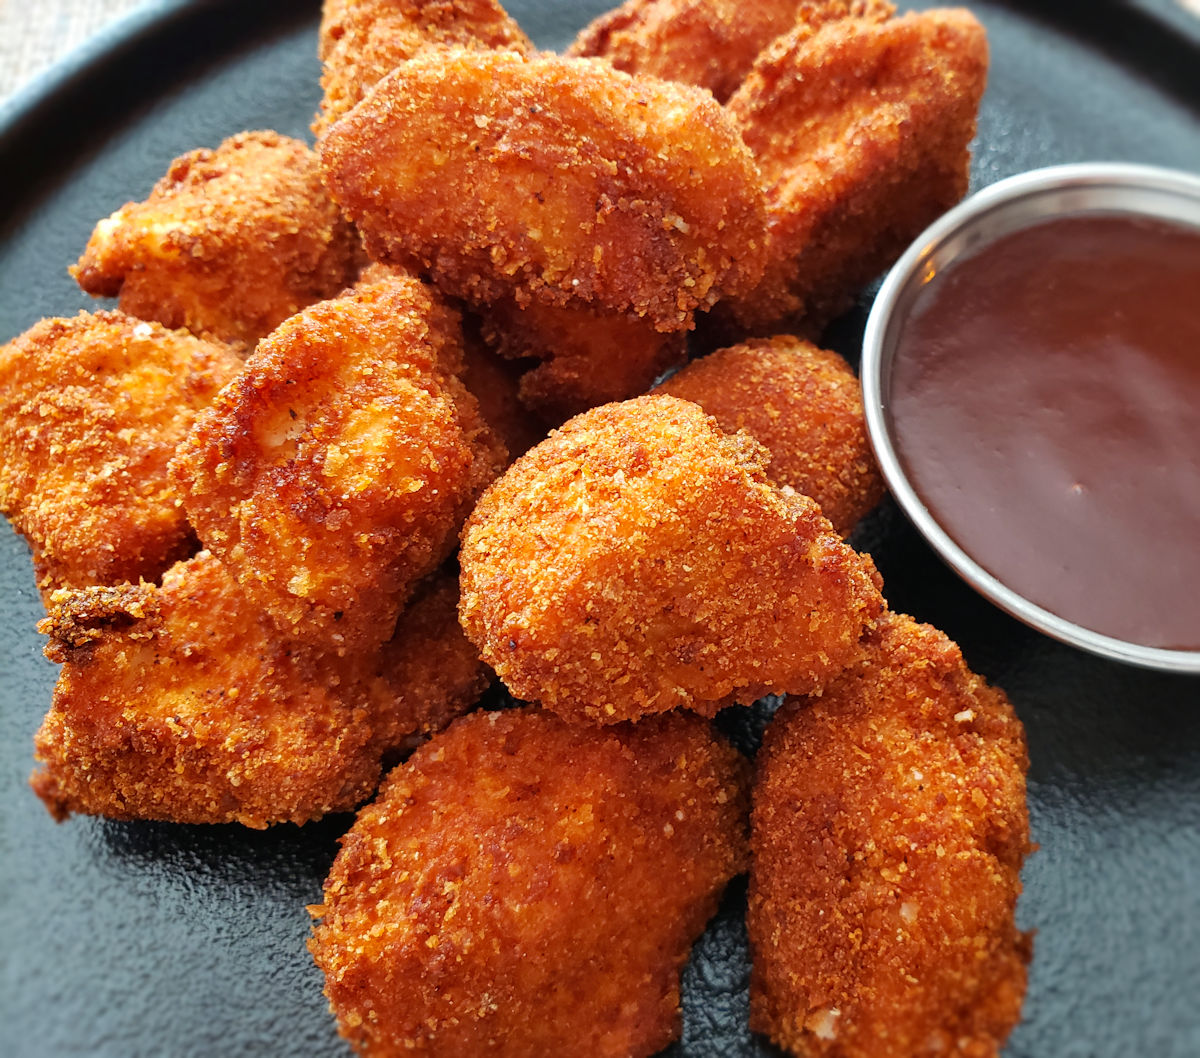
It’s not that I was searching for a recipe for copycat Burger King chicken nuggets. I was looking for any great recipe for chicken nuggets. It didn’t have to be a BK knock-off (though that it is a plus). The nuggets just needed to be tender, juicy and flavorful. And not soggy. Oh, please, no soggy nuggets! Well, I got everything I wanted in these nuggets. I loved them. They’re my go-to nuggets from now on, that’s for sure!
I made these copycat Burger King chicken nuggets as part of a test. I wanted to see if it was possible to make great, tender chicken nuggets at home, freeze them and then reheat them later. They had to still be tasty and moist when I re-heated them. They had to be better than the frozen nuggets I can buy at the store. And they were. These nuggets passed every test I had. I can now keep a big bag of pre-cooked (in my Fry Daddy fryer) homemade nuggets in my freezer, ready for lunch in just minutes. I just pop them into a preheated air fryer or oven for 10 minutes and boom! It’s time to eat!
Substitute Italian bread crumbs for a little different flavor.
In a large bowl, combine the flour, granulated garlic, salt and pepper.
Add in the chicken pieces and stir to coat well. I prefer to use my hands for this, ensuring that each and every piece is coated evenly in the mixture.
In a medium bowl, whisk together the egg and milk.
In another medium bowl, stir together the breadcrumbs and salt and pepper to taste.
Heat a few inches of oil to 350 F in a deep fryer or Dutch oven. While the oil is heating you can prepare the nuggets for frying.
Working in batches, remove the chicken pieces from the flour mixture and shake off an excess.
Transfer the chicken to the bowl containing the egg mixture. Turn the pieces to coat well.
Shake off any excess and transfer the chicken pieces to the bowl containing the breadcrumbs.
Turn the pieces to coat well. Get all sides.
Fry chicken pieces 2-3 minutes per side, turning once. Remove to a paper towel-lined plate or wire rack-lined baking sheet to drain.
Serve with your favorite dipping sauce.
Notes
These nuggets can be frozen and reheated at a later time. I put the frozen nuggets into an air fryer at 365 F for 10 minutes to reheat them.
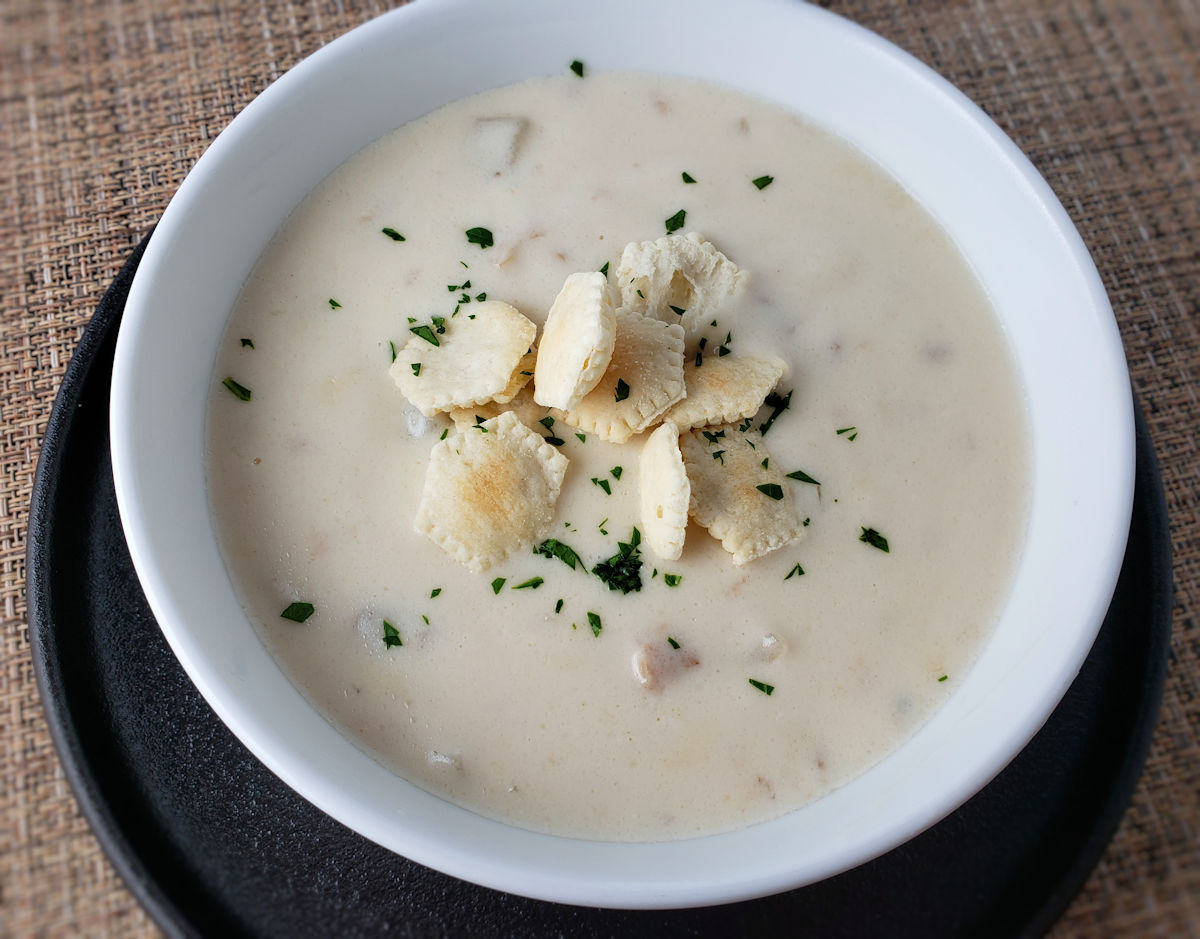
Whatever you do, do not let the words ‘quick’ or ‘easy’ deter you from making this quick and easy New England clam chowder. Just because you open a few cans and add them to a pot doesn’t mean you shouldn’t expect great flavor. And this, despite it’s simplicity, is one great clam chowder. It has the right consistency, the right amount of potatoes, and best of all, plenty of clams. Lots of clams. This is great creamy goodness in a bowl.
Don’t change a thing when making this quick and easy New England clam chowder. Don’t substitute milk for the half and half. And definitely don’t use fewer clams. Nope, make it just as it says and you’ll be happy with the results. And this makes a big batch, so you’ll have plenty for a crowd, too!