This post may contain affiliate links. As an Amazon Associate I earn from qualifying purchases. Please see the disclosure for more information.
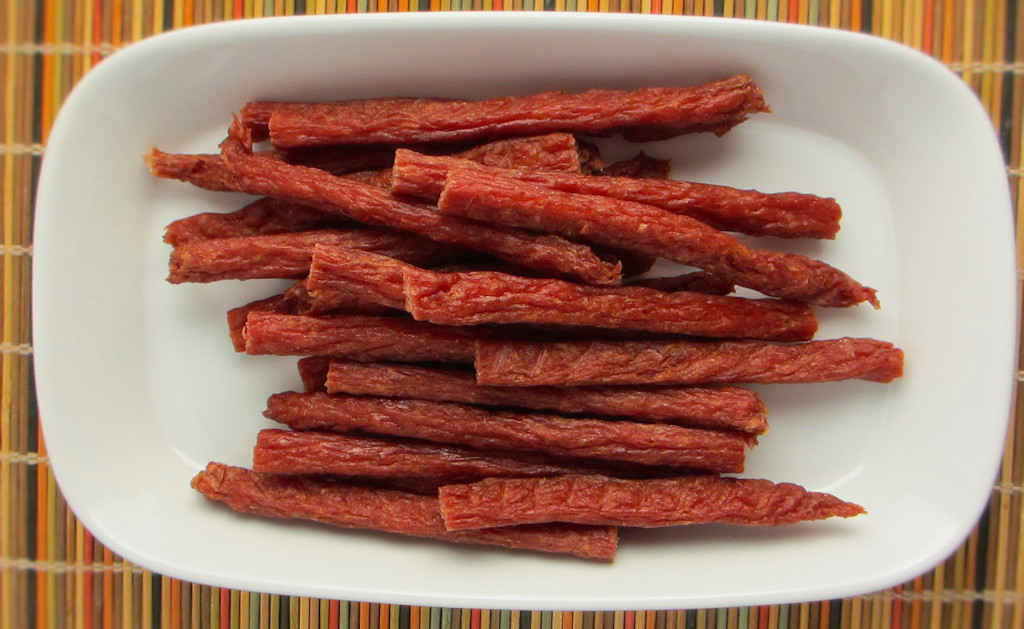
I have been enjoying great success with my new Nesco Snackmaster Pro. Of course the most popular items have been the various jerky flavors that I’ve made. And so far, I’ve just made jerky using beef. Not everyone can handle beef, so I decided to try my hand at making jerky using ground turkey. I have to say, I was pretty pessimistic going in. I’m not always a big fan of ground turkey (I think it’s a textural thing), but boy, were my fears unfounded! Ground turkey jerky (say it 10 times fast, it’s fun!) is absolutely fantastic! It’s tender, and oh so flavorful. Heck, my wife likes it better than my beef jerky.

You just can’t go wrong with ground turkey jerky. I can’t wait to make this again. I started using a standard almost-Slim Jim-like flavoring. Nice and neutral, without any heat, so it could be enjoyed by anyone. I’ll soon try other flavors with more kick, but there’s definitely nothing but good about this jerky.
Do not skip the final step of placing the dried jerky in the oven for 30 minutes. Better safe than sorry with poultry!
I like to load up my dehydrator. To do that I picked up a handful of extra trays. They really add a whole lot more drying space! Since I have to rotate my trays, I write a number on each one on a piece of blue painter’s tape so I can keep track of them.
Also try my Cajun ground beef jerky, made using the Nesco Snackmaster Pro.
Check out my guide to using the Nesco Snackmaster Pro. You will be making fantastic jerky at home in no time at all!
Ground Turkey Jerky on the Nesco Snackmaster Pro
Ingredients
- 1 pound ground turkey at least 93% lean
- 1 tablespoon AC Legg Traditional Jerky Seasoning
- 1 teaspoon pink curing salt
- ¼ cup water
Instructions
- Place turkey in a large bowl.
- Whisk together the remaining ingredients and add to the turkey. Combine well.
- Transfer to a resealable container or baggie and refrigerate overnight.
- Preheat oven to 165 F.
- Load the meat into a jerky gun and squeeze out onto baking sheets lined with parchment paper. Do not let the meat touch or overlap.
- Transfer trays to oven an cook until internal temperature reaches 165 F.
- Transfer jerky to the Snackmaster Pro set on the highest temperature (see note below!) and dry for 6 hours. Test for doneness every hour by bending the jerky. If it bends without tearing it is not dry enough. If it gives and starts to tear at the bend it is done.
- Let cool and store in an airtight container in the fridge.
Notes
Nutrition
Nutritional values are approximate.


The addition of curing salt must be done if you are going to smoke/dry or cure meats such as sausage, salami etc and of course jerky if being made from ground meat. It is this addition that stops the growth of pathogens during the low temperature smoking/curing/drying processes. Throwing it in the oven at the end does little if anything. You cannot take rotten meat and make it edible by cooking it. It’s just cooked rotten meat. Why chance it?
The instructions should be amended to:
Cook first in oven to reach 165F (poultry) then dehydrate AND refrigerate.
OR
Add curing salt (prague powder, sodium nitrite) and dehydrate, oven not required. This jerky would not require refrigeration if stored properly. Follow directions on the curing salt package.
If you could be absolutely certain that your dehydrator would get the meat to 165F quickly during the dehydration (mine dials to 165F, but I have tested it and it tops at 115-120F so beware!) AND you were going to refrigerate you could skip the curing salt, but that is the only time it would be optional.
Also, any way you do it, if you are going to leave it in the fridge overnight you should definitely use the curing salt. With a recipe like this flavours will blend readily, a marinade isn’t required and that’s normally an overnight process with solid pieces of meat, its unnecessary and dangerous here.