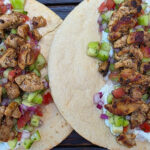
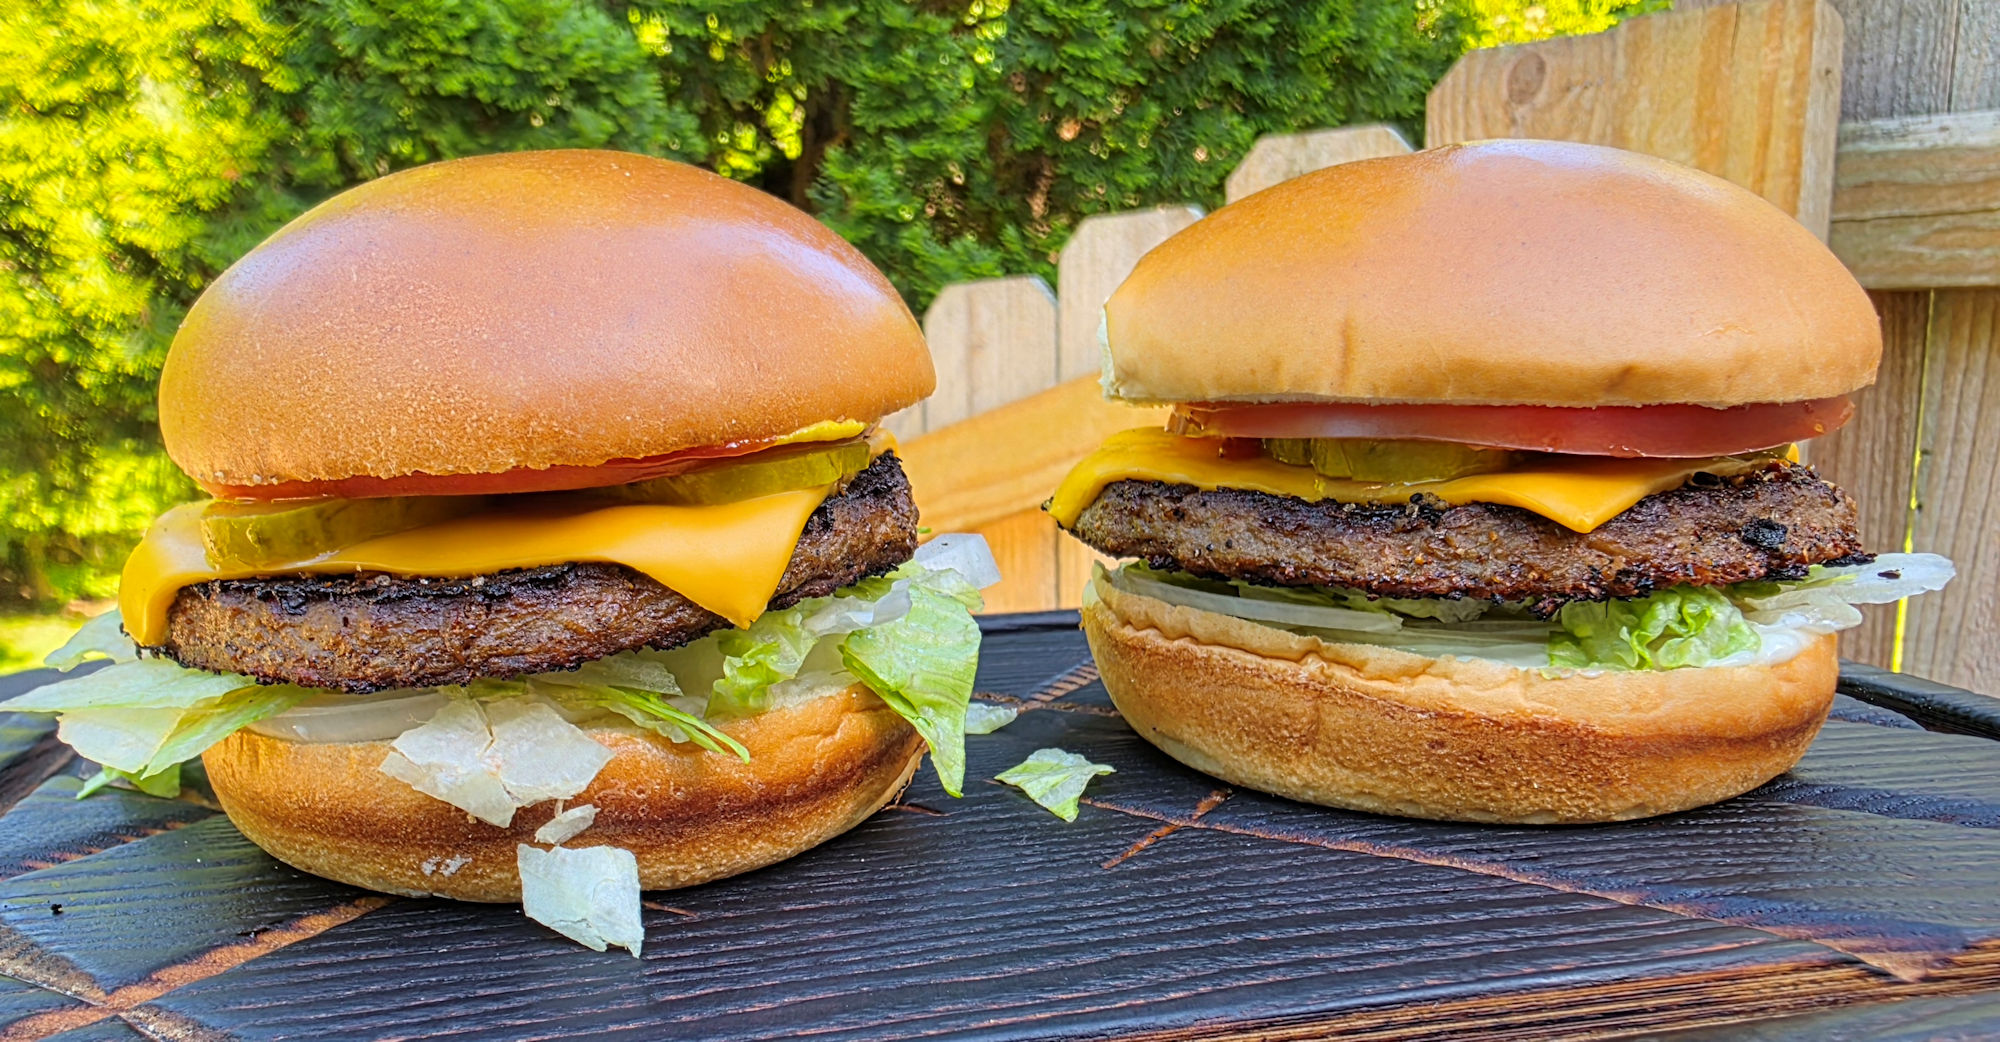
I’ve made a lot of smash burgers on my grill. I should say, beef smash burgers. That’s my go-to thing. Easy, fast, and delicious. Sometimes I ‘stray’ a bit and make chicken or turkey smash burgers. This time, I ‘strayed’ a lot and made Beyond Meat smash burgers. Nothing ‘meat’ going on here. This was my first time making non-meat burgers. I have to say, I was quite pleasantly surprised. The flavors are quite close to those of beef patties. Ditto the texture. I even got some classic smash burger char along the edges. Topped with my favorite diner-style toppings, these were good burgers!
A Little Different
The process for making Beyond Meat smash burgers is mostly the same as I use when making beef smash burgers. The major differences are that first, you don’t defrost the patties. You cook them from frozen. That means you can’t really season them up front. The seasoning would just bounce off. You have to get them on the hot griddle for a few minutes to soften them up. Then you can season them. The second big difference is the smashing. I tend to smash the heck out of my beef patties to get them super thin. You can’t do that as much with these or they’ll crack or break. You can smash them, but do it slowly and gently. And last, you don’t have to worry about the patties ‘swelling’ in the center like beef does. They’ll stay flat the entire time. That’s rather nice, I have to say!
Classic Tastes
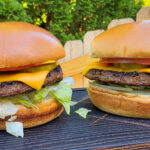
Once you’ve made a Beyond Meat smash burger or two you’ll find them to be as easy to make as the non-smash ones. And just like making the beef version. And like any other burgers, they’re open to all sorts of toppings. Sometimes I go crazy. Sometimes I go classic. This Beyond Meat smash burger is more classic. And it’s definitely good!
The equipment
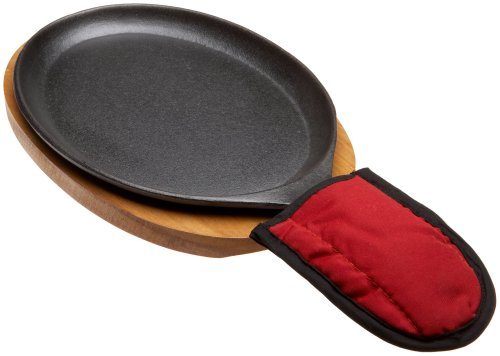
Here’s the equipment I use. You can get by using two cast iron skillets. Use a larger skillet for cooking the burgers, and a smaller one to smash the burgers and keep them flat. Since I’m a cooking gadget collector, I prefer to use a few more tools.
The griddle
First, a griddle. You can buy griddles that sit on top of your grill grates or ones that replace them. Just about every grill I have has a griddle on it. I use them for a lot of things, not just smash burgers. You want one that can be placed over the hottest part of your grill so it gets screaming hot.

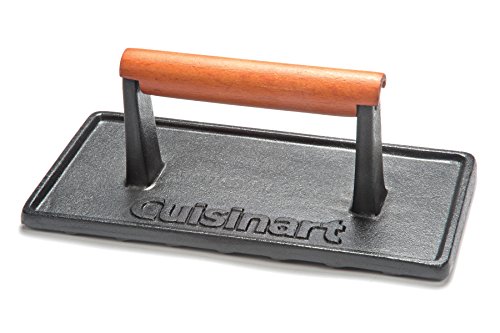
A burger press
Next, you need a burger press. You can use a heavy cast iron skillet, like I mentioned. Or get a burger press. For easy cleanup I wrap mine in foil first. When I’m done, just peel off the foil and toss. Super easy. Get a press that’s at least big enough to cover two burgers. You don’t have to keep these Beyond Meat burgers smashed down to prevent them from rising in the middle like beef does. The patties stay flat throughout the cooking process.
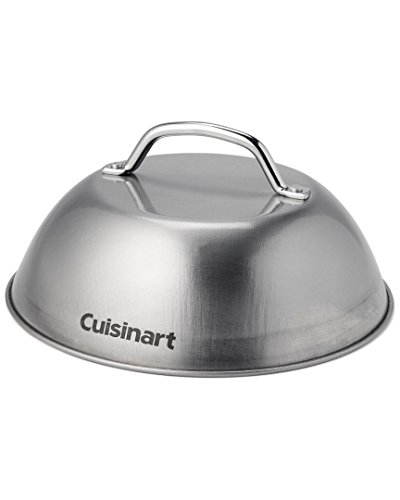
A dome
Next up, a dome. While not 100% required, it does speed the time it takes to melt the cheese and it does it in a nice even fashion. In my opinion you don’t really need one if you’re using a super melty cheese, such as American, but for thicker slices like say a deli pepper jack, you want the cheese to melt before you over-cook the burger and that’s where a dome comes in handy.
Cleaning time!
Lastly, you need something to clean your griddle. I like to clean mine when I’m done cooking, but you can do it at the start instead. I use one of these pad holders with a griddle cleaning pad. Then I add a bit of water to my griddle then use the pad (connected to the holder) to scrub off any big chunks and get up some of the grease. I don’t go crazy with it, I always heat the heck out of my griddle before cooking, but I get the worst. The long arm on the pad holder makes it perfect for scrubbing a hot griddle, too.


Also try my taco smash burgers!
Beyond Meat Smash Burgers
Ingredients
- 1 tablespoon vegetable oil
- 4 large eggs optional, but great!
- 4 patties Beyond Meat Stack Burgers frozen
- kosher salt to taste
- ground black pepper to taste
- 4 hamburger buns
- 4 slices American cheese
- 4 teaspoons ketchup more or less, to taste, divided
- 4 teaspoons prepared yellow mustard more or less, to taste, divided
- 4 teaspoons mayonnaise more or less, to taste, divided
- 12 dill pickle chips divided
- ½ cup iceberg lettuce shredded, divided
- 8 slices tomato divided
- ½ red onion thinly sliced, divided
Instructions
For the smash burgers
- Fire up your grill for medium-high heat. Place a griddle or a large cast iron pan over the highest heat.
- Add the oil and spread out a bit. Crack the eggs onto the oiled griddle.
- Wait until the white is completely opaque then gently flip the eggs. Season with salt and pepper.
- Cook another 30 seconds then remove to a plate.
- Squirt a bit more oil onto the griddle.
- Add the frozen patties. Let them cook un-touched for 2 minutes then season the tops liberally with salt and pepper.
- Flip the patties and season again.
- Take your press and GENTLY flatten out the patties. Don't use a lot of pressure. Try to get them thin, but don't break them
- Let the patties cook until you start to notice a little char along the edges. Flip, season again if desired, and continue cooking another minute or so until the other side is charred.
- Top patties with cheese and let cook another 30 seconds to melt the cheese.
- Toast the buns. Remove, add the patties.
- Add remaining ingredients to assemble the burgers.
- Devour immediately.
Notes
Nutrition
Nutritional values are approximate.