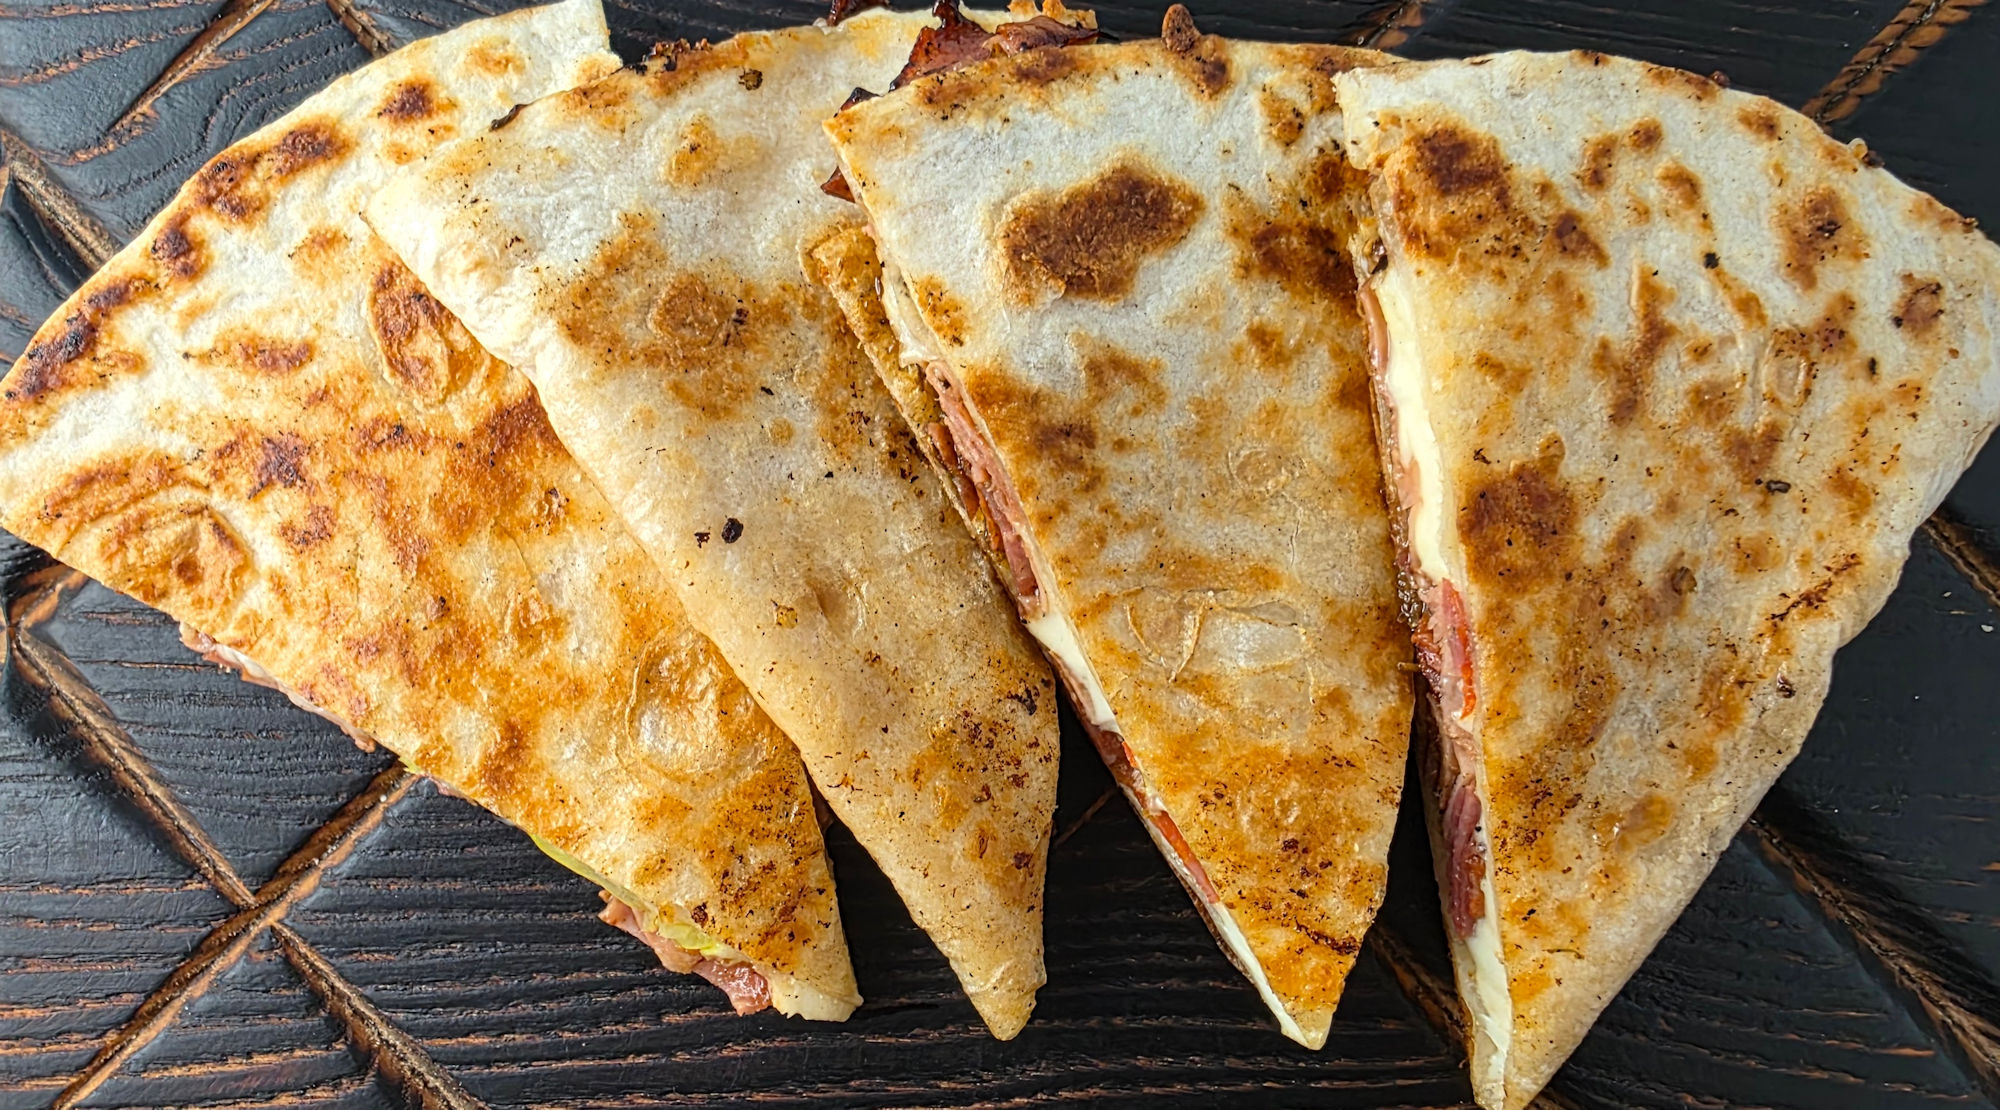
I’m not going to lie to you. I had a hankerin’ for an Italian sub for dinner. You know the kind. Warm French bread, tons of Italian-style cold cuts. Cheese. A little Italian salad dressing. Well, the bread gods weren’t smiling down on me. I had to come up with a Plan B and quickly. Well, turns out, Plan B was better than Plan A because these Italian sub quesadillas using an outdoor griddle were fantastic! Same great taste, served on a warm, slightly crispy tortilla! Heck, I might give up the bread version now!
Easier On A Griddle
You could make these Italian sub quesadillas indoors, in a saucepan. Me, I prefer to cook on my outdoor griddle whenever possible. It’s huge, giving me lots of room to move things around. And plenty of room to toast up some large tortillas. It’s perfect for making these ‘sandwiches’ and pretty much anything else.
I grabbed the Italian sandwich meats from our Aldi store. They have great cold-cuts. My favorite is the Italian trio, which comes with salami, pepperoni and provolone. Yeah, I know the recipe states to use mozzarella. And I did. But I also slid a few pieces of provolone in for good measure, too. Use whatever you want. I’m a big fan of these with smoked ham, too. It doesn’t really have to be really Italian, you know?

Also try my baked Italian grinder sandwich.

Italian Sub Quesadillas using an Outdoor Griddle
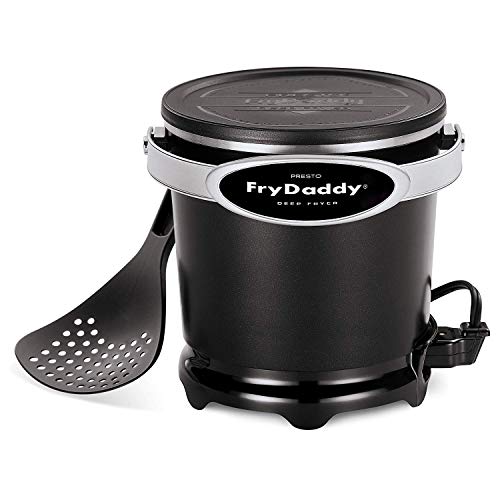
Equipment
Ingredients
- vegetable oil
- 2 cups deli meat I used salami, ham, and pepperoni
- 4 cloves garlic minced
- ¼ cup Italian salad dressing
- Italian seasoning
- 2 large flour tortillas burrito-sized
- 2 cups mozzarella cheese shredded, divided
- ¼ cup banana peppers sliced, divided
Instructions
- Preheat your griddle on medium-low heat.
- Add a splash or two of oil and let it get hot.
- Add the diced meats. Cook for 2 minutes, mixing the meats around to get a little char on them and release some of the juices.
- Add the garlic and Italian dressing and seasoning. Stir and cook another 4-5 minutes until the garlic is cooked and the dressing is mostly cooked off.
- Slide the meats off to the side of your griddle and keep warm. If you don't have room, you can remove them to a plate.
- Add a splash or two more of the oil to the griddle.
- Add the tortillas. Sprinkle half of the cheese and peppers on one half of each tortilla.
- Top the cheese with the deli meat, putting half on each tortilla.
- Fold over the non-topped, empty side of the tortilla to form a half-moon quesadilla.
- Cook for 3 minutes then flip carefully (a long spatula helps) and cook another 3 minutes or until the cheese is melted and the tortilla is cooked until nice and golden brown.
- Remove and let cool slightly before slicing and serving.
Notes
Nutrition
Nutritional values are approximate.