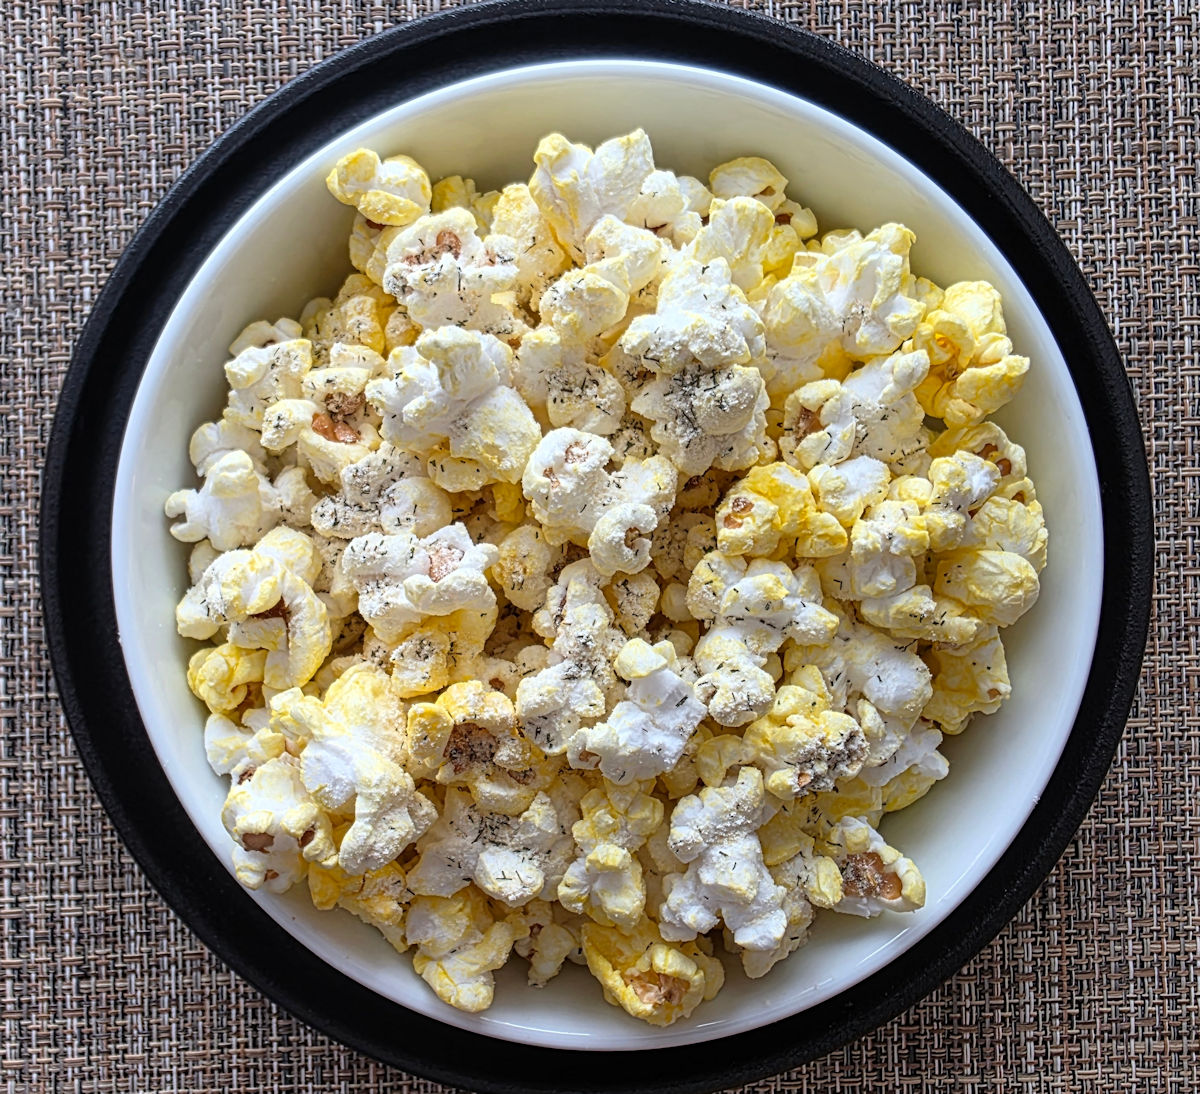
I’ve been trying to be a little better with my lunchtime snacking. I have a serious control issue around potato chips. Especially sour cream and onion potato chips. I love that buttermilk flavor. The dill. I can’t stop eating the chips. And that’s a problem. So now, I turn more and more to popcorn to satisfy my snack craving. And that’s where this sour cream and onion popcorn seasoning comes in….
Get It While It’s Hot
There’s a perfect time to use this sour cream and onion popcorn seasoning and that’s when your popcorn is good and hot. Just popped. And it still has a little oil on the outside. That’s where this seasoning is gonna ‘stick’. Now, don’t get me wrong, it’s great on store-bought, already-popped popcorn too. But it doesn’t stay on as well. It likes to be on hot popcorn.
This stuff brings the sour cream and onion flavors that I love. It’s a big favorite of mine.
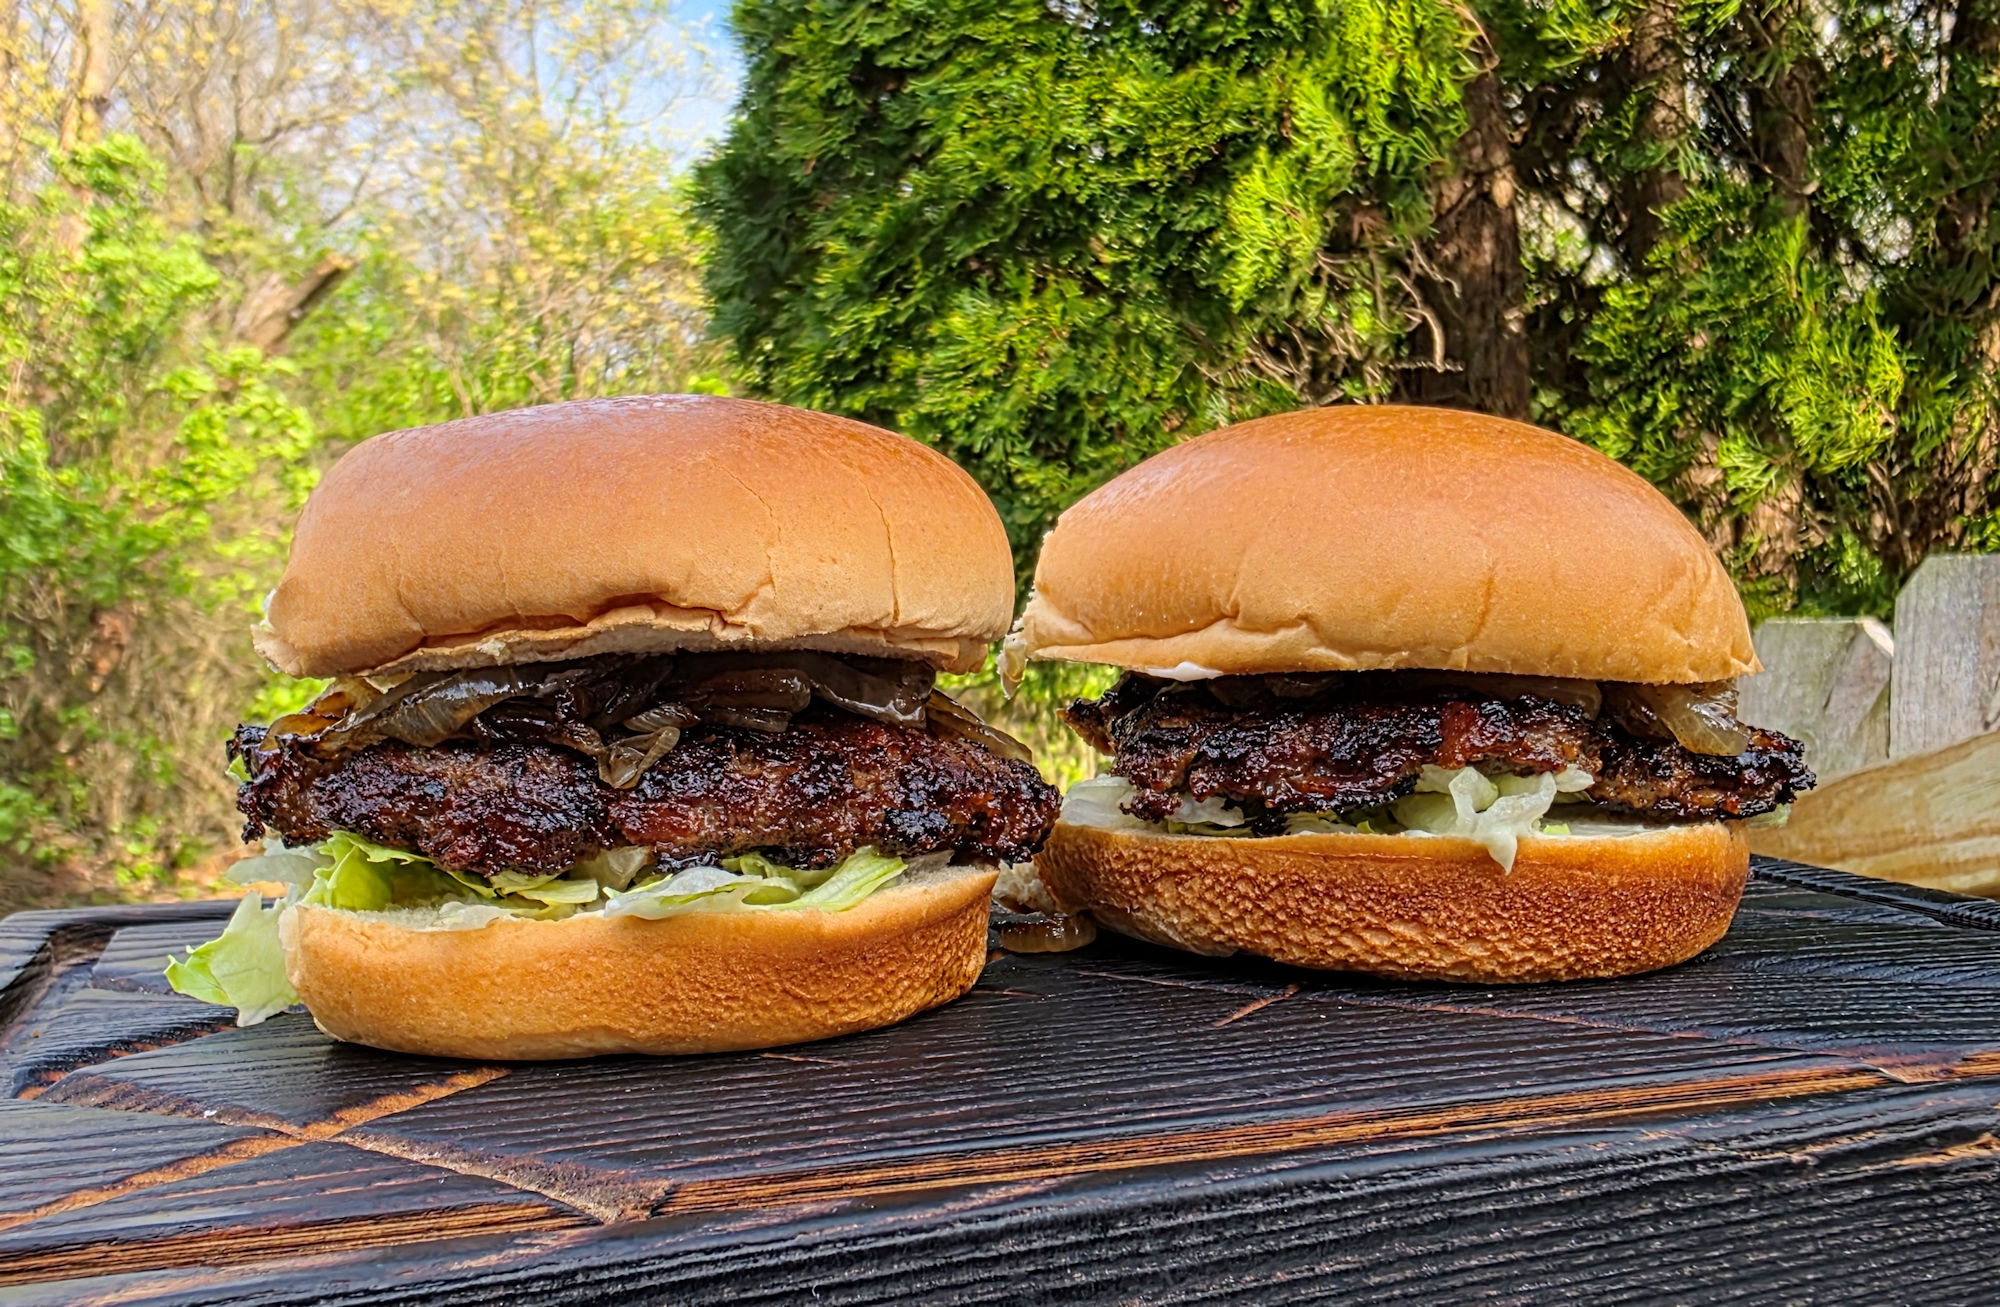
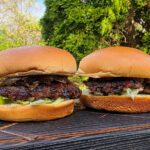
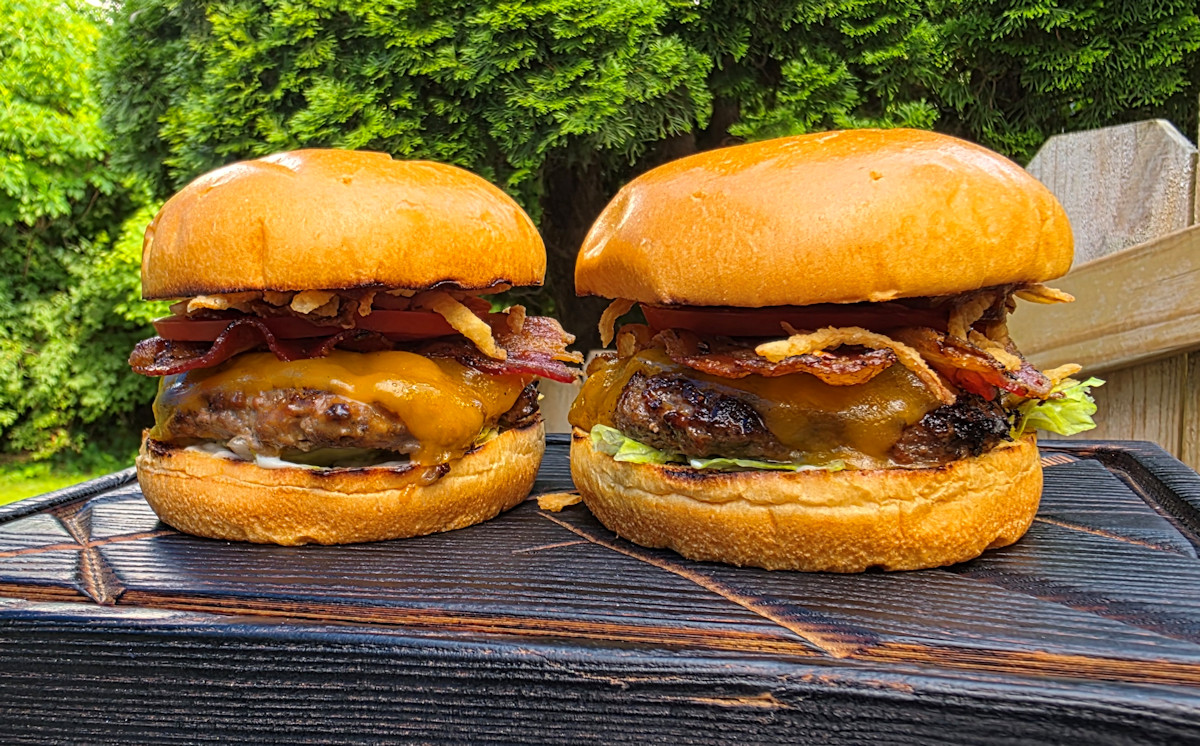
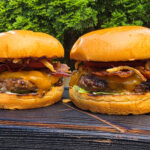
I deviated slightly the other day from my ‘usual’ smash burger approach. Normally, I’m a seasoned ground beef patty kind of guy. I rely more on the toppings to make the burgers ‘different’. This time, I made bacon cheddar ranch smash burgers. These burgers have flavor through-and-through. On top. Inside. Underneath. All over. Tender and juicy. With hints of bacon, cheddar and of course ranch. These weren’t complicated burgers, but man, were they ever good. I made extra, made them into patties, and froze them for future cookouts. They’re something to look forward to!
A Lot Of Flavor.
Once you’ve made a smash burger or two you’ll find them to be as easy to make as the non-smash ones. Before long you’ll be a master at it, making great burgers like a bacon cheddar ranch smash burger. These are crazy-delicious burgers that are perfect for any backyard get-together or just chillin’ on the deck on a nice summer day.
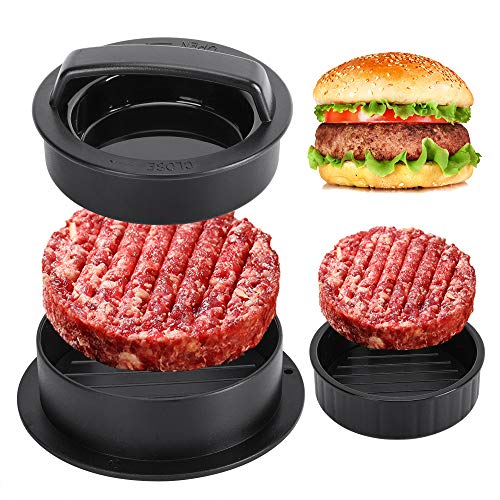
Here’s the equipment I use. You can get by using two cast iron skillets. Use a larger skillet for cooking the burgers, and a smaller one to smash the burgers and keep them flat. Since I’m a cooking gadget collector, I prefer to use a few more tools.
The griddle
First, a griddle. You can buy griddles that sit on top of your grill grates or ones that replace them. Just about every grill I have has a griddle on it. I use them for a lot of things, not just smash burgers. You want one that can be placed over the hottest part of your grill so it gets screaming hot.
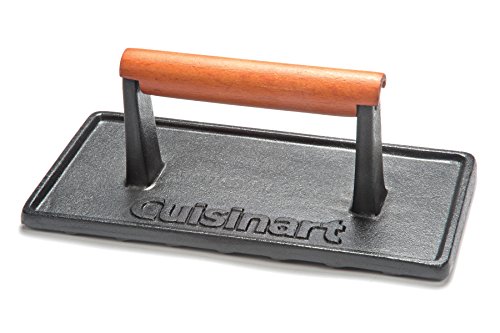
Next, you need a burger press. You can use a heavy cast iron skillet, like I mentioned. Or get a burger press. For easy cleanup I wrap mine in foil first. When I’m done, just peel off the foil and toss. Super easy. Get a press that’s at least big enough to cover two burgers. You only smash one at a time, but if you want to keep them flat, you want to rest the press on top so bigger (and heavier) is better. Plus I’ve found that a bigger, heavier press tends to stay on the burgers whereas a smaller, lighter one is hard to keep centered on the burgers, especially if you have a bunch of them cooking at once.
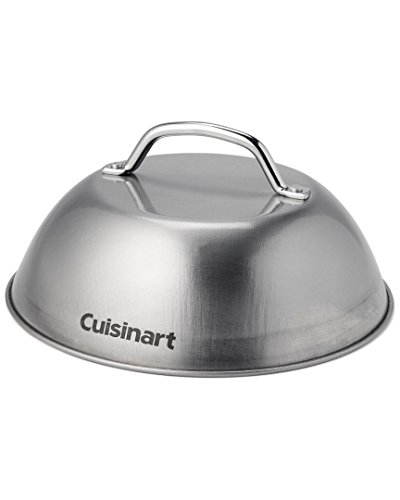
Next up, a dome. While not 100% required, it does speed the time it takes to melt the cheese and it does it in a nice even fashion. In my opinion you don’t really need one if you’re using a super melty cheese, such as American, but for thicker slices like say a deli pepper jack, you want the cheese to melt before you overcook the burger and that’s where a dome comes in handy.
Lastly, you need something to clean your griddle. I like to clean mine when I’m done cooking, but you can do it at the start instead. I use one of these pad holders with a griddle cleaning pad. Then I add a bit of water to my griddle then use the pad (connected to the holder) to scrub off any big chunks and get up some of the grease. I don’t go crazy with it, I always heat the heck out of my griddle before cooking, but I get the worst. The long arm on the pad holder makes it perfect for scrubbing a hot griddle, too.
In a large bowl combine the bacon, ground beef, Ranch mix, cheese, sour cream and pepper.
Form the beef into 8 equally-sized balls, about 4 ounces each.
Fire up your grill for medium-high heat. Place a griddle or a large cast-iron pan over the highest heat.
Add the onion to the griddle.
Add the onion slices and cook 5-10 minutes or until just softened. Remove to a plate.
Place the balls of beef on the griddle and let cook for one minute. Just let them cook, don’t mess with them.
Take your press and flatten out the patties. I like to use the point of the press and work my way around the ball first, doing a little section at a time and then finally I press down on the entire patty to flatten it out. You can also just flatten out the ball all at once. At this point I also like to season the patties some more.
Let the patties cook until you start to notice a little char along the edges. Flip, season again if desired, and continue cooking another minute or so until the other side is charred. The burgers are thin so they will cook very quickly so watch out.
Top patties with cheese and let cook another 30 seconds to melt the cheese. Remove.
Toast the buns. Remove and slather with mayonnaise.
Add lettuce to bun bottoms. Add patties to bottom buns, top with onions, and serve!
Notes
For a little kick, add a minced seeded jalapeno to the ground beef mixture before forming into balls.
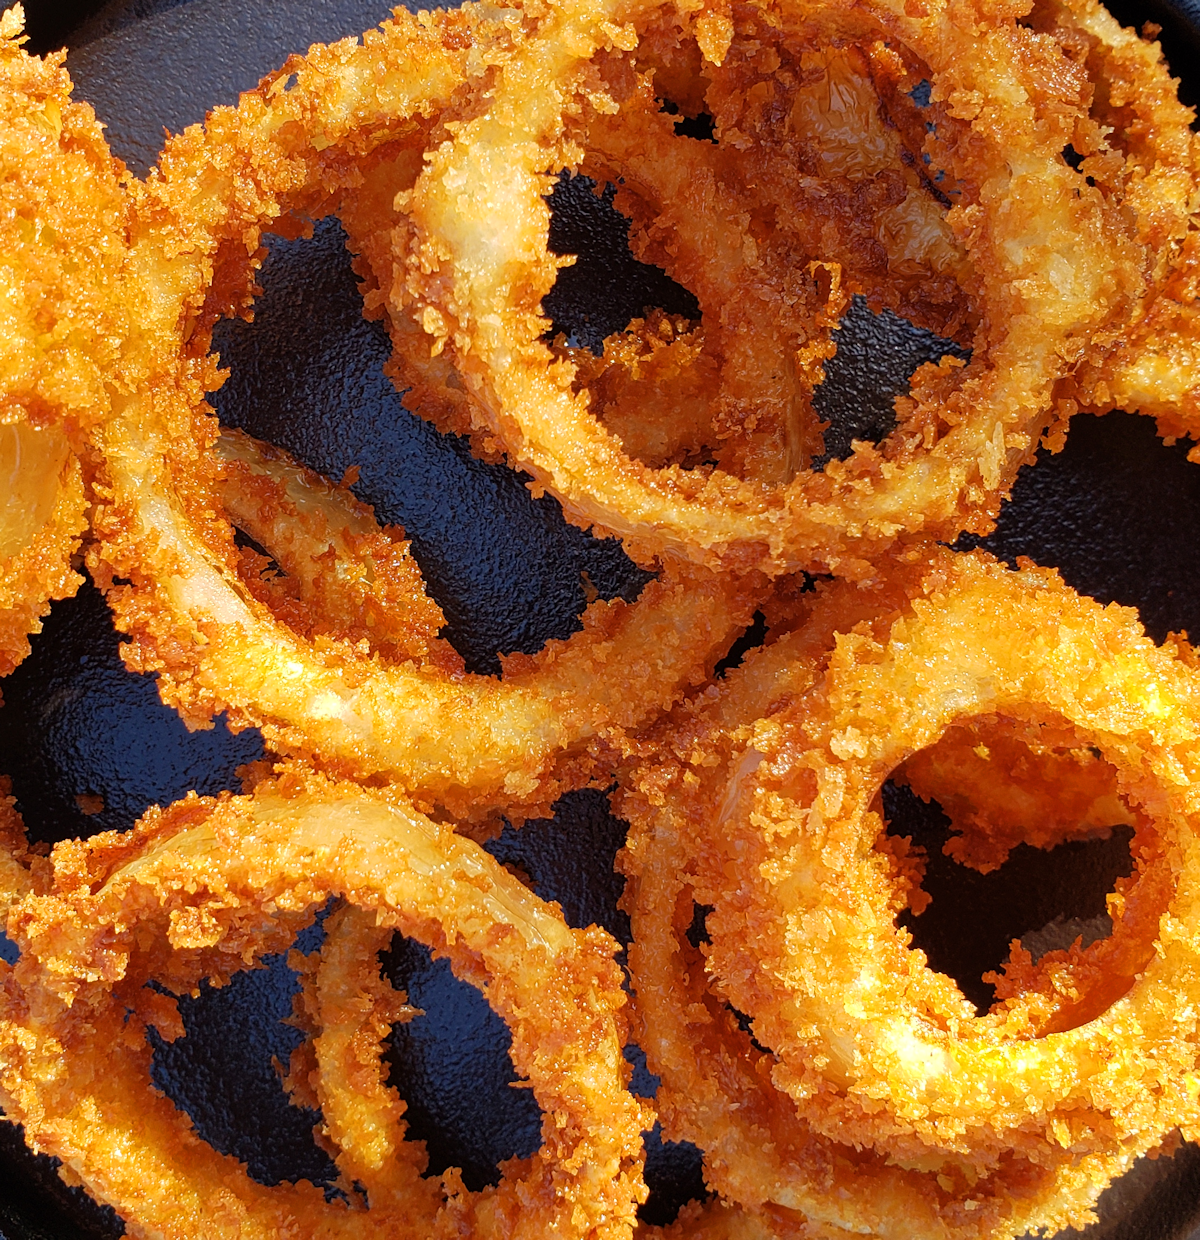
Onion rings are my favorite hamburger side dish. I take my onion rings seriously, too. They’d better have a nice clean ‘bite’ to them. That means when I take a bite, I’d better not end up pulling the entire onion out with it. Then I’m left with a ‘batter tube’. Although tasty, that’s not what I want. I want crunchy, delicious onion rings. Like these extra-crunchy panko onion rings!
Batter. All Around.
If you’re not careful making extra-crunchy panko onion rings, you’ll end up with spots on your rings with no batter. This happens for two reasons: either you didn’t get enough batter on them, or you did but your fingers wiped it off.
When you dunk the onions into the egg mixture and then the breadcrumbs, make sure you get both all over. Inside and outside. Completely. And make sure you handle the rings as gently as possible. Instead of grabbing them on edge, I stick two fingers inside, then spread my fingers outward. That way I only touch the insides of the rings and only with my finger nails. That way the coating stays on the outside. Might sound odd, but you want that crunchy exterior as even as you can get it with no bald spots.
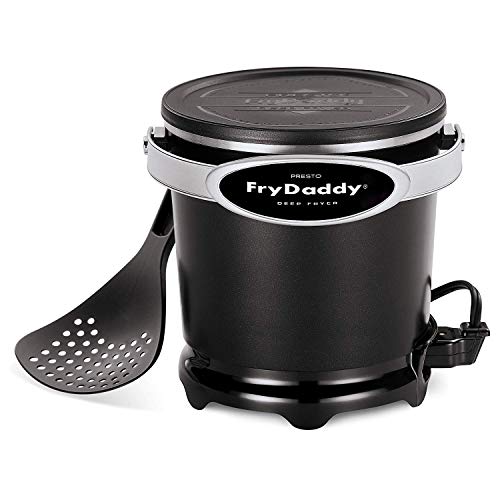
The Presto Fry Daddy is perfect for making smaller batches of food. It only uses a few cups of oil and comes to temperature quickly. Clean-up is easy too!
Cut into ½" rings and separate into individual rings.
Set out 3 shallow bowls.
In the first bowl combine the flour, seasoned salt and pepper.
In the second bowl, whisk together the eggs with the milk.
In the third bowl, place the panko breadcrumbs.
Place the onion rings into the flour mixture.
Turn to get the flour on all areas.
Place on a wire rack and let rest for 5 minutes.
Return the rings to the flour and again turn to coat.
Shake off any excess and (working in batches as needed), place the rings into the egg mixture.
Dunk the rings, making sure they get coated evenly. I like to handle the rings from the inside so that my fingers do not knock any of the coating off the outsides.
Shake off any excess coating and transfer to the panko breadcrumbs.
Turn the rings to coat well in the breadcrumbs then transfer to a wire rack to let rest for 5 minutes.
While the rings are resting heat 2-3" of oil to 350 F in a Dutch oven or deep fryer.
Working in batches if needed, fry the rings for 2 minutes, then flip and continue cooking until golden brown.
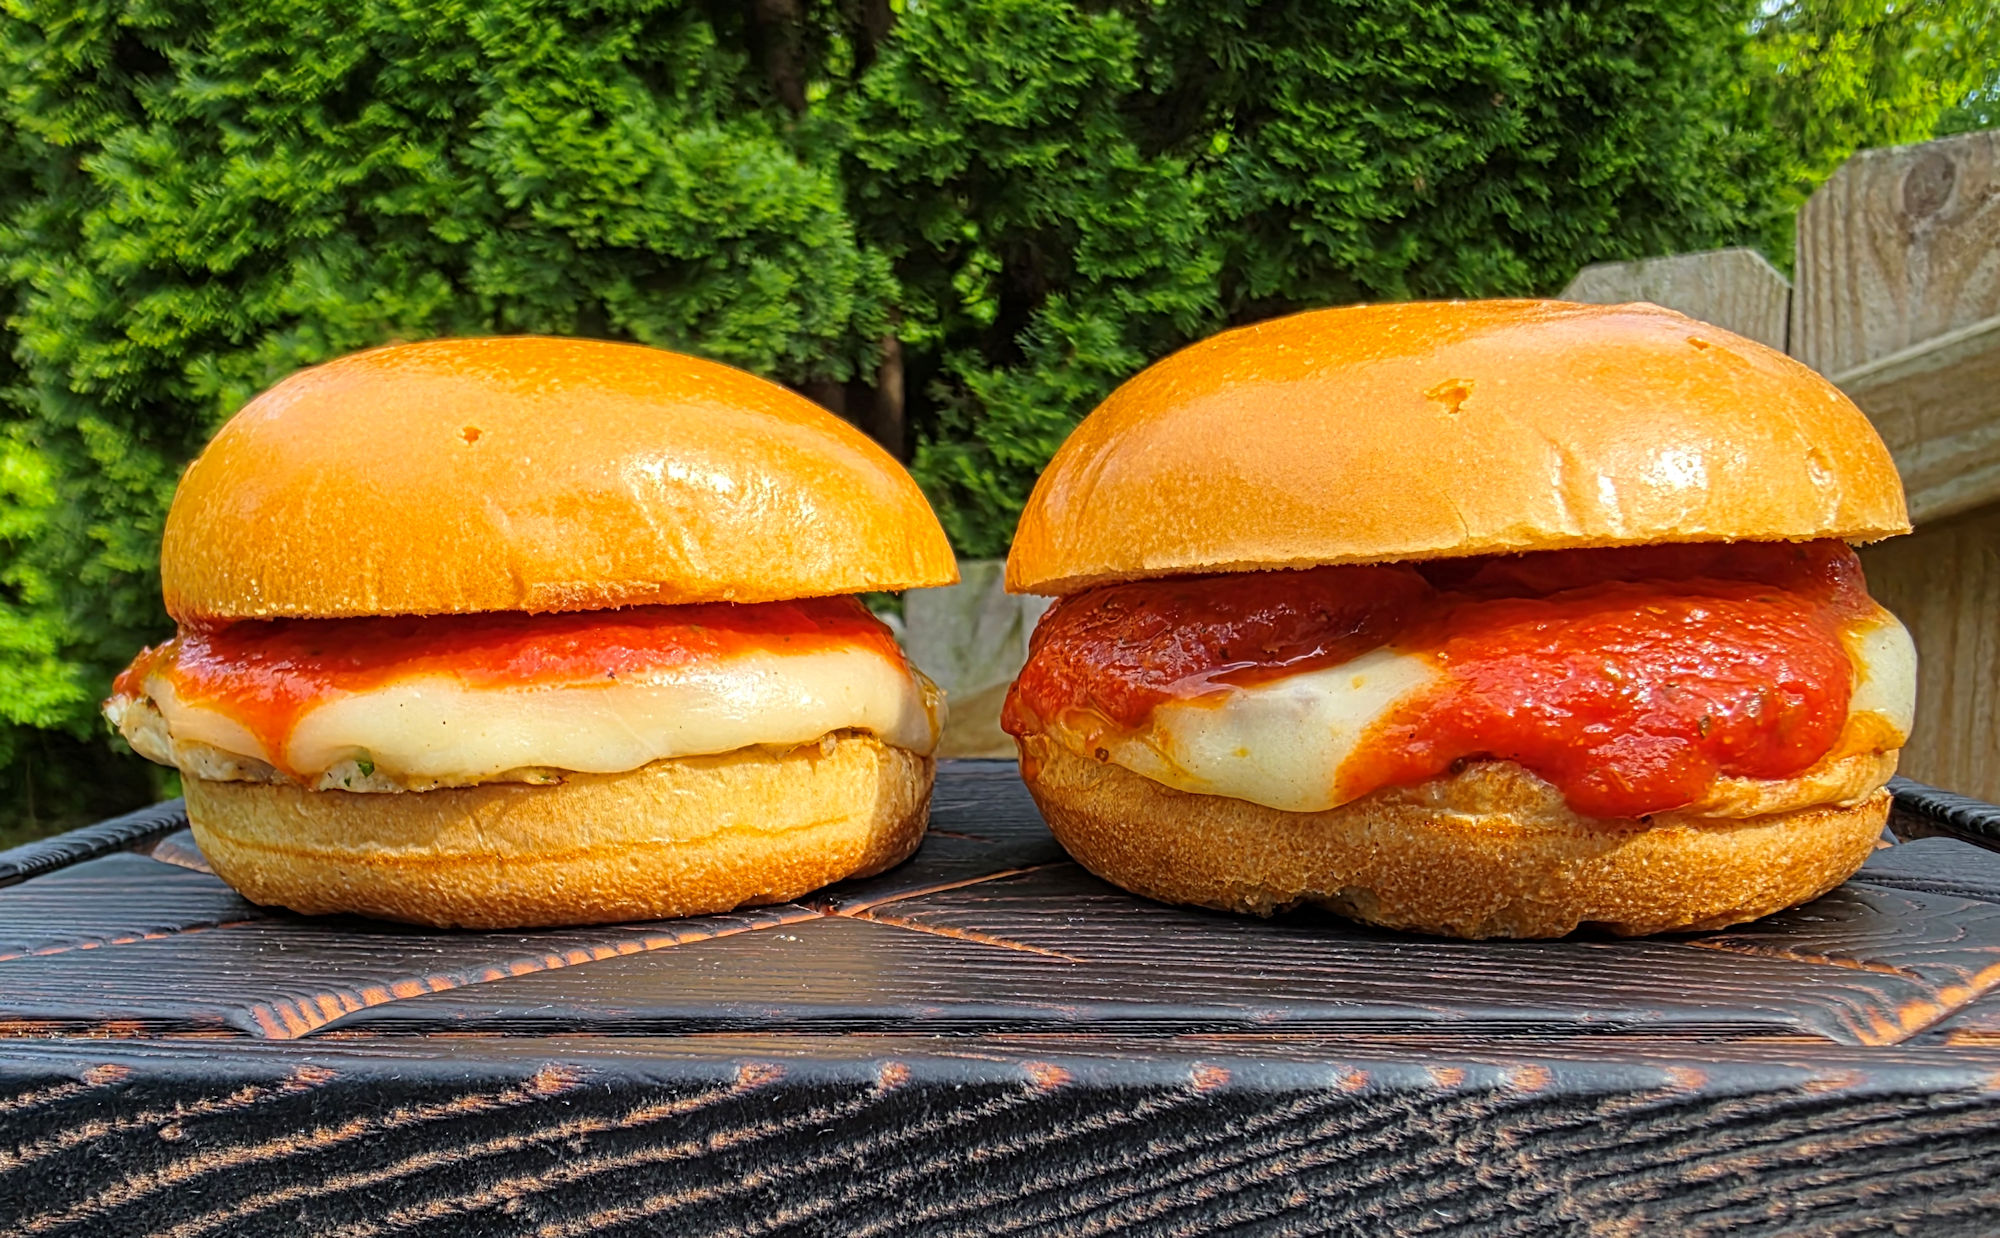
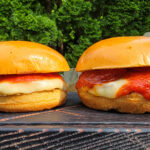
Something happened when I had these chicken pizza burgers. It’s not like they were the first chicken burgers I’ve ever made. But these were different. I started to re-think my usual beef smash burgers. Maybe it’s time to make more chicken burgers, I thought. If they’re all going to be this fantastic, I need to look at chicken burgers a bit differently. They’re going from a “I guess I should make them” to a “I want to make them”!
Hold The Pizza
Honestly, you could skip the ‘pizza’ part of these chicken pizza burgers. The patties are great on buns with a little mayonnaise or spicy mustard. Maybe a slice of pepper jack cheese. Oh sure, don’t get me wrong, they’re crazy good with pizza sauce and pepperoni. But they’re also great without all that.
I also think the chicken mixture would be great as meatballs. Just cook them up, place them on sub rolls, top with pizza sauce and some cheese, and devour!
Place chicken, garlic, parsley, red pepper flake, salt and pepper into a medium mixing bowl.
Gently combine the ingredients and form into 4 equally-sized patties. If the mixture is too wet and does not make patties easily, add bread crumbs a little at a time and mix.
If you have the time, place the patties onto wax paper, cover and refrigerate overnight. This helps the flavors blend better and the patties to firm up, especially if you've added bread crumbs.
If you are cooking in a skillet, heat oil in a large skillet and add the burgers. Cook 5-6 minutes per side until golden brown.
If you are cooking on a griddle, add some oil to hot griddle over medium heat. Cook the patties 5-6 minutes, flipping once, until golden brown.
Right before you remove the patties top them with the cheese, pepperoni and sauce and let heat for another minute.
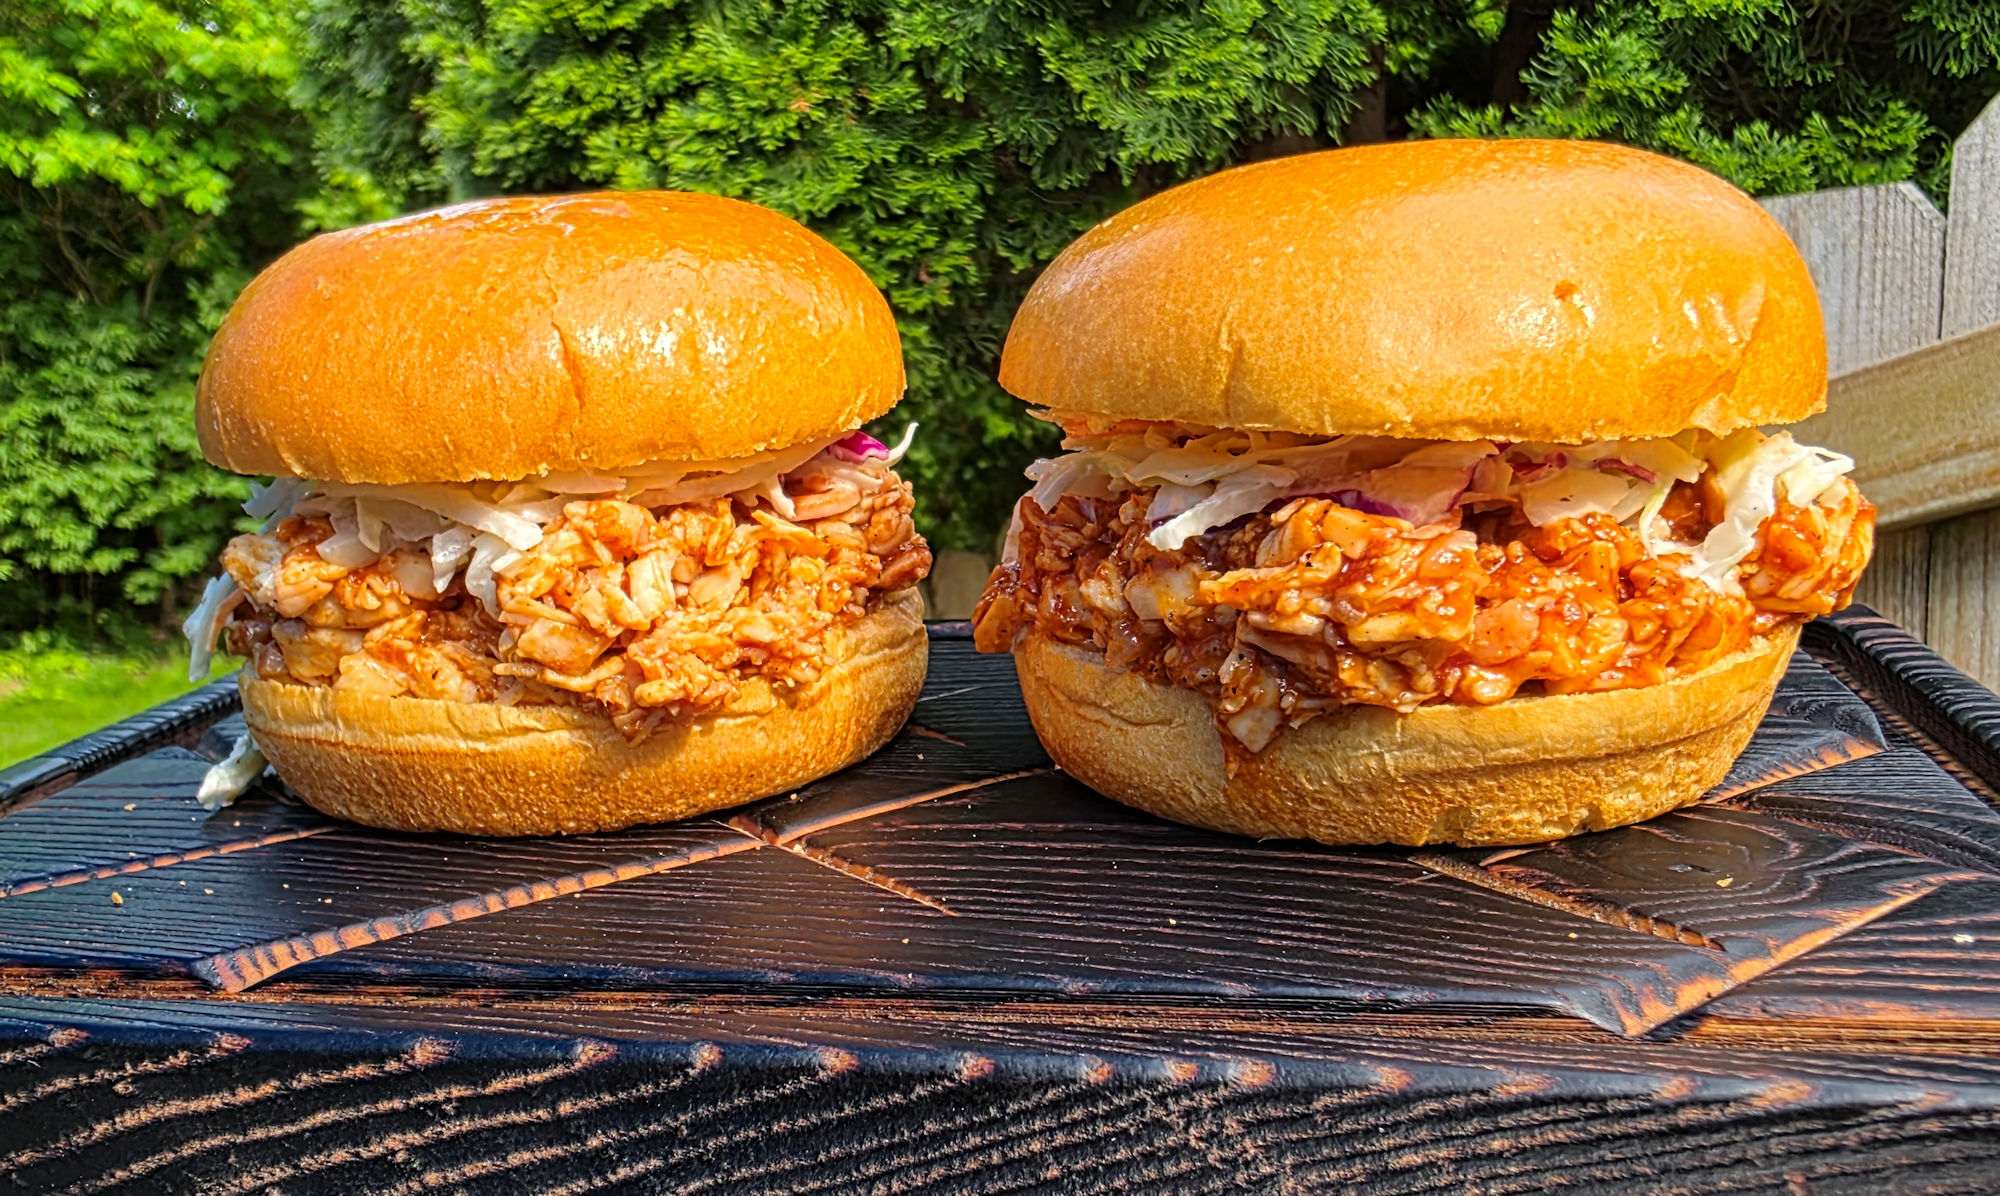
Well, there goes that idea. I have (er… had) this big list of BBQ sauce recipes I was going to make. I figured I’d go through them, make them, and see which one I liked best. One of the first ones on the list was this Memphis barbecue sauce. And now, the last one. I don’t need to keep going. This is what I was looking for. I prefer my sauce a little sweet. And rich. Deep flavors. In a sauce that sticks to whatever I’m putting it on without being gloppy. And this is it.
That Lemon Thing
The original recipe for this sauce called for a full tablespoon of lemon juice. I like lemon juice, but I have a limit for how much I like it. I didn’t want a citrusy BBQ sauce but I don’t want a little ‘pop’, a little livening up from the lemon juice. So I went with 1/2 of a tablespoon and loved it!
I have already found myself putting this Memphis barbecue sauce on darned near everything I cook. Pulled smoked chicken sandwiches. Grilled chicken wings. Hamburgers. Potato chips. Yes, potato chips. Try it. Just dip your chips into it. You’ll thank me. Use those big, thick, ruffled chips too. Load up. Trust me.
Place all ingredients except for the lemon juice and Worcestershire sauce in a large saucepan over medium heat.
Bring to a boil and then reduce the heat to a simmer. Let simmer for 1 – 1 1/2 hours until thickened, stirring often.
Stir in the lemon juice (to taste) and Worcestershire sauce. Continue simmering another 30 minutes.
Serve warm or at room temperature.
Notes
I prefer to not serve my BBQ sauce cold if refrigerated. I like to warm it on the stovetop or set it out on the countertop for at least 30 minutes before serving.Add a few (big) drops of hot sauce if you want a spicy version.Add a few (small) drops of liquid smoke if you want a smoky version.
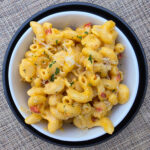
The first bite of copycat Hard Rock Cafe Twisted Mac and Cheese is the moment I fell in love with cavatappi pasta. All these years using elbow macaroni, I almost feel like they were wasted. This is the perfect pasta for mac and cheese, especially one as great as this. This isn’t a complicated recipe, but it sure is one that makes for that perfectly ooey-gooey combination. And it looks pretty too. It’s a win all around!
Four Cheese Love
This copycat Hard Rock Cafe Twisted Mac and Cheese has four cheeses. That’s a lot of cheese love. Well, there’s sort of four. Technically Velveeta isn’t cheese but most of us think of it like it is. It sits in my fridge next to the ‘real’ cheese. That counts, right? Either way, it sure adds that wonderful creaminess to the mac and cheese.
Heat Things Up
I ditched the Monterey Jack for pepper jack instead. I wanted a bit of a kick to my dish. You can stick with the original recipe below and enjoy one heck of a great mac and cheese. Or add that heat.
Add the pasta and cooked until just tender. Drain.
While the pasta is draining, return the pot to the stovetop over low heat. Add the milk, Velveeta, cheddar, Monterey Jack, cayenne and black pepper.
Stir until the cheeses are melted and the mixture is smooth.
Add the pasta back to the pot along with the roasted red pepper.
To serve, spoon pasta mixture onto plates or into bowls. Sprinkle with bread crumbs, cheese and parsley.
Notes
To warm up refrigerated leftovers, just put in a saucepan over medium heat. Add a good splash or two of milk. Once the cheese heats up and starts to soften, stir gently until heated.
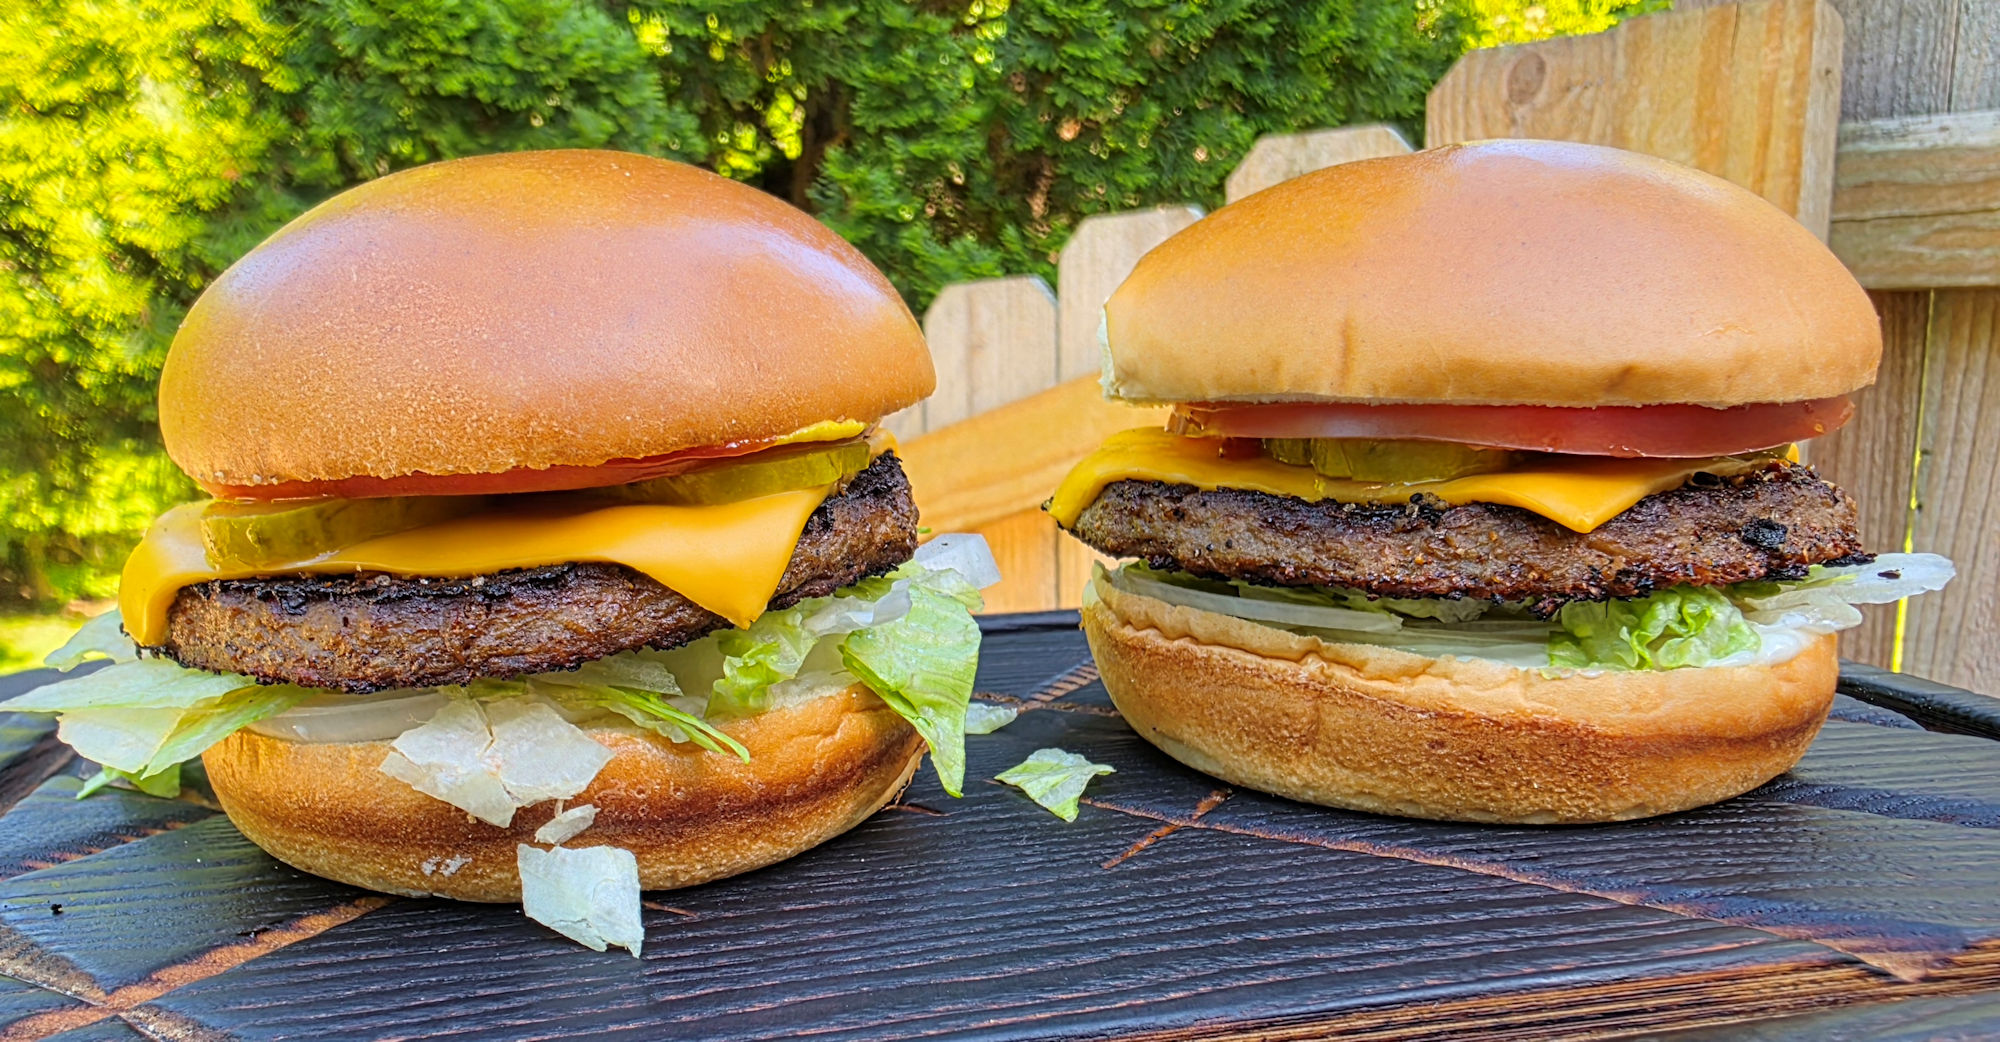
I’ve made a lot of smash burgers on my grill. I should say, beef smash burgers. That’s my go-to thing. Easy, fast, and delicious. Sometimes I ‘stray’ a bit and make chicken or turkey smash burgers. This time, I ‘strayed’ a lot and made Beyond Meat smash burgers. Nothing ‘meat’ going on here. This was my first time making non-meat burgers. I have to say, I was quite pleasantly surprised. The flavors are quite close to those of beef patties. Ditto the texture. I even got some classic smash burger char along the edges. Topped with my favorite diner-style toppings, these were good burgers!
A Little Different
The process for making Beyond Meat smash burgers is mostly the same as I use when making beef smash burgers. The major differences are that first, you don’t defrost the patties. You cook them from frozen. That means you can’t really season them up front. The seasoning would just bounce off. You have to get them on the hot griddle for a few minutes to soften them up. Then you can season them. The second big difference is the smashing. I tend to smash the heck out of my beef patties to get them super thin. You can’t do that as much with these or they’ll crack or break. You can smash them, but do it slowly and gently. And last, you don’t have to worry about the patties ‘swelling’ in the center like beef does. They’ll stay flat the entire time. That’s rather nice, I have to say!
Classic Tastes
Once you’ve made a Beyond Meat smash burger or two you’ll find them to be as easy to make as the non-smash ones. And just like making the beef version. And like any other burgers, they’re open to all sorts of toppings. Sometimes I go crazy. Sometimes I go classic. This Beyond Meat smash burger is more classic. And it’s definitely good!
The equipment
Here’s the equipment I use. You can get by using two cast iron skillets. Use a larger skillet for cooking the burgers, and a smaller one to smash the burgers and keep them flat. Since I’m a cooking gadget collector, I prefer to use a few more tools.
The griddle
First, a griddle. You can buy griddles that sit on top of your grill grates or ones that replace them. Just about every grill I have has a griddle on it. I use them for a lot of things, not just smash burgers. You want one that can be placed over the hottest part of your grill so it gets screaming hot.
Next, you need a burger press. You can use a heavy cast iron skillet, like I mentioned. Or get a burger press. For easy cleanup I wrap mine in foil first. When I’m done, just peel off the foil and toss. Super easy. Get a press that’s at least big enough to cover two burgers. You don’t have to keep these Beyond Meat burgers smashed down to prevent them from rising in the middle like beef does. The patties stay flat throughout the cooking process.
Next up, a dome. While not 100% required, it does speed the time it takes to melt the cheese and it does it in a nice even fashion. In my opinion you don’t really need one if you’re using a super melty cheese, such as American, but for thicker slices like say a deli pepper jack, you want the cheese to melt before you over-cook the burger and that’s where a dome comes in handy.
Lastly, you need something to clean your griddle. I like to clean mine when I’m done cooking, but you can do it at the start instead. I use one of these pad holders with a griddle cleaning pad. Then I add a bit of water to my griddle then use the pad (connected to the holder) to scrub off any big chunks and get up some of the grease. I don’t go crazy with it, I always heat the heck out of my griddle before cooking, but I get the worst. The long arm on the pad holder makes it perfect for scrubbing a hot griddle, too.
Fire up your grill for medium-high heat. Place a griddle or a large cast iron pan over the highest heat.
Add the oil and spread out a bit. Crack the eggs onto the oiled griddle.
Wait until the white is completely opaque then gently flip the eggs. Season with salt and pepper.
Cook another 30 seconds then remove to a plate.
Squirt a bit more oil onto the griddle.
Add the frozen patties. Let them cook un-touched for 2 minutes then season the tops liberally with salt and pepper.
Flip the patties and season again.
Take your press and GENTLY flatten out the patties. Don't use a lot of pressure. Try to get them thin, but don't break them
Let the patties cook until you start to notice a little char along the edges. Flip, season again if desired, and continue cooking another minute or so until the other side is charred.
Top patties with cheese and let cook another 30 seconds to melt the cheese.
Toast the buns. Remove, add the patties.
Add remaining ingredients to assemble the burgers.
Devour immediately.
Notes
After you make a few smash burgers the process becomes very easy and always delivers great results.
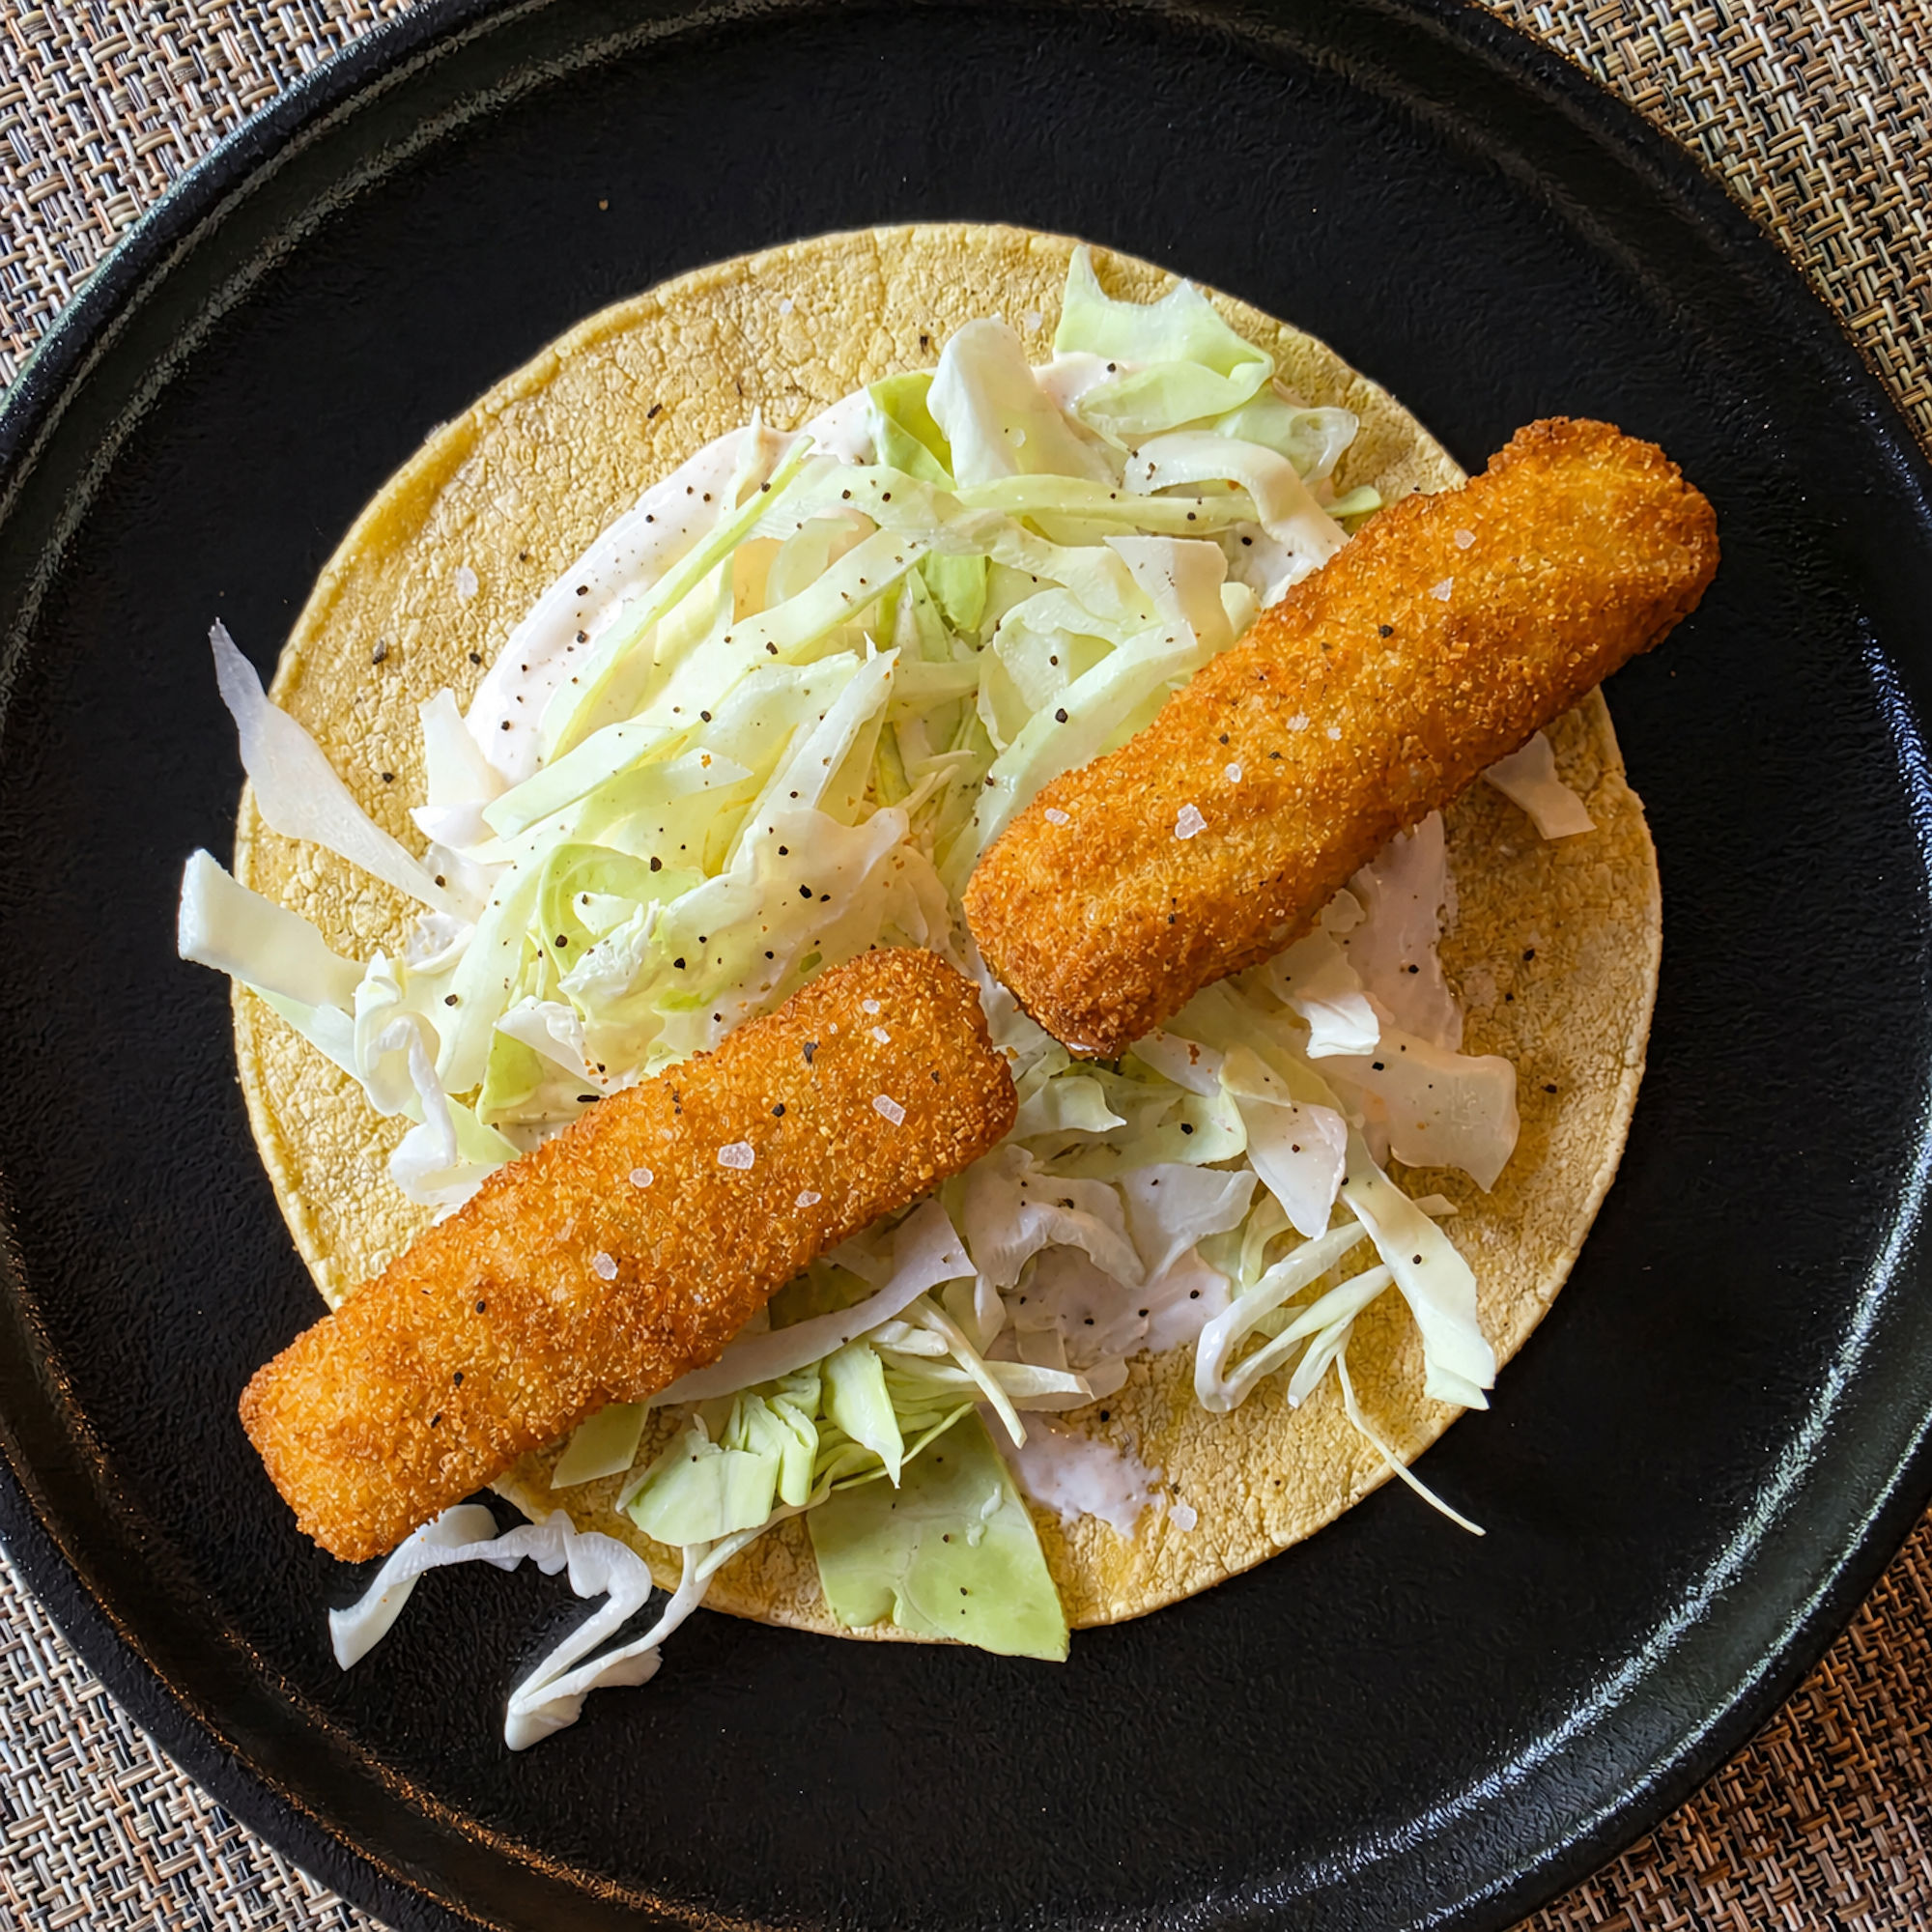
A few years ago I made SpaghettiOs deviled eggs. They were a hard sell but I stand by them. They were good! Well, here we go again, but with some easy fish stick tacos. And yeah, they’re good. And I’ll stand by these too. If these had been around in my college days I would’ve lived off of them. They’re easy. Crunchy. And kinda spicy. If I want them to be, that is. And I do because these need a little kick in my opinion. This isn’t fancy fru-fru food. Not even close to it. But it’s still good!
Don’t Overthink This
These are exactly what you think they are. Fish sticks on a tortilla. No fancy fresh-caught fish. No pickled something-or-other. And no sauce fermented for 6 months in the back of your fridge. This is easy at its best. Easy fish stick tacos make for a quick lunch. Or dinner. Or snack. And yeah, a little something to tide you over after a few drinks. You know what I mean.
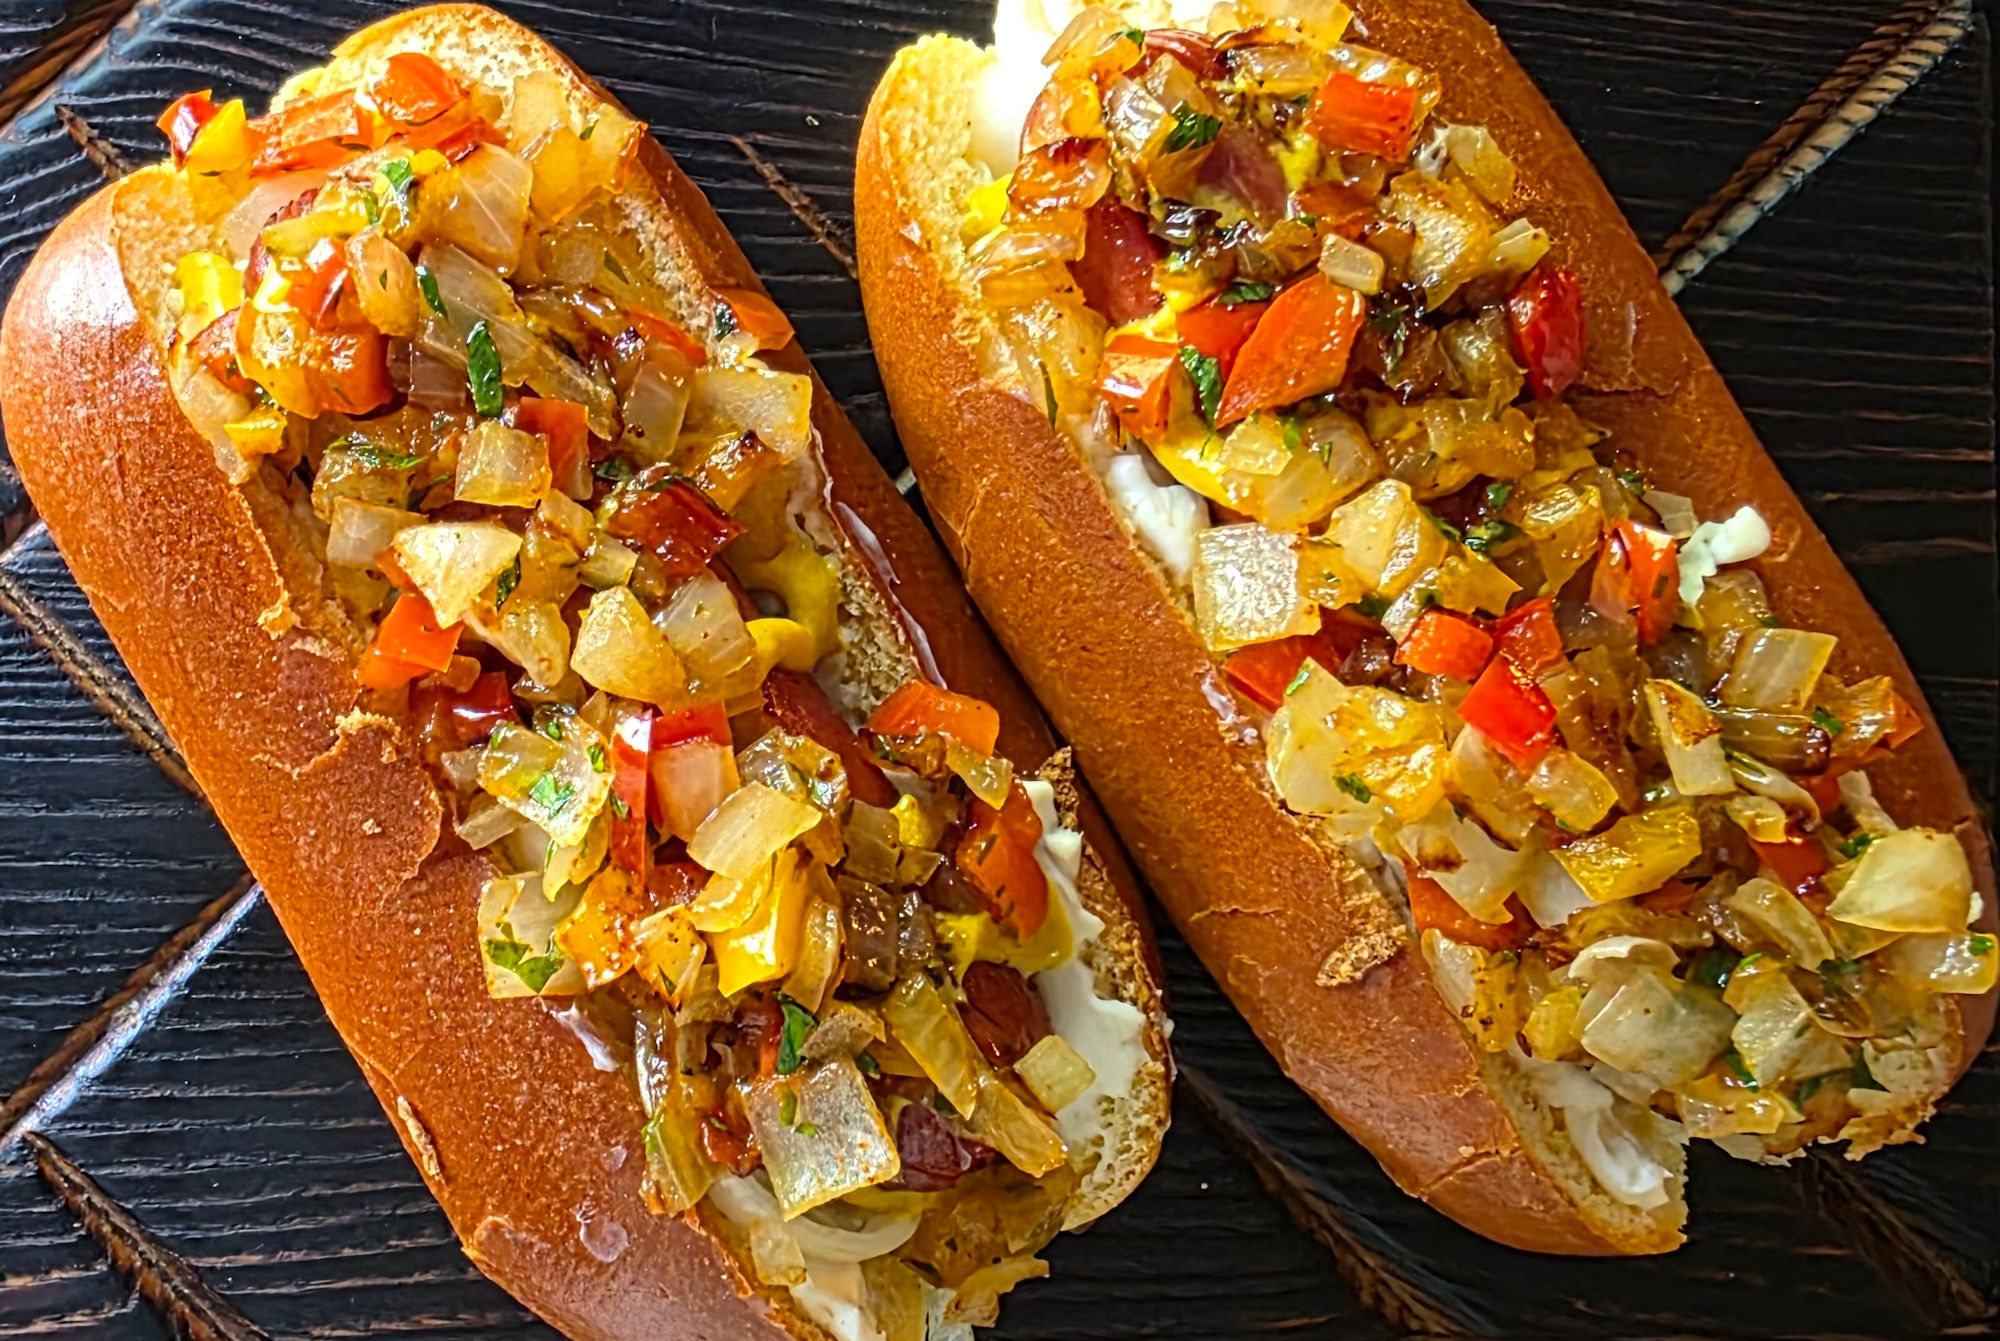
I’m tellin’ ya, cream cheese and hot dogs go together like peas and carrots. Or peanut butter and chocolate. The two were made for each other. Add a crazy delicious sweet onion sauce, mustard, and more onion (because hot dogs need more onion), and you’ve got one great hot dog. These creamy Seattle hot dogs were a big winner at dinner the other night. They’ll be a winner again tonight, too, because I made plenty of the topping. Hot dogs never have to be boring, and these are definitely not boring hot dogs!
Creamy Hot Dog Greatness
I’ve been known to put mayonnaise on my hot dog buns. Creamy yummy, is what I think of when I think of mayo. So really, cream cheese on a hot dog isn’t too much of a stretch. It’s just creamier. And yummier. So why wouldn’t I do it? Everything on top of this creamy Seattle hot dog is great. It’s a great bite, bite after bite.
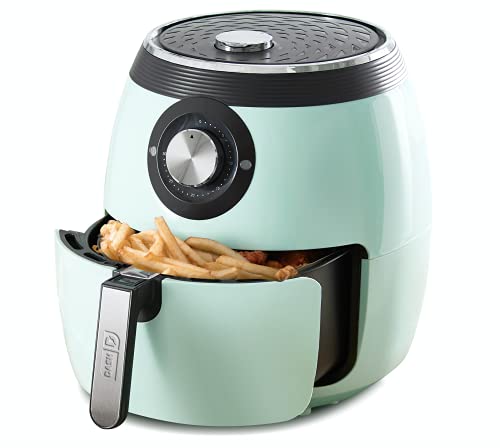
I use a pretty straight-forward air fryer, that doesn’t have a lot of bells (ok, it has a bell for when the timer goes off!) and whistles. It gets the job done.
Add the onion and sauté until softened, 10-15 minutes.
Meanwhile, slather the hot dog buns with the cream cheese and toast (in the oven or on a grill).
Cook the dogs as desired. I toss mine on the grill or into the air fryer until the skin is just a bit crispy. You do you!
Place hot dogs on buns. Top with sauteed onions and yellow mustard.
Heap on the sweet onion sauce and serve.
For the sweet onion sauce
Heat the oil in a large skillet over medium heat.
Add the onion and peppers. Saute until just soft.
Add the remaining ingredients and stir.
Reduce heat and keep warm until ready to use.
Notes
Use any kind of mustard you like.For a little more kick (and you do get a bit from the cayenne), add a seeded and chopped jalapeno to the onion and peppers as they saute.
Mouth wide open. Leaning over the plate. Plenty of napkins. That’s how you eat these all-American cowboy smash burgers. We aren’t messing around here. We’re loading up on the toppings and flavor. The heck with the sides, the star of the show is sitting on a bun and it’s screaming out your name, so get to it!
It’s Really Easy
The ingredient list for these all-American cowboy smash burgers may seem longer than your average burgers but they aren’t that complicated. One thing I like to do is bake up a big batch of bacon and freeze it. That makes things like these burgers so much easier to make. You can use pre-cooked bacon too. The rest is pretty easy. And fun. And mighty tasty.
The equipment
Here’s the equipment I use. You can get by using two cast iron skillets. Use a larger skillet for cooking the burgers, and a smaller one to smash the burgers and keep them flat. Since I’m a cooking gadget collector, I prefer to use a few more tools.
The griddle
First, a griddle. You can buy griddles that sit on top of your grill grates or ones that replace them. Just about every grill I have has a griddle on it. I use them for a lot of things, not just smash burgers. You want one that can be placed over the hottest part of your grill so it gets screaming hot.
Next, you need a burger press. You can use a heavy cast iron skillet, like I mentioned. Or get a burger press. For easy cleanup I wrap mine in foil first. When I’m done, just peel off the foil and toss. Super easy. Get a press that’s at least big enough to cover two burgers. You only smash one at a time, but if you want to keep them flat, you want to rest the press on top so bigger (and heavier) is better. Plus I’ve found that a bigger, heavier press tends to stay on the burgers whereas a smaller, lighter one is hard to keep centered on the burgers, specially if you have a bunch of them cooking at once.
Next up, a dome. While not 100% required, it does speed the time it takes to melt the cheese and it does it in a nice even fashion. In my opinion you don’t really need one if you’re using a super melty cheese, such as American, but for thicker slices like say a deli pepper jack, you want the cheese to melt before you over-cook the burger and that’s where a dome comes in handy.
Lastly, you need something to clean your griddle. I like to clean mine when I’m done cooking, but you can do it at the start instead. I use one of these pad holders with a griddle cleaning pad. Then I add a bit of water to my griddle then use the pad (connected to the holder) to scrub off any big chunks and get up some of the grease. I don’t go crazy with it, I always heat the heck out of my griddle before cooking, but I get the worst. The long arm on the pad holder makes it perfect for scrubbing a hot griddle, too.