
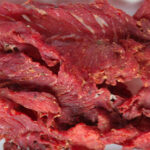
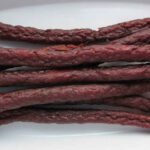
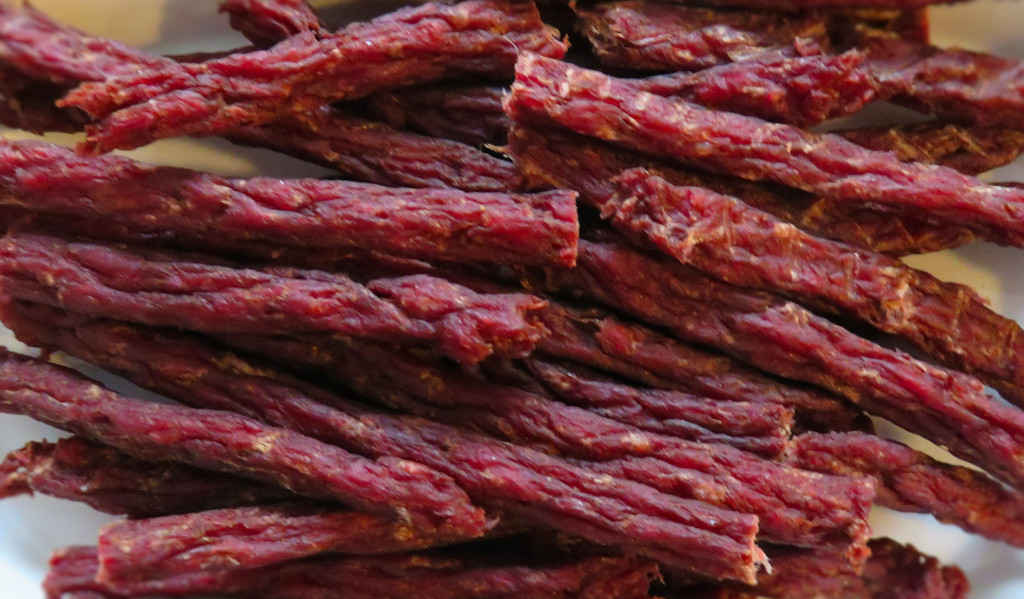
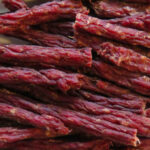
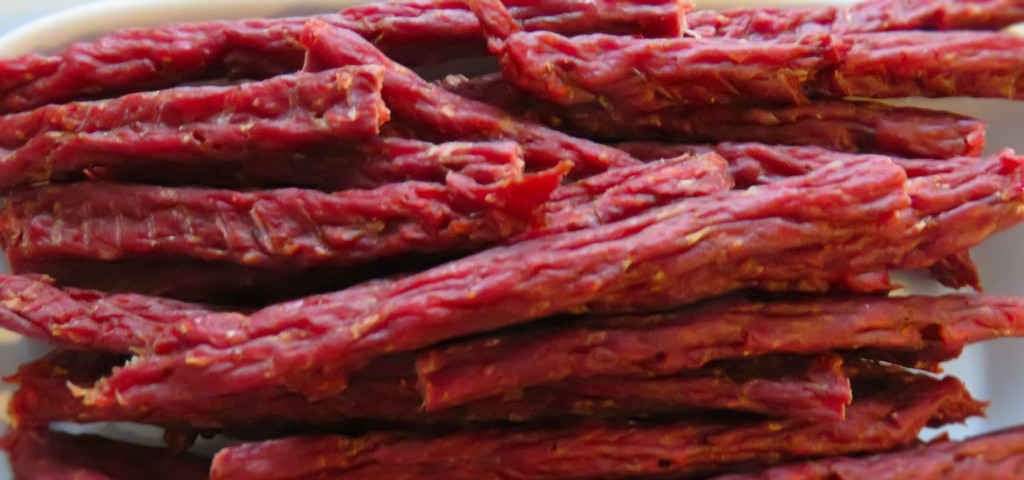
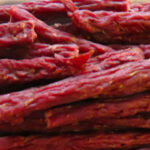
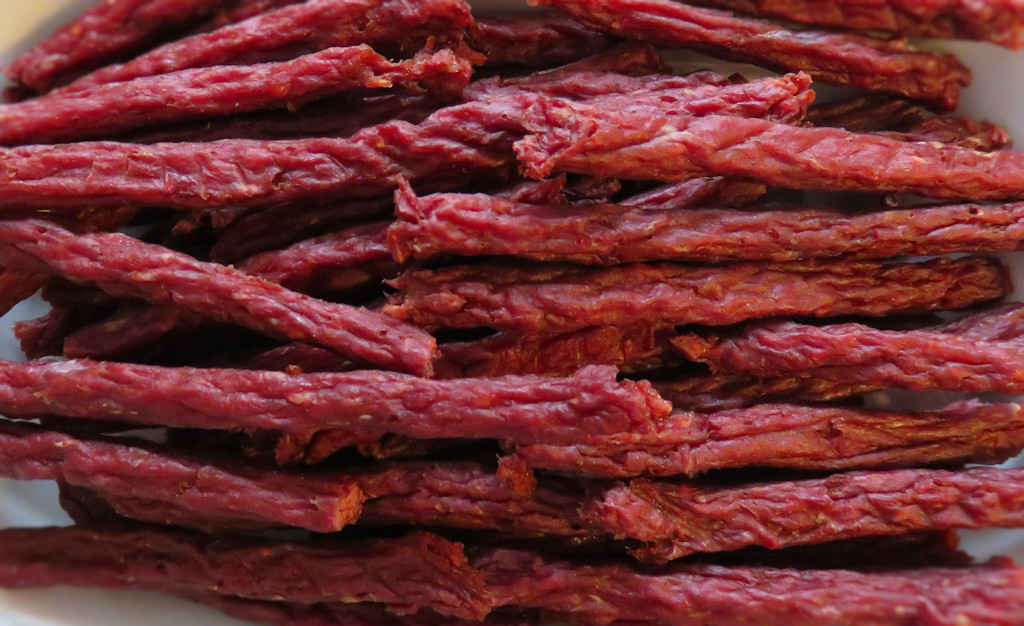
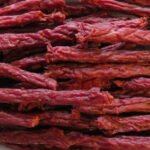
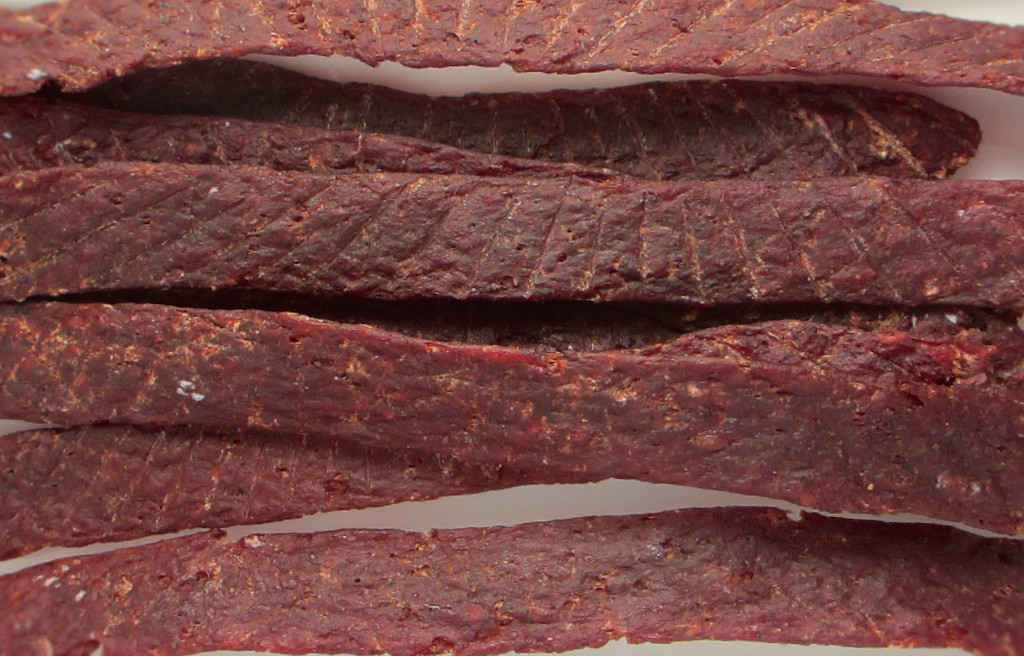
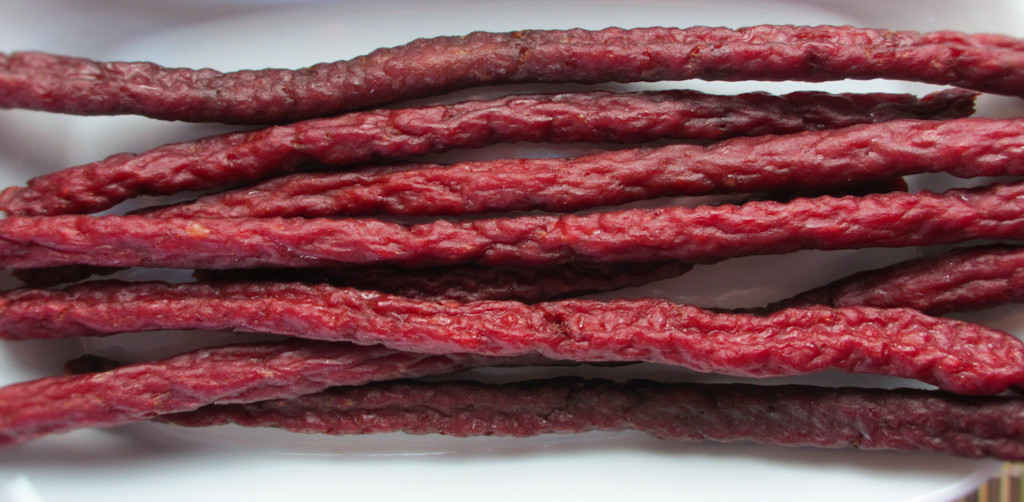
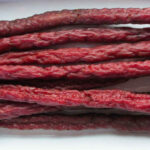
I’m a big fan of beef jerky, I’ve made it for years. And as good as it always was, I was always searching for a way to perfect my technique. More flavor. More tender, but still with a slight tug. Sous vide has done that for me and more. It’s the only way I make jerky now, drying it on my Nesco Snackmaster Pro. Sometimes I make my own flavors and sometimes, I order packages seasonings, like this Pepper and Garlic flavor from Wilton’s. This is great peppery jerky. It has a hint of garlic, but the main flavor is wonderful pepper and lots of it. I loved it!

Always Great, Time After Time
This approach to jerky is simple and highly repeatable so it’s not like you have to stress over the next batch being just as good as the last. Just mix up the seasoning with a bit of cure and add to thinly-sliced beef. A few hours in sous vide then onto the Nesco Snackmaster Pro dehydrator until perfectly dried. Not too tender, not too tough. Each and every time. Sous vide Pepper and Garlic Jerky on the Nesco Snackmaster Pro is easy and fantastic!
I like my jerky to be pretty flavorful so I usually end up adding a bit more seasoning than the manufacturer recommends. The Pepper and Garlic flavored seasoning definitely packs the pepper punch. But a little more punch is… better!

- Compatible with 15½” diameter trays. This Fruit…
- BPA FREE: Made of high-quality food grade plastic…
Check out my guide to using the Nesco Snackmaster Pro. You will be making fantastic jerky at home in no time at all!

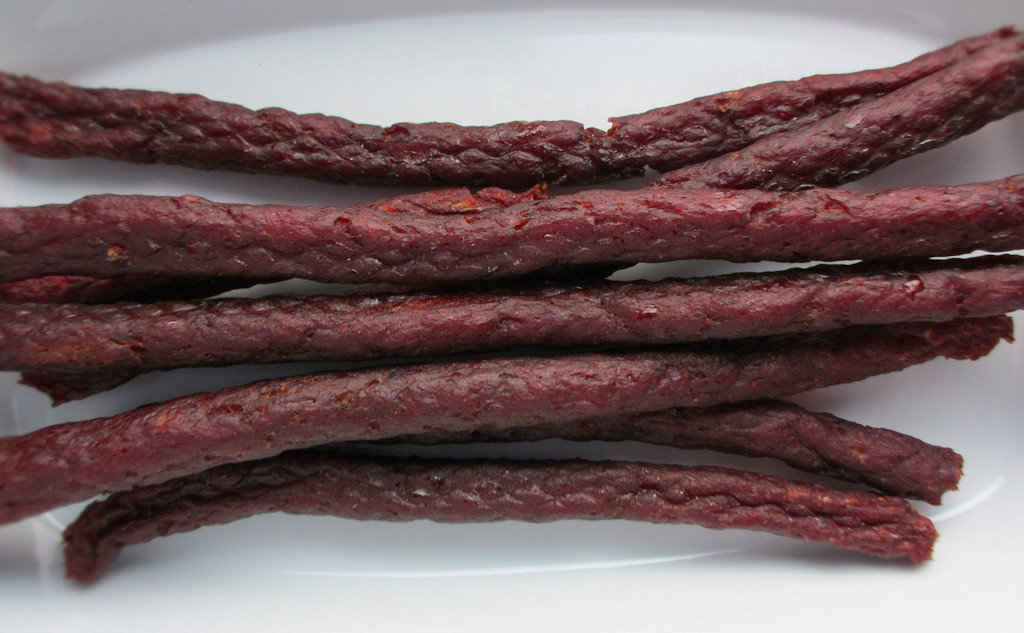
Sous Vide Pepper and Garlic Jerky on the Nesco Snackmaster Pro
Ingredients
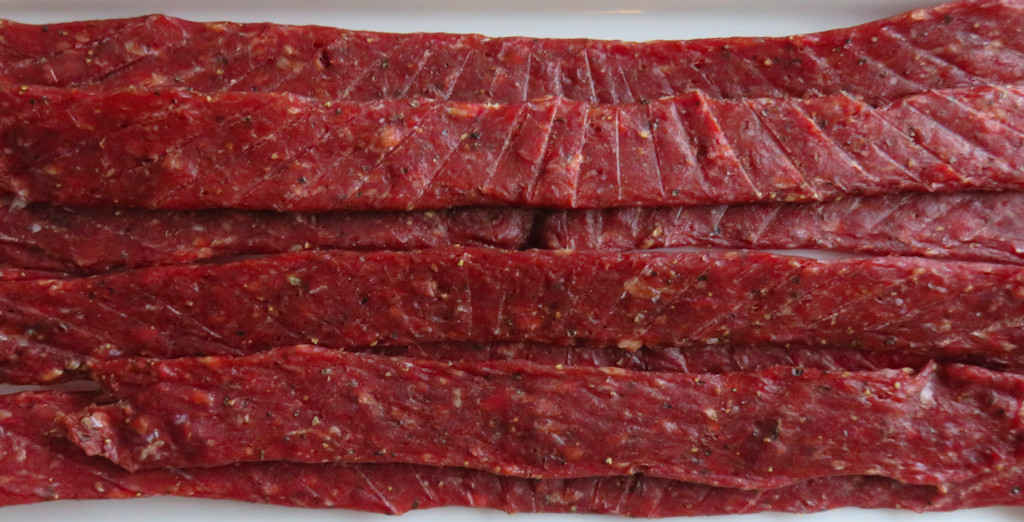
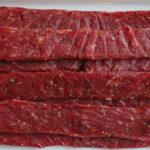
- 2 pounds beef sliced thinly against the grain. I used top round
- 2 tablespoons Walton's Pepper and Garlic Jerky Seasoning I used a bit more
- ½ teaspoon Walton’s Sure Cure
Instructions
- Set up your immersion circulator for 108 F sous vide.
- Combine the jerky seasoning and salt cure per package instructions. Wilbur's has an excellent conversion chart if you need to adjust your quantities for the amount of beef being used. For the cure, visit this link here. For converting the sure cure quantity, visit this link.
- Place the meat into a large bowl and sprinkle with the seasoning/cure mixture. DO NOT ADD WATER. Using your hands, mix the seasonings and meat well.
- Transfer the meat to a sealable bag and vacuum seal. Make sure there are no leaks.
- Transfer bag to sous vide setup and heat for 2 hours.
- Increase temperature to 130 F and heat for an additional 4 hours.
- Turn on your dehydrator and heat it to 160 F.
- Remove the meat from the bag and transfer to the dehydrator. Do not overlap the pieces.
- Dry for 2-3 hours. Let cool before storing.
Notes
Nutrition
Nutritional values are approximate.
- Compatible with 15½” diameter trays. This Fruit…
- BPA FREE: Made of high-quality food grade plastic…
