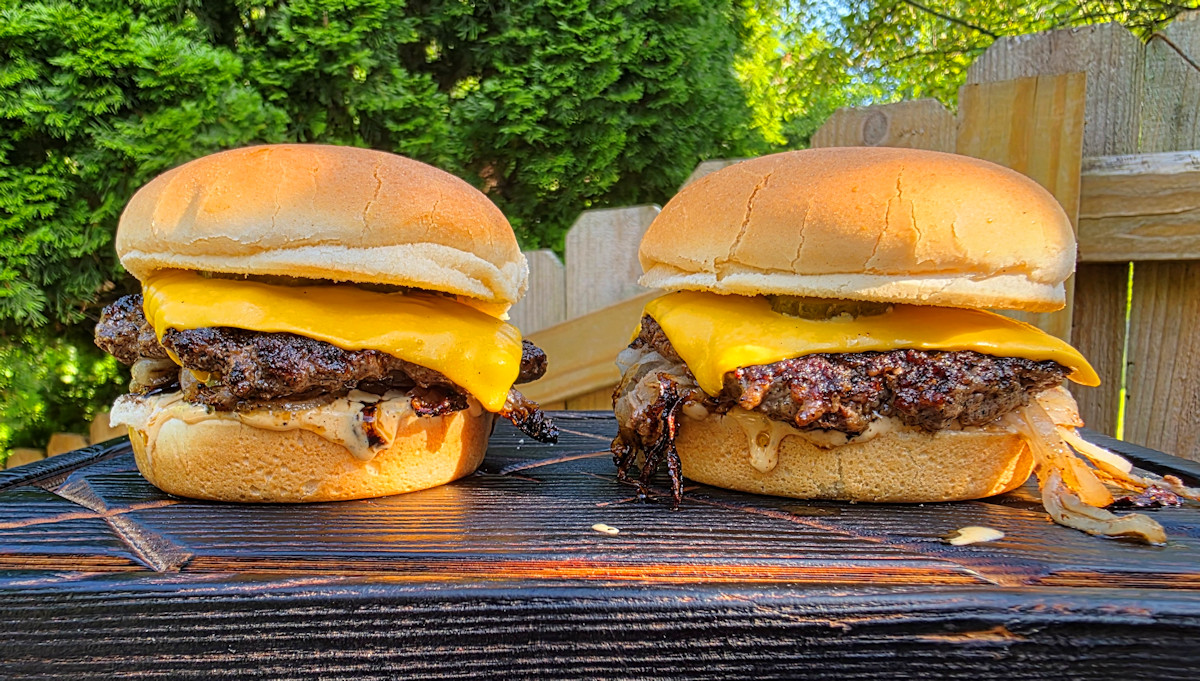
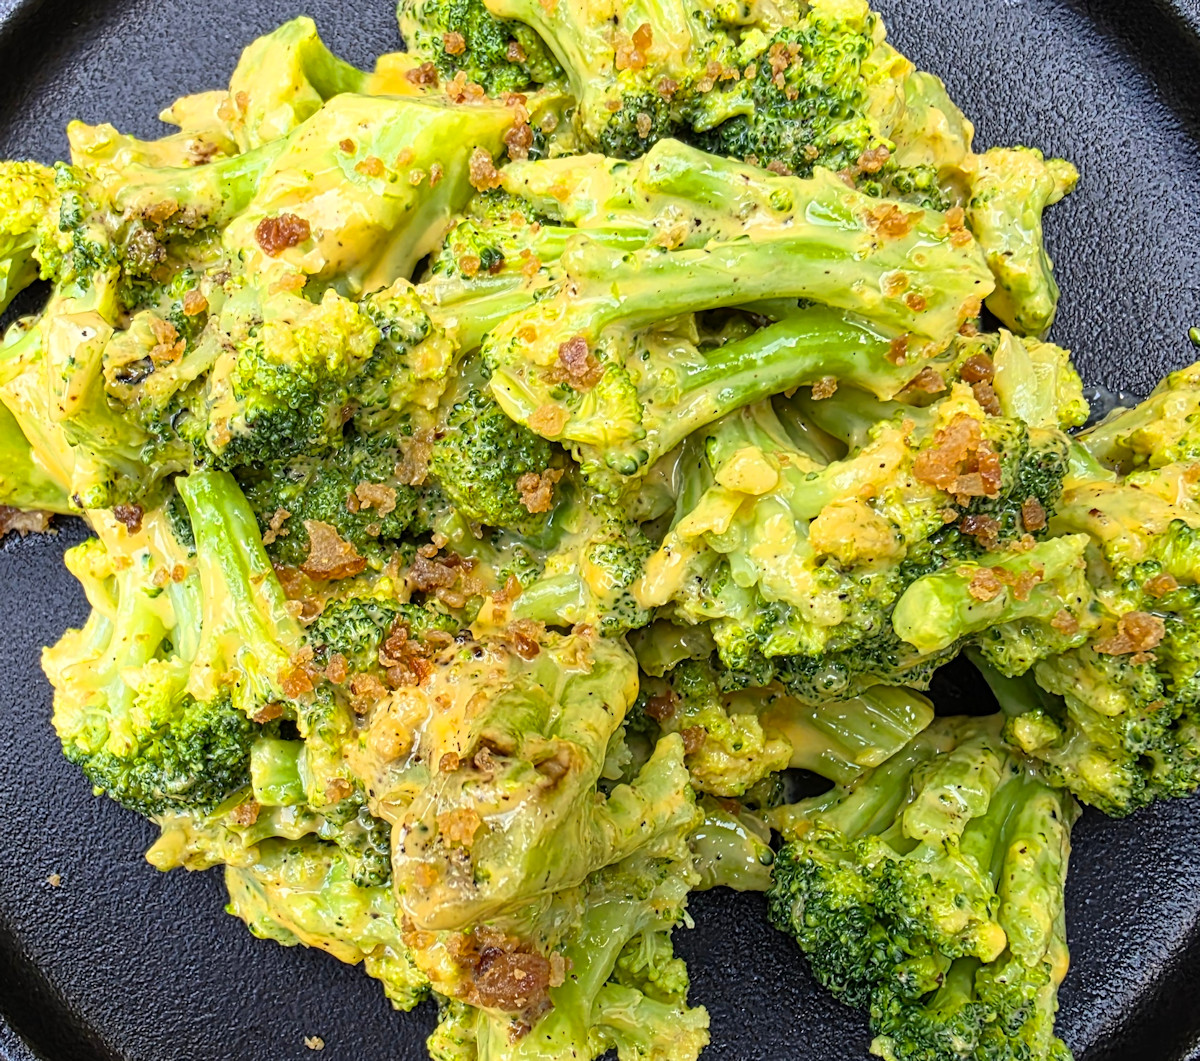
My outdoor griddle isn’t just for smash burgers, quesadillas and pizzas. I even use it for side dishes such as this easy cheesy bacon broccoli using an outdoor griddle. Now, this might not be the healthiest side dish I’ve ever made outside. But it sure was one of the tastiest! And it’s definitely one of the easiest! This is the perfect thing to serve alongside my griddled smash burger!
Are Cheese and Bacon Ever Optional?
You could leave out the cheese sauce. And even the bacon. And just make easy broccoli using an outdoor griddle. A little salt and pepper. Serve it up. And it’d be good. But for me, to get to ‘great’ you gotta add the cheese sauce and bacon bits. Kraft makes this crazy easy crazy good Velveeta sauce that comes in a little foil packet. You just pour the sauce into a bowl and microwave it for 30 seconds and boom! Instant cheese sauce perfect for something like broccoli!

- Included Features: This set includes two 32 oz…
- Add Flavor: Always keep a Blackstone 32 oz…
Steaming the broccoli on the griddle is easy. Just squirt it with a bit of water and let it cook a bit under a dome. It comes out perfectly every time!
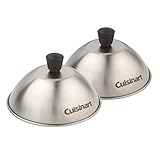
- 2 Pack of 6″ diameter domes
- Concentrates heat to cook evenly
This broccoli is an excellent served alongside my Oklahoma onion smash burgers!

Easy Cheesy Bacon Broccoli using an Outdoor Griddle
Equipment
- Grill Griddle or use a griddle such as a Blackstone or Weber Slate
- Grill Dome or use an inverted aluminum pan
- Squeeze Bottle filled with water
Ingredients
- 12 ounces broccoli florets frozen
- water as needed
- kosher salt
- 4 ounces Velveeta cheese sauce 1 packet
- bacon bits to taste
Instructions
- Pre-heat your griddle over medium heat.
- Open the bag of broccoli and place on the griddle. Use your spatula to mound the broccoli in a small circle.
- Give the broccoli a few good squirts of water and season well with salt and pepper.
- Cover and let the broccoli cook for 5 minutes.
- Take a quick peek inside. I like to give the lid a good shake first or you can stir the broccoli with the lid off. If the broccoli is drying out add more water. Feel free to add more salt and pepper too.
- Keep cooking for up to 12 minutes total. Check it one more time after 10 minutes to make sure more water and/or seasoning isn't needed.
- Remove the broccoli to a medium bowl.
- Empty the contents of the cheese sauce packet into a microwavable bowl and heat per package instructions, 30 seconds. Stir.
- Spoon the cheese sauce over the broccoli.
- Add a few good pinches of bacon.
- Stir to combine.
- Serve immediately.
Notes
Nutrition
Nutritional values are approximate.

- Here’s your 5-piece set for griddle success…
- Get creative with the right tools to make your own…