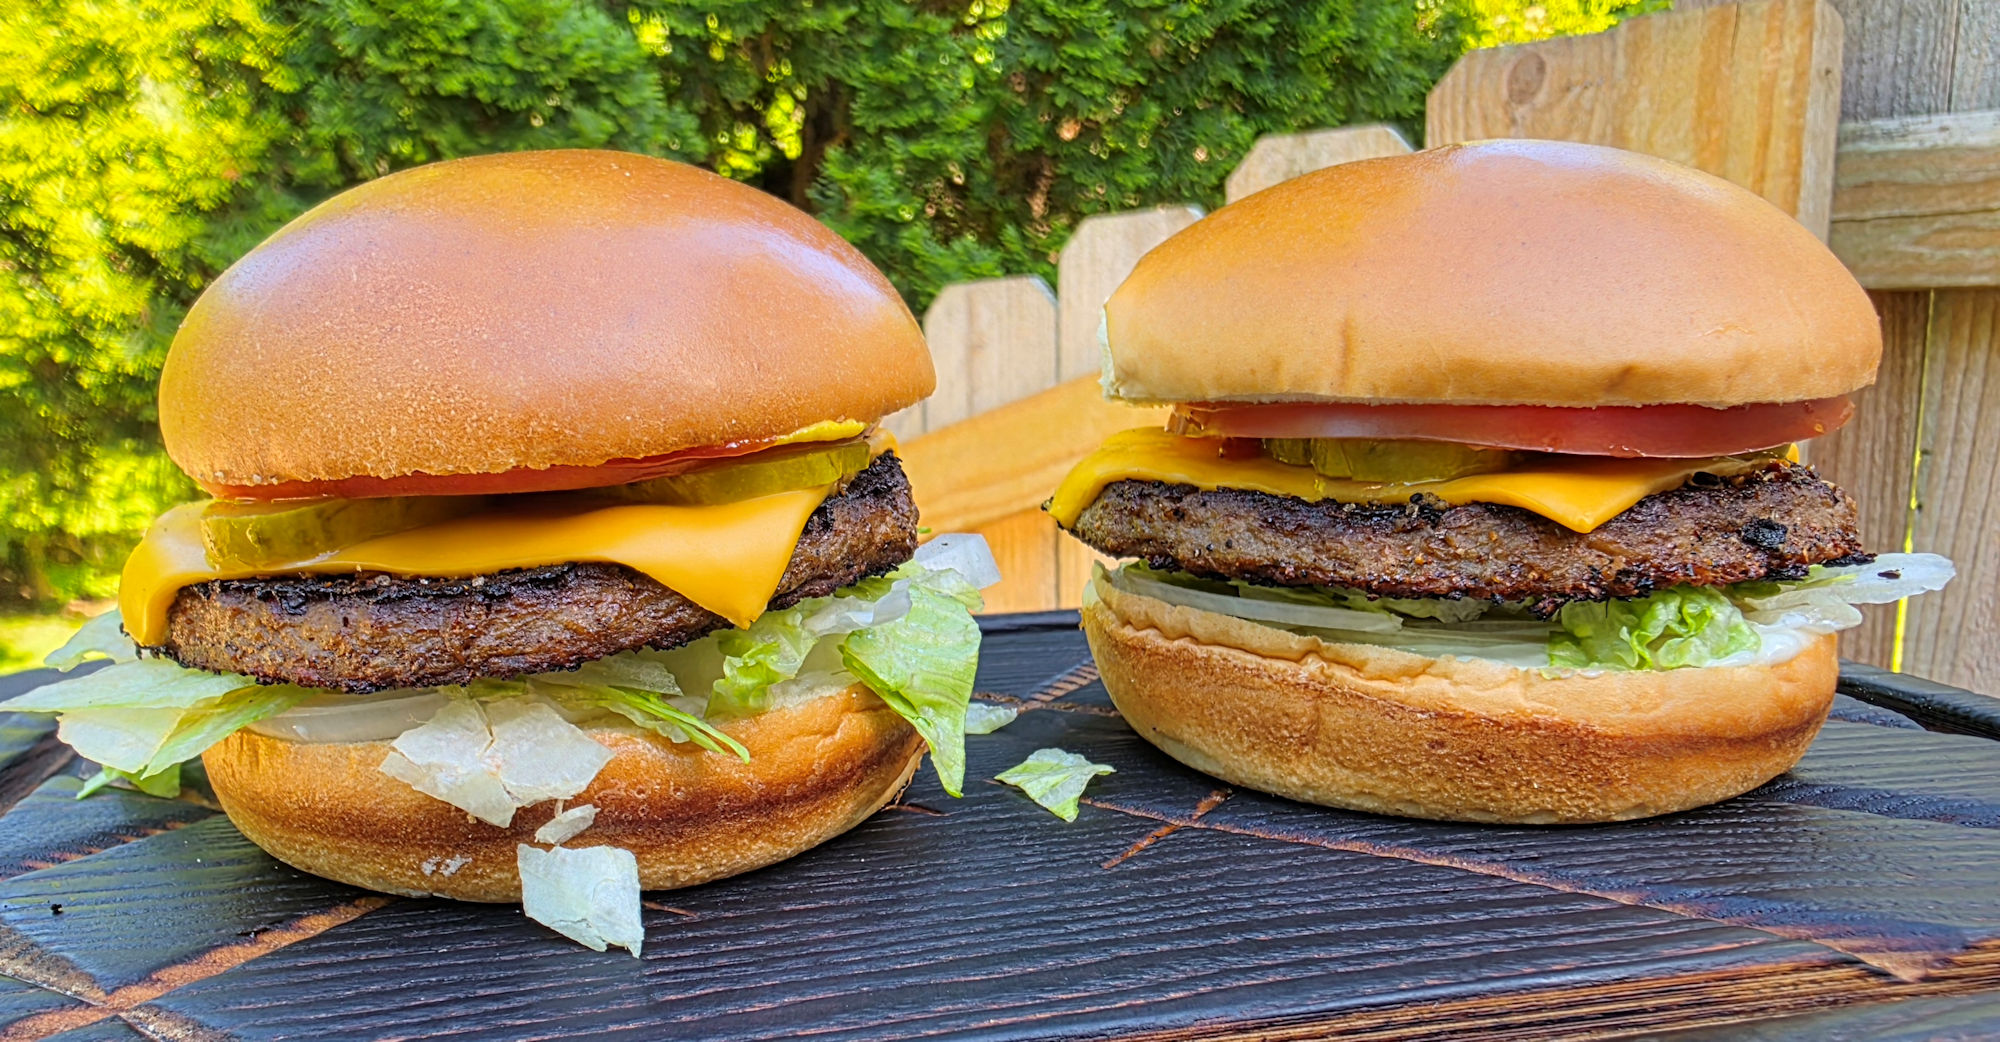
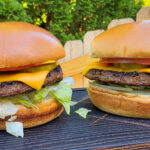
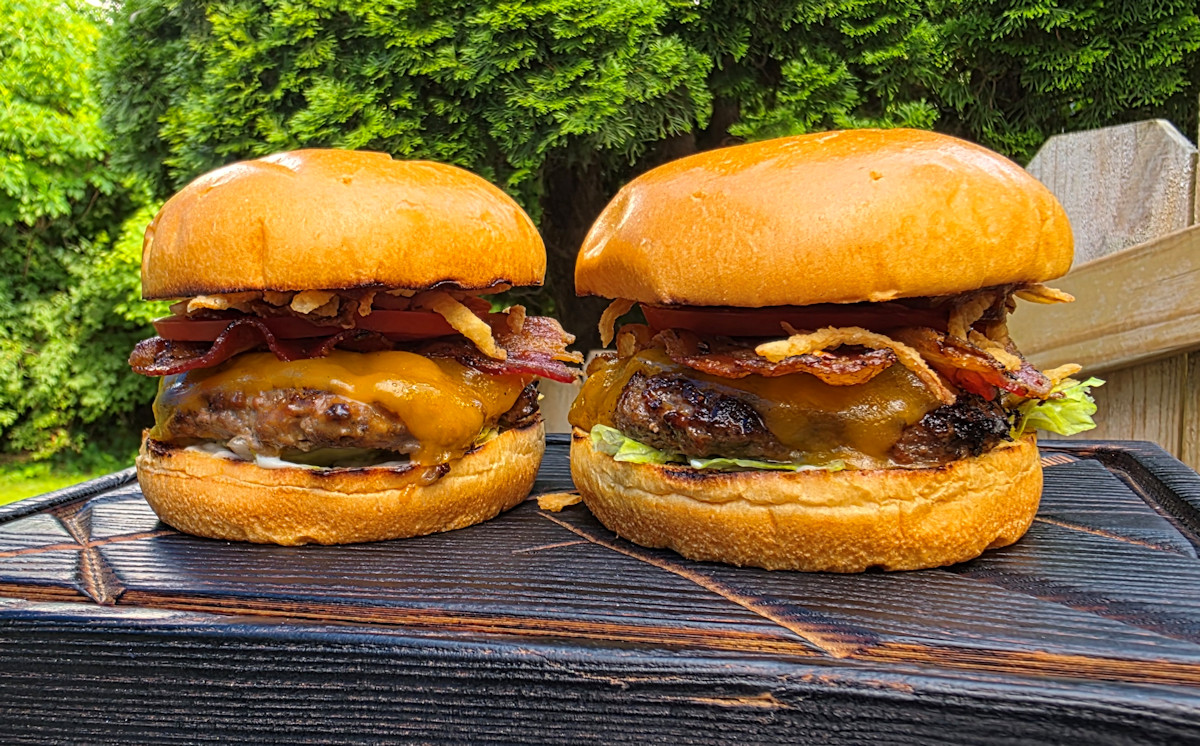
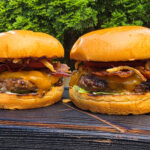
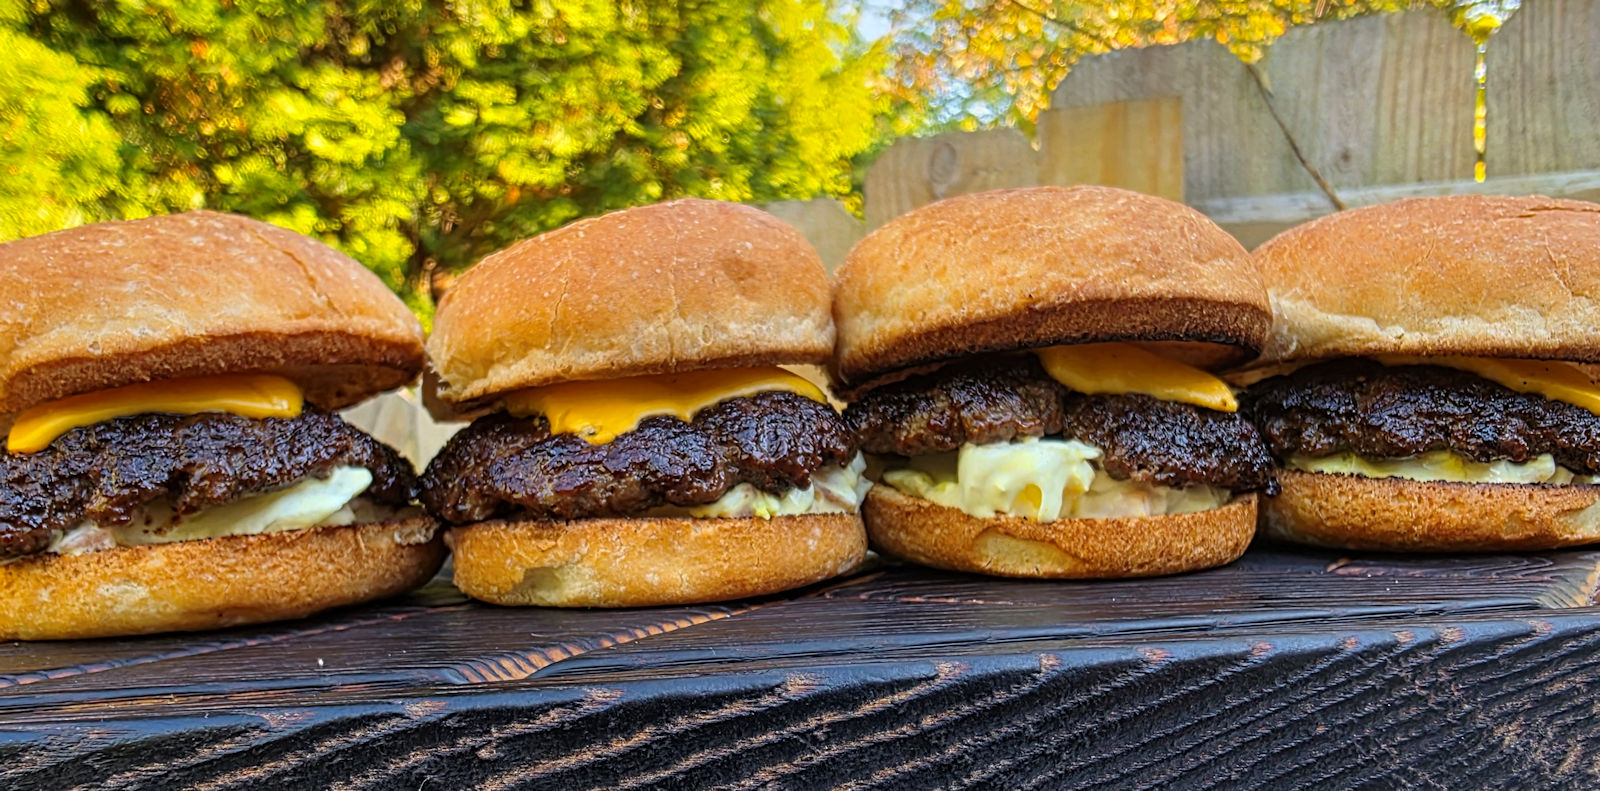
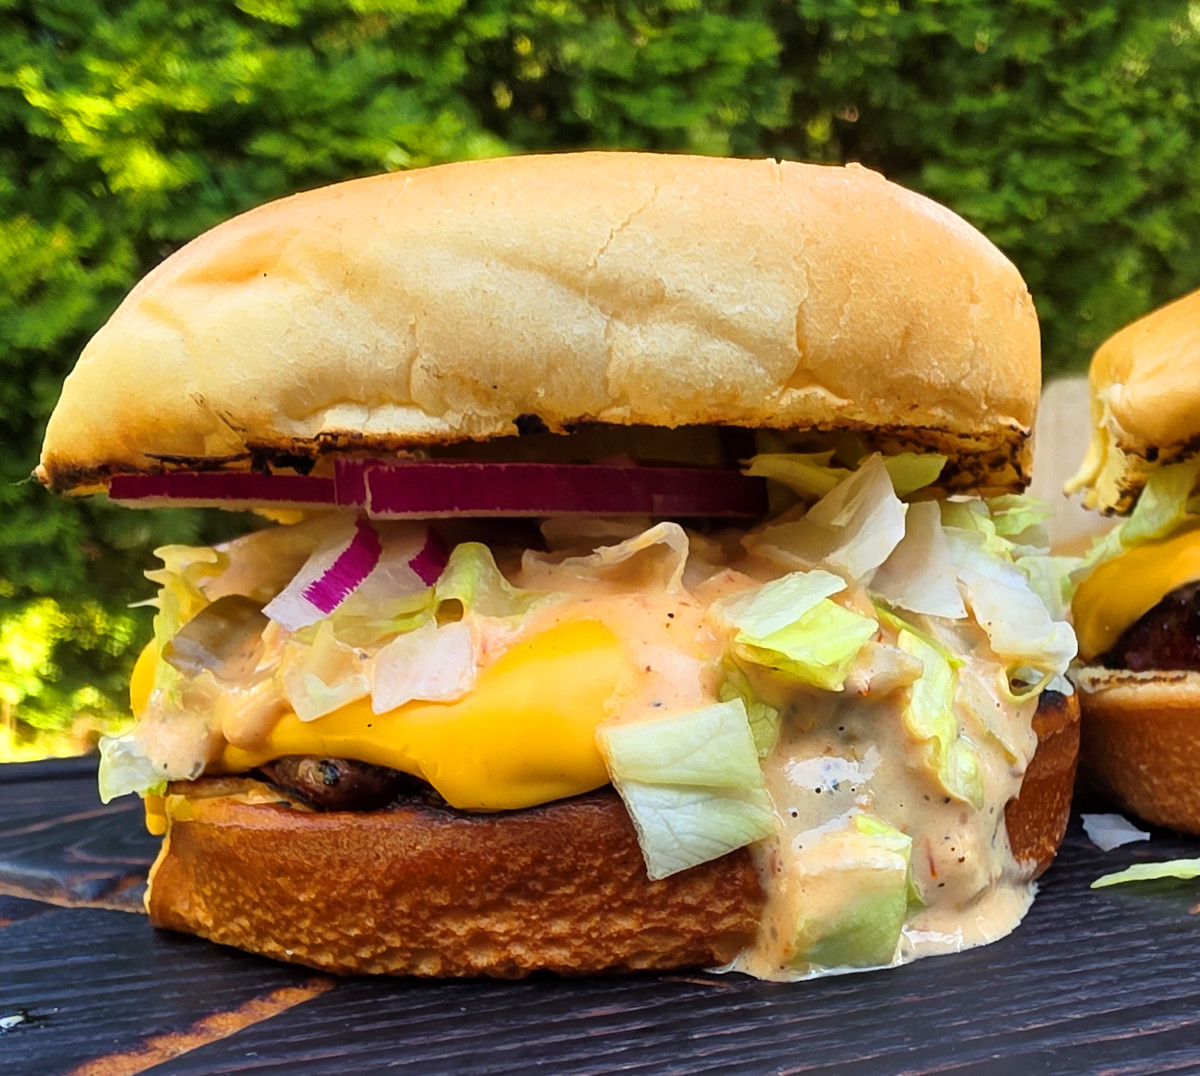
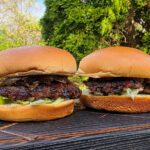
I deviated slightly the other day from my ‘usual’ smash burger approach. Normally, I’m a seasoned ground beef patty kind of guy. I rely more on the toppings to make the burgers ‘different’. This time, I made bacon cheddar ranch smash burgers. These burgers have flavor through-and-through. On top. Inside. Underneath. All over. Tender and juicy. With hints of bacon, cheddar and of course ranch. These weren’t complicated burgers, but man, were they ever good. I made extra, made them into patties, and froze them for future cookouts. They’re something to look forward to!
A Lot Of Flavor.
Once you’ve made a smash burger or two you’ll find them to be as easy to make as the non-smash ones. Before long you’ll be a master at it, making great burgers like a bacon cheddar ranch smash burger. These are crazy-delicious burgers that are perfect for any backyard get-together or just chillin’ on the deck on a nice summer day.
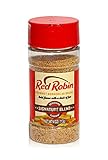
- This signature blend seasoning is a staple in red…
- All natural
The equipment
Here’s the equipment I use. You can get by using two cast iron skillets. Use a larger skillet for cooking the burgers, and a smaller one to smash the burgers and keep them flat. Since I’m a cooking gadget collector, I prefer to use a few more tools.
The griddle
First, a griddle. You can buy griddles that sit on top of your grill grates or ones that replace them. Just about every grill I have has a griddle on it. I use them for a lot of things, not just smash burgers. You want one that can be placed over the hottest part of your grill so it gets screaming hot.

- Dual-Sided Plate: The Lodge Pro-Grid Reversible…
- Time-Tested Even Heat Distribution: This durable…
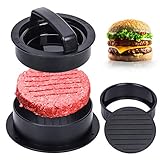
A burger press
Next, you need a burger press. You can use a heavy cast iron skillet, like I mentioned. Or get a burger press. For easy cleanup I wrap mine in foil first. When I’m done, just peel off the foil and toss. Super easy. Get a press that’s at least big enough to cover two burgers. You only smash one at a time, but if you want to keep them flat, you want to rest the press on top so bigger (and heavier) is better. Plus I’ve found that a bigger, heavier press tends to stay on the burgers whereas a smaller, lighter one is hard to keep centered on the burgers, especially if you have a bunch of them cooking at once.

- Food-Grade Cast Iron Burger Press : Our barbeque…
- Grooved Bottom Design&Non-Stick Surfaces : Our…
A dome
Next up, a dome. While not 100% required, it does speed the time it takes to melt the cheese and it does it in a nice even fashion. In my opinion you don’t really need one if you’re using a super melty cheese, such as American, but for thicker slices like say a deli pepper jack, you want the cheese to melt before you overcook the burger and that’s where a dome comes in handy.
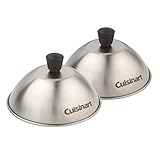
- 2 Pack of 6″ diameter domes
- Concentrates heat to cook evenly
Cleaning time!
Lastly, you need something to clean your griddle. I like to clean mine when I’m done cooking, but you can do it at the start instead. I use one of these pad holders with a griddle cleaning pad. Then I add a bit of water to my griddle then use the pad (connected to the holder) to scrub off any big chunks and get up some of the grease. I don’t go crazy with it, I always heat the heck out of my griddle before cooking, but I get the worst. The long arm on the pad holder makes it perfect for scrubbing a hot griddle, too.

- TOUGH CLEANING POWER: Very tough, non-rusting…
- LONG-LASTING: High quality bonding resin system…
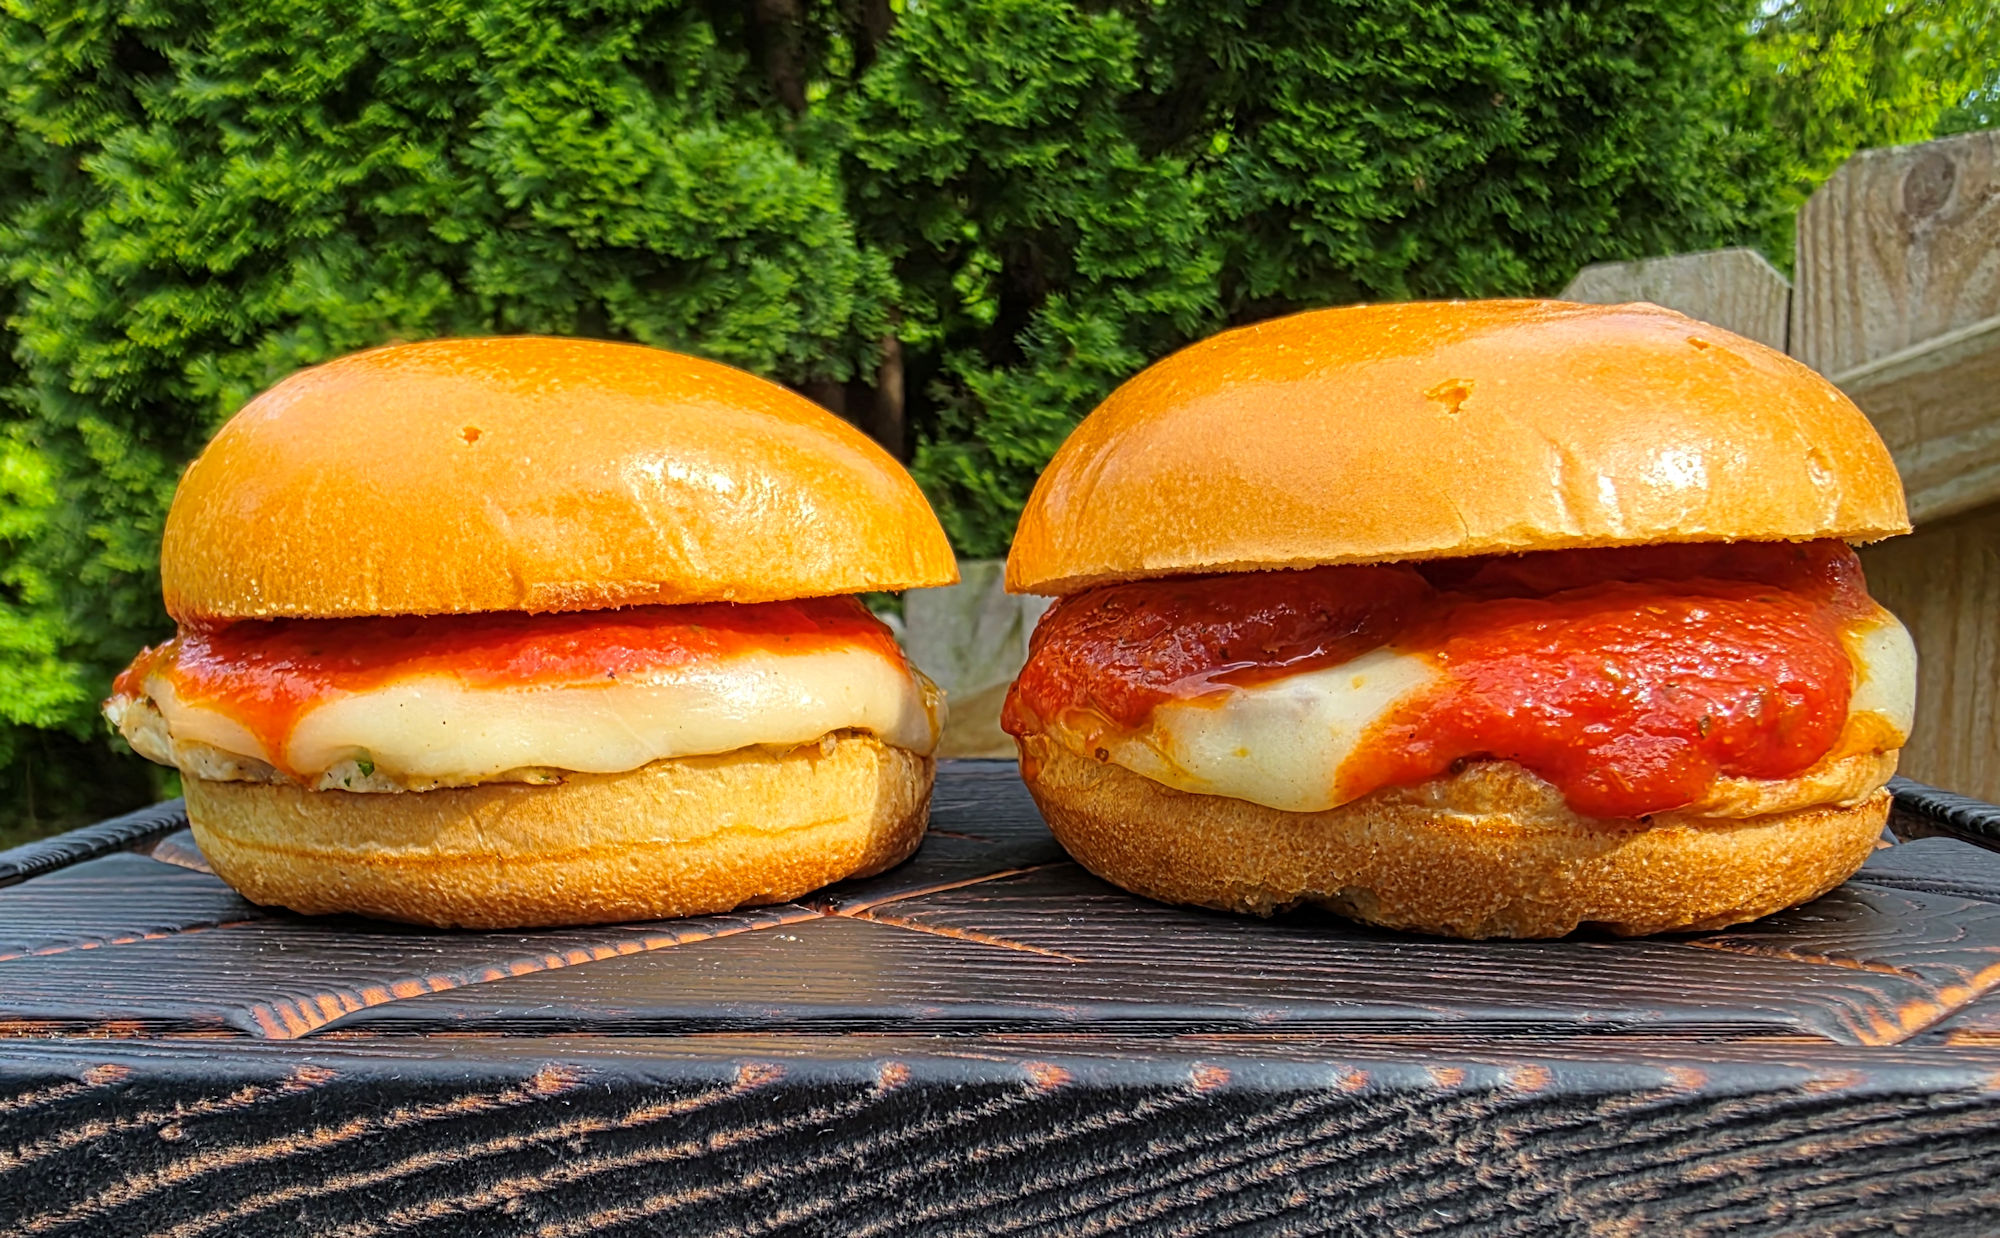
Also try my chicken pizza burgers!
Bacon Cheddar Ranch Smash Burgers
Ingredients
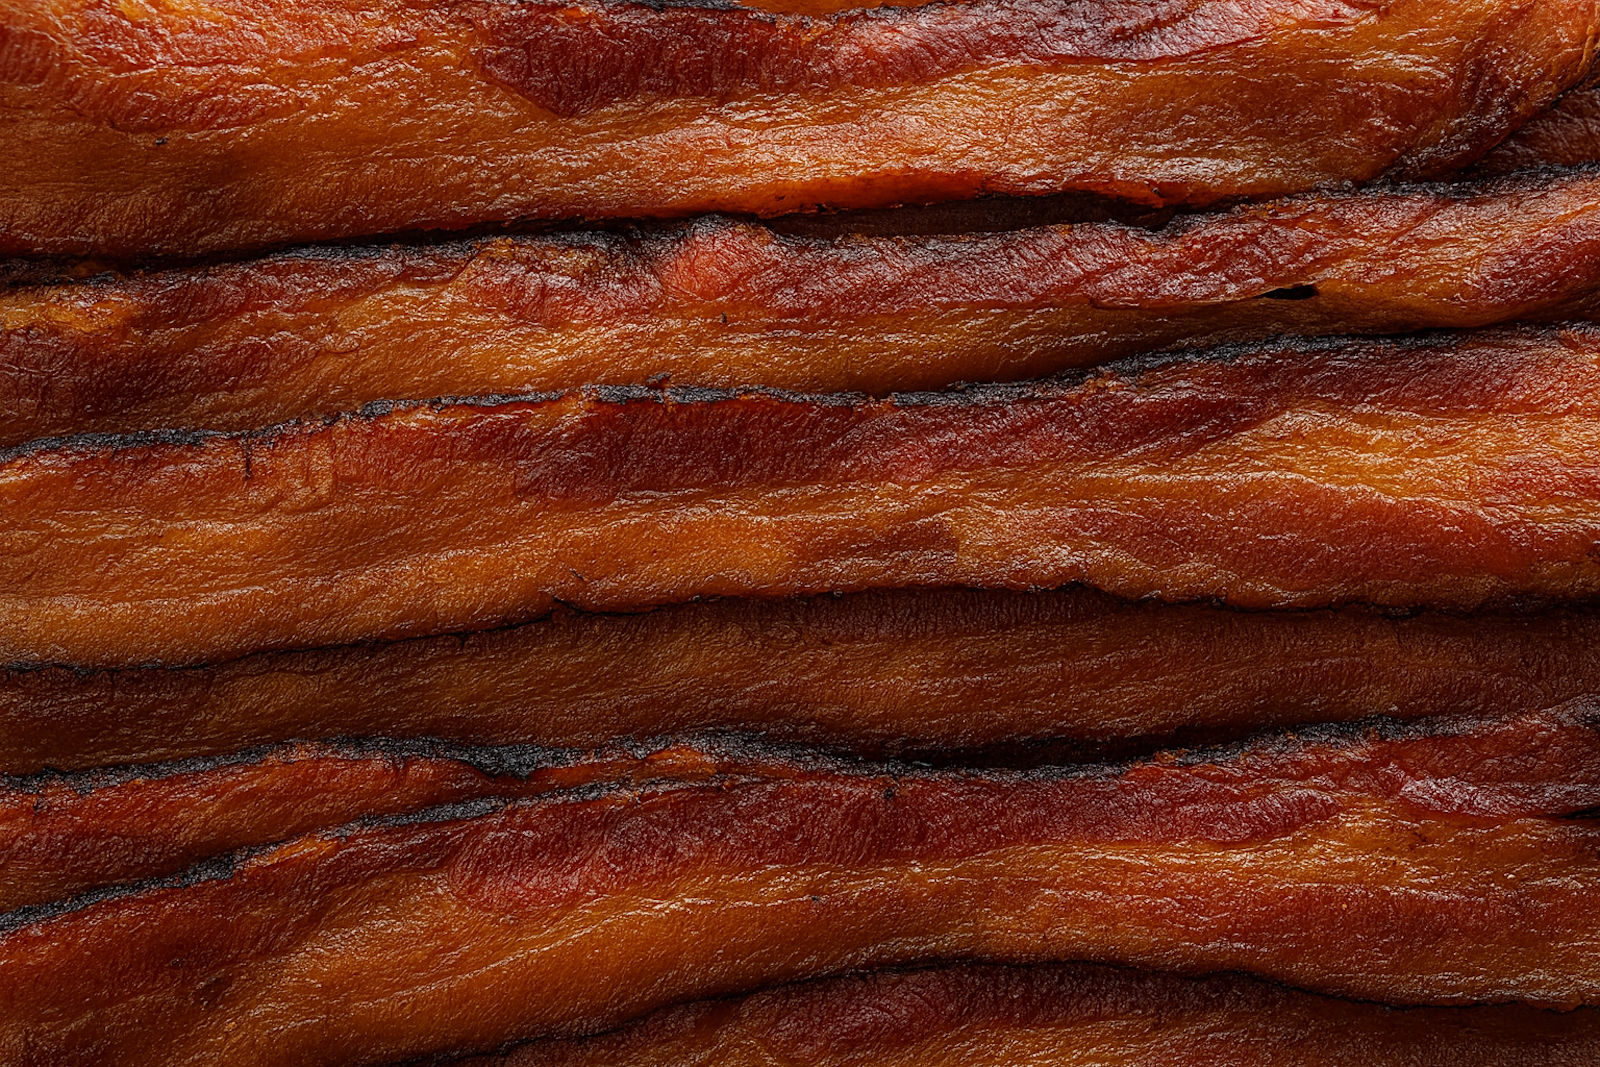
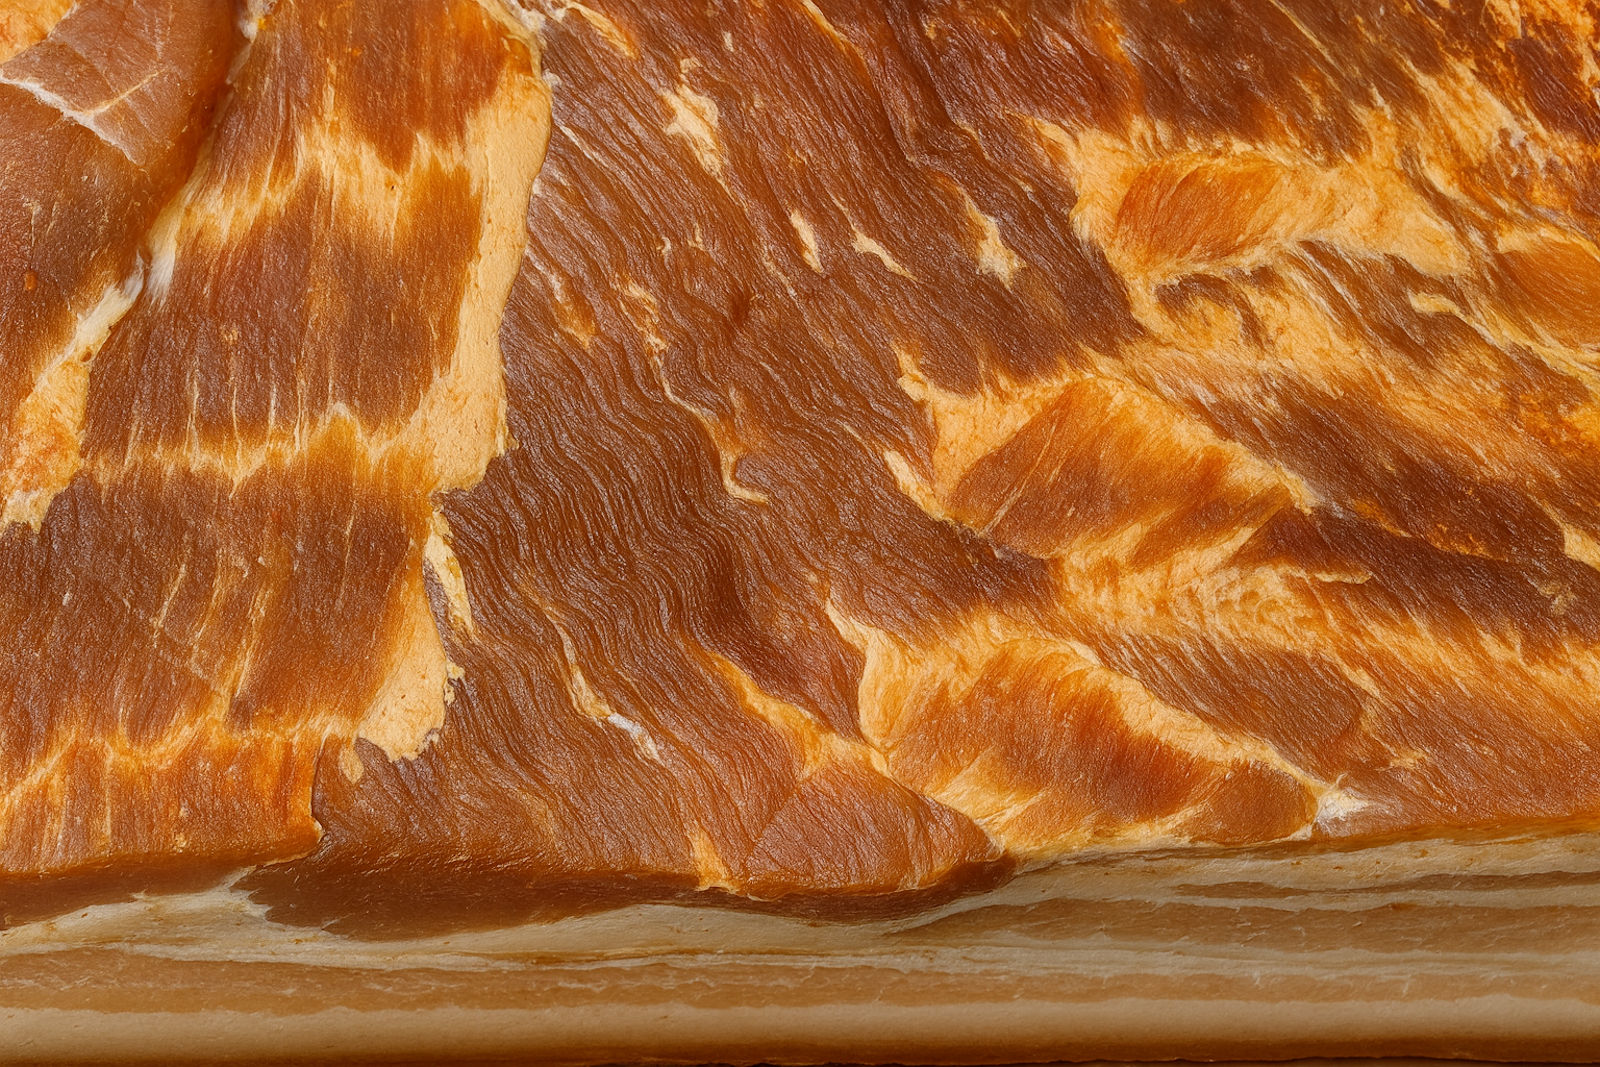
- 6 strips bacon cooked, crumbled
- 1 ½ pounds ground beef
- 1 ounce Ranch dressing mix
- ½ cup sharp cheddar cheese shredded
- 3 tablespoons sour cream
- 1 teaspoon ground black pepper
- 1 tablespoon vegetable oil
- 1 large sweet onion sliced
- 8 burger buns
- 8 slices cheese use your favorite
- mayonnaise to taste
- lettuce iceberg shredded, to taste
Instructions
- In a large bowl combine the bacon, ground beef, Ranch mix, cheese, sour cream and pepper.
- Form the beef into 8 equally-sized balls, about 4 ounces each.
- Fire up your grill for medium-high heat. Place a griddle or a large cast-iron pan over the highest heat.
- Add the onion to the griddle.
- Add the onion slices and cook 5-10 minutes or until just softened. Remove to a plate.
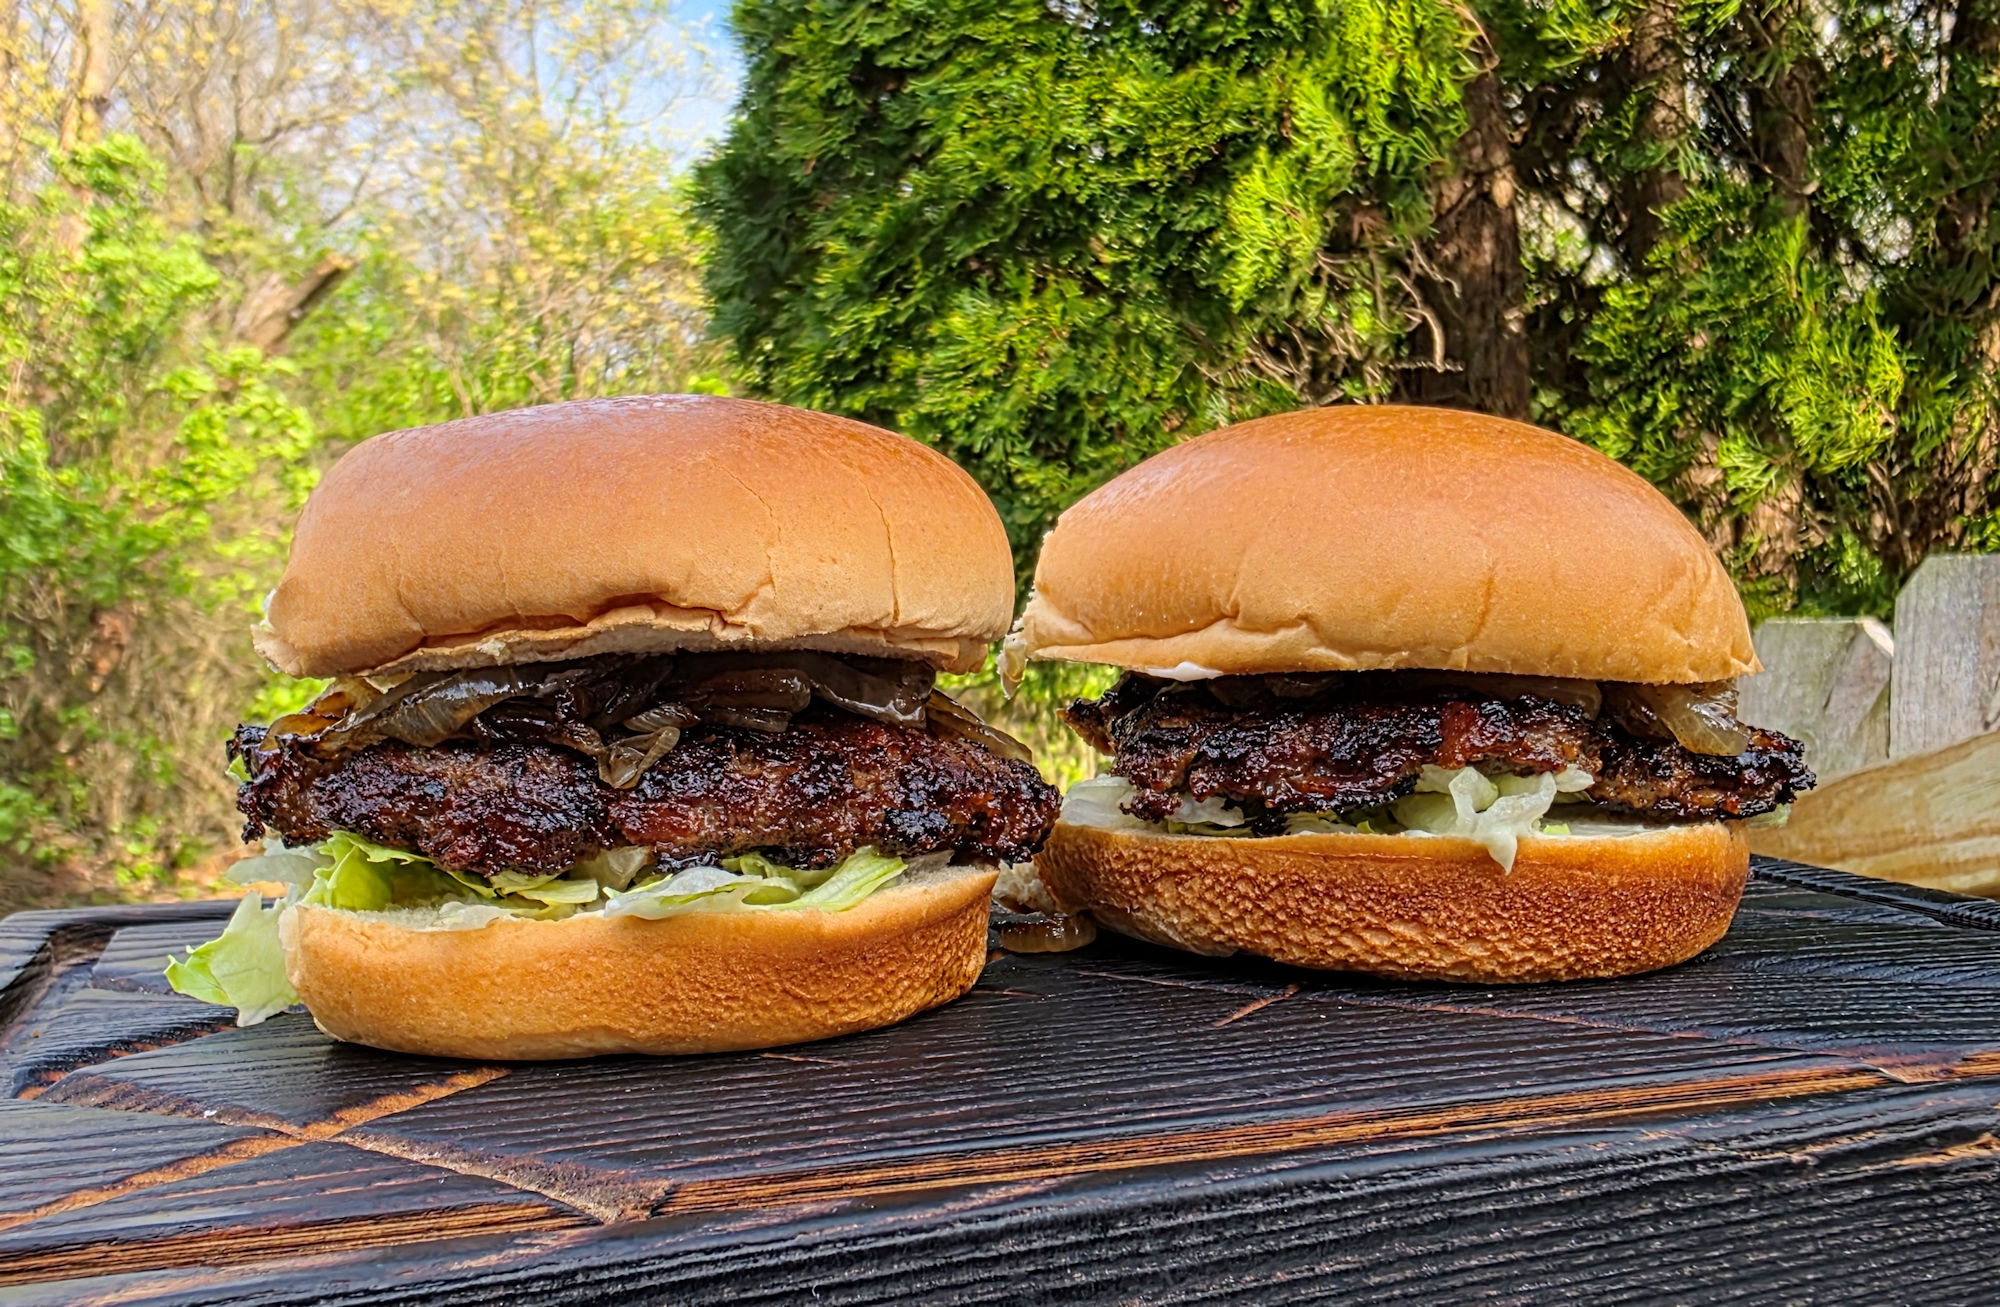
- Place the balls of beef on the griddle and let cook for one minute. Just let them cook, don’t mess with them.
- Take your press and flatten out the patties. I like to use the point of the press and work my way around the ball first, doing a little section at a time and then finally I press down on the entire patty to flatten it out. You can also just flatten out the ball all at once. At this point I also like to season the patties some more.
- Let the patties cook until you start to notice a little char along the edges. Flip, season again if desired, and continue cooking another minute or so until the other side is charred. The burgers are thin so they will cook very quickly so watch out.
- Top patties with cheese and let cook another 30 seconds to melt the cheese. Remove.
- Toast the buns. Remove and slather with mayonnaise.
- Add lettuce to bun bottoms. Add patties to bottom buns, top with onions, and serve!
Notes
Nutrition
Nutritional values are approximate.

- Saving Storage Space : The detachable solid…
- Making Hamburger Elegantly – Perfectly…

- Quality Material: the bacon press is made of food…
- Practical Wood Handle Design:Featuring a…

- Perfect Size: 6×6 inches of 300 count patty paper…
- Non-Stick & Easy to Clean: Patty paper use the…