Sous Vide Bratwurst

I have grilled many a bratwurst. Usually, I make a ‘bath’ for them to soak and simmer in before putting them onto the grill. I’ve had great success with that technique. But there seemed to be a little something missing. The brats tasted more like the marinade than bratwurst. And sometimes they were a bit overcooked. So I took a shot at sous vide bratwurst. And I have to say, I won’t be going back to my old ways of cooking brats. This is the way to achieve super-tasty bratwurst with the perfect bite and char. These are great bratwurst. And they’re easy and pretty much foolproof too!

Sous Vide Bratwurst

That Pop

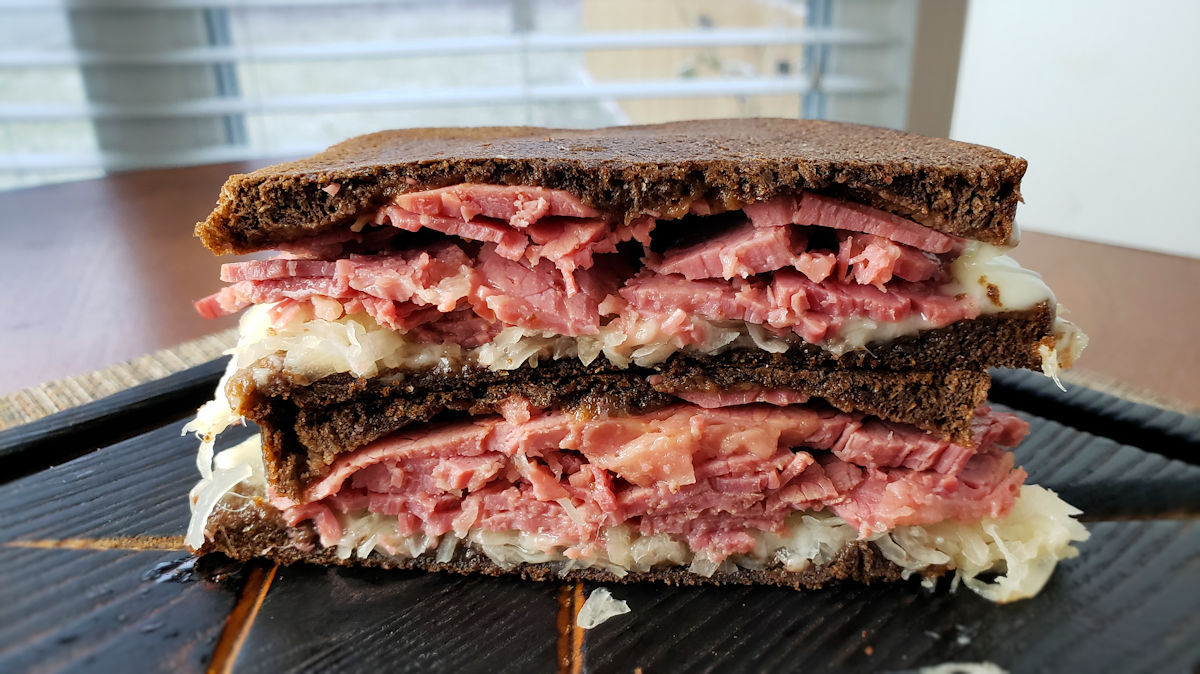
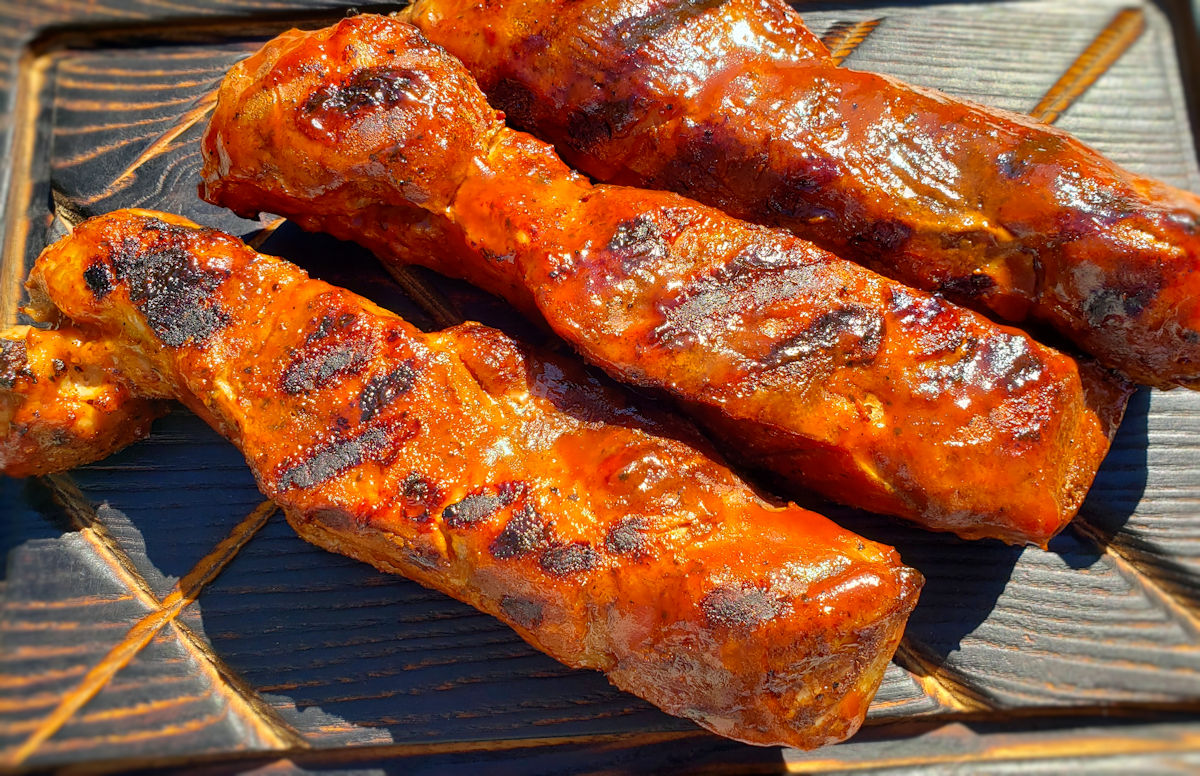
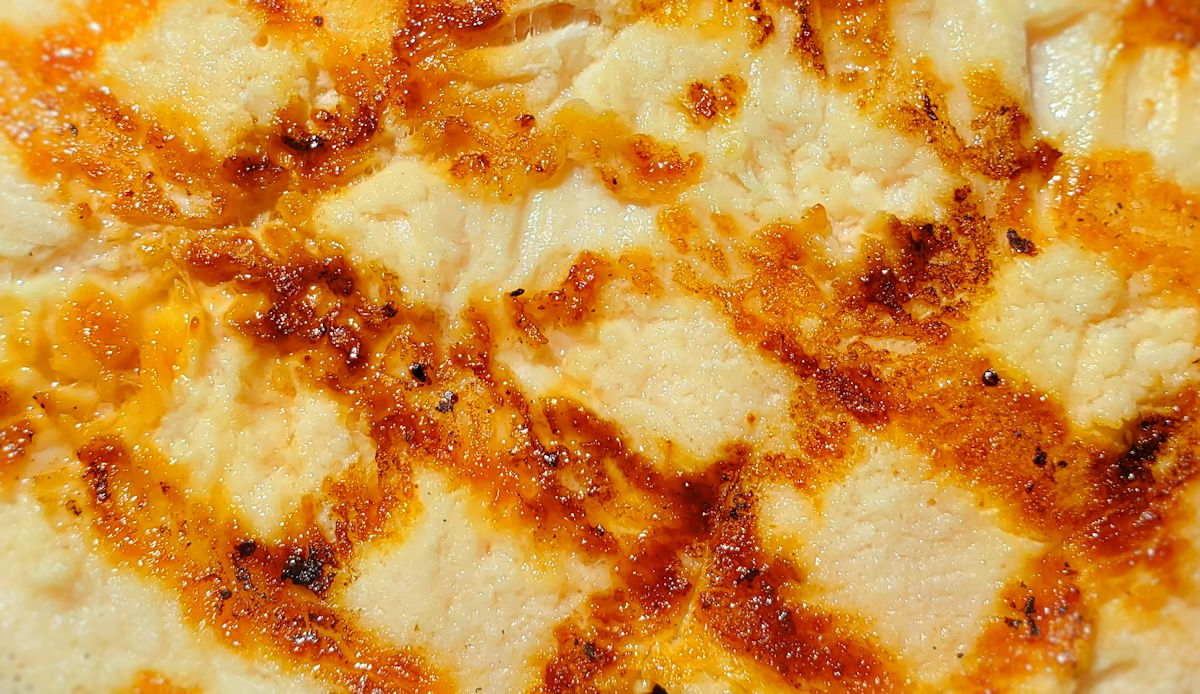
When I used to grill my marinaded brats I’d get that skin ‘pop’ when I bit into them. You know, the one where you get squirted with 500 F juices. You don’t get that with sous vide bratwurst. But you do get really good skin. It’s an easy bite. Nothing chewy. But not super-crunchy either. Some people really like that crunch and you can get it with these, but you’ll have to grill them longer to get it.

The meat is super-tender and juicy and flavorful. Way beyond anything I ever achieved before. I can’t imagine cooking bratwurst any other way. I thought about adding things to the bag as they sous vide. Maybe some herbs. Or beer. But no, I really think they’re best just ‘stewing’ in their own juices. For maximum flavor!

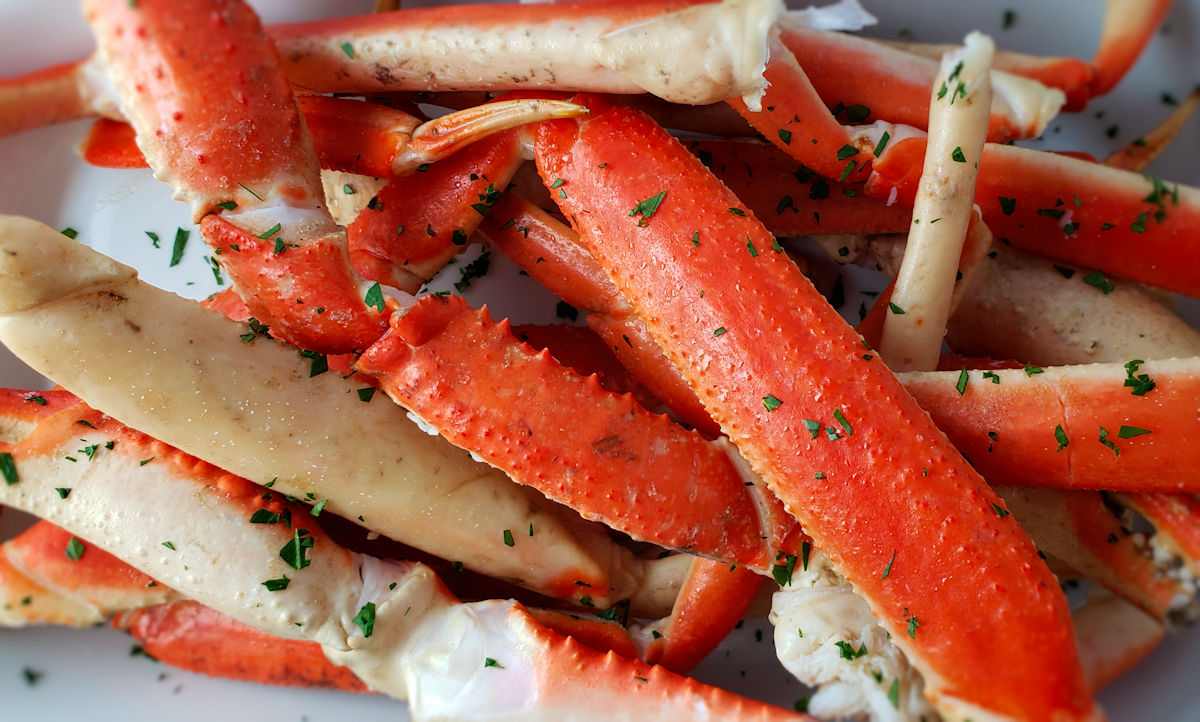
Also try my sous vide corned beef.

Sous Vide Bratwurst
Print Pin
5 from 1 vote

Sous Vide Bratwurst

The perfect bite with plenty of flavor!
Course Main
Cuisine American
Keyword bratwurst, sous vide
Prep Time 15 minutes
Cook Time 2 hours 15 minutes
Servings 4
Calories 220kcal

Ingredients

  • 4 bratwurst fresh
  • 4 bratwurst buns
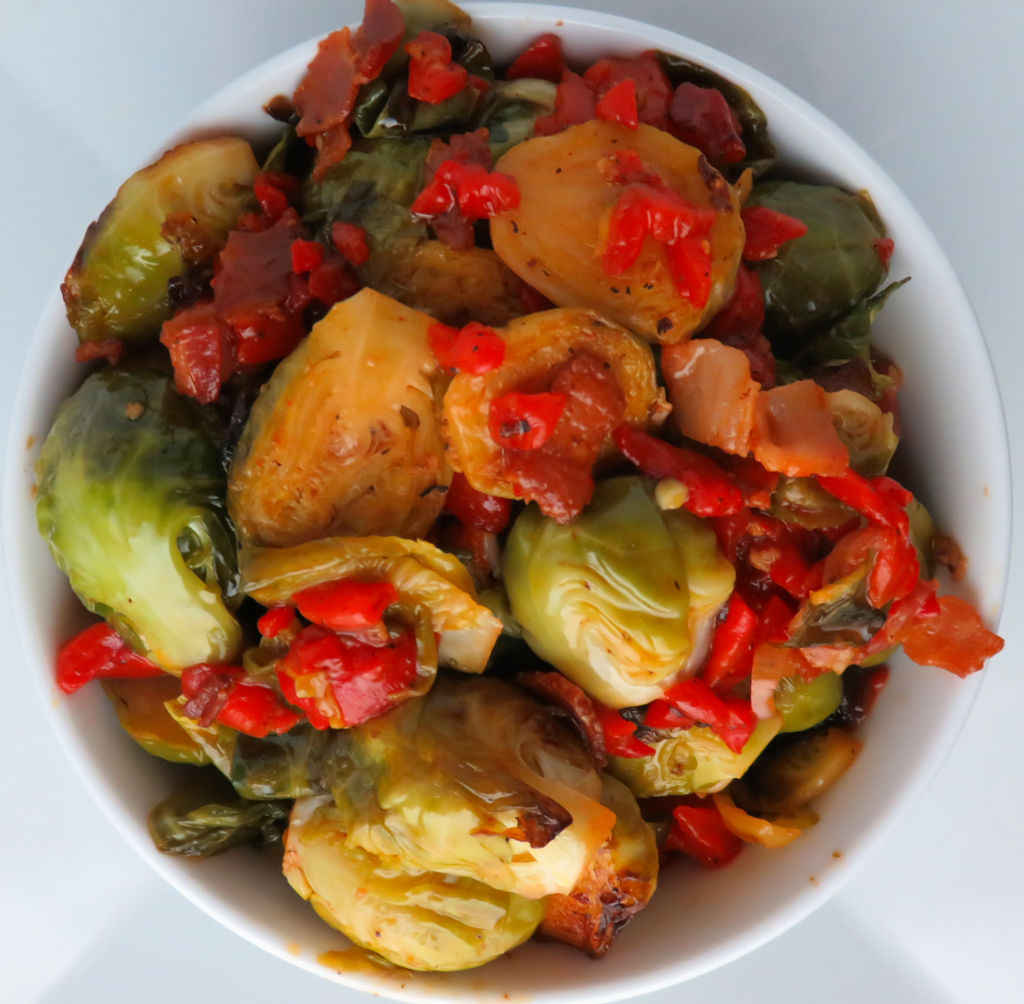
  • your favorite bratwurst toppings grilled onions, peppers, kraut, mustard, whatever you like!

Instructions

  • Pre-heat your sous vide water to 157 F.
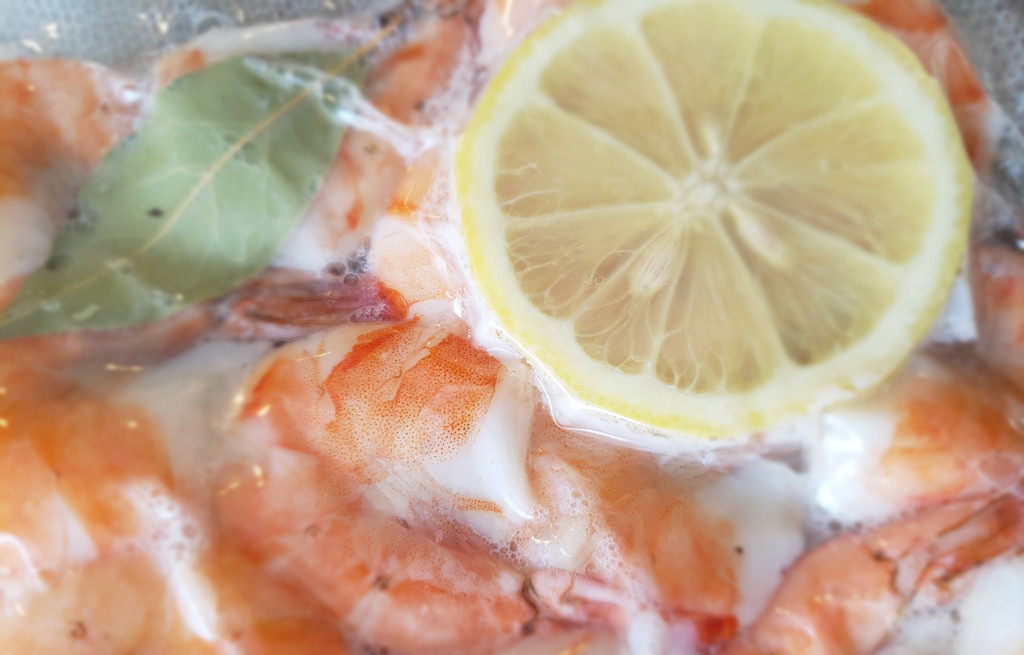
  • Place the bratwurst into a sealable or vacuum bag. Do not let them overlap each other.
  • Remove all of the air from the bag and close, or vacuum seal tight.
  • Transfer to the sous vide and cook for 2 hours.
  • Remove the bag from the water. Open and transfer the bratwurst to a plate or wire rack until ready to grill.
  • Heat your grill for direct cooking.
  • Transfer the bratwurst to the grill and sear on all sides. They're already cooked so you're looking to crisp up the skin and give the bratwurst some color. Plan on about 5 minutes depending on how charred you like your brats.
  • Toast the buns as desired.
  • Transfer the grilled brats to the buns and add your favorite toppings.
  • Serve hot.

Notes

You can make a big batch of these and grill them all the same day. They are excellent leftover. Just warm up in the oven, microwave or an air fryer.

Nutrition

Calories: 220kcal | Carbohydrates: 2g | Protein: 9g | Fat: 19g | Saturated Fat: 7g | Polyunsaturated Fat: 2g | Monounsaturated Fat: 10g | Cholesterol: 49mg | Sodium: 558mg | Potassium: 230mg | Vitamin A: 4IU | Calcium: 18mg | Iron: 0.3mg

Nutritional values are approximate.

Smoked Sous Vide Country-Style Ribs

I’m a big fan of country-style ribs. In fact, I grew up eating them regularly. My mom has a recipe she’d make where she’d cover the ribs in paprika, broil them for a bit of color, then finish them by baking them in sauerkraut and carrots. I could eat them all day long. That’s why I was so intrigued by the idea of smoked sous vide country-style ribs. The end result reminded me of just what it is: smoked, tender, juicy pork shoulder. Crazy tender and juicy. And just the right amount of smoke too. I serve these ribs on top of (you guessed it), kraut and carrots.

Smoked Sous Vide Country-Style Ribs

Smoked Perfection

I wasn’t shy with the BBQ seasoning on my smoked sous vide country-style ribs. First, they needed some color when they came out of sous vide. You know how that is if you sous vide meat. It isn’t exactly pretty. So I covered it in rub and put it on my smoker over apple wood. I was very happy with the end results.

I use my Anova immersion circulator for this and any other time I need to sous-vide. It’s easy to use which is a good thing for me!

I use an Anova sous vide cooker. It’s my immersion circulator workhorse!

Also try my spicy sweet-and-sour grilled country-style ribs.

Smoked Sous Vide Country-Style Ribs
Print Pin
5 from 1 vote

Smoked Sous Vide Country-Style Ribs

I wasn't shy with the BBQ seasoning on my smoked sous vide country-style ribs.
Course Main
Cuisine American
Keyword ribs, smoked, sous vide
Prep Time 15 minutes
Cook Time 23 hours
Servings 4
Calories 553kcal

Ingredients

Instructions

  • Place the ribs into a vacuum bag and seal.
  • Sous vide at 140 F for 22 hours.
  • Fire up your smoker for 275 F. Use any wood you like. I used apple for a lighter smoke.
  • Smoke for 1 hour.
  • Serve as desired.

Notes

Use bone-in ribs for the best results.

Nutrition

Calories: 553kcal | Protein: 57g | Fat: 35g | Saturated Fat: 7g | Polyunsaturated Fat: 3g | Monounsaturated Fat: 8g | Trans Fat: 1g | Cholesterol: 216mg | Sodium: 184mg | Potassium: 930mg | Vitamin A: 23IU | Calcium: 64mg | Iron: 2mg

Nutritional values are approximate.

Sous Vide Corned Beef

This is not my first time making corned beef using sous vide. It is my first time cooking at a higher temperature, and for a shorter time. I was after a little different texture than my ‘usual’ cooking technique. Normally, I go for a final product that slices a little thicker and holds together. This time, I wanted something I could slice super thin and I was ok if it was more ‘crumbly’, but not dry. And that’s what I got. I found this approach to make for the perfect sandwich. Just the right texture, just the right thickness, and the real winner, absolutely fantastic flavor. For sandwiches, this is how I will sous vide corned beef from now to eternity!

Sous Vide Corned Beef

Easy And Delicious Results

There is nothing fancy, nothing complicated about making sous vide corned beef. Into the bag with the seasoning packet contents, and into hot water. That’s it. I’ve seen where people add beef stock, or other spices. And that’s fine. For me, I found that I didn’t need it. I got pure, great corned beef flavor in the end. I was able to slice it so thin I could practically read a newspaper through it. And it made for fantastic sandwiches. I couldn’t ask for more!

Reheating Leftovers

I do recommend that you steam your leftovers when re-heating. Don’t reheat the corned beef using any technique that might dry it out, like in an oven. The second (and third) days it will be fall-apart tender. The slices do not stick together, but a little moisture when re-heating doesn’t hurt. Not much, just a little.

I use an Anova sous vide cooker. It’s my immersion circulator workhorse!

Make yourself some southern corned beef sandwiches with your tasty results!

Sous Vide Corned Beef
Print Pin
5 from 1 vote

Sous Vide Corned Beef

Perfect for slicing.
Course Main
Cuisine American
Keyword corned beef, sous vide
Prep Time 15 minutes
Cook Time 10 hours 15 minutes
Servings 12
Calories 225kcal

Ingredients

  • 3 pound corned beef along with the spice packet

Instructions

  • Heat a water bath to 180 F.
  • Rinse the corned beef and pat dry.
  • Sprinkle the spice packet over all sides.
  • Transfer to a large baggie and seal with a vacuum sealer.
  • Place in the water bath and cook for 10 hours.
  • Remove from the water bath and let rest for 15 minutes.
  • Remove the corned beef from the bag, discarding the liquid.
  • Slice the corned beef against the grain.

Notes

Pile it high for the best sandwiches!

Nutrition

Calories: 225kcal | Carbohydrates: 0.2g | Protein: 17g | Fat: 17g | Saturated Fat: 5g | Polyunsaturated Fat: 1g | Monounsaturated Fat: 8g | Cholesterol: 61mg | Sodium: 1380mg | Potassium: 337mg | Vitamin C: 31mg | Calcium: 8mg | Iron: 2mg

Nutritional values are approximate.

Red Pepper Brussels Sprouts using Sous Vide

To say that I am new to the world of sous vide would just about be an understatement. But, I’m learning. And I’m happy to say these red pepper Brussels sprouts are exactly why I started down the path of sous vide. They are absolutely delicious, the best sprouts I’ve had or made. And they’re crazy easy to make, too. This is the kind of wonderful side dish I can throw together with little preparation or hassle. I like that. A lot. It felt fancy serving it and it tasted delicious.

Red Pepper Brussels Sprouts using Sous Vide

Spice ‘Em Up A Bit

If you like a little kick in your red pepper Brussels sprouts using sous vide, don’t be afraid to add a few pinches of red pepper flake to your red pepper Brussels sprouts just before serving. A little Parmesan cheese doesn’t hurt, either. Or just some fresh ground black pepper.

I use an Anova sous vide cooker. It’s my immersion circulator workhorse!

You can use this same recipe for making asparagus, but with a change to the time and temperature. Just break off the woodsy parts of the stems and cook them as you would the Brussels sprouts except at 185 F for 14 minutes. If your asparagus is thin, back down on the cook time by a few minutes.

Also try my garlic herb sous vide potatoes.

Red Pepper Brussels Sprouts using Sous Vide
Print Pin
4 from 1 vote

Red Pepper Brussels Sprouts using Sous Vide

To say that I am new to the world of sous vide would just about be an understatement. But, I’m learning. And I’m happy to say these red pepper Brussels sprouts are exactly why I started down the path of sous vide.
Course Side Dish
Cuisine American
Keyword Brussels sprouts, sous vide
Prep Time 5 minutes
Cook Time 1 hour
Servings 4 servings
Calories 59kcal

Ingredients

Instructions

  • Heat your sous vide water to 183 F.
  • Place Brussels sprouts in a vacuum bag.
  • Add salt and pepper to taste, along with the garlic. Seal.
  • Add the bag to the sous vide and cook for 40 minutes.
  • Remove bag. Open and drain.
  • Cook bacon in a Dutch oven or large skillet until just crispy. Remove and drain.
  • Add the sprouts and let char just slightly.
  • Add the roasted red peppers and heat thoroughly.
  • Season with salt and pepper.
  • Serve topped with the cooked bacon pieces.

Notes

Serve immediately.

Nutrition

Calories: 59kcal | Carbohydrates: 11g | Protein: 4g | Fat: 1g | Saturated Fat: 1g | Cholesterol: 1mg | Sodium: 269mg | Potassium: 473mg | Fiber: 5g | Sugar: 3g | Vitamin A: 946IU | Vitamin C: 105mg | Calcium: 58mg | Iron: 2mg

Nutritional values are approximate.

Sous Vide Shrimp Cocktail

I’m very new to using sous vide. I was intrigued with it from the first time I heard of it because I knew it would (at the very least) help me with certain dishes that I’ve always had trouble getting cooked to perfection. Like cocktail shrimp. Sure, I can boil shrimp or roast them and I do a pretty good job. But sometimes I might over-cook them. That’s where sous vide comes to the rescue. There’s no such thing as me messing up with it.

Sous Vide Shrimp Cocktail

Cooking Time And Texture

Before tackling sous vide cocktail shrimp, I suggest you read this wonderful link about the best cook times for the shrimp. It’s not just a matter of getting the shrimp done, but what texture you want. In the recipe below I use the time and temperature that worked best for me. You may want your shrimp to have a little more ‘bite’. Or less. That’s why I highly recommend you read the link (here it is again) before jumping in. And once you have the desired time and temperature, make a note of it for the future.

I use an Anova sous vide cooker. It’s my immersion circulator workhorse!

I really loved the flavor that the bay leaf and lemon gave to the shrimp while they cooked in the vacuum bag. This is the easiest shrimp cocktail recipe you’ll ever make.

Sous Vide Shrimp Cocktail

Also try my sous vide snow crab legs.

Sous Vide Shrimp Cocktail
Print Pin
5 from 1 vote

Sous Vide Shrimp Cocktail

Sure, I can boil shrimp or roast them and I do a pretty good job. But sometimes I might over-cook them. That’s where sous vide comes to the rescue. 
Course Appetizer
Cuisine American
Keyword shrimp, sous vide
Prep Time 15 minutes
Cook Time 15 minutes
Cool time 15 minutes
Servings 8
Calories 58kcal

Ingredients

  • 1 pound shrimp large, deveined, shells left on
  • 2 large bay leaves
  • 3 slices lemon plus more for serving
  • cocktail sauce chilled, for serving

Instructions

  • Pre-heat your sous vide water to 140 F.
  • Place shrimp in a sealable or vacuum bag. Do not let the shrimp overlap each other.
  • Add the bay leaves and lemon.
  • Remove all of the air from the bag and close, or vacuum seal tight.
  • Transfer to the sous vide and cook for 15 minutes.
  • Meanwhile, create an ice bath by placing ice and water into a large bowl.
  • When the shrimp are done remove from the sous vide and transfer the bag (unopened) to the ice bath. Keep submerged until the shrimp are chilled, 10-15 minutes.
  • Open bag and remove shrimp. Serve with cocktail sauce and lemon slices.

Notes

Nutritional value does not include cocktail sauce.

Nutrition

Calories: 58kcal | Carbohydrates: 1g | Protein: 12g | Fat: 1g | Saturated Fat: 1g | Cholesterol: 143mg | Sodium: 441mg | Potassium: 49mg | Fiber: 1g | Sugar: 1g | Vitamin A: 2IU | Vitamin C: 4mg | Calcium: 83mg | Iron: 1mg

Nutritional values are approximate.

BBQ Sous Vide Country Style Ribs

These BBQ sous vide country style ribs have been on my radar for a while now. I love country style ribs. I usually sear them on the stovetop then finish them in the oven, served over sauerkraut. Yum. This time I went the sous vide route, finishing the ribs on a hot gas grill. A little hickory BBQ sauce gives the impression that the ribs were cooked low and slow on a smoker. Or close enough, at least. The result was tender, very juicy, very flavorful ribs.

BBQ Sous Vide Country Style Ribs

Tender as you want it to be

You get to decide how tender you want your BBQ sous vide country style ribs to be. The first time I made them I went 4 hours. At that point the ribs have a good chew but aren’t tough. If you like a good tug to your ribs, 4 hours will get you where you want to be. But for more tender ribs you really might want to go 6 if not 8 hours. The full 8 hours is a bit much for me only because I do want a little ‘bite’ to my meat. I’d settle on 6. You can squeeze the ribs in the bag after 4 hours, and every hour or so after that, to see if the ribs are getting to where you want them. Just note your favorite cook time for the next time you make them. Because there will be a next time.

I use an Anova sous vide cooker. It’s my immersion circulator workhorse!

Also try my sous vide snow crab legs.

BBQ Sous Vide Country Style Ribs
Print Pin
5 from 1 vote

BBQ Sous Vide Country Style Ribs

Cook the full 8 hours for fall-apart ribs.
Course Main
Cuisine American
Keyword country-style ribs, sous vide
Prep Time 5 minutes
Cook Time 8 hours 15 minutes
Servings 4
Calories 1360kcal
Author Mike

Ingredients

Instructions

  • Heat your sous vide water to 145 F.
  • Rub the seasoning all over the ribs. Get it on all sides. No need to be shy with it either. More is better.
  • Transfer the ribs to a vacuum bag and seal tightly.
  • Place bag into the sous vide water and cook 4 hours (for quite a bit of tug) to 8 hours (completely fall-apart tender).
  • Remove the bag from the water. Open and remove the ribs to a plate. Pat dry with a paper towel then brush with the BBQ sauce.
  • Heat a grill or broiler to high.
  • Place ribs onto the grill or under the broiler for a few minutes per side until lightly charred and the sauce is lightly caramelized.
  • Serve with additional BBQ sauce if desired.

Notes

These meaty ribs give baby backs a run for their money.

Nutrition

Calories: 1360kcal | Carbohydrates: 58g | Protein: 115g | Fat: 71g | Saturated Fat: 14g | Polyunsaturated Fat: 6g | Monounsaturated Fat: 16g | Trans Fat: 0.4g | Cholesterol: 436mg | Sodium: 1844mg | Potassium: 2207mg | Fiber: 1g | Sugar: 47g | Vitamin A: 367IU | Vitamin C: 1mg | Calcium: 177mg | Iron: 6mg

Nutritional values are approximate.

Sous Vide Snow Crab Legs

I am not a crab specialist. Crab connoisseurs would watch me crack crab legs and dig out the meat and probably giggle. Things fly everywhere. But I get the job done. And I absolutely love the final result. I could eat crab all day. That usually means grilling them. Or boiling them. This time, though, I tried sous vide snow crab legs. Let me tell you, this is my go-to way for perfect crab legs from here on. It’s easy, quick, and the result is deliciously fantastic!

Sous Vide Snow Crab Legs

Flavor-Packed Crab Greatness

The flavor in these sous vide snow crab legs is fantastic. At least in my case, I added butter (and lots of it) and Old Bay seasoning (and lots of that too!). This is not the time (in my opinion) to be shy with either one. I want messy, crazy-good crab and that’s exactly what I got. I cannot wait to make these again.

Remember, the crab legs are already cooked (steamed, actually). You’re just warming them up and adding flavor. And making sure you’re not losing any flavor like you would if you just boil them.

You can use this same recipe for larger crab legs, too. I’d add some more time to warm them up, so I’d start with 45 minutes and maybe go as long as an hour.

I use an Anova sous vide cooker. It’s my immersion circulator workhorse!

Also try my sous vide shrimp cocktail.

Sous Vide Snow Crab Legs
Print Pin
5 from 1 vote

Sous Vide Snow Crab Legs

Beyond delicious!
Course Appetizer or Main
Cuisine American
Keyword crab legs, sous vide
Prep Time 15 minutes
Cook Time 45 minutes
Servings 1
Calories 254kcal

Ingredients

  • 1-2 pounds snow crab legs thawed
  • 2 tablespoons unsalted butter
  • ¼ cup Old Bay seasoning more or less, to taste. optional
  • dipping sauces clarified butter, cocktail sauce, whatever you prefer!
  • lemon for serving, if desired

Instructions

  • Heat your water to 140 F using your immersion circulator.
  • Place the crab legs into a large (1 gallon) resealable bag. You may have to separate the legs at the joints to get them to fit. You want them to all fit in the bottom of the bag.
  • Add enough water to the bag to just cover the legs.
  • Lower the bag into the warmed water. Use a clip to clamp the bag to the side of your container, keeping the bag open. You do not need to vacuum seal the bag or remove any air from it, just make sure that the legs are below the water line.
  • Heat the legs for 30-45 minutes or until heated through.
  • Remove and drain the bag into a colander.
  • Let cool slightly before serving.

Notes

Great served with clarified butter for dipping.

Nutrition

Calories: 254kcal | Carbohydrates: 12g | Protein: 2g | Fat: 24g | Saturated Fat: 15g | Polyunsaturated Fat: 1g | Monounsaturated Fat: 6g | Trans Fat: 1g | Cholesterol: 60mg | Sodium: 8mg | Potassium: 126mg | Fiber: 2g | Sugar: 1g | Vitamin A: 1160IU | Vitamin C: 2mg | Calcium: 181mg | Iron: 6mg

Nutritional values are approximate.

Garlic Herb Sous Vide Potatoes

I’ve lost count of how many times we’ve made these garlic herb sous vide potatoes in the last week or two. The weather has been nice and that meant grilling. I was looking for an easy side. Now, I didn’t make these potatoes on the grill, but I did finish them there. You can finish them in a skillet on the stovetop too. Either way, they’re packed with wonderful garlic and herb flavors.

The perfect side dish

The potatoes are cooked perfectly. They’re velvety creamy inside. Finishing them off over high heat adds a nice crunchy layer. These potatoes make for a great side dish.

Garlic Herb Sous Vide Potatoes

As written, the amounts of dried herbs used infuse a good amount of flavor into these garlic herb sous vide potatoes. We like our potatoes to pack flavor. If you’re a little on the ‘less is more’ side when it comes to dried herbs, I’d suggest using slightly less thyme and oregano. You can change your mind and add a bit more when you are browning the potatoes after they’re cooked.

If you prefer to finish the potatoes on a grill, no problem! Just use a cast iron skillet or griddle over direct high heat.

I use an Anova sous vide cooker. It’s my immersion circulator workhorse!

Also try my (not sous vide) seasoned green beans and potatoes.

Garlic Herb Sous Vide Potatoes
Print Pin
5 from 1 vote

Garlic Herb Sous Vide Potatoes

The best, creamy delicious potatoes!
Course Side
Cuisine American
Keyword potatoes, sous vide
Prep Time 15 minutes
Cook Time 1 hour 15 minutes
Servings 6
Calories 91kcal

Ingredients

Instructions

  • Fill a container with water. Add your immersion circulator and set the temperature to 190 F.
  • Meanwhile, prepare the potatoes by washing and then cutting into 1" cubes.
  • Place potatoes into a large bowl. Drizzle with 1/2 tablespoon of the oil.
  • Sprinkle with the remaining ingredients (minus the remaining oil).
  • Toss gently to coat well and evenly.
  • Transfer the potatoes to a vacuum bag. Spread them out in one layer. Use more than one bag if you have to. Seal.
  • Place bags in pre-heated water for 1 hour.
  • Remove bag from water. Open the bag and pour the potatoes into a large bowl. Dab lightly with a paper towel to remove and excess moisture.
  • Heat the last 1/2 tablespoon of oil in a large skillet over medium-high heat.
  • Add the potatoes and let brown on one side, 2-4 minutes. Gently flip the potatoes and brown on the other side.
  • Remove and serve.

Nutrition

Calories: 91kcal | Carbohydrates: 20g | Protein: 2g | Fat: 0.3g | Saturated Fat: 0.1g | Polyunsaturated Fat: 0.1g | Monounsaturated Fat: 0.2g | Sodium: 416mg | Potassium: 487mg | Fiber: 3g | Sugar: 1g | Vitamin A: 20IU | Vitamin C: 22mg | Calcium: 23mg | Iron: 1mg

Nutritional values are approximate.

Peppered Shrimp using Sous Vide

Perfectly cooked shrimp. Fantastic, flavorful dipping sauce. What else could you ask for? These peppered shrimp, cooked using sous vide, didn’t last long at all around here. Nice and peppery, the shrimp are super tasty. The sauce is buttery and herbaceous. You might have a bit of the sauce left over, so serve the shrimp with some grilled or toasted bread for soppin’.

Peppered Shrimp using Sous Vide

Sometimes You Have To Get Sneaky

I searched and searched my pantry and could not find allspice berries. Then it struck me! There’s allspice berries in pickling spice! Boom! So I just picked a few out and off I went to make my sous vide peppered shrimp. If you don’t have any allspice berries, don’t fret. The shrimp will still be great. And peppery.

This is easily some of the best tasting shrimp I’ve ever had. The sous vide process cooked each and every one perfectly. And consistently. And the flavor was absolutely amazing. I’ve eaten my share of shrimp. This is Top 5 amongst of all of them.

I use an Anova sous vide cooker. It’s my immersion circulator workhorse!

Also try my sous vide snow crab legs.

Peppered Shrimp using Sous Vide
Print Pin
5 from 1 vote

Peppered Shrimp using Sous Vide

If you don't have any allspice berries, don't fret. The shrimp will still be great. And peppery.
Course Appetizer or Main
Cuisine American
Keyword shrimp, sous vide
Prep Time 15 minutes
Cook Time 1 hour
Servings 8
Calories 62kcal

Ingredients

Instructions

  • Set up your immersion circulator for 140 F.
  • Toss shrimp with the salt in a large bowl.
  • In a medium saucepan over medium heat, add the Worcestershire sauce, garlic, pepper, lemon juice, basil, oregano and cayenne.
  • Whisk together and bring to a simmer.
  • Add the butter, 1 pat at a time, whisking until melted.
  • Remove from heat and let cool slightly before stirring in the shrimp, bay leaves and allspice.
  • Transfer to a vacuum-sealable bag and spread out evenly. Seal. NOTE: I put the bag into the fridge for 1 hour so that the liquid set up before sealing. This made it much easier to seal the bag.
  • Transfer to the immersion circulator and sous vide for 50 mins.
  • Remove and open bag.
  • Transfer liquid to a bowl for dipping.
  • Serve shrimp garnished with sliced green onion.

Notes

Also have some warm bread on hand for soppin’!

Nutrition

Calories: 62kcal | Carbohydrates: 3g | Protein: 0.4g | Fat: 6g | Saturated Fat: 4g | Polyunsaturated Fat: 0.2g | Monounsaturated Fat: 2g | Trans Fat: 0.2g | Cholesterol: 15mg | Sodium: 348mg | Potassium: 71mg | Fiber: 1g | Sugar: 1g | Vitamin A: 194IU | Vitamin C: 2mg | Calcium: 22mg | Iron: 1mg

Nutritional values are approximate.

Sous Vide Grilled Chicken Breast

Salad week was coming. Every few weeks we switch to making salads for a while. Our favorite protein for salad is sous vide grilled chicken breast. My worst fear is that the chicken will not impress. That it’ll be chewy and as dry as the desert. Well, no tough, dry chicken here. This chicken comes out crazy juicy, super tender and big-time packed with flavor. Perfect for salads, thanks to a slow cooking process using an immersion circulator. It’s also got a lightly smoky flavor with a great light char. That’s thanks to a few minutes on a hot grill.

Sous Vide Grilled Chicken Breast

The Best Chicken For Salads

I used fresh thyme sprigs when I made this sous vide grilled chicken breast. The thyme flavor isn’t overpowering (I used 2 sprigs per breast). If you want a pronounced herb flavor, add more. You can also use any other fresh herb that you like. You can also leave it out and still have wonderfully tasty chicken. Just don’t be shy with the salt and pepper. This is the time to add flavor, before it’s cooked.

I use an Anova sous vide cooker. It’s my immersion circulator workhorse!

You can use this same recipe for cooking bone-in chicken breasts instead.

Also try my sous vide turkey breast roast.

Sous Vide Grilled Chicken Breast
Print Pin
5 from 1 vote

Sous Vide Grilled Chicken Breast

The perfect chicken for sandwiches or salads.
Course Main
Cuisine American
Keyword chicken, sous vide
Prep Time 15 minutes
Cook Time 1 hour 15 minutes
Servings 4
Calories 534kcal

Ingredients

Instructions

  • Fill a container with water. Add your immersion circulator and get the temperature to 146.5 F.
  • Brush the chicken breasts with the oil.
  • Season well with salt and pepper. Get the seasoning on all sides and don't be shy with it.
  • Transfer the chicken to a sealable vacuum bag. Add the sprigs of thyme on top.
  • Seal the bag using a vacuum sealer.
  • Transfer the bag to the heated water and cook for 1 hour.
  • Remove the bag from the water.
  • Remove the chicken. Discard the thyme and pat the chicken dry with a paper towel.
  • Fire up your grill for direct cooking over high heat. We're not looking to cook the chicken (it's already fully cooked). We just want to get some grill marks on it and add some texture.
  • Lightly spray the chicken with non-stick spray (you could also use more olive oil if desired) and transfer to the grill. Grill for just a minute or two and rotate 90 degrees and cook another minute or two.
  • Flip and repeat on the other sides to get grill marks.
  • Remove and let rest 5 minutes before serving.

Notes

Great anywhere you need cooked chicken, like chicken salad or on top of greens for a great garden salad.

Nutrition

Calories: 534kcal | Carbohydrates: 1g | Protein: 96g | Fat: 13g | Saturated Fat: 3g | Polyunsaturated Fat: 2g | Monounsaturated Fat: 5g | Trans Fat: 0.1g | Cholesterol: 289mg | Sodium: 678mg | Potassium: 1701mg | Fiber: 1g | Sugar: 0.1g | Vitamin A: 364IU | Vitamin C: 12mg | Calcium: 44mg | Iron: 2mg

Nutritional values are approximate.