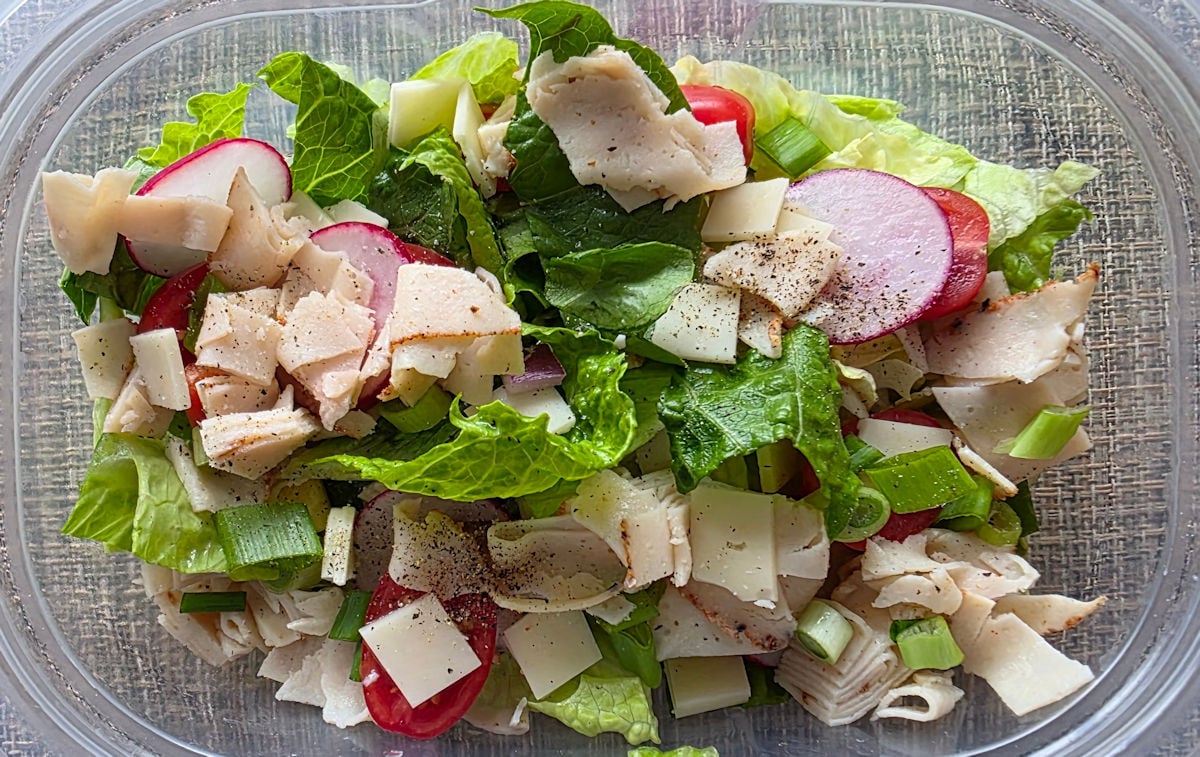
Used to be, ham and bologna were about the only sandwich meats I knew of. That was long ago. Now, rotisserie-style chicken is a favorite. Where was it when I was a kid? Then, it was sandwiches. Now, it’s more salads. Salads like this Subway rotisserie-style chicken sub in a tub. That great rotisserie chicken flavor on an easy-to-make salad. Only minutes spent preparing, for minutes of happiness!
I Look Forward To Salad Week
I usually have what I call ‘salad week’ here. An entire week of salads for lunch or dinner. I go to the grocery store and I grab fresh ingredients, then prepare them all at once. Or most of them. The items that hold up well are prepared ahead of time. The rest I do the day-of. That way, I can make my Subway rotisserie-style chicken sub in a tub in no time at all the next day. I just grab my favorite dressing, and it’s time to eat.
I made a copycat version of Subway’s Italian BMT sandwich early last year. And it was good, mighty good… But, I used a loaf of French bread I picked up at my local grocery store. Not that there’s anything wrong with that, it just has been nagging at me ever since. It just wasn’t quite like the real Subway bread. I felt a bit like I was cheating myself. But this copycat recipe for Subway bread is like the real thing. And it makes all the difference in the world. Every sandwich I made with this bread was to die for. Perfect.
Even I Can Make This
I should add that I can’t bake. I’ve had numerous failures. Many more failures than successes. But, I don’t give up. This recipe for a copycat Subway bread is actually very easy, though not quite fool-proof. Even if you’re a bad baker like I am you can pull it off.
The hardest part of this recipe is kneading the dough. It’s a workout. I’m sure there’s a mixer version of this recipe somewhere I could have a little paddle do all that work for me, but this is the one I have so I rolled up my sleeves and got at it! After 5 minutes the ball of dough was noticeably softer. The outside was smooth. Super-smooth. Like glass. I had the perfect ball of dough, ready to make into loaves!
Toasty Warm
You have to let the dough rise in a warm place. That can be hard to do in our house during the winter. If your oven has a proofing setting, use that. Ours does not (but boy, our next oven will!). Instead I use a downstairs room that has a heater vent. I close the door and let the room get toasty warm. It works perfectly for proofing dough!
Place warm water, yeast, sugar, salt and olive oil into the bowl of a mixer with a dough hook and let stand for 5 minutes until well bloomed.
Add 1 cup of all-purpose flour and mix for 3-5 minutes until combined.
Add 1 more cup of flour and mix until combined.
Continue adding flour 1/4 cup at a time until the dough is nice and soft, about 8 minutes. It should not stick to the sides of the bowl, but will stick a bit to the bottom. If it crumbles and falls apart, it is too dry, so add water (a teaspoon at a time) with the mixer running until the consistency is correct.
Lightly flour a work surface. Knead the dough until it is smooth and soft. This took me 5 or so minutes. It’s a workout, too, but worth it. Don’t give up!
Wipe out the mixer bowl and wipe with a paper towel that has been very lightly oiled.
Shape the dough into a ball and return to the mixer bowl. Cover with wrap and let rise in a warm place for one half to one hour or until it has doubled in size.
Line a baking sheet pan (or two) with parchment paper.
Dump the dough onto your lightly floured surface and divide into 4 equally sized pieces.
Shape (roll) each dough piece until it is a 9″ long loaf that is roughly the same thickness all over. Mine came out about 1 1/2″ – 2″ thick.
Transfer dough to the baking sheet, keeping them 2″ apart. I needed two pans.
Cover with plastic wrap that has been sprayed lightly with non-stick spray.
Place in a warm place and let rise until doubled, about an hour.
Meanwhile, preheat your oven to 350 F.
When loaves have doubled, remove plastic wrap and bake for 25 minutes.
When loaves are done, remove from the oven and immediately rub the tops with the stick of butter. You don’t need much, but you do want to rub the entire top of the loaf. This will give the loaves the perfect crust and texture.
Cover with a clean towel and let cool for 30 minutes.
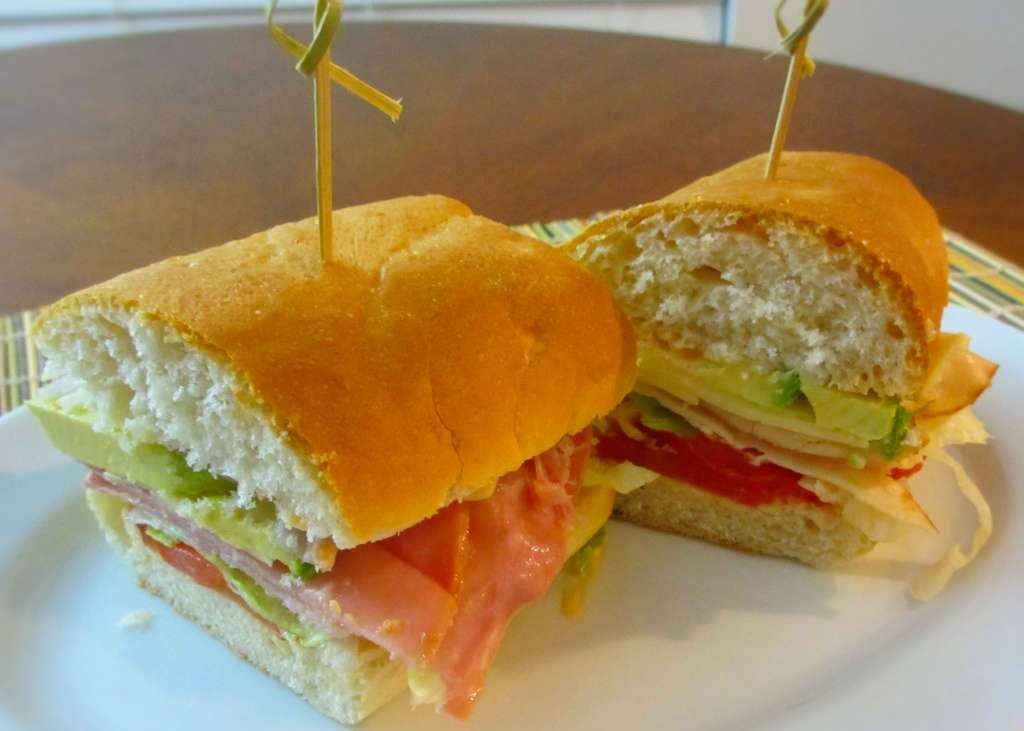
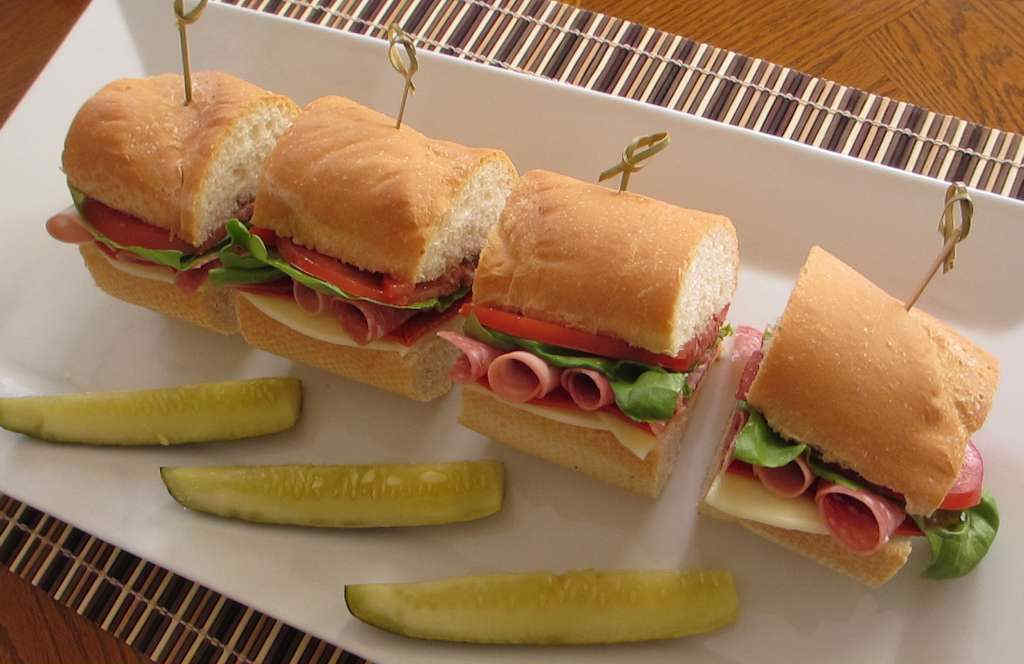
You don’t need to go out to have a great sandwich. This copycat recipe for the Subway Italian BMT sandwich is outstandingly simply and good. Good meats, fresh toppings and a delicious dressing. I used my copycat of Subway’s sub bread to keep it authentic and yummy! This sandwich was just as much fun to make as it was to eat. And the best part is that I got to customize it just like I want it. For me that means extra. Extra meat. Extra cheese.
Ooooh. Aaaah. Make It Fancy!
Chez John taught me the trick about rolling up the meats before putting them on the sandwich. Not only does it look awesome, it makes it look like there’s a lot more meat! Try it. People will think you went the extra mile when you made this copycat recipe for a Subway Italian BMT Sandwich. Granted, your meat doesn’t come rolled when you hit up the chain restaurant for a sandwich. Maybe it should! Or maybe you can smile and ask the sandwich professional to roll it for you. Just make sure you say ‘please’ and ‘thank you’! It’s worth a shot!
Secure the bread with toothpicks and cut into four or six equally-sized sandwiches.
Notes
As you can see in the comment section below, someone pointed out that I did not use the exact meats and cheeses available at Subway. That’s quite true, I was looking for a bit of my own twist on the sandwich. If you want to stick to the real deal, use the meats and cheeses below as you wish: Genoa salami, spicy pepperoni, Black Forest ham, pepper jack, provolone, smoked cheddar and white American.