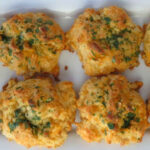
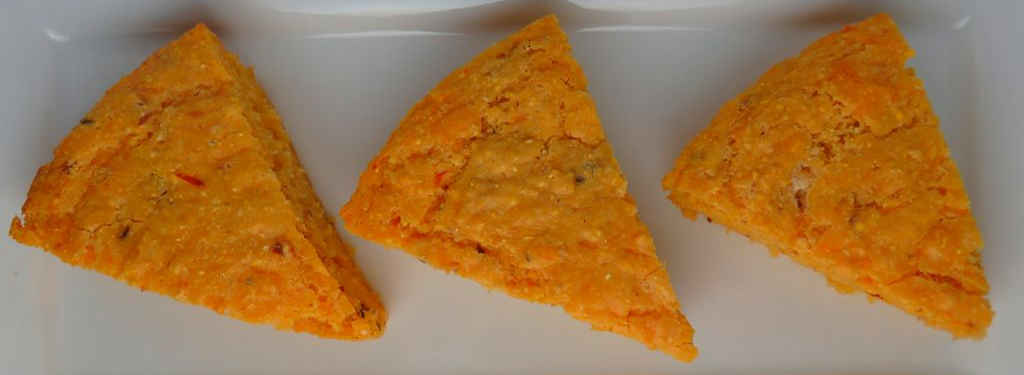
Our neighbor brought us a big ole bag of perfect jalapeno peppers. I was like a kid at Christmas. I immediately added the ingredients for jalapeno cornbread to my grocery list. Which isn’t much, since it’s the easiest thing to make. This cornbread cooks up deliciously moist. You can taste the peppers. They aren’t so overwhelmingly hot that you regret every bite. Not at all. There’s a nice little kick, but I found it pleasantly spicy.

Any Pepper Makes For Great Cornbread
This recipe for jalapeno cornbread can also be changed to use whatever your favorite pepper might be. Poblanos bring that great pepper flavor, but without as much spiciness. Green bell peppers of course would be quite tame. The bigger the pepper, the less the heat, so peruse your local market and grab whatever peppers suite your fancy. Or use a combination of peppers for a great pepper flavor-packed cornbread!
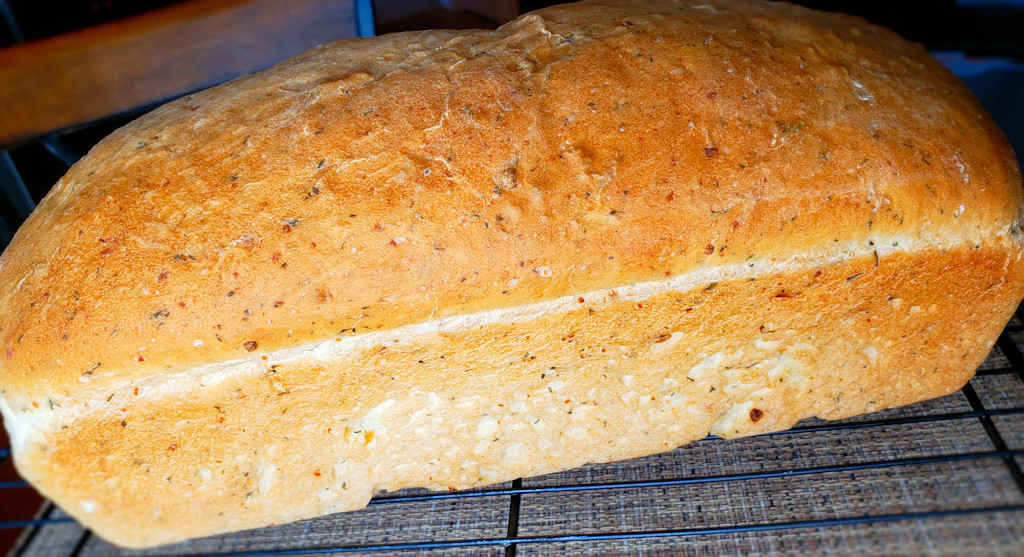
I baked my cornbread in a large cast iron skillet. Nothing heats up better and more evenly. And cast iron gives the cornbread that fantastic crust!

Also try my chipotle cornbread.

Jalapeno Cornbread
Equipment
Ingredients
- 2 teaspoons vegetable oil
- 1 cup all-purpose flour
- 1 cup cornmeal
- 2 tablespoons sugar
- 1 ½ teaspoons baking powder
- ½ teaspoon baking soda
- ½ teaspoon kosher salt
- 1 cup buttermilk
- ½ cup unsalted butter melted
- 2 large eggs
- 1 ½ cups cheddar cheese shredded, divided
- ½ cup creamed style corn
- 2 jalapenos seeded, diced
- 1 jalapeno sliced
Instructions
- Place oil in a 10 inch cast iron skillet.
- Using a paper towel, spread the oil out over the bottom and sides of the pan.
- Place in the oven and preheat to 400 F.
- In a large bowl, combine the flour, cornmeal, sugar, baking powder and salt.
- Whisk in the buttermilk, butter, and eggs.
- Fold in 1 cup of the cheese, the corn and the diced jalapenos.
- Remove the skillet from the oven.
- Pour in the batter and spread out evenly.
- Top the batter with the remaining cheese and add the sliced jalapenos.
- Bake for 20-25 minutes until a toothpick inserted in the middle comes out clean. Let cool in pan for 10 minutes before slicing.
- Let cool slightly before slicing and serving.
Notes
Nutrition
Nutritional values are approximate.