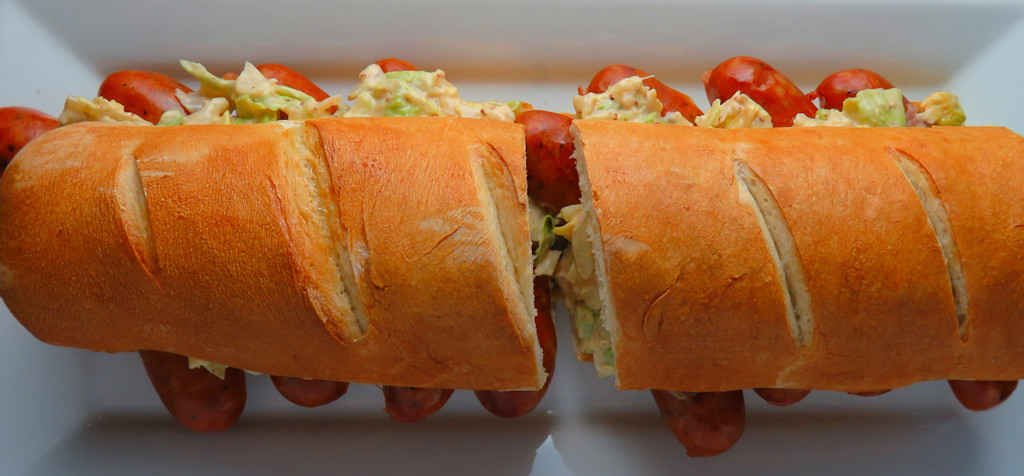
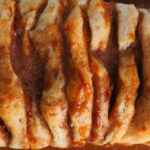
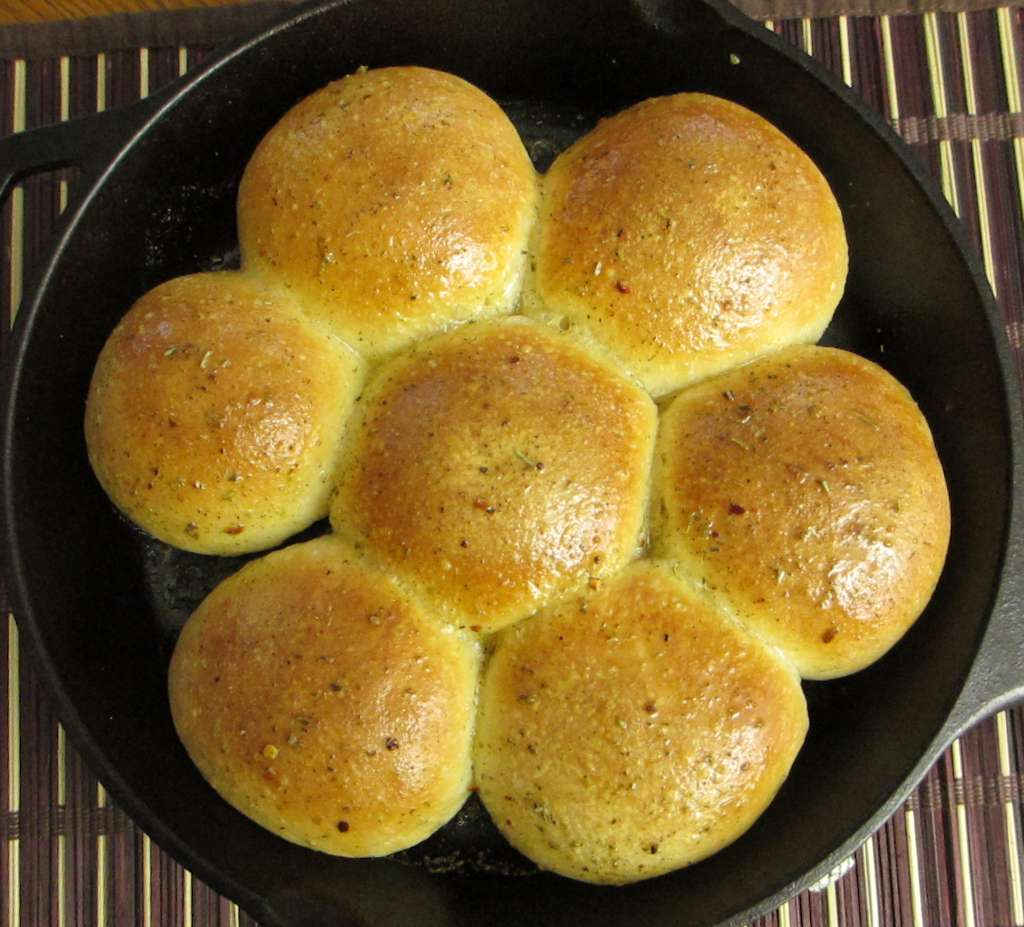
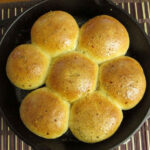
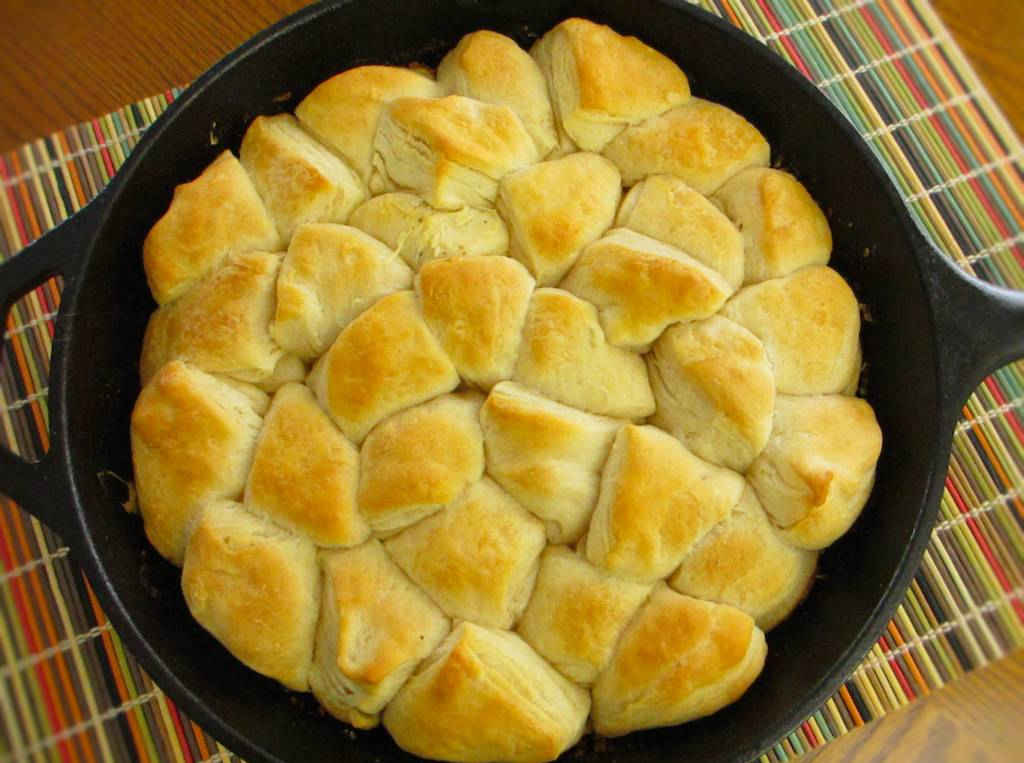
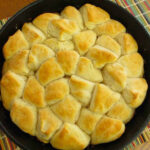
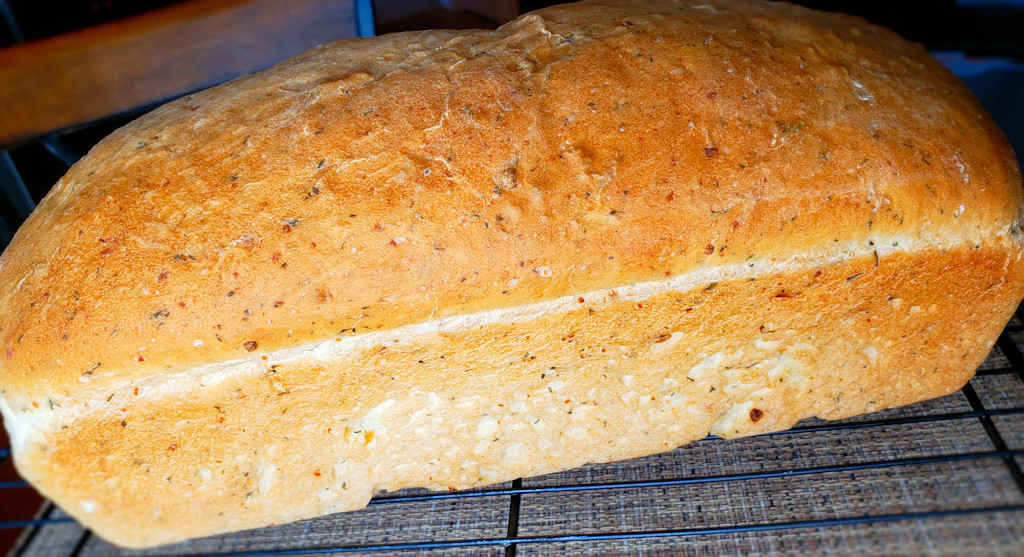
I am not a baker. That’s why I have a bread machine. I’m lucky even still to get something that resembles a loaf of bread. And I’m really lucky (and happy) if I get a loaf that tastes as fantastic as this bread machine Italian herb bread. The aroma from this bread as it bakes is insanely amazing. If I could bottle it I would and I’d put it into air fresheners or one of those oil infuser things. Herbs are throughout the bread so there’s no chance you take a bite and don’t get all that deliciousness.
Add A Bit Of Heat. If You Want To.
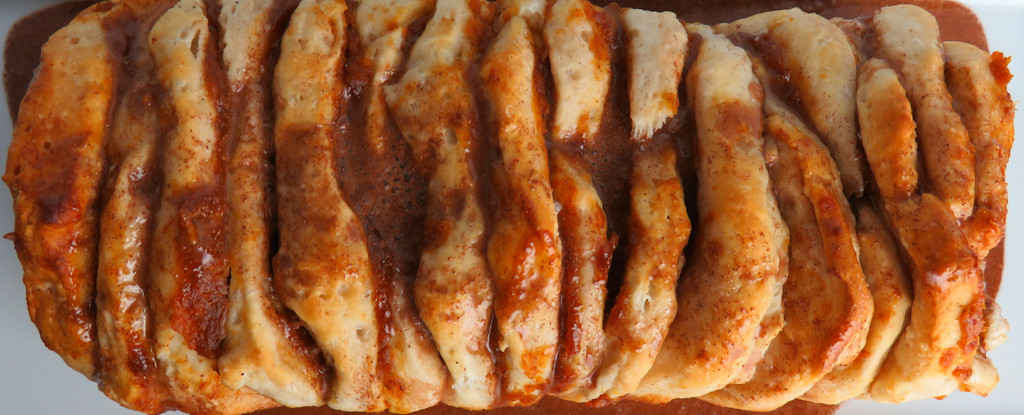
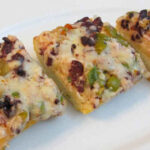
I wouldn’t change a thing about this bread machine Italian herb bread. Well, that’s sort of true. I sometimes sneak in a pinch or two or three of red pepper flake. Just enough for a bit of spiciness but not so much that the bread is ‘hot’. But trust me, the bread is fantastic just as it is. The herb flavor (and aroma) just cannot be beat. And neither can the flavors.
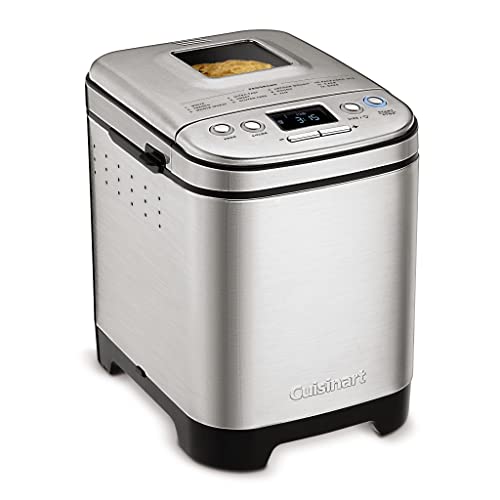
I keep practicing making bread by hand, and sometimes I get it and most of the times it just comes out ok. Until I’m a master, I’ll keep using my trusty bread machine.
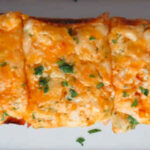
Also try my jalapeno cheese bread made using a bread machine.
Bread Machine Italian Herb Bread
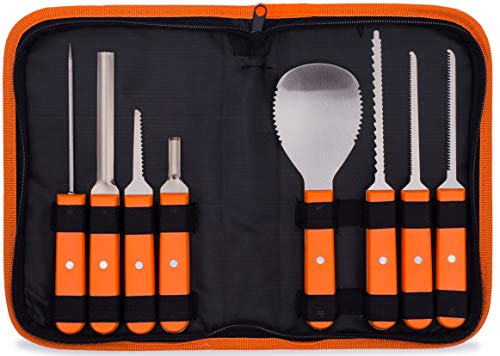
Equipment
Ingredients
- 10 ounces water room temperature (you might need as much as 12 ounces)
- 1 teaspoon kosher salt
- 2 tablespoons vegetable oil
- 3 ½ cups bread flour plus a bit more for working the dough
- ¼ cup Parmesan cheese grated
- 1 tablespoon dried parsley
- 2 teaspoon sugar
- 2 teaspoon dried minced onion
- ½ teaspoon dried basil
- ½ teaspoon garlic powder
- 2 teaspoon active dry yeast
Instructions
- Place ingredients into bread machine in the order listed.
- Process on dough cycle.
- Lightly flour a flat work surface and your hands. Remove dough from bread machine and work into a ball, folding with your hands.
- Transfer to lightly oiled bread baking pan.
- Cover loosely with plastic wrap that has been lightly sprayed with non-stick spray.
- Transfer to a warm place and let rise until doubled, 45 minutes to an hour.
- Preheat oven to 375 F.
- Carefully remove the wrap. Bake for 30-40 minutes or until golden brown.
- Remove and let cool slightly before slicing.
Notes
Nutrition
Nutritional values are approximate.