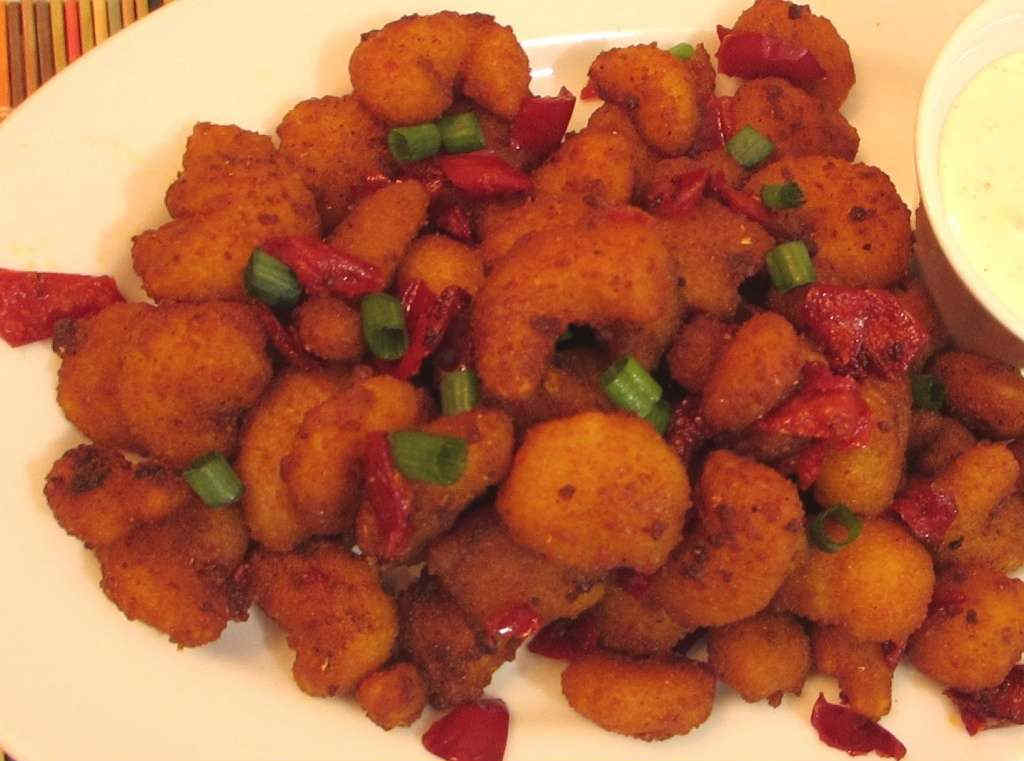
These No Penalty Party Shrimp were spot-on fantastic. I love a good cocktail shrimp and these up’d the game big time. The shrimp have the perfect bite-thru texture. And they’re nice and spicy, too. Great for dipping in ice-cold cocktail sauce. These shrimp are like popcorn. You can’t eat one or two, you have to eat a handful!

Bring On The Big Game
If you always head to the grocery store and grab a shrimp ring for that big game party, skip it. Just make a batch or two of these No Penalty Party Shrimp. They’re crazy easy to make and they’re 10 times tastier than that weird ring thing. And grab a good bottle of cocktail sauce unless you’re planning on making your own. My new favorite cocktail sauce is from the fine folks that bring us Old Bay. You know with a name like ‘Old Bay’ on the label that it’s gonna be good (and it is!)!

Warm. Or Cold.
You can serve these shrimp warm or cold. I had them both ways and loved them both ways. Being more of a shrimp cocktail guy, I think ‘cold’ when I think shrimp cocktail so I leaned a bit towards liking the cold version more.
Tailgating. Improved.
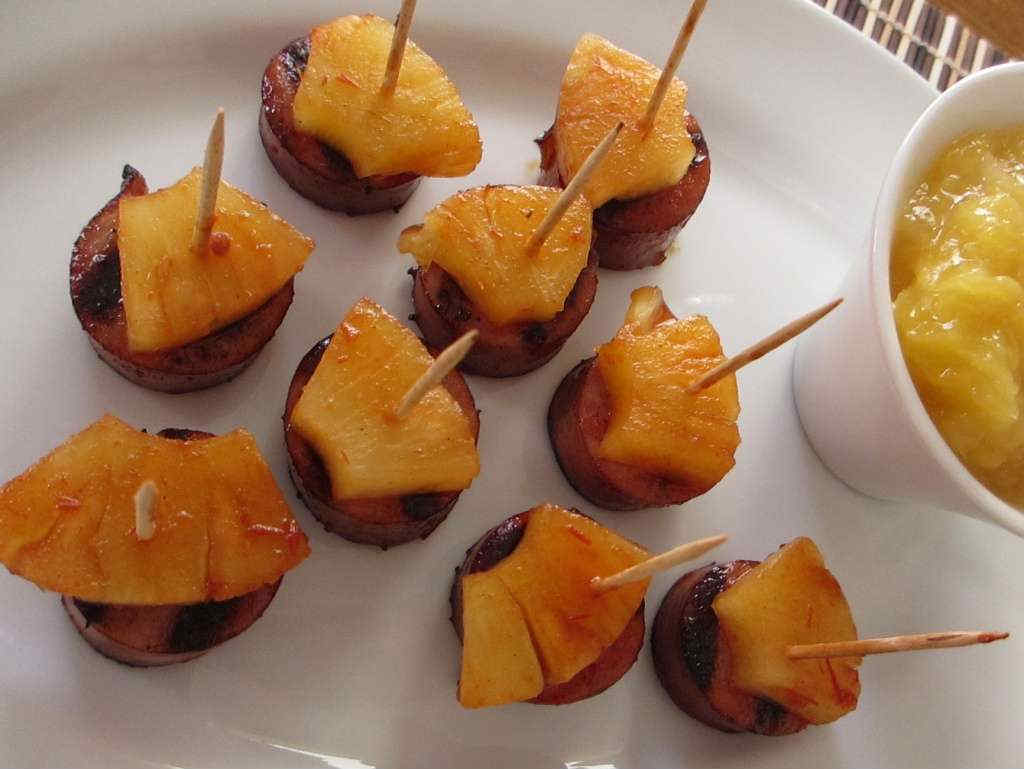
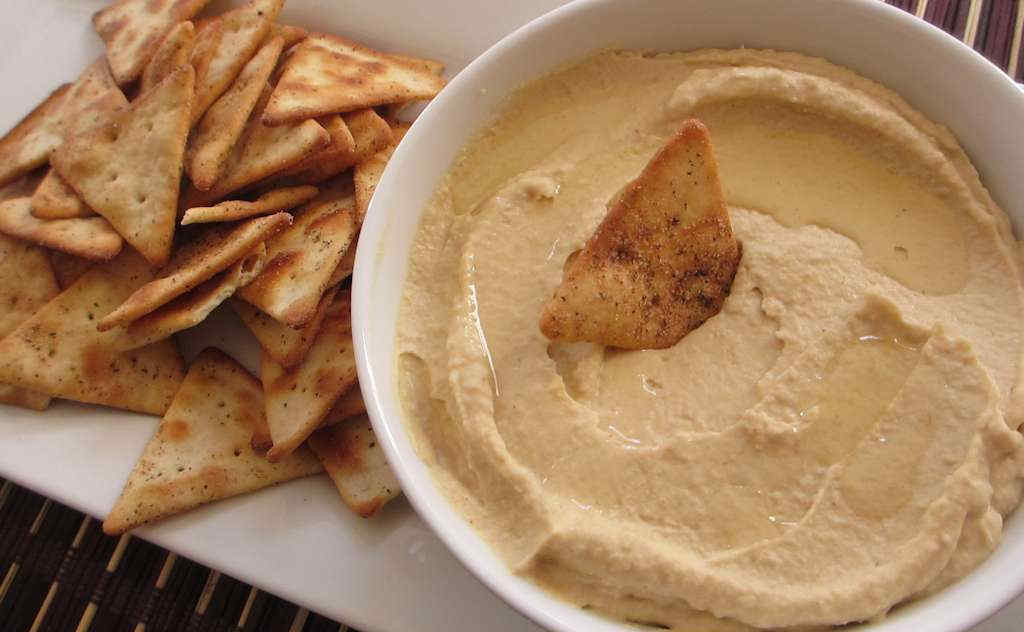
I got this (and a bunch of other) recipes from a great cookbook, Tailgating Done Right. If you’re sitting around want to up your party game, grab a copy of this cookbook and get to making great stuff!

Also try my sous vide shrimp cocktail.

No Penalty Party Shrimp
Equipment
Ingredients
- 7 ounce Italian salad dressing mix
- ¼ cup vegetable oil
- ½ teaspoon paprika
- ½ teaspoon garlic powder
- ¼ teaspoon cayenne pepper
- 1 pinch kosher salt
- 1 ½ pounds large shrimp peeled, deveined, thawed if frozen
- cocktail sauce for serving
Instructions
- In a large bowl combine all but the shrimp and cocktail sauce.
- Add the shrimp. Toss to coat well. The best way to get them good and covered is to use your hands.
- Cover the bowl and refrigerate 1-4 hours.
- Preheat your broiler.
- Shake off any excess seasoning and place the shrimp onto a large baking sheet. Do not overlap the shrimp.
- Place 4" under the broiler for 4-7 minutes, turning once, until pink and opaque.
- Let cool slightly.
- Serve warm with cocktail sauce.
Notes
Nutrition
Nutritional values are approximate.