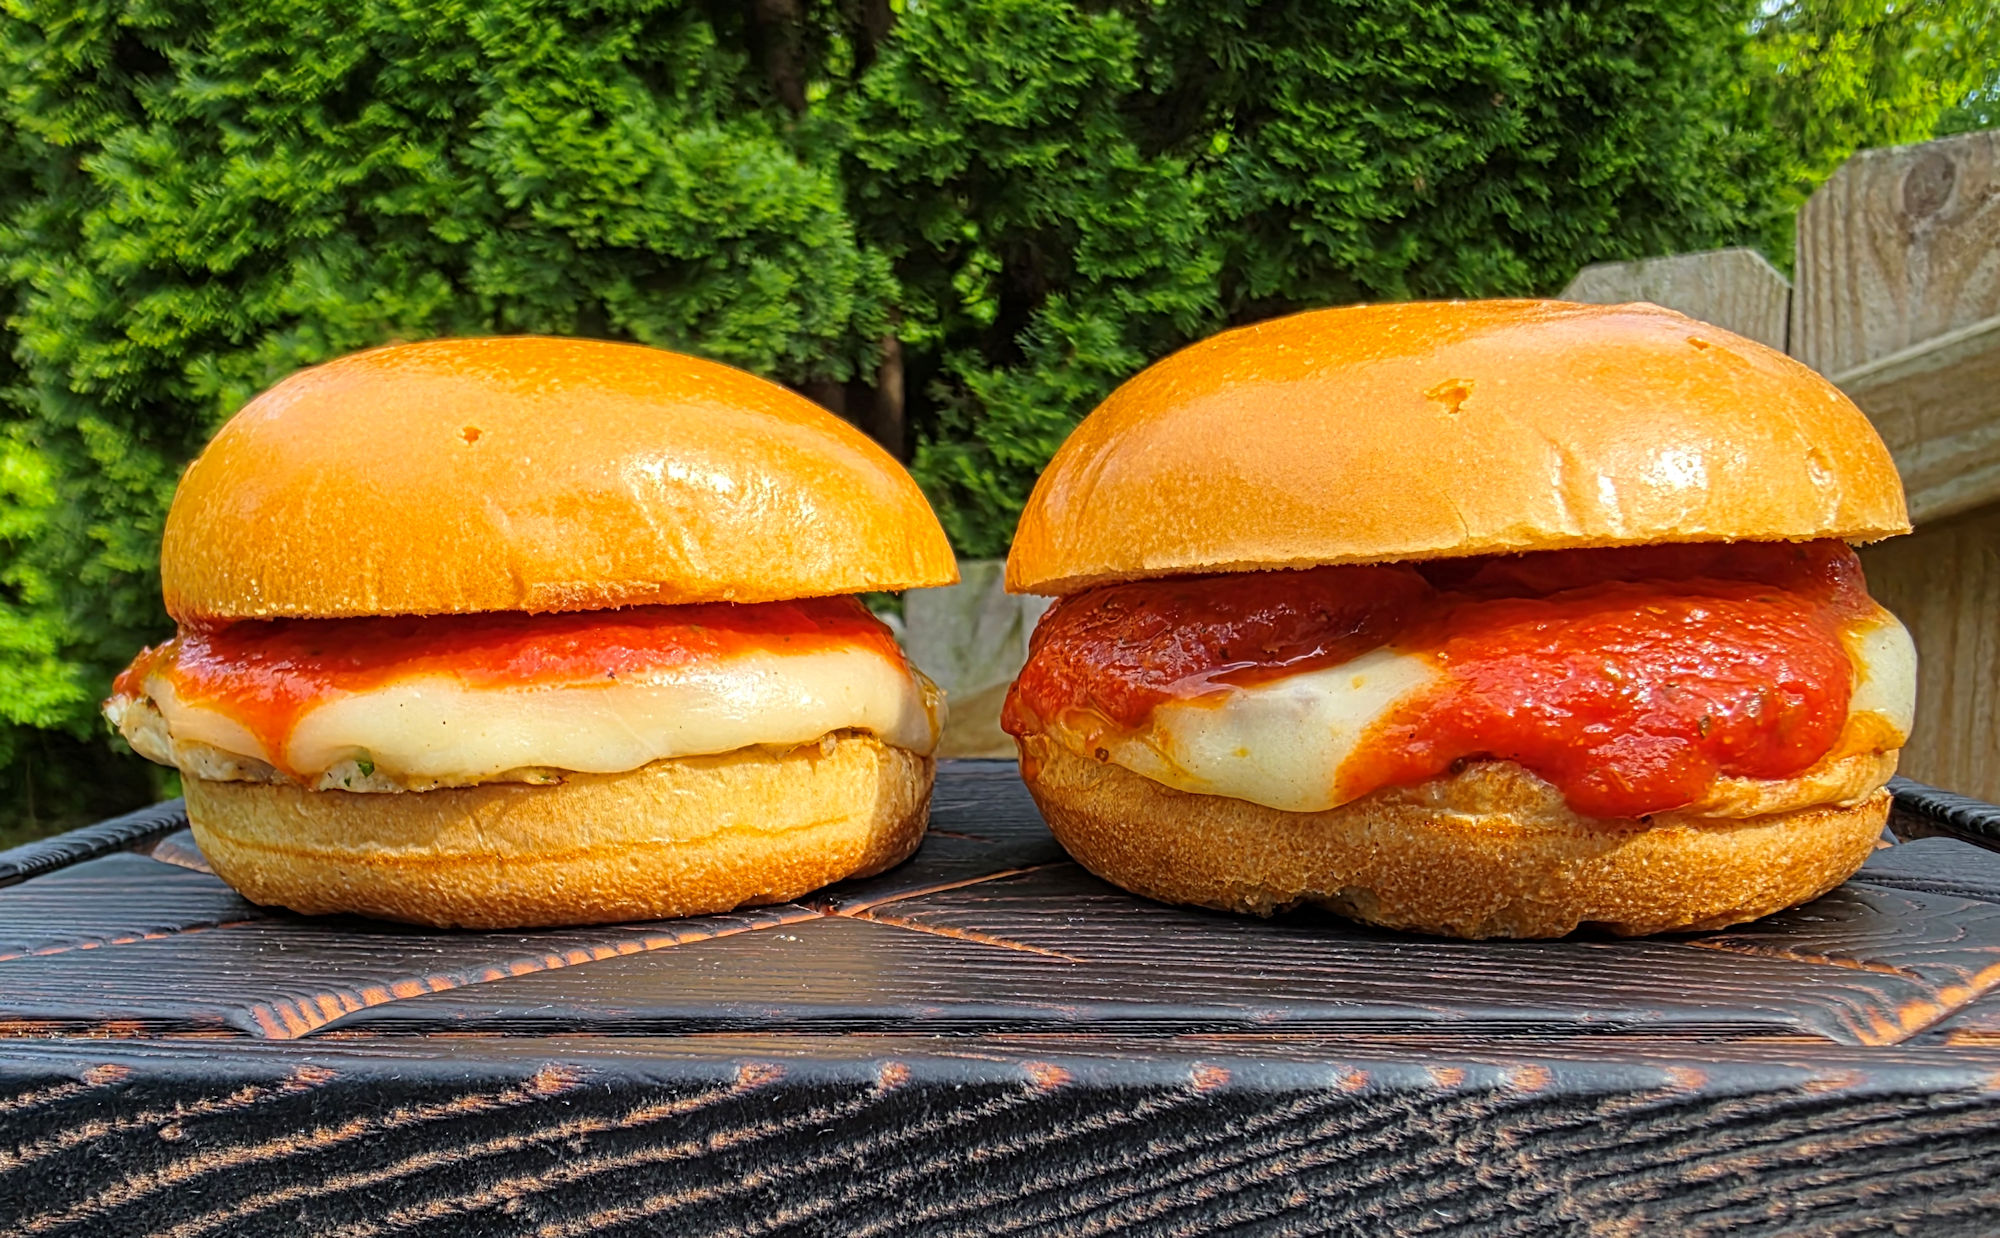
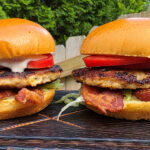
You gotta add flavor when you make chicken burgers. And boy, do these cheddar Ranch chicken burgers add flavor. I almost thought about giving up on beef hamburgers after my first bite. Juicy. Nicely cheesy. Ranchy. Just flat-out yummy. The toppings are up to you. I went with some of my favorites, like lettuce and tomato and bacon. Heck, they’re great with just Ranch dressing!

Is It Hot In Here?
As they are, these cheddar Ranch chicken burgers are delicious. There’s no reason to change a thing. Ever. But… If you like a little kick, a little heat, in your burgers, there’s no reason not to add some (or a lot)! Add a few pinches of red pepper flake or cayenne. For color and heat, mince up a jalapeno or two (seeded or not, up to you) and add to the chicken mixture. And yeah, you can use pepper jack cheese instead of cheddar. Now we’re talking a little heat!
Or just make them the way they are. They’re delicious!
And yes, you can make these with ground turkey instead!
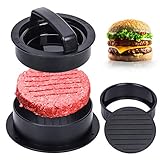
- 3 in 1 Hamburger Press: The Burger press has…
- Premium Durable Material: Our hamburger patty…
Also try my black bean teriyaki burgers!
Cheddar Ranch Chicken Burgers
Equipment
Ingredients
For the chicken patties
- 2 pounds ground chicken
- 1 egg
- ½ cup plain bread crumbs
- 1 ounce Ranch dressing mix 1 packet
- 3 cloves garlic minced
- ½ cup onion finely diced
- ½ cup cheddar cheese finely shredded
For the burgers
- vegetable oil for cooking the patties
- 8 hamburger buns toasted as desired
- Ranch dressing
- toppings your favorites, such as shredded lettuce, tomato, cooked bacon, sliced onion
Instructions
For the chicken patties
- Place all of the patty ingredients into a large bowl.
- Combine the ingredients using your hands. Get everything well-distributed.
- Form the patties into 8 equally-sized patties. They'll be about 5 ounces each. Place onto parchment paper until ready to cook.
For the burgers
- Preheat a large skillet over medium heat. Alternatively, the patties can be cooked on an outdoor (or indoor) griddle.
- Add some oil.
- Working in batches as needed, cook the patties for 6-8 minutes per side. They should be nicely browned and cooked through.
- Slather the cut sides of the buns with Ranch dressing.
- Add the cooked patties and your desired toppings.
Notes
Nutrition
Nutritional values are approximate.

- Saving Storage Space : The detachable solid…
- Making Hamburger Elegantly – Perfectly…

- Quality Material: the bacon press is made of food…
- Practical Wood Handle Design:Featuring a…

- Perfect Size: 6×6 inches of 300 count patty paper…
- Non-Stick & Easy to Clean: Patty paper use the…