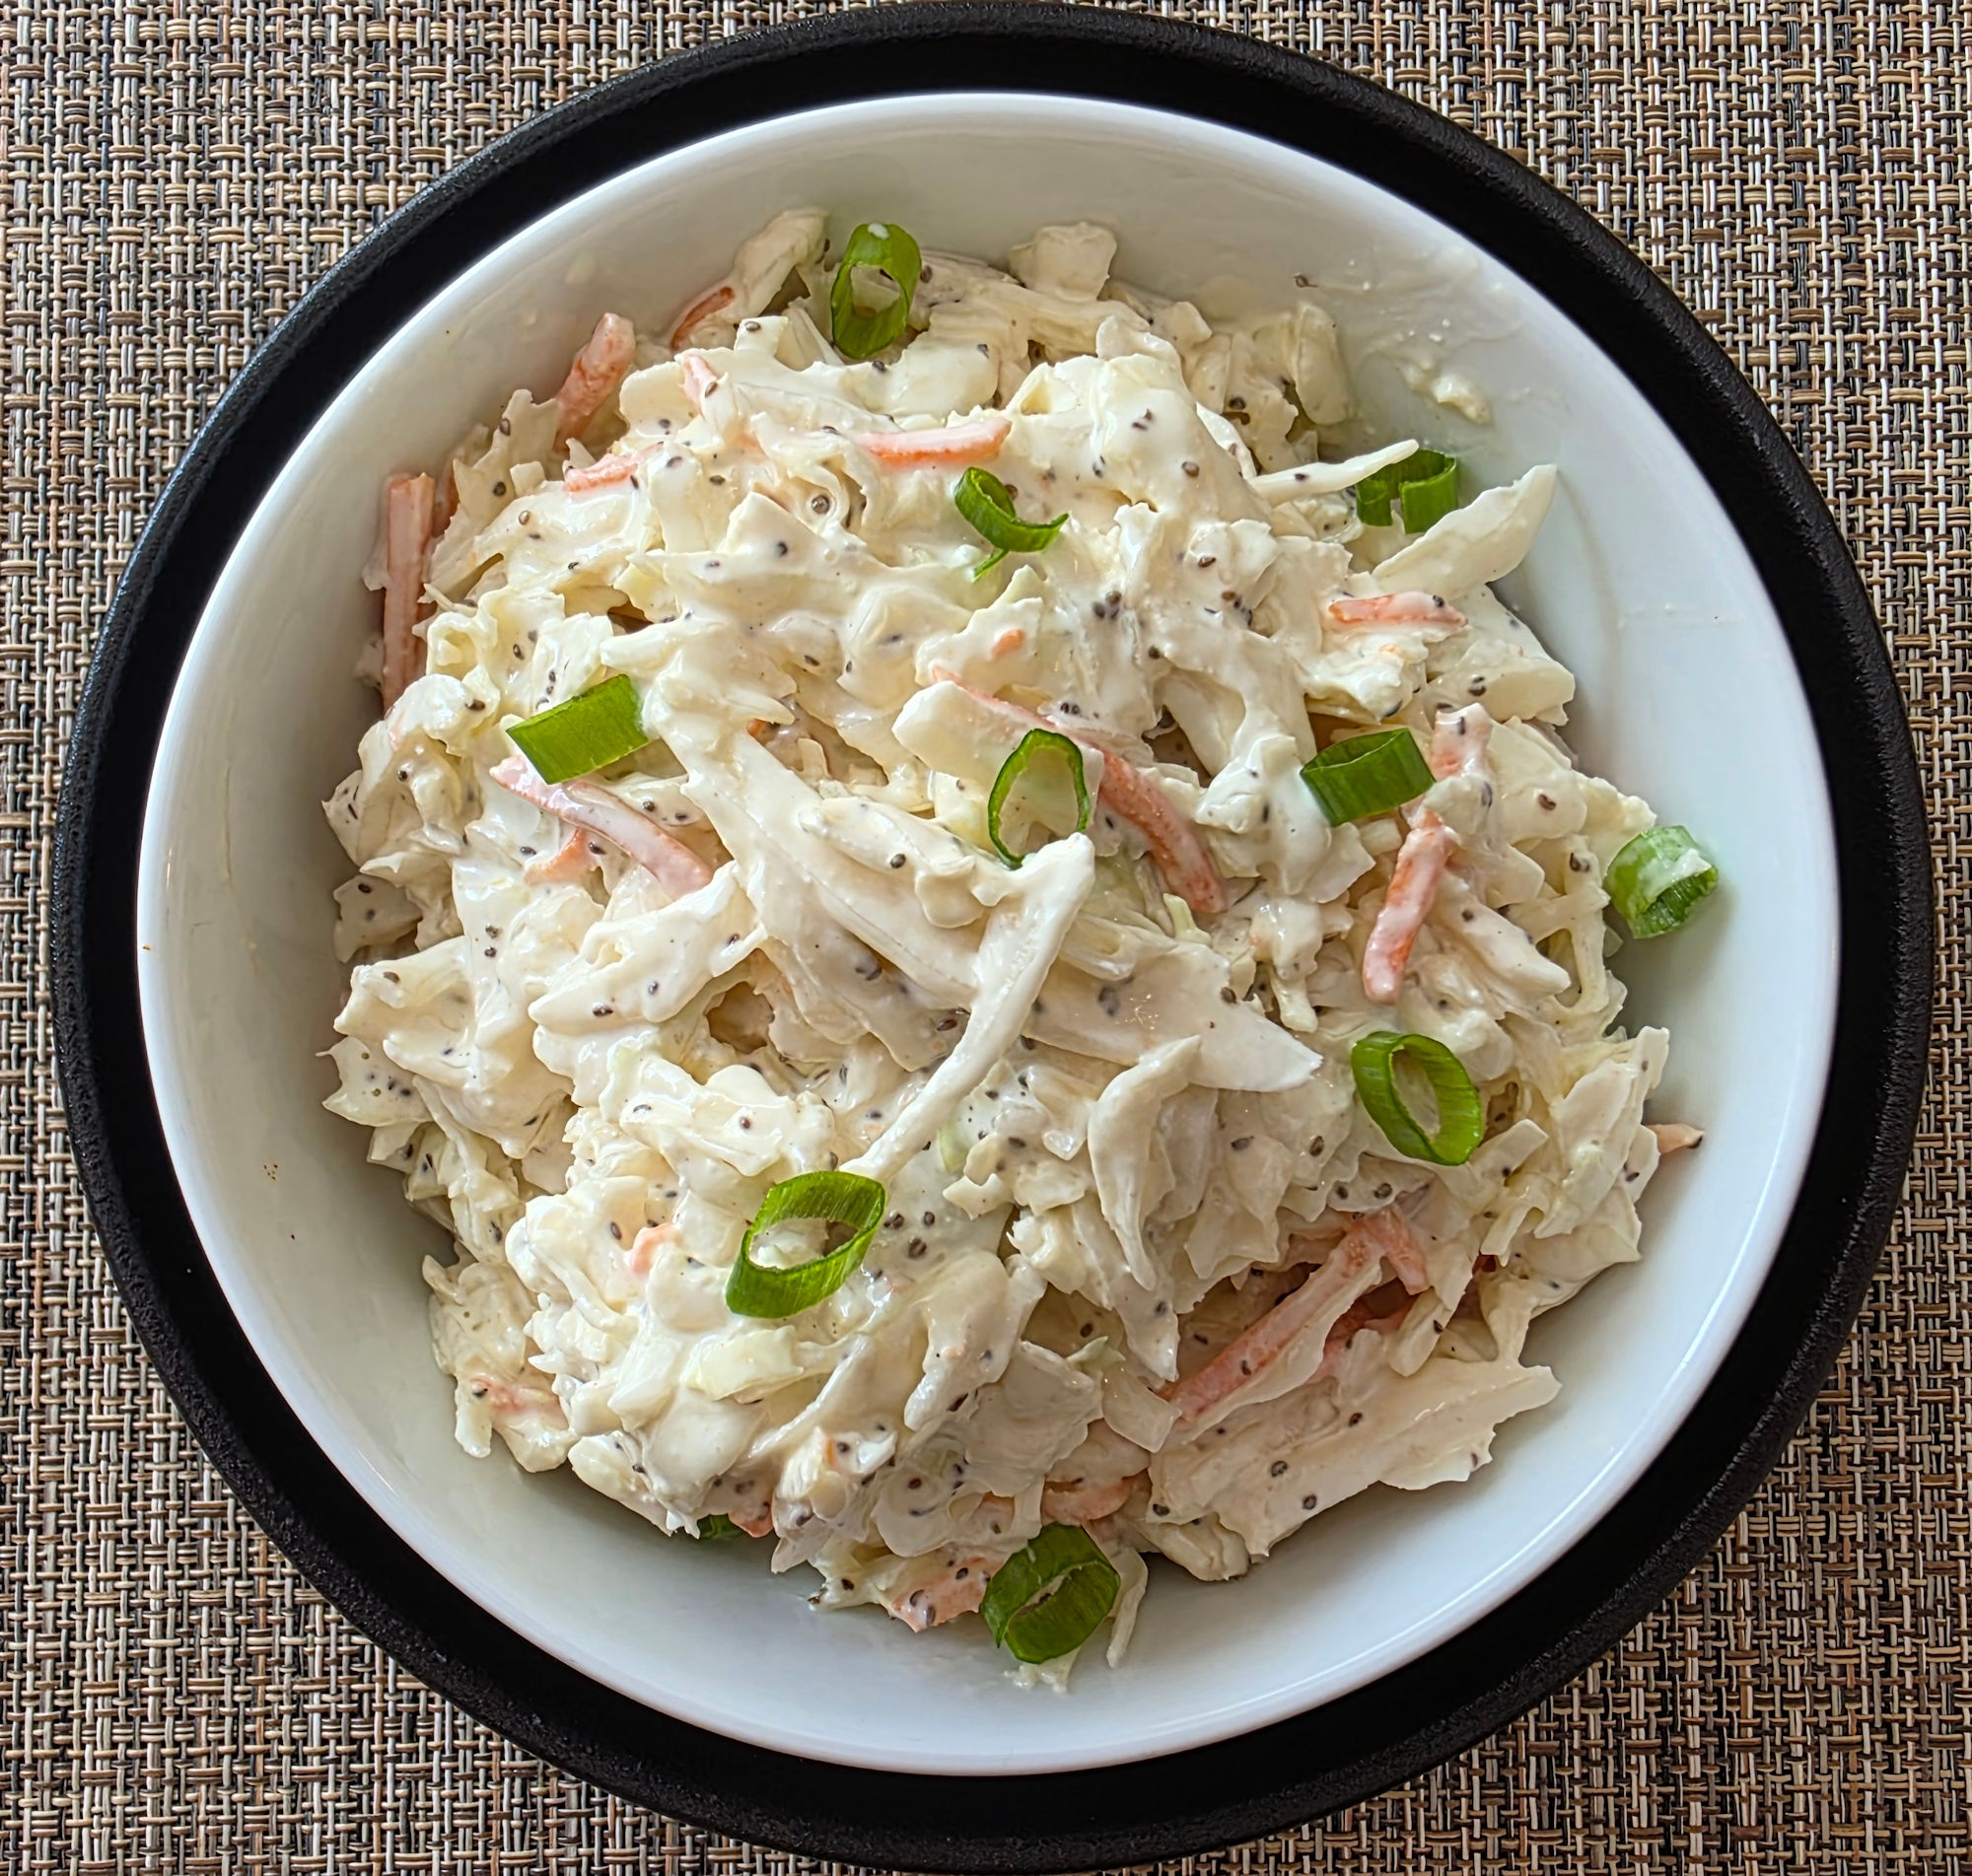
Easy. Delicious. That’s what I want from my coleslaw. Oh sure, sometimes I’m feeling more fru-fru and add ‘weird’ things to my slaws. But not this time. This Memphis-style coleslaw was put together in no time using ingredients I had hanging around. I didn’t have to make a shopping list. I didn’t have to do a lot of prep. It’s basically an ‘everyone into the pool’ recipe, and I like those. The slaw is sweet and creamy and crunchy. That’s my favorite kind.
Made Fresh, So Eat It Fresh
I have a thing about my coleslaws. It’s a texture thing. I gotta have that crunch. Fresh cabbage. I’m not a big fan of most coleslaws after they’ve been around a few days. They tend to lose that crunch that I love. If you’re the same, then do what I did. Eat it just as soon as you make it. This Memphis-style coleslaw is so good you’ll have no problem doing that. Put extra on your plate if you need to. You’ll want to.
I almost always use Blue Plate mayonnaise in the dishes I make. I think it is the best around. If you can’t find it locally you can pick it up online for a fair price.

- Real Mayonnaise Made Like Homemade: Time-honored…
- A History of Delicious: Our simple…
This slaw is the perfect side for my Bourbon Street pulled pork sandwiches!
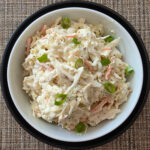
Memphis-Style Coleslaw
Equipment
Ingredients
- 1 cup mayonnaise
- 2 tablespoons Dijon mustard
- 2 tablespoons apple cider vinegar
- 3 teaspoons sugar
- ¾ teaspoon kosher salt
- 1 teaspoon onion powder
- 2 teaspoons celery seed
- 16 ounces coleslaw mix I prefer the finely shredded mix for this slaw
Instructions
- In a large bowl, whisk together all but the coleslaw mix until smooth.
- Add the coleslaw mix and stir until coated.
- Cover and refrigerate for at least one hour before serving.
Notes
Nutrition
Nutritional values are approximate.

- Meal Prep MVP – A practical and innovative way to…
- 12 Diverse Blades – With nine interchangeable…

- Set includes: 1/4 cup, 1/3 cup, 1/2 cup and 1 cup
- Magnetic handles keep Cups together for storage…