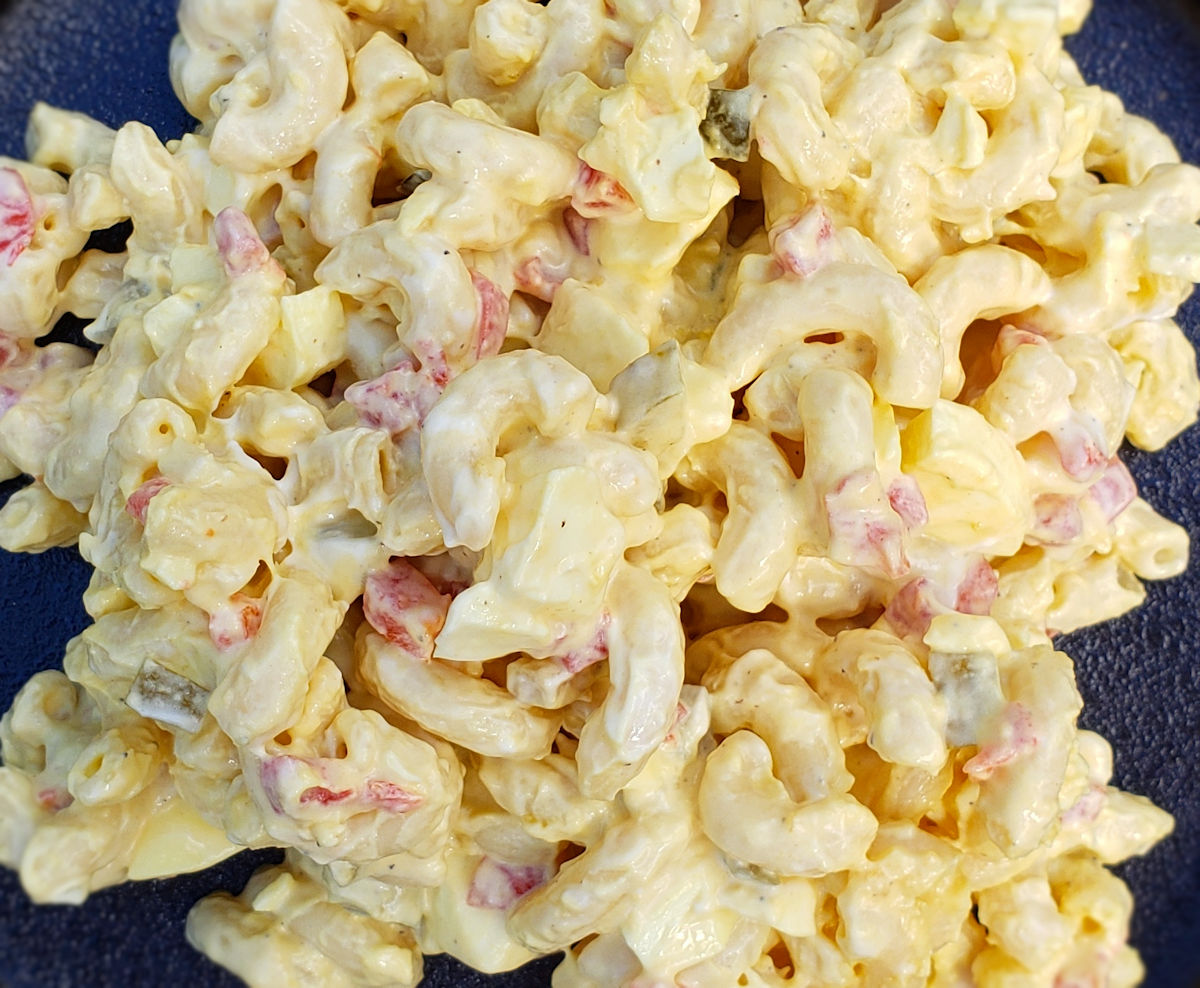
It was a hot summer’s day. My mind was floating off to summers gone by and to picnics and family get-togethers. And then I remembered… pasta salad. Now there’s something I’ve always loved and it always screamed ‘summer’ to me. But I was looking for something a little different. Something as good as grandma’s (well as good as hers as possible) but with a twist. And here it is. Deviled egg pasta salad. Everything good in one salad. Deviled eggs (you probably figured that). Pasta (and you probably were expecting that too). And dill pickles. What? Yep, no celery. Dill pickles instead.
In A Pickle
This is a dill pickle-flavor-packed pasta salad, make no mistake about it. Now me, I love that flavor so I put a bit extra in my deviled egg pasta salad. You might want to cut it back a bit. Or add more. I don’t know you. Maybe you love pickles even more than I do.
No More Pickles?
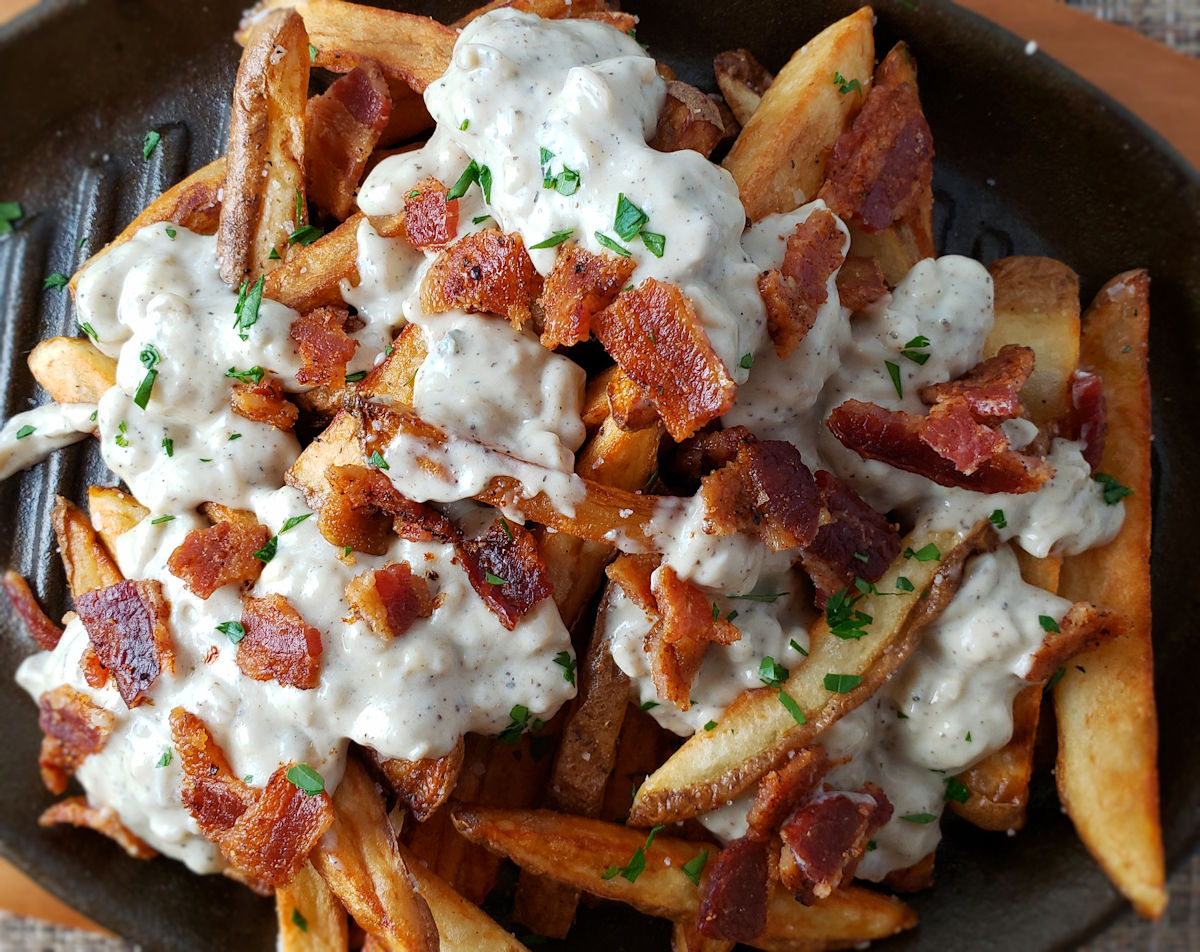
Did you use up your jar of dill pickles? Great! Now don’t toss out that wonderful pickle brine! It’s great for a lot of things. It’s great in a burger sauce. Perfect in a fry dipping sauce. Or use it to marinade chicken before throwing it on the grill!

- SAFETY FEATURES: Automatic safety shut-off and…
- INCLUDED ACCESSORIES: Comes with poaching tray…
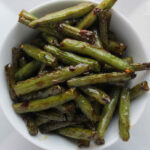
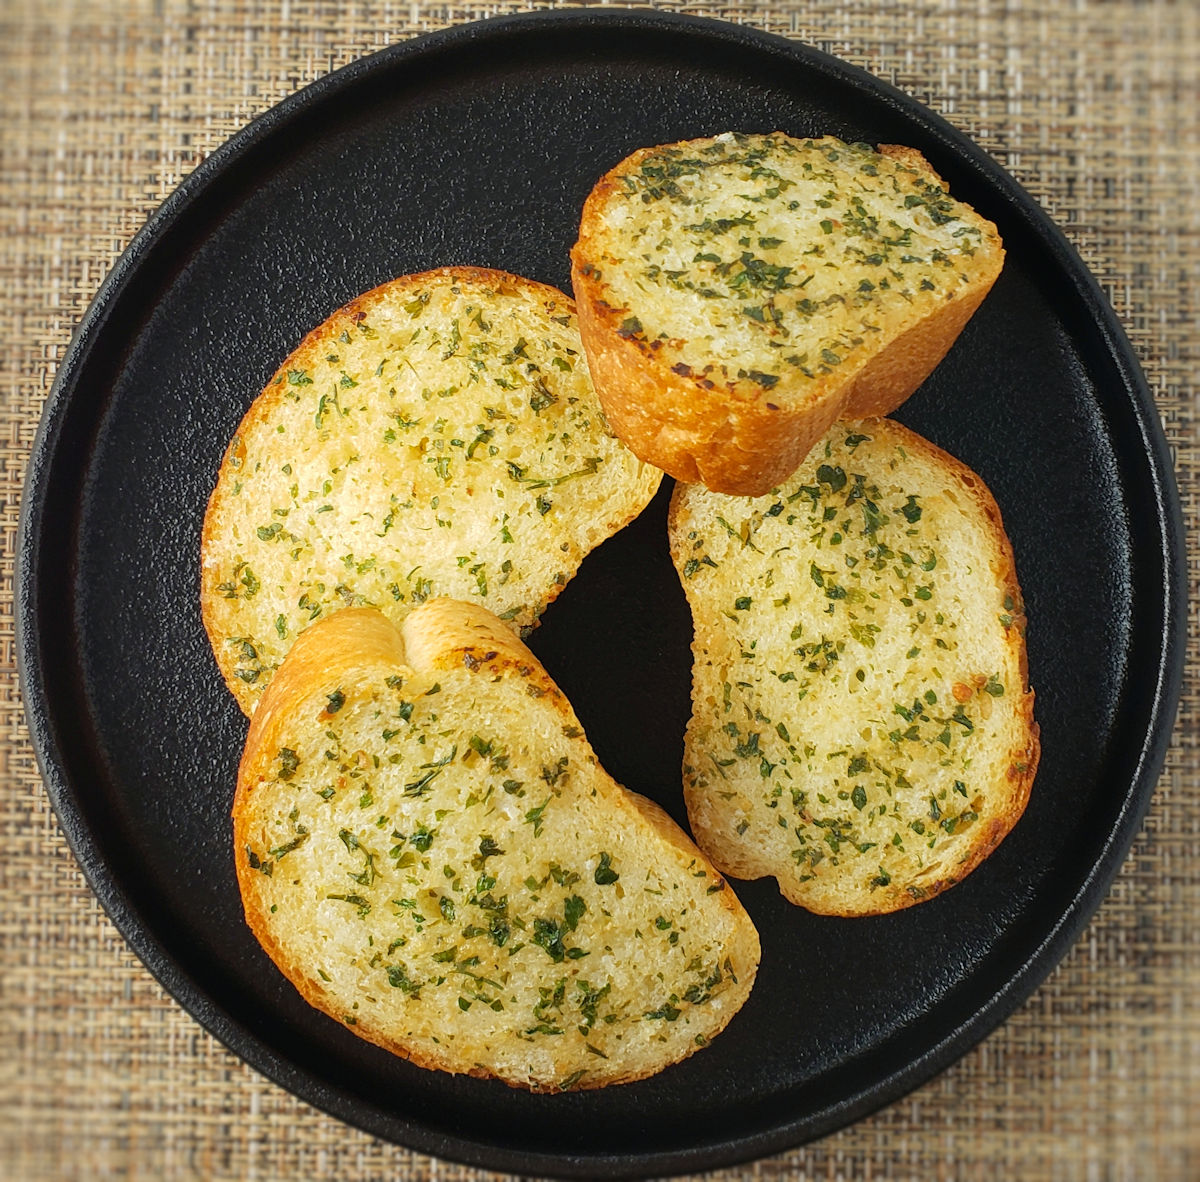
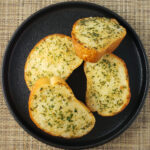
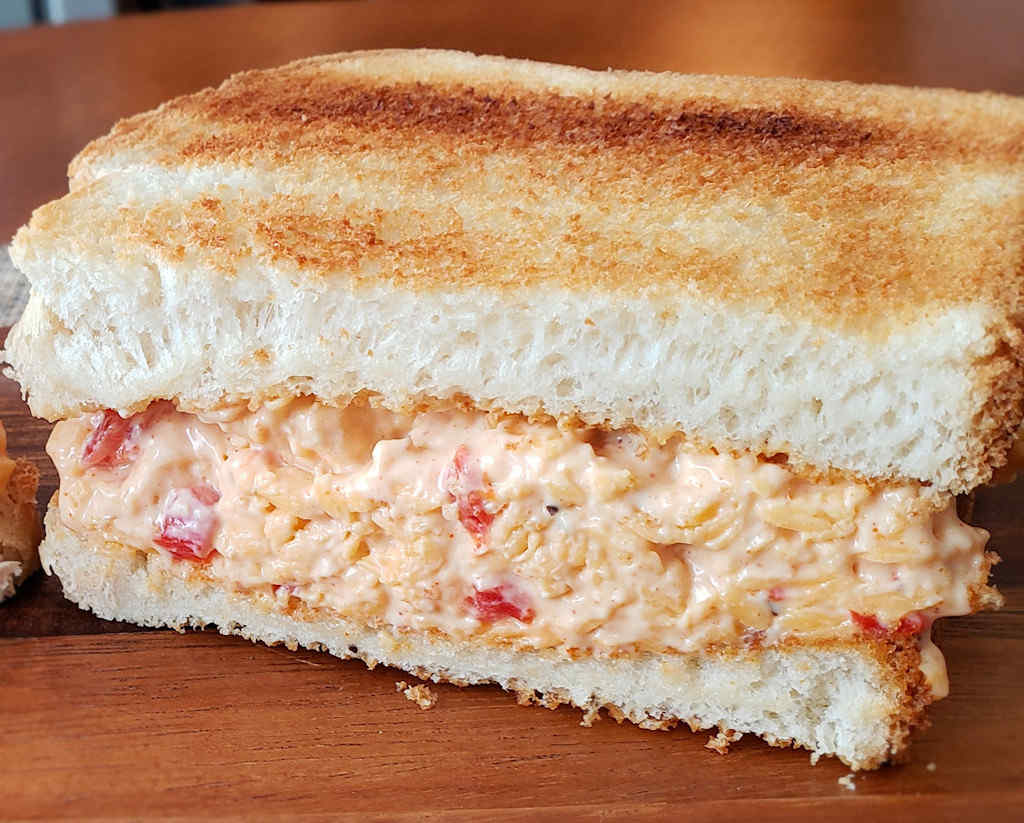
Also try my ham salad sandwiches!

Deviled Egg Pasta Salad
Equipment
Ingredients
- 1 pound elbow macaroni
- 10 eggs boiled, peeled, chopped
- 3-4 large dill pickles chopped
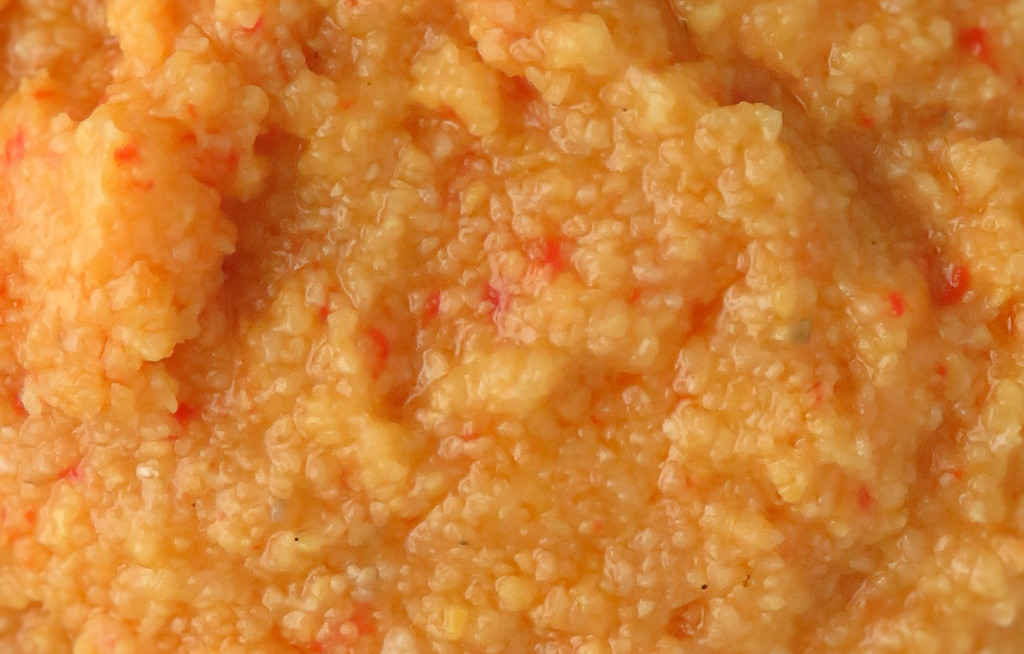
- 8 ounces pimientos chopped, drained
- ½ cup onion chopped
- 1 ½ cups mayonnaise
- ⅓ cup prepared yellow mustard
- kosher salt to taste
- freshly ground black pepper to taste
Instructions
- Cook the pasta per the package instructions.
- Rinse and drain well and place in a large bowl.
- Add the chopped eggs and pickles along with the pimientos, onions, mayonnaise and mustard.
- Stir gently to get well-combined.
- Season with salt and pepper to taste and stir.
- Refrigerate until ready to serve.
Notes
Nutrition
Nutritional values are approximate.

- Meal Prep MVP – A practical and innovative way to…
- 12 Diverse Blades – With nine interchangeable…

- Set includes: 1/4 cup, 1/3 cup, 1/2 cup and 1 cup
- Magnetic handles keep Cups together for storage…