I go thru a lot of chipotles in adobo sauce. I have an entire section of one of my pantry shelves devoted to cans of them. So it occurred to me that I should try my hand at making them at home. These chiptoles in adobo came out fantastically. Great smoky flavor and a bit of heat. They do take a bit of time to prepare, but they are oh so worth the trouble.

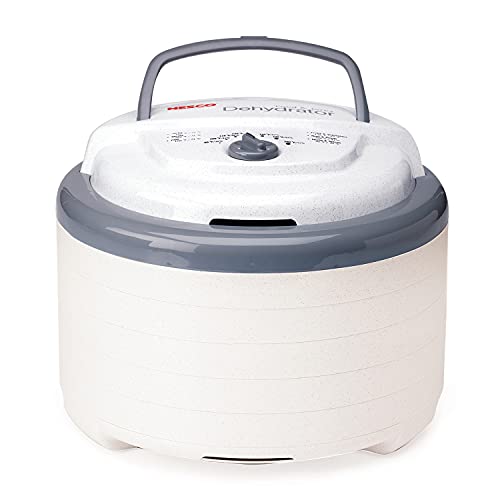
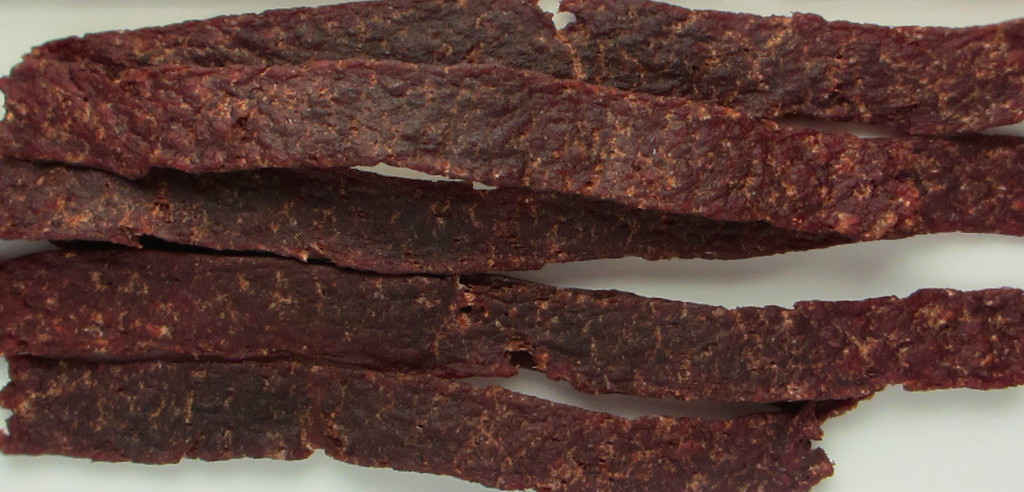
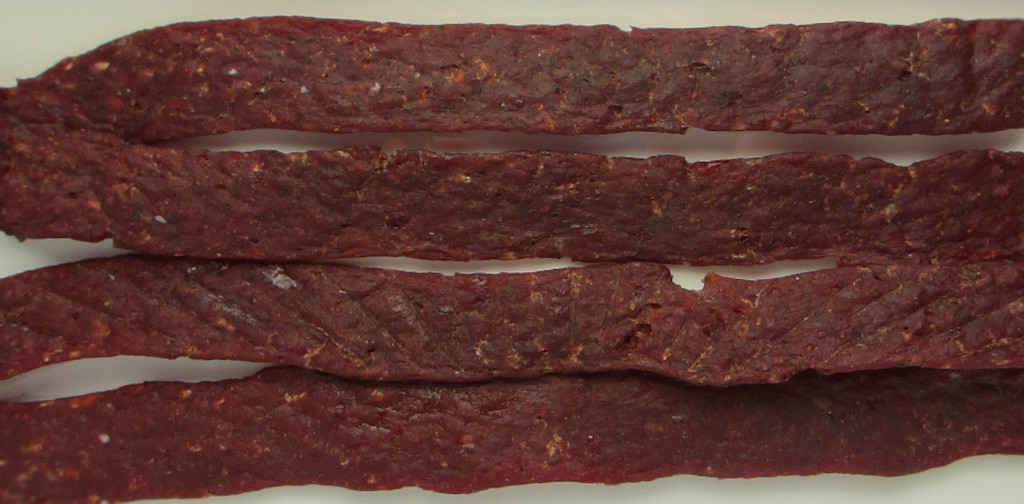
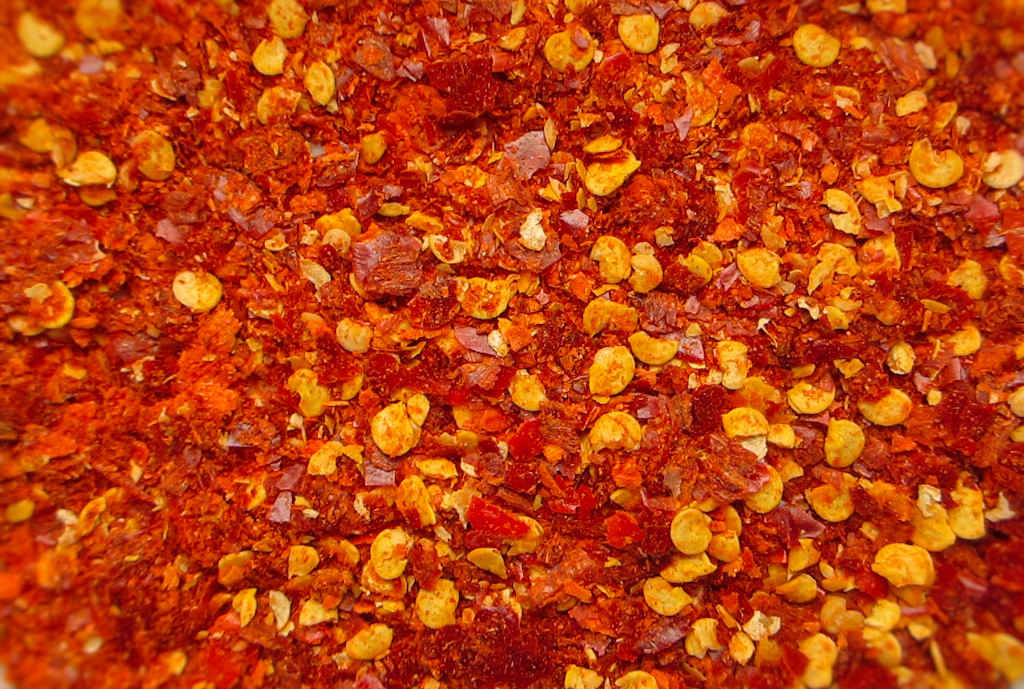
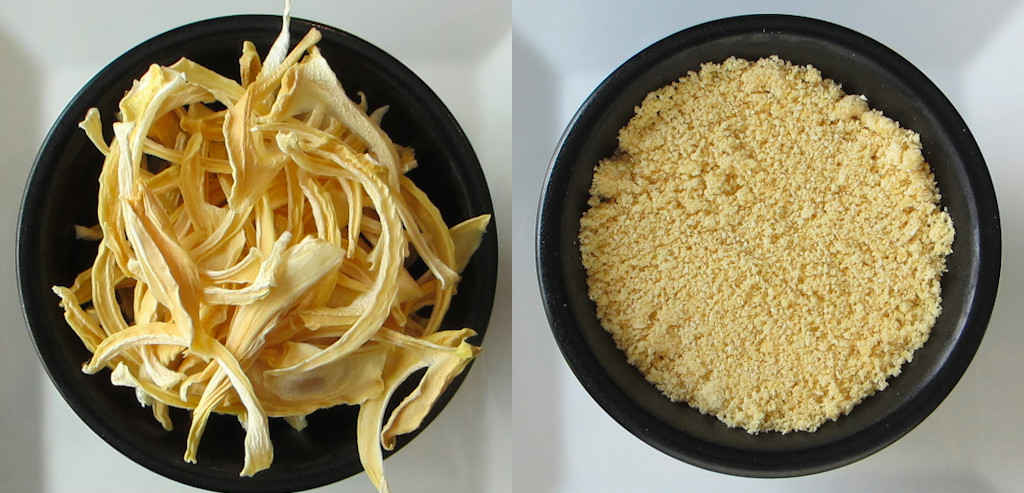
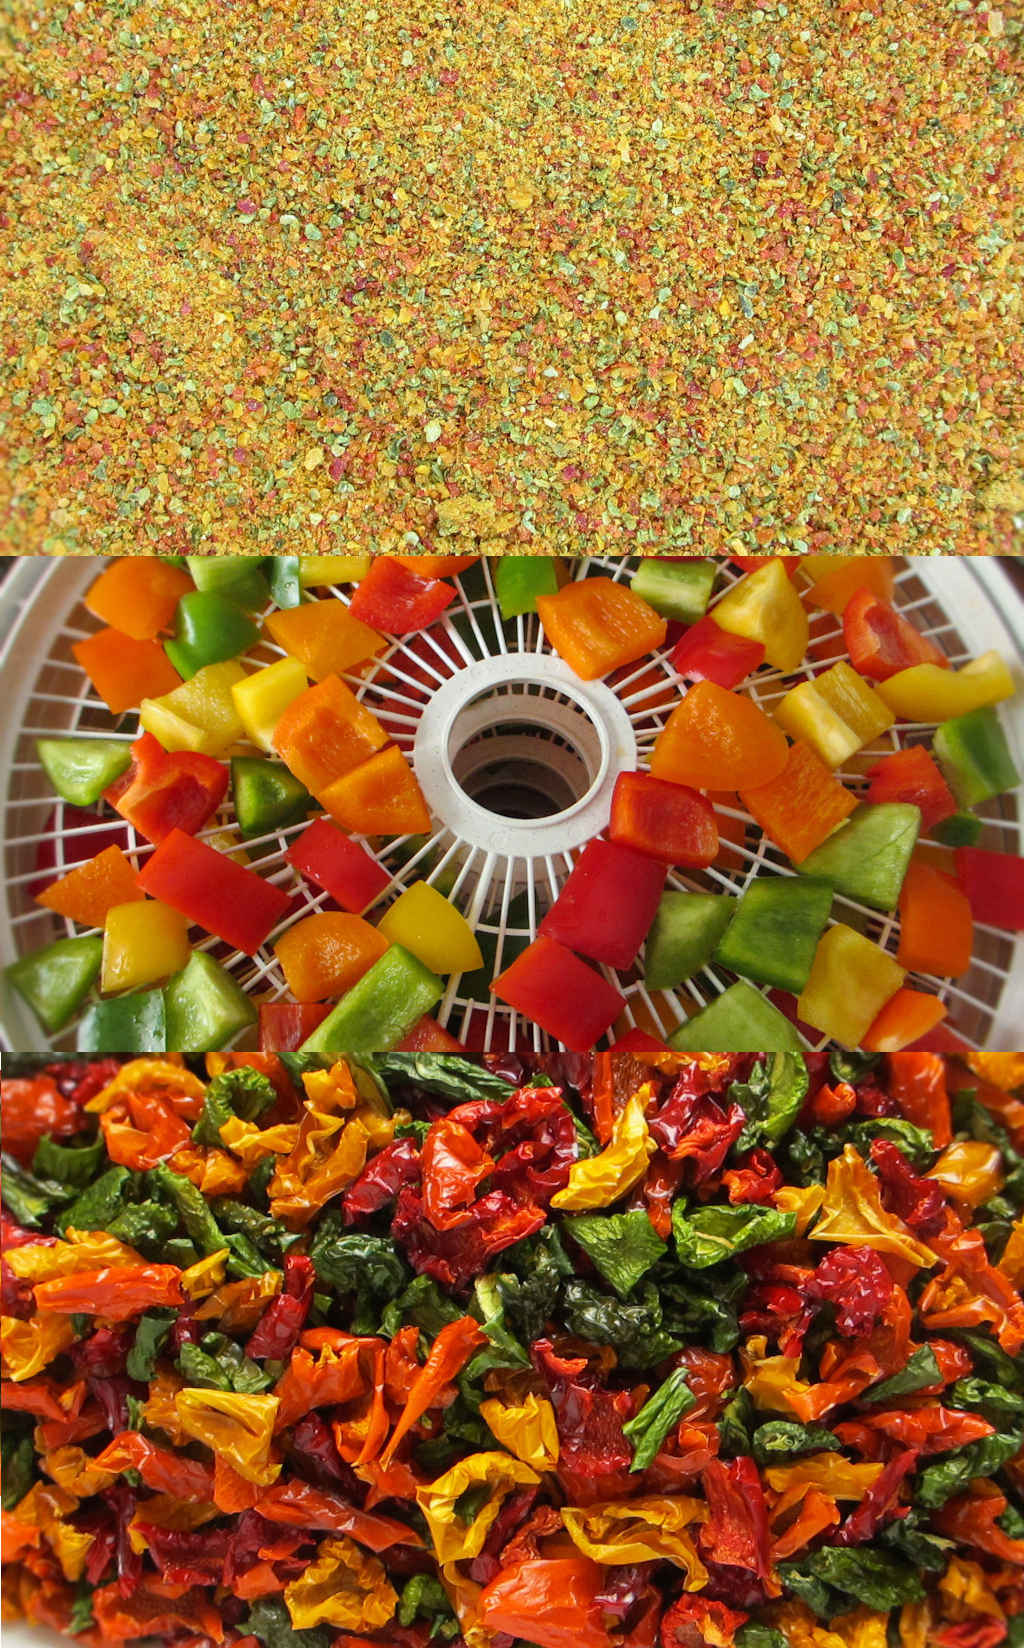
I dried my smoked jalapenos in my Nesco Snackmaster Pro dehydrator. If you don’t have a dehydrator you can place the jalapenos on a baking sheet and place in the oven at the lowest temperature setting. Rotate the jalapenos every few hours until dried. The chipotles were the star ingredient my Texas chipotle burgers and on my adobo Buffalo chicken wings!
You can also skip the smoking and drying of the jalapenos and buy dried chipotles at your marketplace. In our grocery store the dried peppers can be found by the produce section.
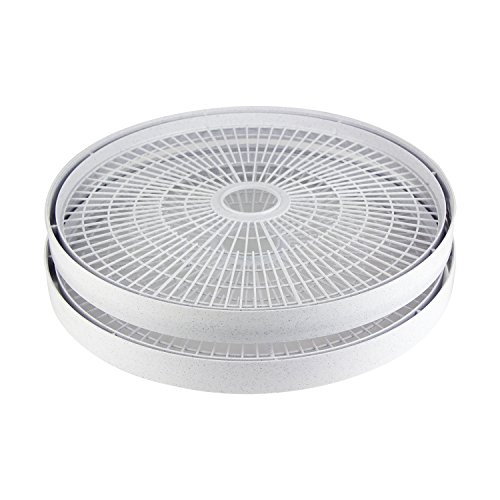
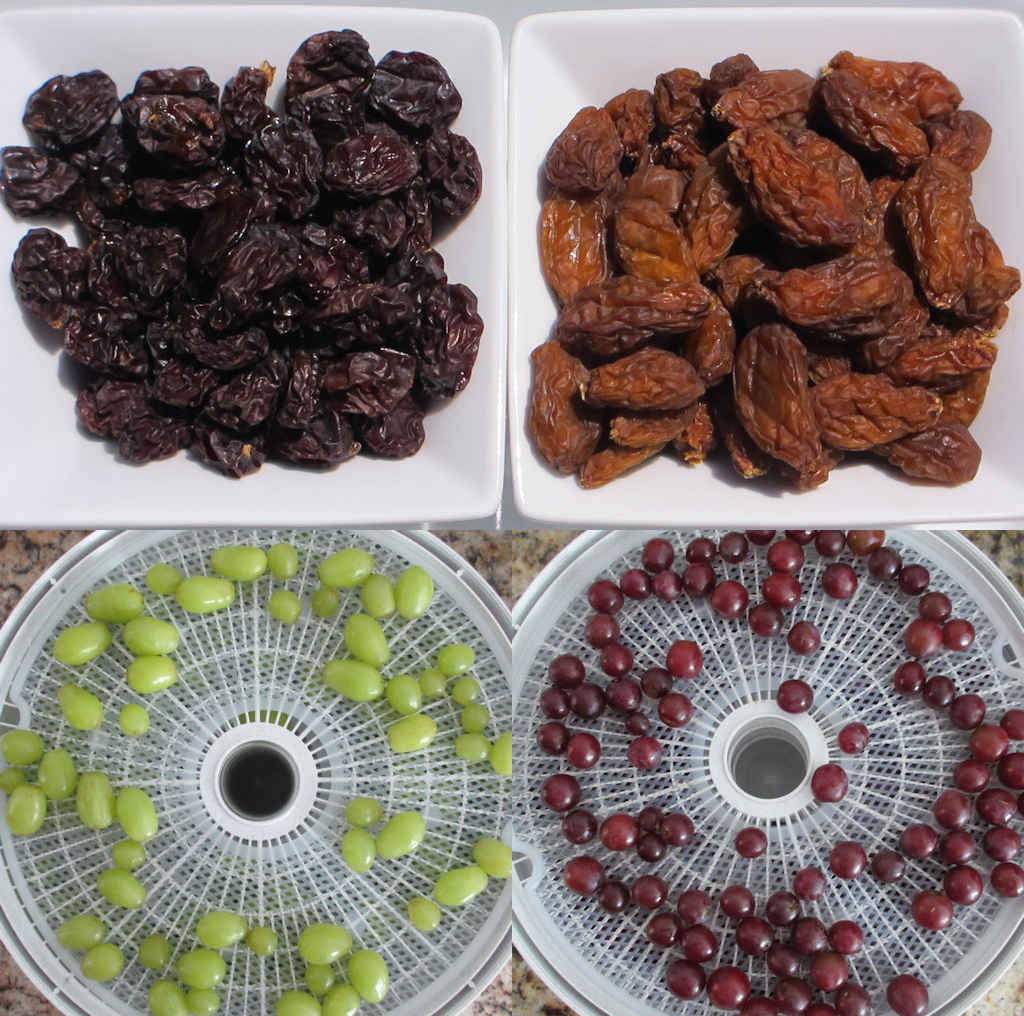
I like to load up my dehydrator. To do that I picked up a handful of extra trays. They really add a whole lot more drying space! Since I have to rotate my trays, I write a number on each one on a piece of blue painter’s tape so I can keep track of them.

You can also make bacon bits using your Nesco Snackmaster Pro.
Chipotles in Adobo
Ingredients
- 12 jalapenos
- water boiling
- 1 cup tomato puree
- 1 teaspoon honey
- ½ cup water
- 1 medium onion sliced thin
- 4 cloves garlic chopped
- ½ cup apple cider vinegar
- ½ teaspoon Kosher salt
- ½ tablespoon peppercorns
Instructions
- Fire up a smoker for smoking at 250 F. Use a strong wood such as hickory.
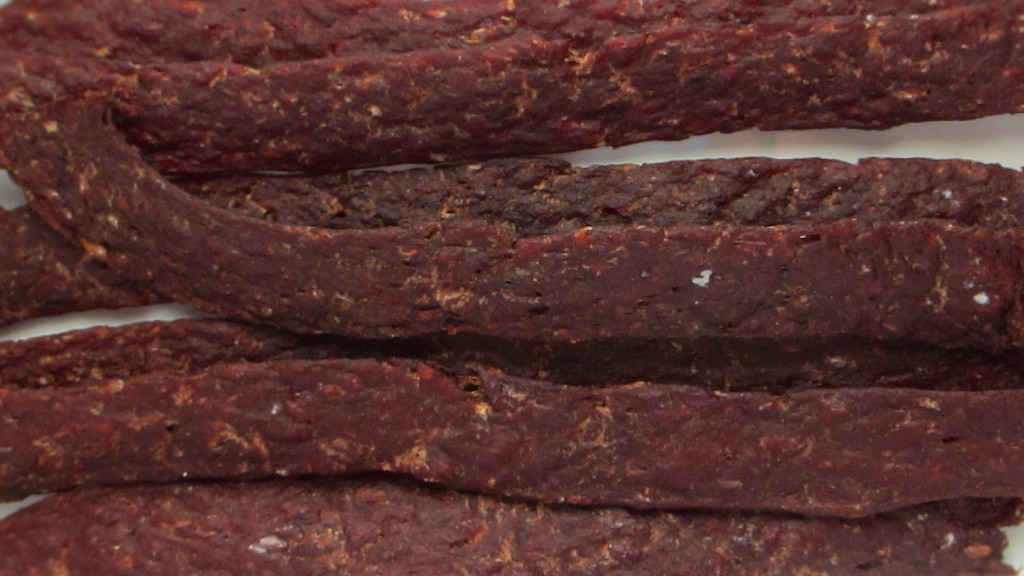
- Add the jalapenos to the smoker and smoke until browned and shriveled, at least 4 hours.
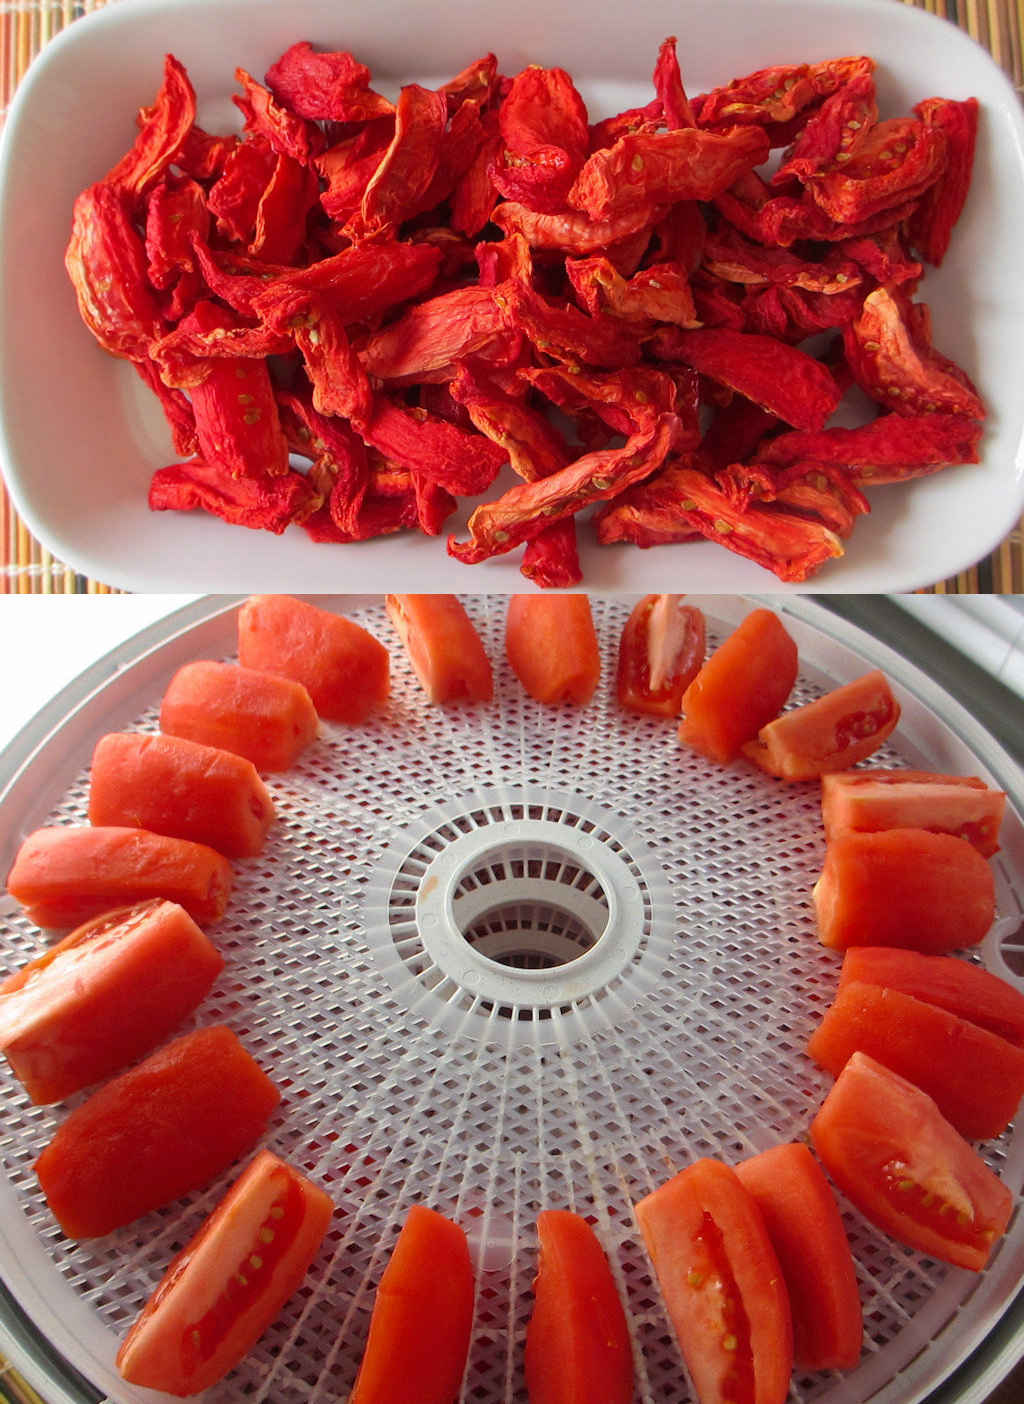
- Remove and let cool slightly then transfer to a dehydrator and dry at 135 F for 24-48 hours or until completely dried.
- Remove the stems (and seeds, if desired) and transfer to a large bowl.
- Cover with hot water. Cover with a plate to weigh the peppers down into the water and let soak for 20 minutes.
- Remove 4 of the peppers and transfer to a blender.
- Add the tomato puree and honey and 1/2 cup of the soaking water.
- Blend until you have a paste.
- Take the remaining peppers and the soaking liquid and transfer to a pot. Add in the paste.
- Add the onion, garlic, vinegar, salt and peppercorns.
- Bring to a boil then reduce to a simmer and simmer for 1-2 hours until thick. If the sauce gets too thick add a bit of water.
- Store in the freezer or use within a month.
Nutrition
Nutritional values are approximate.