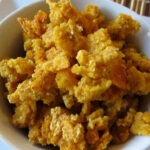
I’ve made homemade breakfast sausage from scratch before. I picked up a few pork shoulders, trimmed them, ground them (twice) and added seasonings. But I don’t always have the time (or energy, really) to do all that work. That’s when my quick fix homemade breakfast sausage comes in handy.
It’s not uncommon for many homemade sausage recipes to say that you should refrigerate your mixer bowl and even utensils before starting. I agree if you’re grinding your meats from rough cuts. But in this case we start with already-ground pork so I don’t think it’s necessary to start out ‘cold’. That doesn’t mean that you can’t. And it might be a good idea if you’re working in a particularly warm kitchen or area.
Good Seasoning Makes Good Sausage
I use a great seasoning mix from A.C. Legg’s that I picked up on Amazon. It has just the right blend of spices without having too much sage or black pepper.
I cook the quick fix homemade breakfast sausage as soon as I make it. Then I crumble it and freeze it in batches. I use it in breakfast cups for my wife’s breakfasts during the week. You can also form it into patties.

- AUTOMATIC VACUUM FOOD SEALER WITH STARTER KIT…
- DUAL DRY & MOIST MODES FOR EVERY FOOD TYPE…
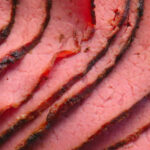
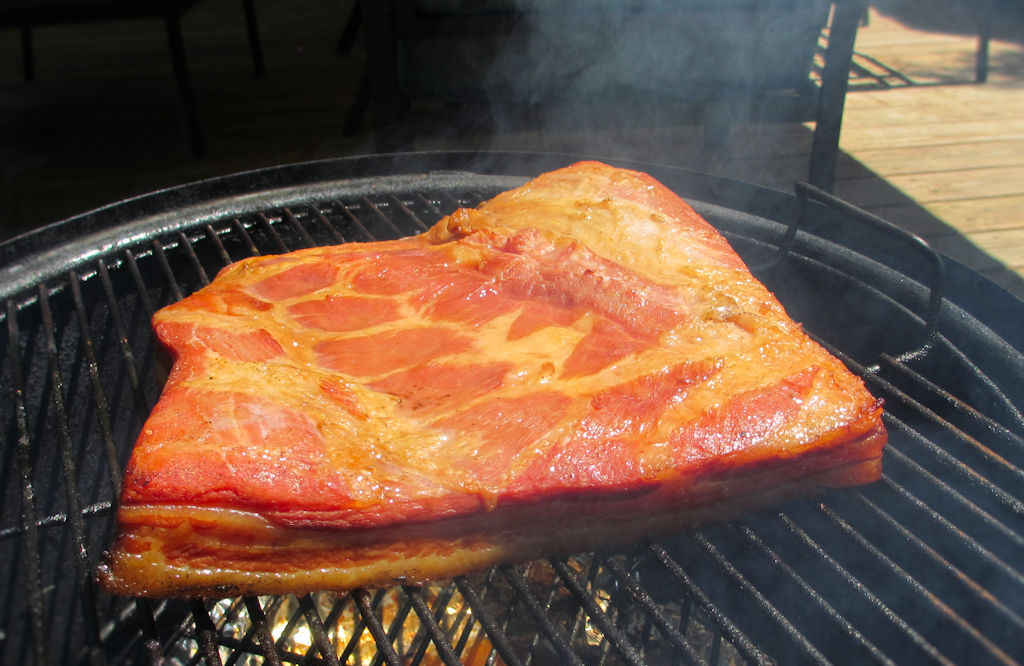
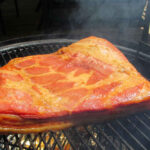
I also love smoking breakfast sausage for a fantastically different flavor.
Quick Fix Homemade Breakfast Sausage
Equipment
Ingredients
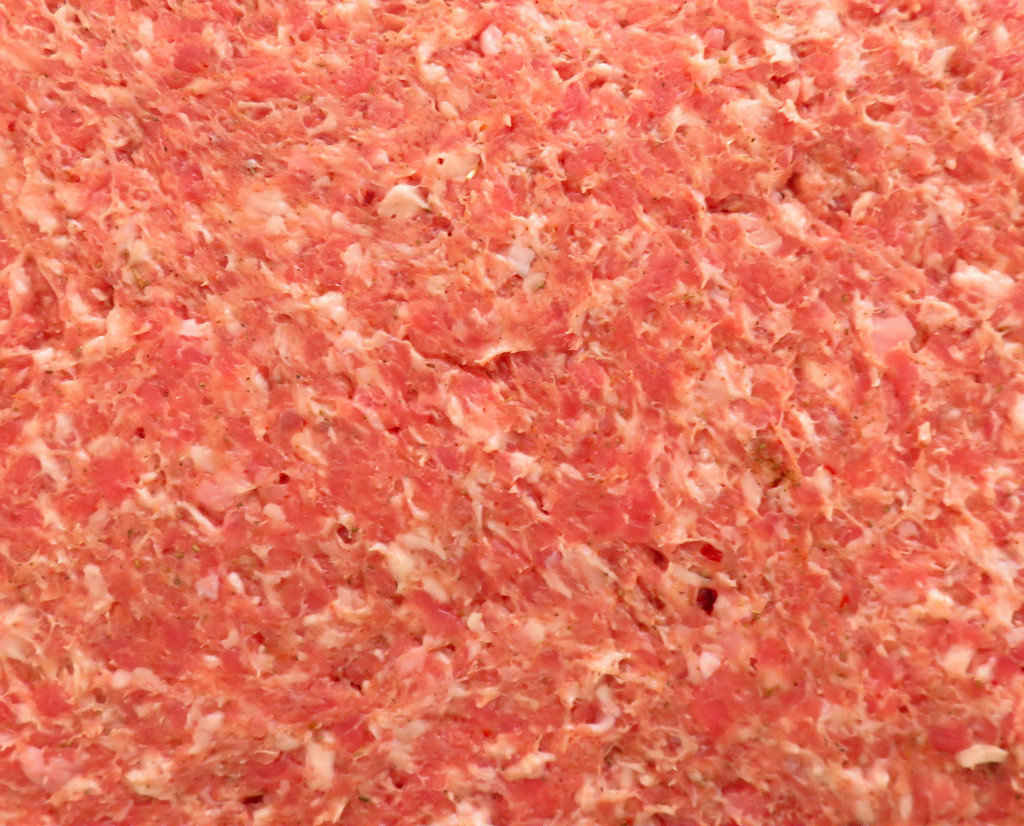
- 1 pound ground pork
- 1 tablespoon breakfast sausage seasoning mix or slightly more
Instructions
- Place the pork into your mixer bowl and place into the freezer for 15 minutes.
- Add 1 tablespoon of the seasoning mix.
- Place onto mixer using the bread hook and mix for 5-10 minutes.
- If this is your first time making the sausage I recommend that you take a small handful of the mixed sausage and cook it in a skillet. Taste it after it cools (while cooling place the uncooked meat mixture into the freezer in case you need to mix more). If you need to, add more seasoning and mix well.
- Freeze or cook the sausage. You can also form it into patties if you wish.
Notes
Nutrition
Nutritional values are approximate.

- Meal Prep MVP – A practical and innovative way to…
- 12 Diverse Blades – With nine interchangeable…

- Set includes: 1/4 cup, 1/3 cup, 1/2 cup and 1 cup
- Magnetic handles keep Cups together for storage…