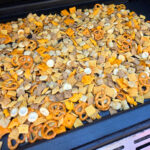
I’m not a complicated guy. My food doesn’t have to be all fancy fru-fru. I often find myself going back to the foods of my college bachelor days. Maybe with a twist or two here and there, but same kinda things. Like pizza rolls. I loved pizza rolls. Still do. And like everyone else, I’ve burned my tongue on them, popping them into my mouth long before they are cooled off. It happens. Today, I decided to heat up a few of my favorite flavor (supreme!) and add a bit of seasoning. Quick fix seasoned pizza rolls just have a little extra flavor. Not enough to be fru-fru, but definitely enough to be yummy!
Cheesoning Is The Reasoning
I’m a Dan-O’s Seasoning fan. So I grabbed some Cheesoning seasoning for my quick fix seasoned pizza rolls. It’s like a good grated Parmesan cheese, with some herbs and spices thrown in for good measure (and taste). It’s a great flavor that goes well with pizza rolls. Italian seasoning would be good too. Or pizza seasoning. No need to go crazy with it. Chances are that there’s something in your spice rack would be just great. We’re just taking regular good ole pizza rolls and making them a bit better.
I started out down the road making popcorn using an outdoor griddle thinking it was… well, kinda gimmicky. One of those things you make once. You say to yourself “Well that was kinda neat”. Then you never do it again. Wrong! I made this popcorn 3 days in a row. I shared it with the neighbors. We all agree, it was awesome! The kernels popped up perfectly. The popcorn had a nice extra crunch to it. Fresh. Delicious. All I had to do was toss it with a little salt and serve!
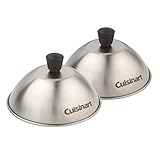
A Man And His Dome
Making popcorn using an outdoor griddle is pretty easy. You start out by heating a little oil for about 10 minutes. Then you add the kernels and cover them with a lid. Now here’s the first important thing. Once things get going, don’t lift the lid. Just don’t. You’ll hear popping. You’ll want to take a look. Don’t. Just don’t. Why? Because if you’re like me you have to do it once and when you do, you quickly learn your lesson. Yep. Popcorn everywhere. All over the griddle. On my deck. In the yard. Happiest day ever for the squirrels. Not so great a moment for me. So keep the lid down.
Here’s a picture of me violating the rule of ‘don’t lift the lid’. I just wanted to show how easy this process is. Not a lot of kernels are needed. Ditto the oil. Don’t overload it. The popcorn only takes a few minutes once it gets going. It’s easier to make another batch than to try and handle one big batch.
Once you hear the kernels pop, move the lid around on the griddle a bit. You don’t have to go nuts with it. You don’t have to shake it like Jiffy Pop popcorn. But move it a bit to keep any popped kernels from burning.
When you no longer hear popping move the lid over to a cooler part of the griddle and lift it up to scoop up the popcorn. I use two big spatulas to do it. It’s a bit of an art. The first time I dropped some popcorn. Second time I had it down and got them all.
Heat up your griddle on medium heat for 10 minutes.
Drizzle the oil onto the center of your griddle.
Add the popcorn kernels.
Let the kernels warm up. Once you start to see the oil sizzle, turn the heat down to medium-low and cover the kernels with the dome.
Keep cooking until you hear the kernels start to pop. Using a grill mitt, grab the dome and slowly keep it moving in circles so that the popped kernels do not burn. Do not lift the dome while doing this.
Keep moving and cooking until the kernels go for 1-2 seconds without anything popping.
Slide the dome to a cooler area of the grill if possible. Remove the lid. Using a spatula, transfer the cooked popcorn to a medium bowl.
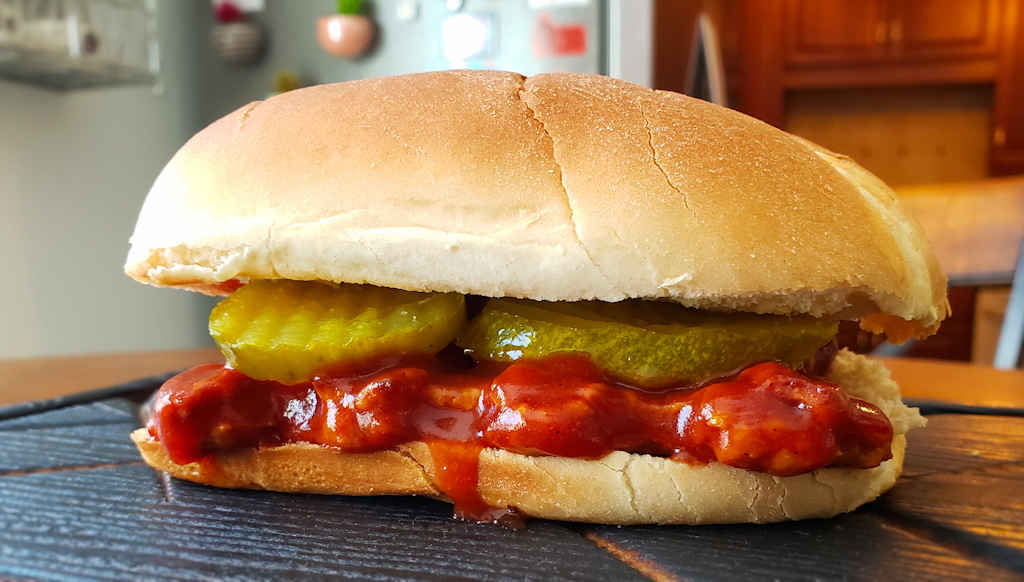
I need to start a new food category here on Life’s A Tomato. It’ll be called ‘so crazy good that I ate this 3 days in a row’. The first dish I’ll add to this new category will be this Nashville Hot Chicken cheesesteaks made using an outdoor griddle. This was good. Crazy good. A little spicy. Tender, juicy chicken that is packed with flavor. A little ooey-gooey cheese action. Crispy vegetables. And of course, a few pickles. This is one great sandwich!
Easy Griddle Action
I haven’t had my large outdoor griddle for that long. I’ve used smaller griddles for burgers and the like for years. But the big one has made dishes like these Nashville Hot Chicken cheesesteaks a delight. There’s lots of room to cook up the onions and peppers then move them off to the side while my attention turns to the chicken. Room to toast the rolls, too.
Spicy Like I Love It
These sandwiches have a nice kick to them. The seasoning and cheese bring it, but without being crazy spicy. I went a little heavy on both because I love a good spicy sandwich. If you’re into even more heat, add some jalapeno slices, either to the vegetables as they cook or the sandwich before serving. Or both!
In a small bowl combine the mayonnaise, lemon juice, and 1 tablespoon of the hot chicken seasoning.
Cover and refrigerate until ready to use.
For the meat filling
Place the chicken pieces into a large bowl.
Drizzle with the oil and sprinkle with the remaining hot chicken seasoning. Mix until all of the chicken is coated evenly.
Cover and set aside until ready to serve. Toss chicken with oil and remaining 2 tablespoons
Preheat your outdoor griddle on high.
Add a splash or two of oil. Add the peppers and onions and cook, stirring often, until they are just starting to soften. Do not over cook them. You want a little bit of a crunch.
Move the pepper and onion mix to a cooler part of the grill to keep warm.
Add another splash or two of oil to the griddle and add the chicken.
Cook the chicken, stirring often, 5-7 minutes or until done.
Add the pepper and onion mixture and stir.
Spread the filling out evenly onto the griddle and top with the cheese slices.
As soon as the cheese starts to melt, assemble the sandwiches (below).
For the sandwiches
Slather the cut sides of the rolls with the sauce.
Use a long spatula to scoop up the chicken mixture and divide between the rolls.
Add a few pickle slices to each sandwich and serve.
Notes
For even spicier sandwiches, substitute pickled (or fresh) jalapeno slices for the pickles!
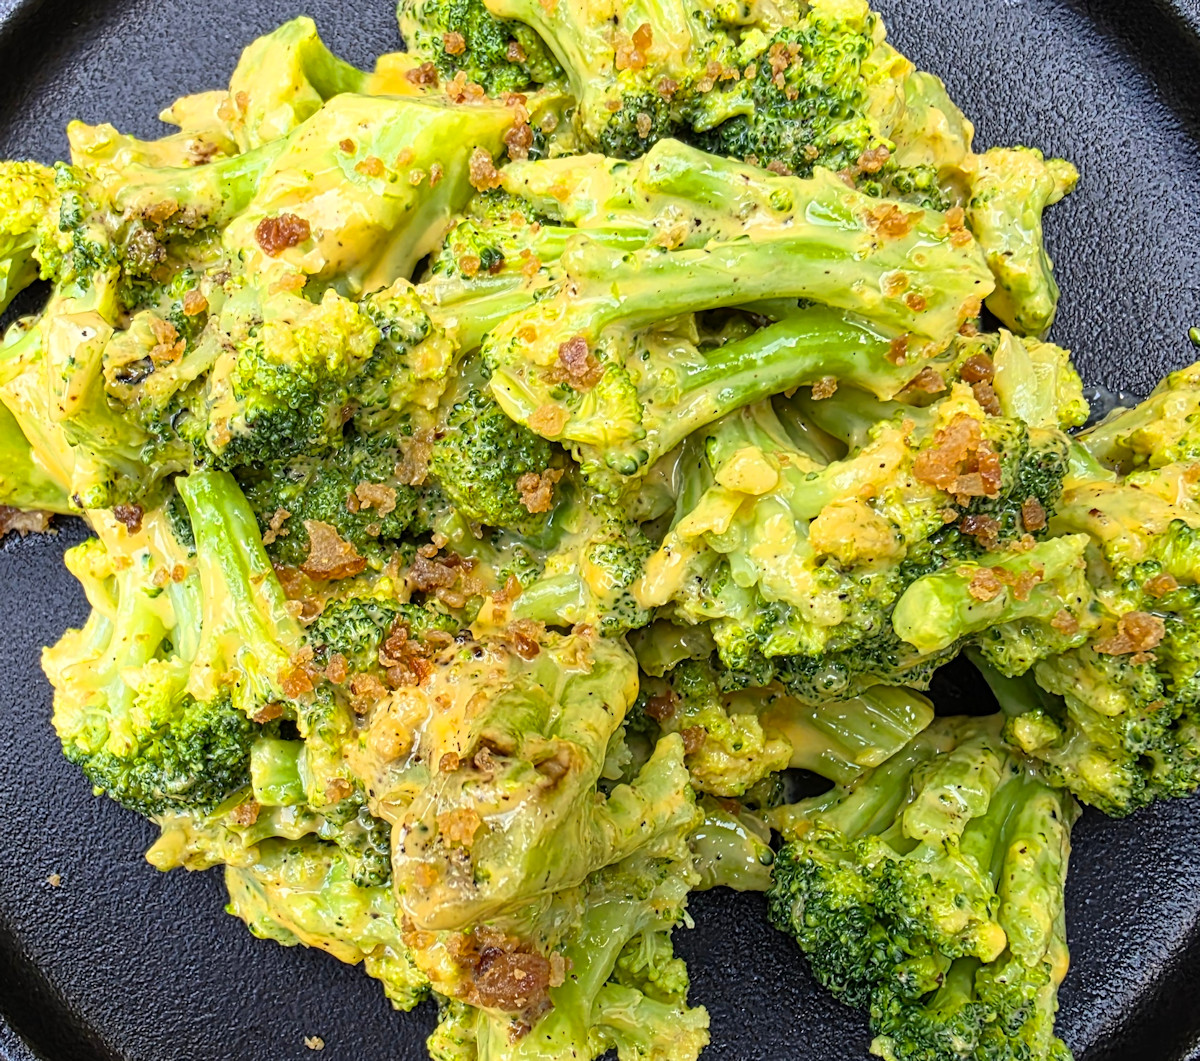
My outdoor griddle isn’t just for smash burgers, quesadillas and pizzas. I even use it for side dishes such as this easy cheesy bacon broccoli using an outdoor griddle. Now, this might not be the healthiest side dish I’ve ever made outside. But it sure was one of the tastiest! And it’s definitely one of the easiest! This is the perfect thing to serve alongside my griddled smash burger!
Are Cheese and Bacon Ever Optional?
You could leave out the cheese sauce. And even the bacon. And just make easy broccoli using an outdoor griddle. A little salt and pepper. Serve it up. And it’d be good. But for me, to get to ‘great’ you gotta add the cheese sauce and bacon bits. Kraft makes this crazy easy crazy good Velveeta sauce that comes in a little foil packet. You just pour the sauce into a bowl and microwave it for 30 seconds and boom! Instant cheese sauce perfect for something like broccoli!
Steaming the broccoli on the griddle is easy. Just squirt it with a bit of water and let it cook a bit under a dome. It comes out perfectly every time!
Open the bag of broccoli and place on the griddle. Use your spatula to mound the broccoli in a small circle.
Give the broccoli a few good squirts of water and season well with salt and pepper.
Cover and let the broccoli cook for 5 minutes.
Take a quick peek inside. I like to give the lid a good shake first or you can stir the broccoli with the lid off. If the broccoli is drying out add more water. Feel free to add more salt and pepper too.
Keep cooking for up to 12 minutes total. Check it one more time after 10 minutes to make sure more water and/or seasoning isn't needed.
Remove the broccoli to a medium bowl.
Empty the contents of the cheese sauce packet into a microwavable bowl and heat per package instructions, 30 seconds. Stir.
Spoon the cheese sauce over the broccoli.
Add a few good pinches of bacon.
Stir to combine.
Serve immediately.
Notes
This recipe can be made using fresh broccoli instead. Bring a pot of lightly-salted water to a boil. Add the broccoli and boil for 3-4 minutes until bright green and just starting to soften. Remove to an ice bath to cool completely. Drain well before placing onto the hot griddle.
Nothing complicated. No long ingredient lists. No techniques that require a culinary degree. The best quick fix recipes are exactly what they sound like — my go-to, no-fuss favorites that take minimal time and effort but still taste great.
I created the Quick Fix category here on Life’s A Tomato because I needed a place to save the recipes I actually turn to when I’m tired, short on time, or just don’t feel like making a big production out of dinner. We all love a from-scratch weekend project, but most weeknights aren’t like that. Most weeknights are “what can I make in 20 minutes with what’s already in the pantry?”
So I made a rule for this category, and I stick to it. For a recipe to earn the Quick Fix tag, it has to have two things: a short list of ingredients and a short amount of time. If it takes longer than 30 minutes, or needs a grocery list a mile long, it doesn’t make the cut. I’m talking about recipes that use things most of us already keep on hand — frozen fries, a bag of tater tots, canned chili, leftover rotisserie chicken, bottled dressings, that bag of potato chips in the pantry.
Quick. Easy. Still Great.
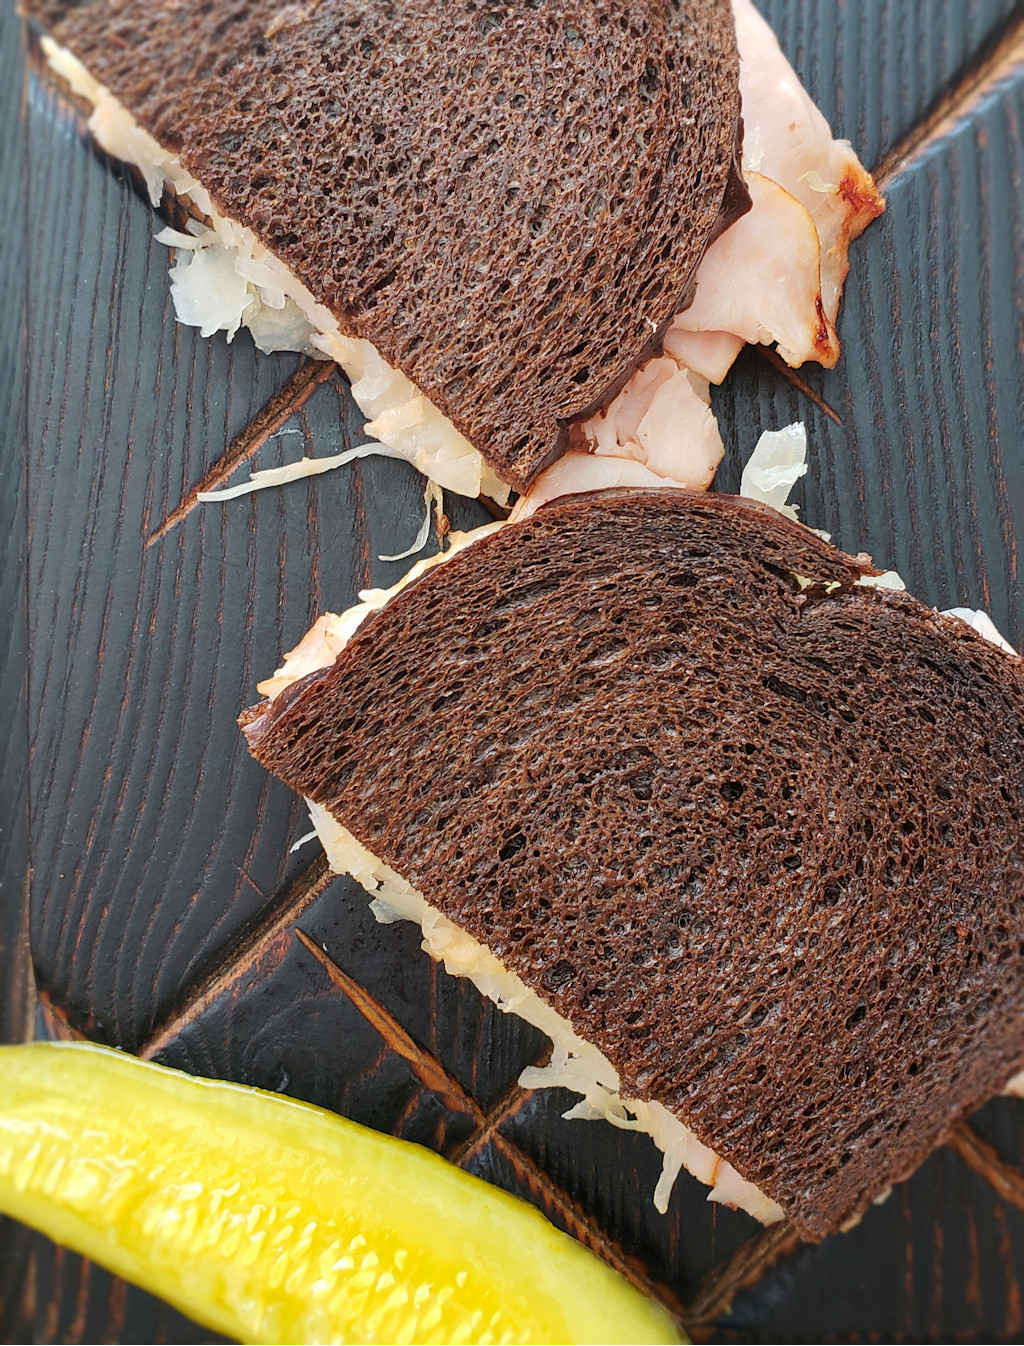
That doesn’t mean boring, though. That’s the whole point. These little upgrades are what turn something ordinary into something you actually want to eat again. Tossing frozen fries with herbs and garlic, doctoring up potato chips with roasted garlic or Frank’s RedHot seasoning, turning French bread into pizza in 15 minutes, or building a copycat McDonald’s chicken sandwich or McRib when the craving hits without leaving the house.
Let’s Get To It!
These are the recipes my family asks for over and over. They’re perfect for busy weeknights, game days, late-night snacks, or those days when you just want something satisfying without spending an hour in the kitchen. If you’re looking for easy, fast, and genuinely tasty, you’re in the right place. This is the best of the quick fixes — all in one spot.
I created a ‘quick fix’ category here so I’d have a place to click on for my easiest recipes. A short list of ingredients and a short amount of time is the rule. Like these quick fix pizza tots
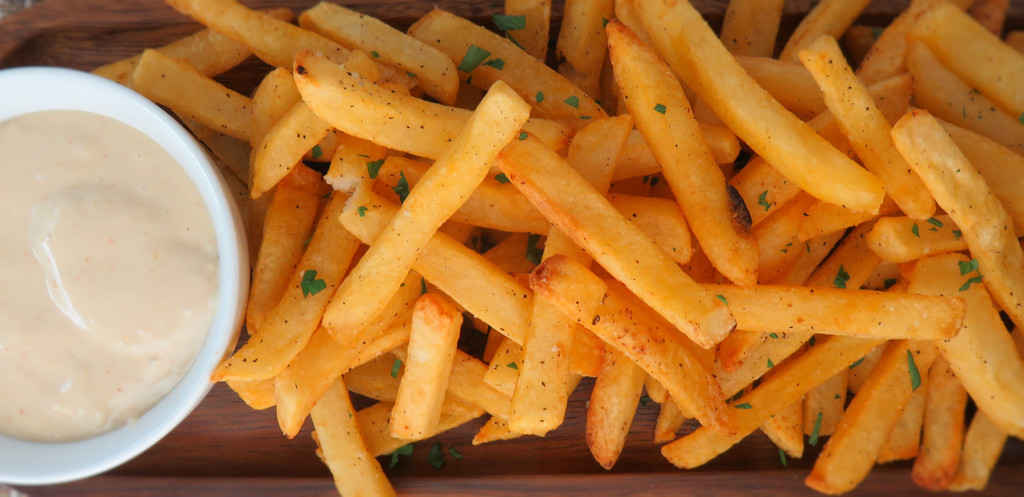
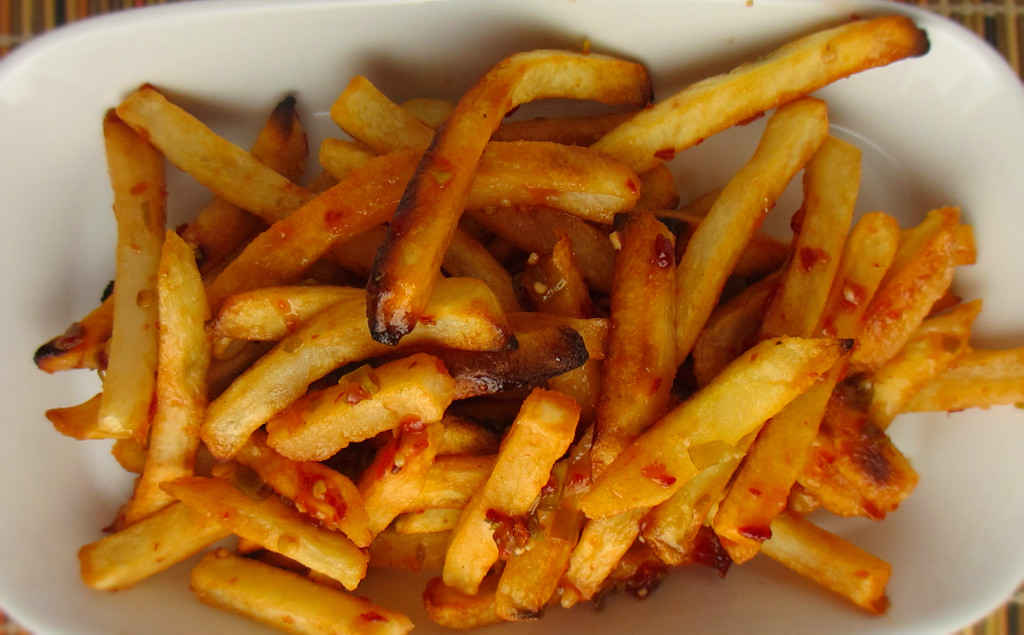
Who doesn’t keep a bag or two (or more) of frozen fries on hand at all times? Yep, easiest side dish in the world, ready in no time. But no reason for them to be boring.
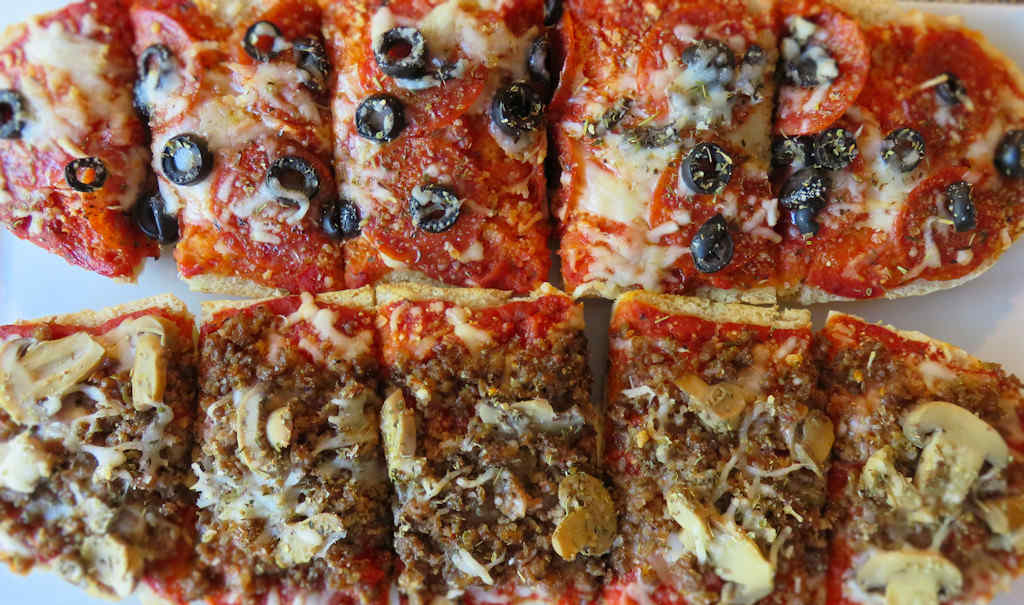
I’ve been doing the best I can to keep our meals simple these days. These quick fix French bread pizzas have been a regular staple in our house since we’ve been keeping at home as much as possible.
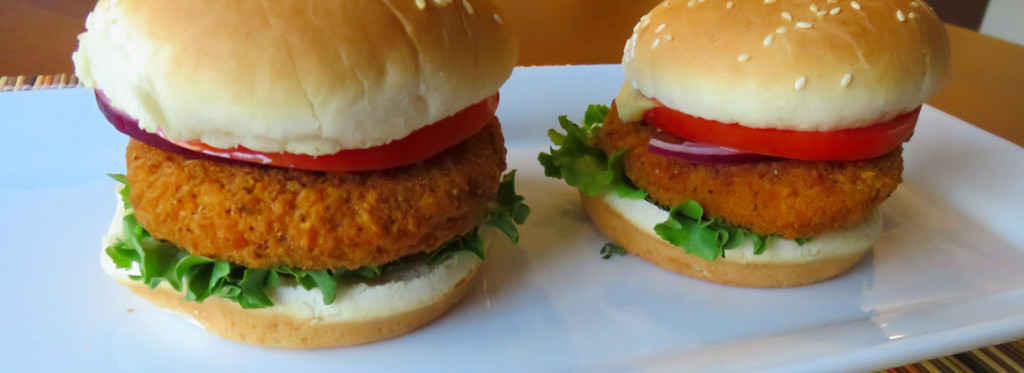
I love cooking meals from scratch. But sometimes reality hits and I have to throw something together that doesn’t require a lot of preparation. That’s where this quick fix copycat of McDonald’s chicken sandwich comes in. In less than 30 minutes I get to enjoy a rather tasty chicken sandwich.
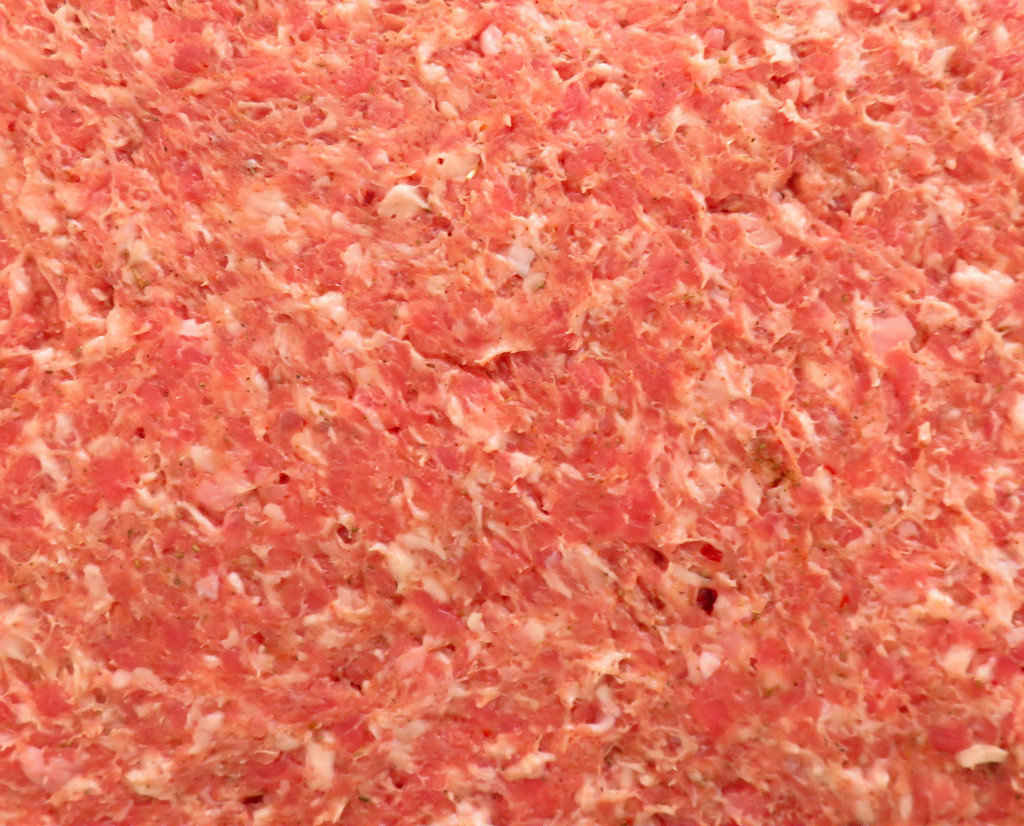
I use a great seasoning mix from A.C. Legg’s that I picked up on Amazon. It has just the right blend of spices without having too much sage or black pepper.
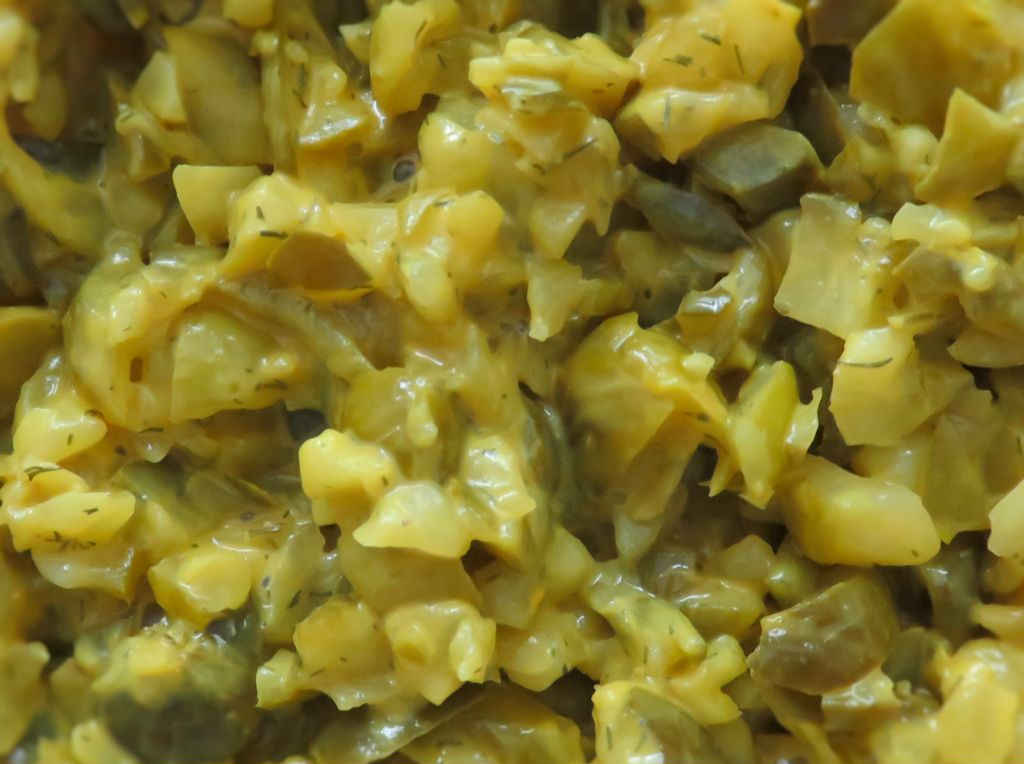
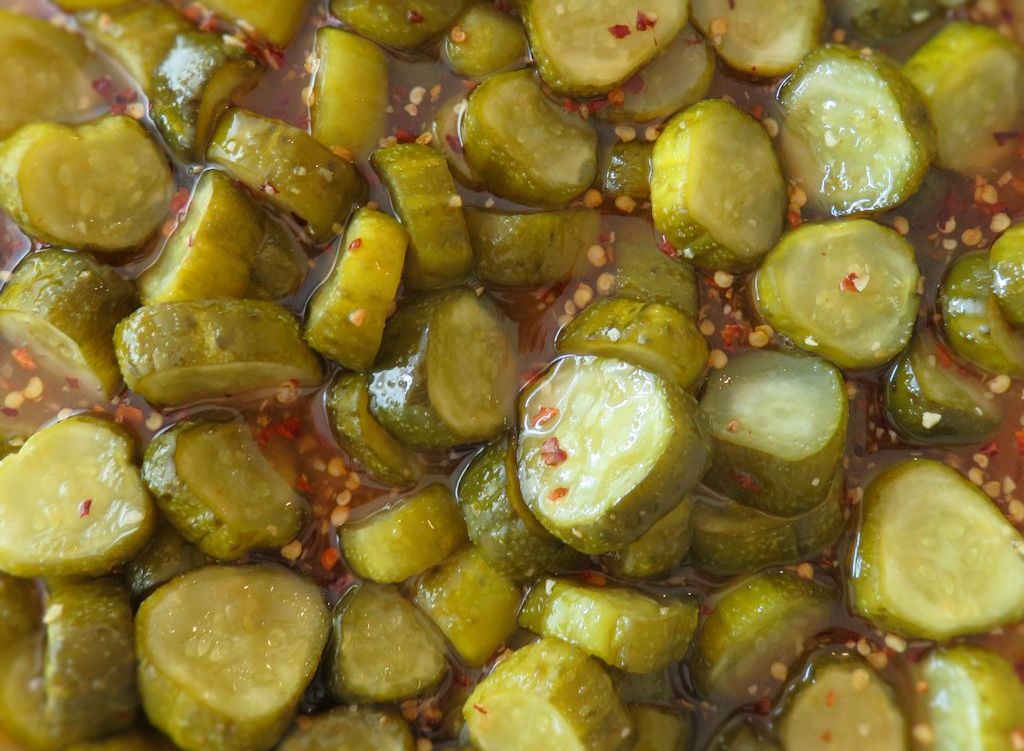
For a spicy version of this quick fix pickle relish, just add a few good pinches of dried red pepper flake. You’ll want to let the relish ‘get happy’ in the fridge for a few hours before using it so that it gets good and spicy.
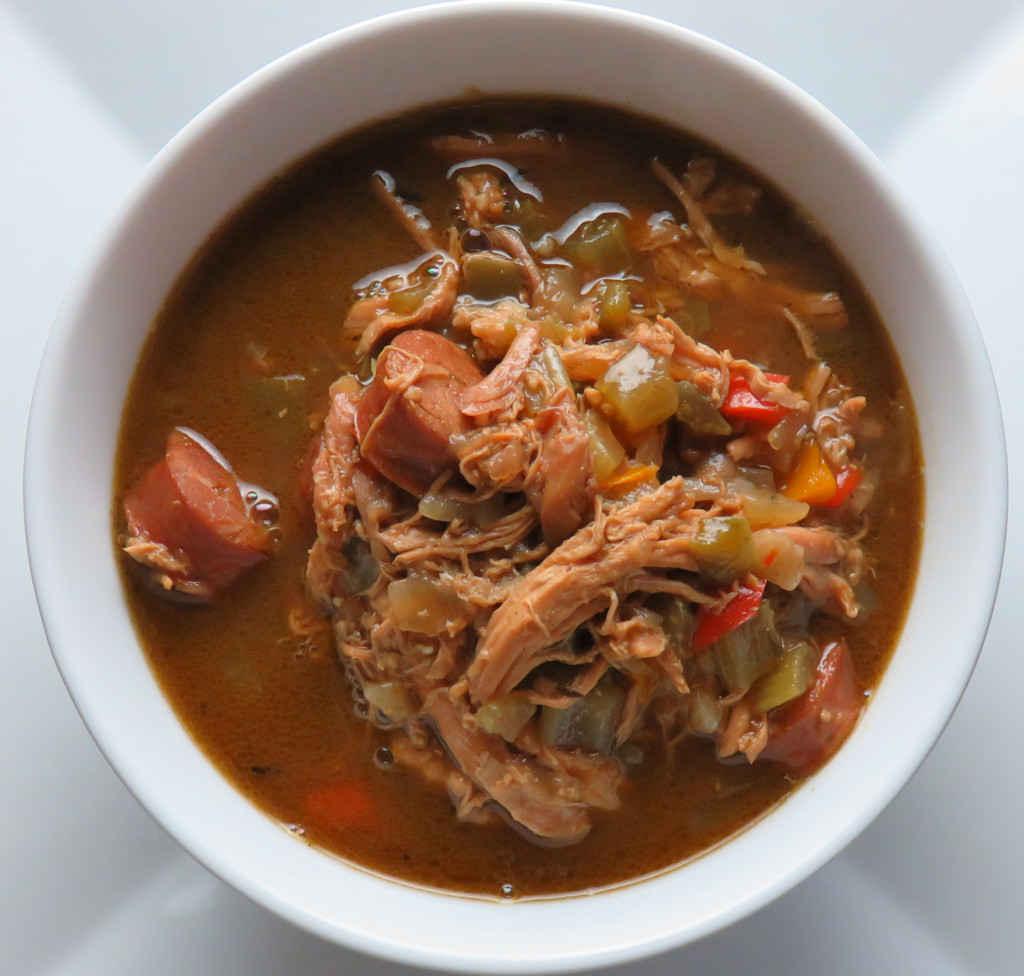
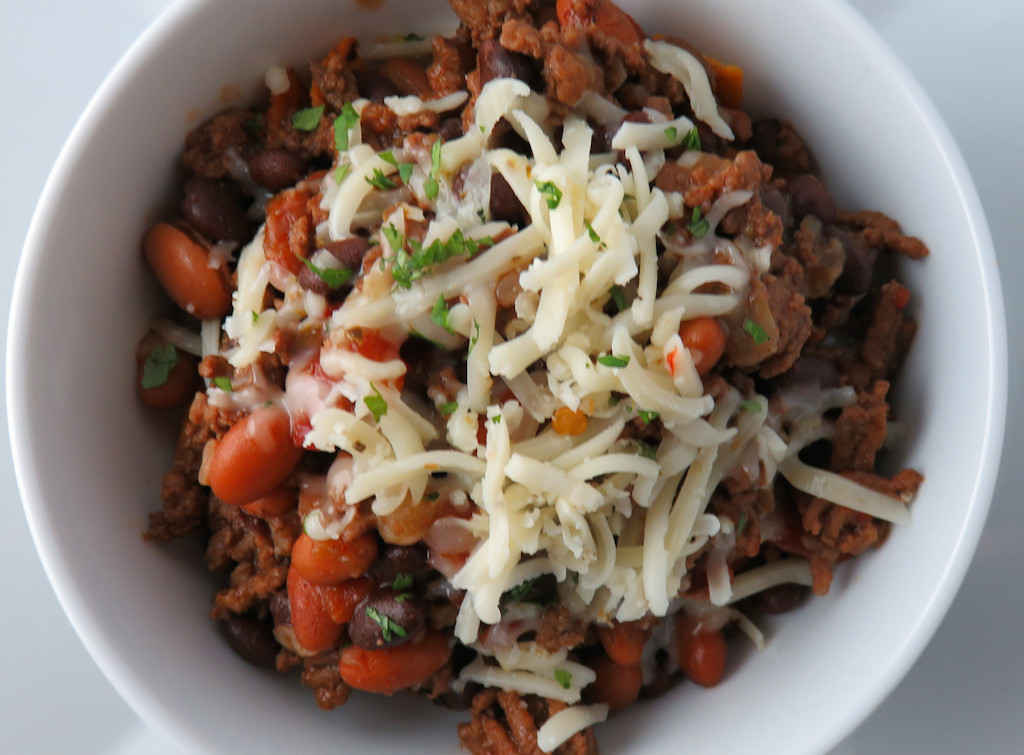
This may well be my wife's favorite chili. I have to admit, it’s mighty good. This quick fix Tex-Mex corn chip chili is definitely quick fix. The only way you could make a chili any quicker is if the entire dish came out of a single can.
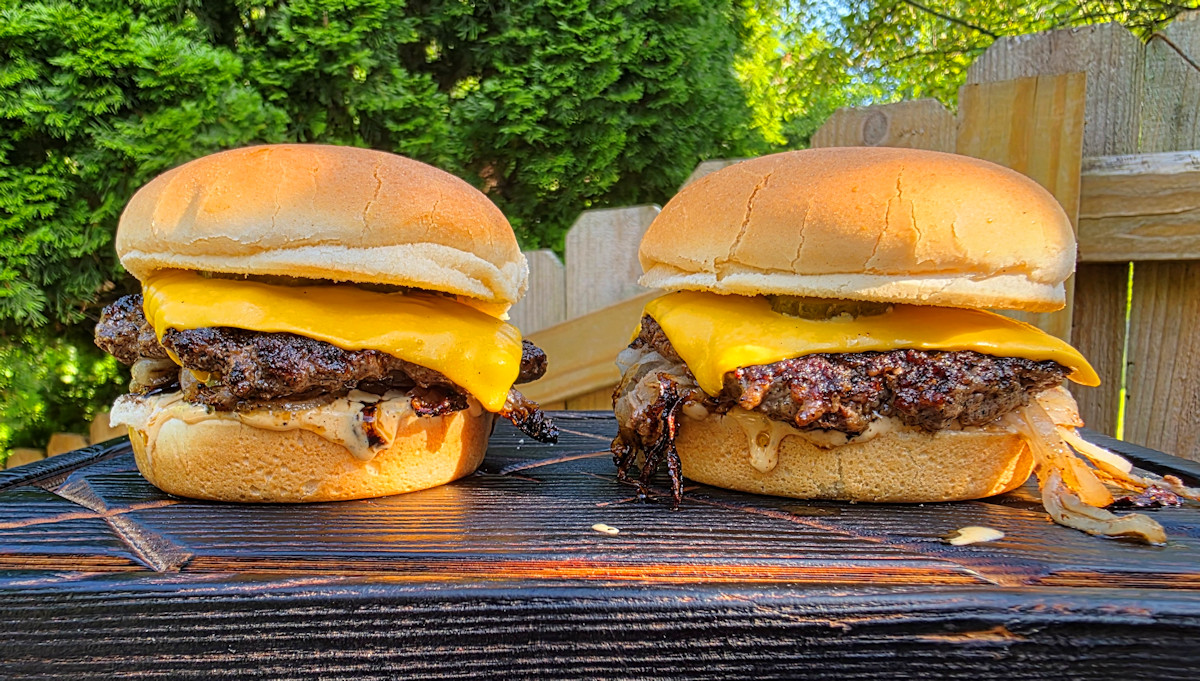
I like my smash burgers tasty. Hot. Juicy. And darned messy. Nothing fancy. In fact, the less fancy, the better. These Oklahoma onion smash burgers are my favorite. By far. Just a few ingredients. But boy, do they check all of my boxes. I can (and have) eaten these several days in a row. And not once did I even remotely think I was getting bored with them. They’re delicious. Perfect.
The Onions
The key to making delicious, juicy, tasty Oklahoma onion smash burgers is the onions. First, they have to be thin. I mean ‘read-a-newspaper-through-them’ thin. Crazy thin. Unless you’re a knife master and have the sharpest knife on the planet, I recommend using a mandolin to cut the onions. Put it on the thinnest possible setting. And of course, be careful.
WHAT MAKES US DIFFERENT: Our ADJUSTABLE BLADE DIAL…
WHILE OTHER MANDOLINE SLICERS CAN BE DANGEROUS AND…
You need plenty of onions. Lots of them. You cannot be shy with them. At all. When you think you’re putting too much on them, you’re wrong. Add more. I call for 2 big ones in the recipe. There’s nothing wrong with using 3. Or 4 medium-sized ones. Seems like a lot doesn’t it? It’s not. Trust me.
Crispy Edges
You gotta have that crunchy part when you make smash burgers. That little edge around them that sticks out from the bun and has the perfect crunch. You eat that first. All around the burger. Some people bite into it. Some pull it off with their fingers. Either way, it’s a true joy and a smash burger must!
Divide the beef into 4 4 ounce pieces and form into balls. Do not pack them tightly, just handle them enough to form into balls. Cover and place into the fridge.
Slice the onions very thin. I recommend using a mandolin. Ideally, you want them so thin that you can read a newspaper through them! Thin is best!
Place the onions into a bowl and sprinkle with salt. Toss to coat well and let sit on the countertop for 20 minutes.
Preheat your griddle over high heat for 10 minutes. Add oil if needed.
Meanwhile, drain all of the water out of the bowl of onions. Then squeeze all of the water you can out of the onions. Squeeze and keep squeezing! Place the onions back into the dry bowl until ready to use.
Add the burger balls to the griddle, leaving plenty of room between them.
Lightly smash down the burgers and season well with salt and pepper.
Top each burger with onion and smash them down the rest of the way. You want the patties nice and thin.
Cook the burgers for 4 minutes (or a little longer if they are thicker). The steam from the meat will help cook the onion. Flip the patties so that they are onion-side down and season again. The patties and onions will start to get golden brown and crunchy along the edges.
After 2 more minutes add the cheese. Let it melt for for 2 minutes.
Place the bun tops over the burgers and top with the bun bottoms and cook another 2 minutes. If your griddle has a top, close the lid. You want to steam the buns.
Transfer the bun bottoms to a plate. Add the sauce and pickles.
Add a patty to each bun bottom along with a bun top and serve hot and juicy!
Notes
If you don’t have a griddle, you can use a large cast iron skillet on the grill instead. You might not have enough room to make all 4 burgers at once.
I have grilled many a bratwurst. Usually, I make a ‘bath’ for them to soak and simmer in before putting them onto the grill. I’ve had great success with that technique. But there seemed to be a little something missing. The brats tasted more like the marinade than bratwurst. And sometimes they were a bit overcooked. So I took a shot at sous vide bratwurst. And I have to say, I won’t be going back to my old ways of cooking brats. This is the way to achieve super-tasty bratwurst with the perfect bite and char. These are great bratwurst. And they’re easy and pretty much foolproof too!
That Pop
When I used to grill my marinaded brats I’d get that skin ‘pop’ when I bit into them. You know, the one where you get squirted with 500 F juices. You don’t get that with sous vide bratwurst. But you do get really good skin. It’s an easy bite. Nothing chewy. But not super-crunchy either. Some people really like that crunch and you can get it with these, but you’ll have to grill them longer to get it.
The meat is super-tender and juicy and flavorful. Way beyond anything I ever achieved before. I can’t imagine cooking bratwurst any other way. I thought about adding things to the bag as they sous vide. Maybe some herbs. Or beer. But no, I really think they’re best just ‘stewing’ in their own juices. For maximum flavor!
your favorite bratwurst toppingsgrilled onions, peppers, kraut, mustard, whatever you like!
Instructions
Pre-heat your sous vide water to 157 F.
Place the bratwurst into a sealable or vacuum bag. Do not let them overlap each other.
Remove all of the air from the bag and close, or vacuum seal tight.
Transfer to the sous vide and cook for 2 hours.
Remove the bag from the water. Open and transfer the bratwurst to a plate or wire rack until ready to grill.
Heat your grill for direct cooking.
Transfer the bratwurst to the grill and sear on all sides. They're already cooked so you're looking to crisp up the skin and give the bratwurst some color. Plan on about 5 minutes depending on how charred you like your brats.
Toast the buns as desired.
Transfer the grilled brats to the buns and add your favorite toppings.
Serve hot.
Notes
You can make a big batch of these and grill them all the same day. They are excellent leftover. Just warm up in the oven, microwave or an air fryer.
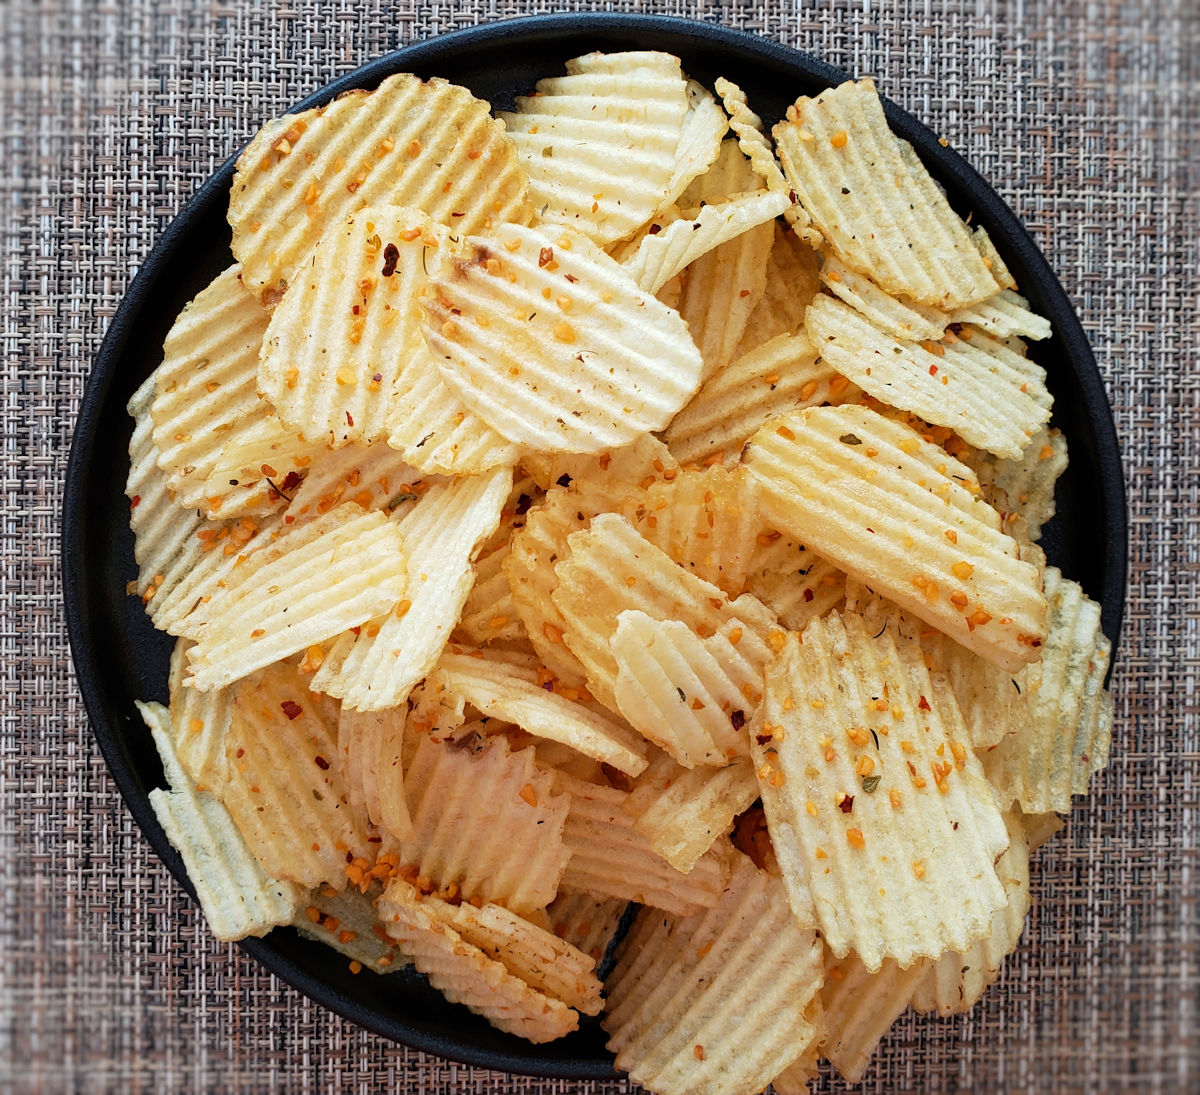
Boring potato chips. Not in my house. Not since I discovered taking plain-old regular chips to a new level. Like these quick fix sweet-and-savory potato chips. All it takes is a bag of chips and some seasoning. A few minutes in the oven and you’re soon enjoying chips that pack in flavor in every bite. Every single one. None of that ‘oh, shoot another chip that didn’t get any seasoning’ like you experience in the store-bought bags. Now I can load my chips up with tons of flavor. Slightly sweet, with a touch of spices such as thyme and sage, these chips are different and delicious.
Go Ruffled
The key to making these quick fix sweet-and-savory potato chips is using ruffled chips. Yes, you can use ‘smooth’ chips and you’ll have a great snack. But to make them fantastic, you want more of the seasoning on every chip, in every bite. That’s where those ridges come in. They’ll grab the flavor and keep it on the chips, where it belongs.
Check Your Pantry
I used the Sweet Peeper seasoning from Fire and Smoke Society to make these treats. No, that’s not a typo. It’s ‘peeper’ as in chicken. I used a chicken rub. This is proof that you can think way out of the box and make new flavors, new chips that no one else would think of. Go take a gander at your pantry. I bet you’ll find great seasonings that’ll make for great chips too!
I love cooking outside on a griddle. Or inside on one. They’re very versatile and one of my favorite cooking ‘toys’. In the nicer months, you’ll find me out manning a griddle on a gas or charcoal grill. When it gets cooler, you’re likely to find me inside cooking on my countertop griddle. There’s just something fun about cooking on them. Like when I made garlic naan pizzas using a griddle. I enjoyed the entire process, from planning the pizzas to finishing off that last bite.
Learn As You Go
I found that I had a little bit of a learning curve when I made these garlic naan pizzas using a griddle on my outdoor griddle. It fits over a large gas grill and gets super hot. So my first pizza was a bit… crunchy shall we say. I learned my lesson. On that griddle I keep the heat a little lower and keep on eye on the bottom of the crust after about 4 minutes to make sure I don’t burn it.
Outdoors Or Indoors
My indoor griddle of choice is my Cusinart Griddler. I can easily fit two naan on it at once. It does take a bit longer to get the bottom of the naan crunchy like I like. But it can’t get any easier and I don’t have to heat up an oven to get a delicious dinner or lunch meal.
Less Is More
You want your naan pizza crust to be crunchy. Or at least I do. So that means use as little wet ingredients as possible. Don’t go nuts brushing them with oil. And don’t use a lot of sauce. If your toppings are ‘wet’, pat them dry with a paper towel first before adding them.
1tablespoonolive oilor less, use as little as possible
Your favorite pizza sauce
Your favorite pizza toppings
Instructions
Turn on your griddle for medium high heat cooking.
Brush both sides of the naan lightly with the oil.
Place the naan on the griddle and toast for 1 minute per side. Remove to a wire rack.
Add the pizza sauce and swirl around with the back of a spoon. Less is more here. Use as little sauce as you can. The more you add the more your naan might end up soggy instead of crunchy.
Add cheese, if using. Make sure you get it edge-to-edge. All the way.
Add the remaining toppings. Like with the sauce my advice is to not go crazy with it. Less is more.
Return the naan to the griddle and toast 5-8 minutes. Check the bottoms every minute or so after 4 minutes to make sure they aren't getting too dark. If so, reduce the heat and/or move the naan to a cooler part of the griddle. You're not cooking anything here, just melting the cheese and getting the toppings hot so you don't have to toast them very long.
Remove from the griddle to the wire rack and let cool 5 minutes before slicing and serving.
Notes
I like to add a small sprinkling of pizza seasoning to make naans after adding the sauce for extra flavor.
Sure I’ve made Chex Mix in the oven. Quite a few times. And I’ve made quite a few variations on the classic, too. This was my first time making it on my outdoor griddle. And wow, was this ever a fantastic treat. Chex Mix using an Outdoor griddle is a bit different. And that difference is the wonderful crunchy caramelization you get on each and every little tasty morsel. Well, that and hey, it’s fun cooking outside on a griddle!
Big Griddle and Big Fun
This recipe for Chex Mix using an Outdoor griddle makes a pretty decent-sized batch. You’ll need a big griddle (30″ or more) to make the entire recipe at once. You can always divide it and do it in batches. If you go crazy stirring it (like I did) you might lose a few pieces over the side of the griddle, that’s ok. That’s just part of the fun.
Things move fast once you get this started on the hot griddle. You can’t be wandering off. You can’t be slackin’. Keep the mix moving. If you don’t, it’ll burn. And quick too. But it’s fun. You are the master of your Chex Mix. Add other things to it if you want. Take things out. Whatever you want to do. Just keep it moving.
Everyone Into The Pool
The original recipe for this mix required that it be cooked in three phases. The butter and seasoning were added at different times. I found this to be a little extra work and added to the stress of keeping the mix moving at all times! So I dissolved the seasoning into the butter. That way I just had to add it and stir. No add-butter-stir then add-seasoning-stir. Same end result, just a bit easier.
If you're making the homemade seasoning, just combine all the ingredients.
Store in an air-tight container until ready to use. If clumps form, just shake the container to knock them lose.
For the Chex Mix
Pre-heat your griddle over low heat. Make sure that it's clean. Depending on the size of your griddle, you might have to do make the mix in batches. The easiest way to do that is to halve the mix and butter mixture first.
In a large bowl, combine all of the Chex Mix ingredients.
Melt the butter in a small bowl or pot. This can be done directly on the griddle.
Stir in the Worcestershire sauce.
Combine the dry mix ingredients. Add to the butter mixture and stir to dissolve and combine.
Drizzle the butter mixture over the Chex mix and stir well to combine. Take your time, get it all well-coated.
Add the Chex Mix ingredients to the griddle. Immediately spread it out.
You want to toast the mixture for 2 minutes. Keep it moving constantly or it will brown. You want it to get a little color to it. A little char here and there is fine too.
Keep the mixture moving as you continue to toast it. You'll need 5-10 minutes to get it to the desired color and crispiness.
Immediately remove the mix to a large baking sheet (or two) and spread out to cool slightly.
Serve warm or cold. Store leftovers in an air-tight container.
Notes
Save the extra SPG seasoning and use it anywhere you want extra flavor. It’s great on hamburgers, wings, chicken, vegetables, you name it!The amount of mix in this recipe will easily fill a 36″ griddle. Depending on the size of your griddle, you might have to do make the mix in batches. The easiest way to do that is to halve the Chex Mix and wet/dry mix ingredients and place into separate bowls.