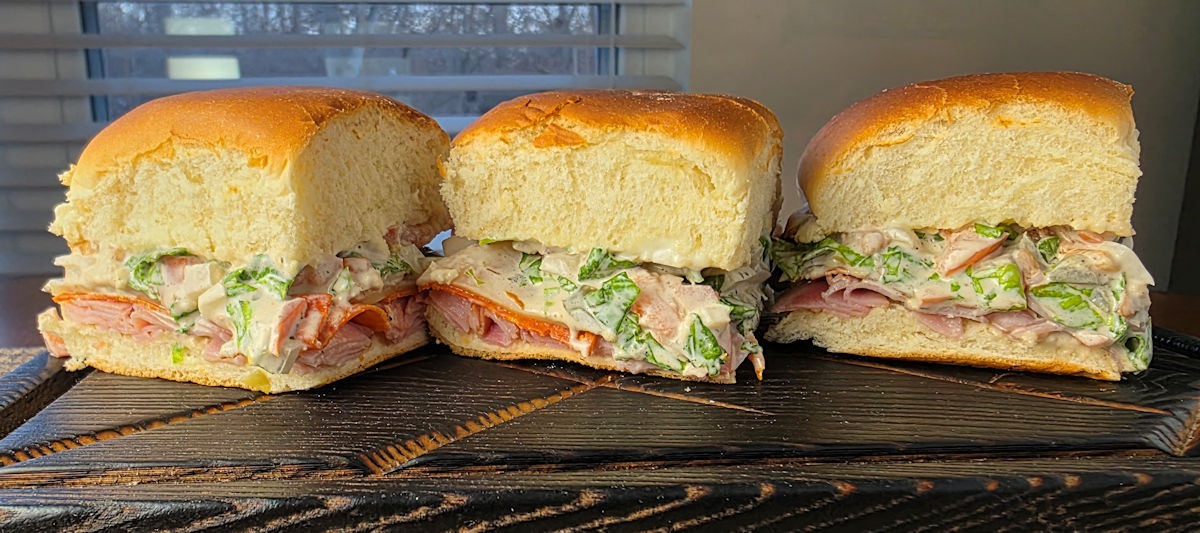
We have a confession. We didn’t even have a big game on the TV. I think we were watching a game show. That counts, right? Either way, no matter what we might be watching, these Big Game Italian Sliders are gonna make us happy. And they’ll make all of our guests happy too. Even if our team is down 35 points with 18 seconds to go, we’ll still be smiling. Well, about the food, at least!
We Have The Meats
These Big Game Italian Sliders don’t care what meats you use. Heck, go nuts. Make different ones. Have a slider bar. Do some turkey. Ham. Roast beef. Different strokes for different folks. They’ll disappear in no time no matter what.
If your salad mixture gets a little runny (hey, it’s got liquidy stuff in it!) you can press it in a strainer real quick before adding it the sandwiches. Or add more chopped lettuce to help ‘soak it up’. It won’t hurt anything to be a little drippy (I like to soak that stuff up with my bread). The drippings are mighty tasty too!
Sliders are the perfect game-watching food. Also try my (grilled or cooked in a skillet) Big Mac sliders!
One of my favorite things to make for lunch is a panini. I use my Cuisinart Griddler to get my bread nice and toasty golden brown. The cheese gets ooey gooey deliciously melty. I use good Italian-style deli meats as a kind of gift to myself. All I need is a good squirt or two of my Italian panini dressing just before serving to top off the perfect lunch. The dressing adds a nice herbaceous taste to my sandwich.
Give Any Sandwich A Boost
This Italian panini dressing is great on a lot more than a panini. Any submarine sandwich is better with a little of this dressing drizzled over the top. I keep a bottle of it on my countertop, ready to go any time I make a sandwich, which is darned near daily.
This dressing is also good for soppin’ with some crunchy Italian bread.
Spice It Up
If you’d like to add a little spiciness to your dressing just toss in a few good pinches of red pepper flake. Give the dressing a good stir or shake and you’re good to go.
I store my homemade sauces in squeeze bottles. If refrigerated, I set them out thirty minutes to an hour before using so they come to room temperature. You don’t want to put cold sauce on hot food!
I really don’t know what happened to me. I made some of these air fryer smoked sausage sandwiches with chimichurri sauce and something ‘clicked’. Things changed in my world just like that. I could not get over how much I loved each and every bite. Maybe I just needed a change from my usual smoked sausage or hot dog dishes. And what I was missing was chimichurri sauce. Boy, does it ever change up a boring sausage. Crunchy onions. Herbs. Oil and vinegar. It’s almost like having a salad dressing but oh, oh so much better.
Chimi-What
Don’t let the name fool you. The sauce is easy to make. Usually it’s found on grilled beef or pork. I decided it needed to also be on my air fryer smoked sausage sandwiches with chimichurri sauce. I actually doubled the sauce ingredients because I guessed that I was going to love it. And I did. I loaded up on it. I couldn’t get enough of it. Heck, I even dunked my smoked sausage in it. Now that’s true love right there!
PS: The sauce is also great on fried chicken or air fried chicken wings! Trust me! It’s not just for beef!
A Little Tip
I like to make a little cut lengthwise down my smoked sausages before I toss them into the air fryer. Not all the way through. I’d say halfway at most. As the sausages cook they open up a bit. Then, when I put them on the buns I put them cut-side up. That gives the toppings (such as the chimichurri sauce) a great place to settle in. And stay there. It’s so much better than taking a bit only to have the toppings squirt out the end.
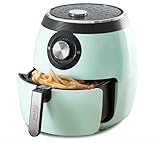
I use a pretty straight-forward air fryer, that doesn’t have a lot of bells (ok, it has a bell for when the timer goes off!) and whistles. It gets the job done.
I love gumbo. I love the history of it, the flavor, the ingredients. Everything about it. And I love the time it takes to make it right. The time it takes to make a roux, to develop all those flavors, is time well spent. So I went into this slow cooker gumbo kinda suspicious. Kinda pessimistic. And you know what? It was delicious. Even the broth, the part I love the most about a good gumbo, was fantastic. This was the perfect bowl of gumbo greatness, made in a slow cooker!
The Perfect Idea
I got the original recipe for slow cooker gumbo from a great cookbook, the Southern Slow Cooker Bible. If you have a slow cooker, you need this cookbook. It’s not your ‘usual’ collection of crockpot ideas. It’s new and different. Like this gumbo. Heck, for my money the cookbook was worth it just for this recipe. Easily. Hands down.
I plan on making this dish again soon. I might change a few things just to keep it different. Like maybe I’ll use smoked sausage instead of andouille. Maybe I’ll chop the meat instead of slice it. Maybe I’ll add the rice to the slow cooker and let it ‘get happy’ in all of the brothy greatness. But I won’t mess with the basic approach. It’s rock-solid deliciousness!
Spread the flour out evenly in a small cast iron pan.
Bake 12-18 minutes, stirring at least once, until slightly brown.
Meanwhile, heat the oil in a large skillet. Add the sausage. If you are using fresh sausage, cook until until the sausage reaches 165 F. For pre-cooked sausage you want to just get a slight char on the sausage for texture and flavor.
Remove the sausage to a paper towel-lined plate and let cool slightly before slicing.
Lightly spray your slow cooker with non-stick spray.
Add the onion, garlic, bell pepper, celery, canned tomato (along with the liquid), Creole seasoning, black pepper and cayenne. Stir.
Add the sausage slices.
In a large bowl, add the chicken stock.
While whisking, add in the flour. Continue whisking until the flour has dissolved.
Add the mixture to your slow cooker and stir.
Cover and cook on high 4-5 hours.
The last 10 minutes of cooking add in the green onion tops. Stir and cook another 10 minutes.
Remove the bay leaves and serve over hot cooked rice.
Notes
Serve with a little hot sauce if you want it spicier!
Cooler weather has finally arrived here in Indiana, and if you live here you know what that means — it’s officially soup and stew season! The mornings are crisp, there’s a little bite in the air, the leaves are starting to turn, and all of a sudden a big, steaming bowl of comfort food sounds better than just about anything else.
We absolutely live for this time of year in the kitchen. The slow cooker comes back to the counter, the big Dutch oven gets a workout, and the whole house smells amazing for hours. There is just something about coming in from the cold and knowing you have a pot of something hearty simmering away that makes those shorter days and early sunsets so much better.
We’ve rounded up some of our all-time favorite soup and stew recipes here — the ones we make on repeat every fall and winter. These are the real keepers, the bowls that are sure to fill you up and heat you up too, whether you need a quick weeknight dinner or something to feed a crowd on a chilly Sunday.
Anything And Everything
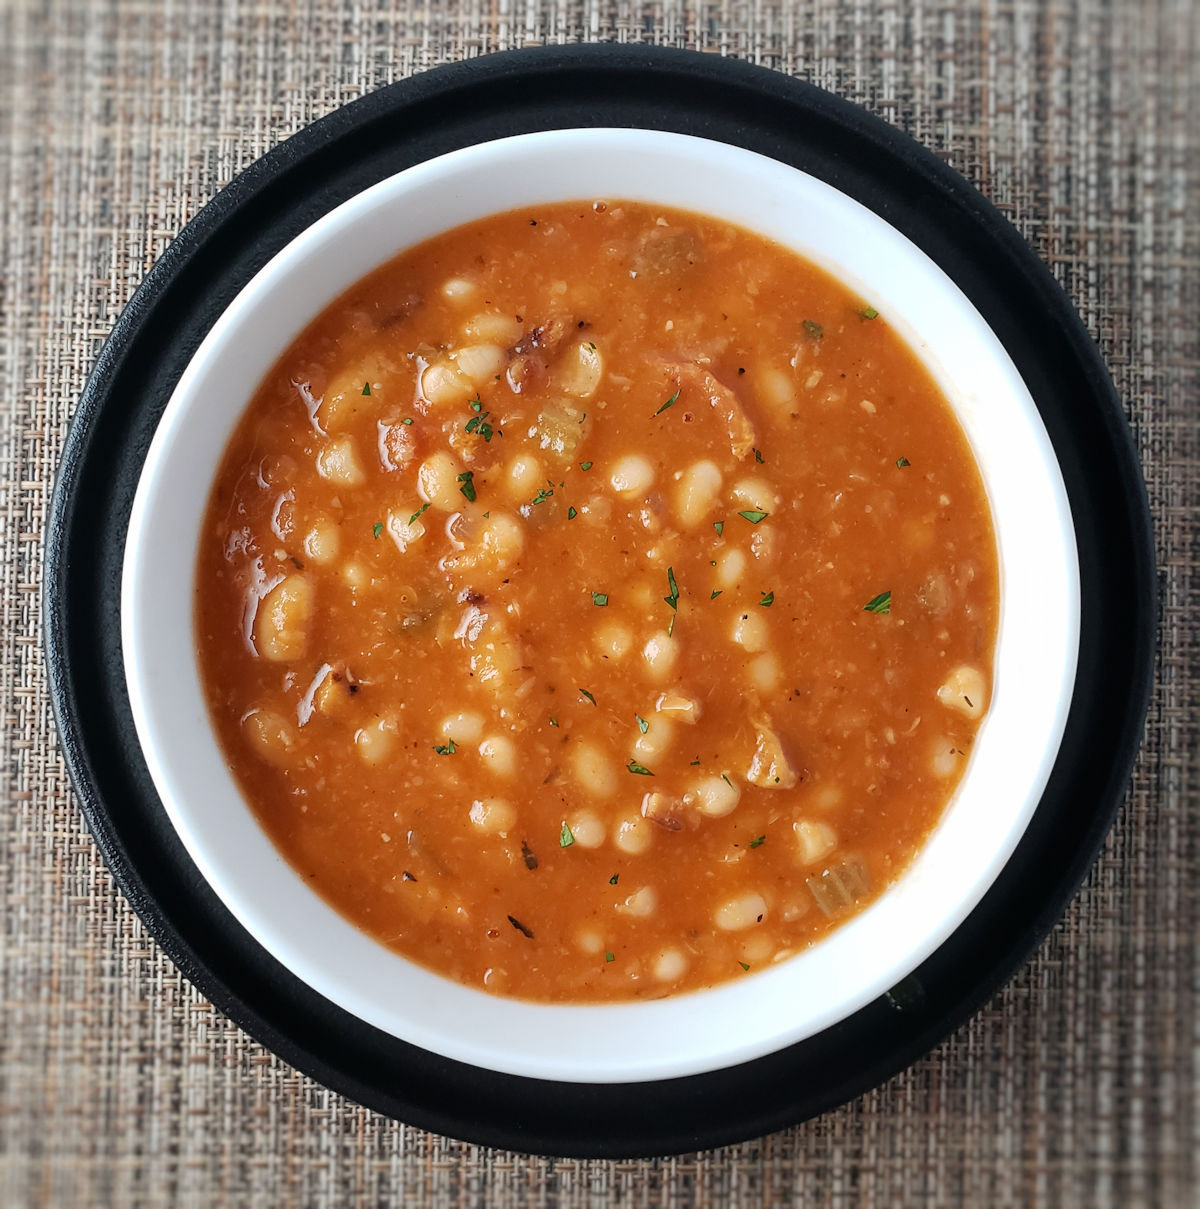
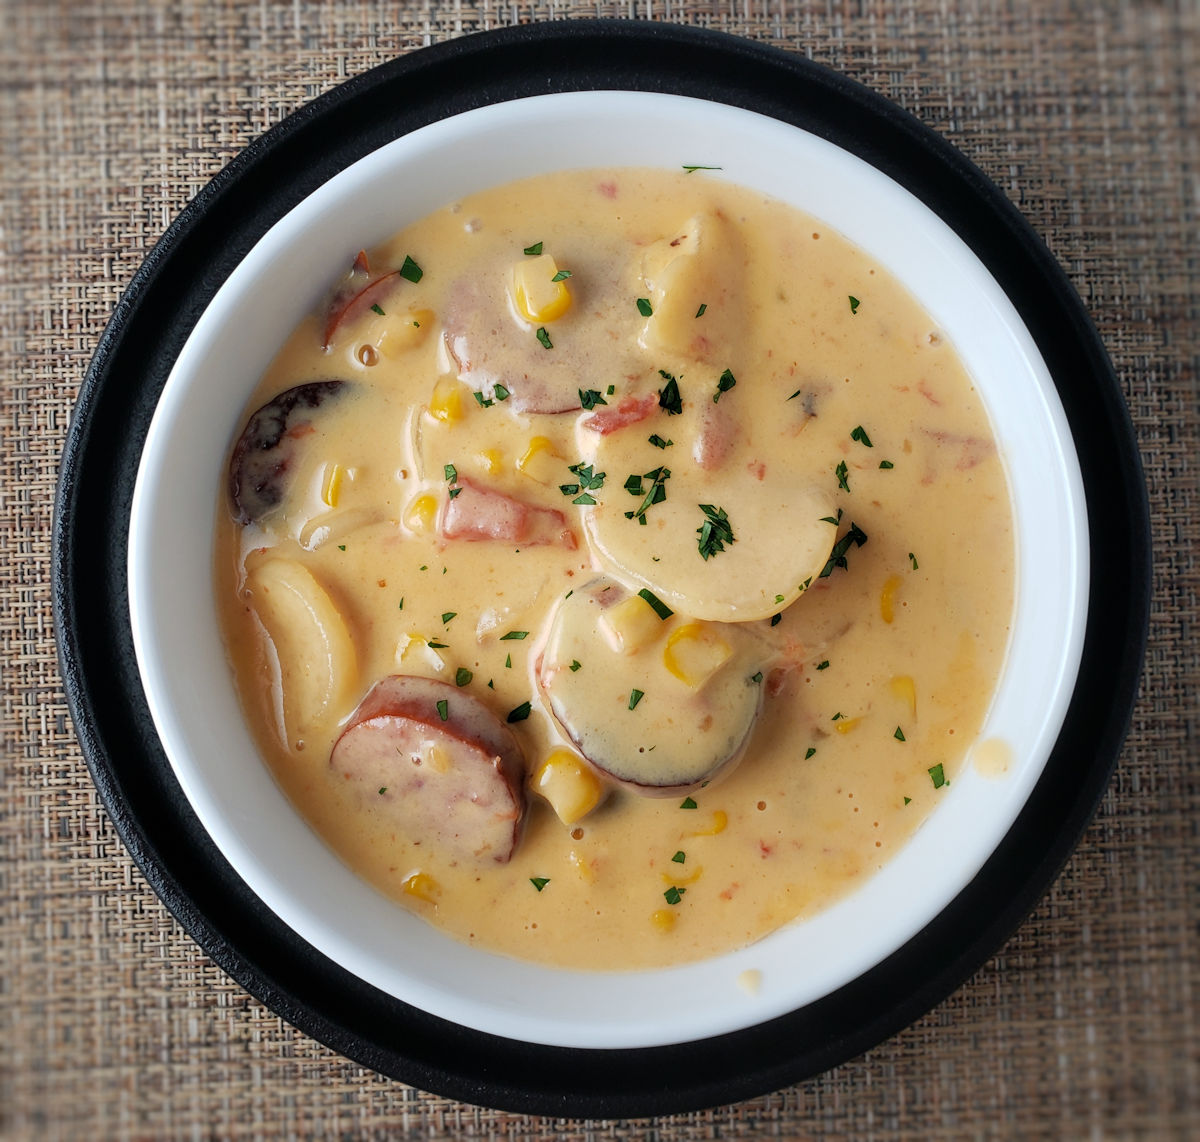
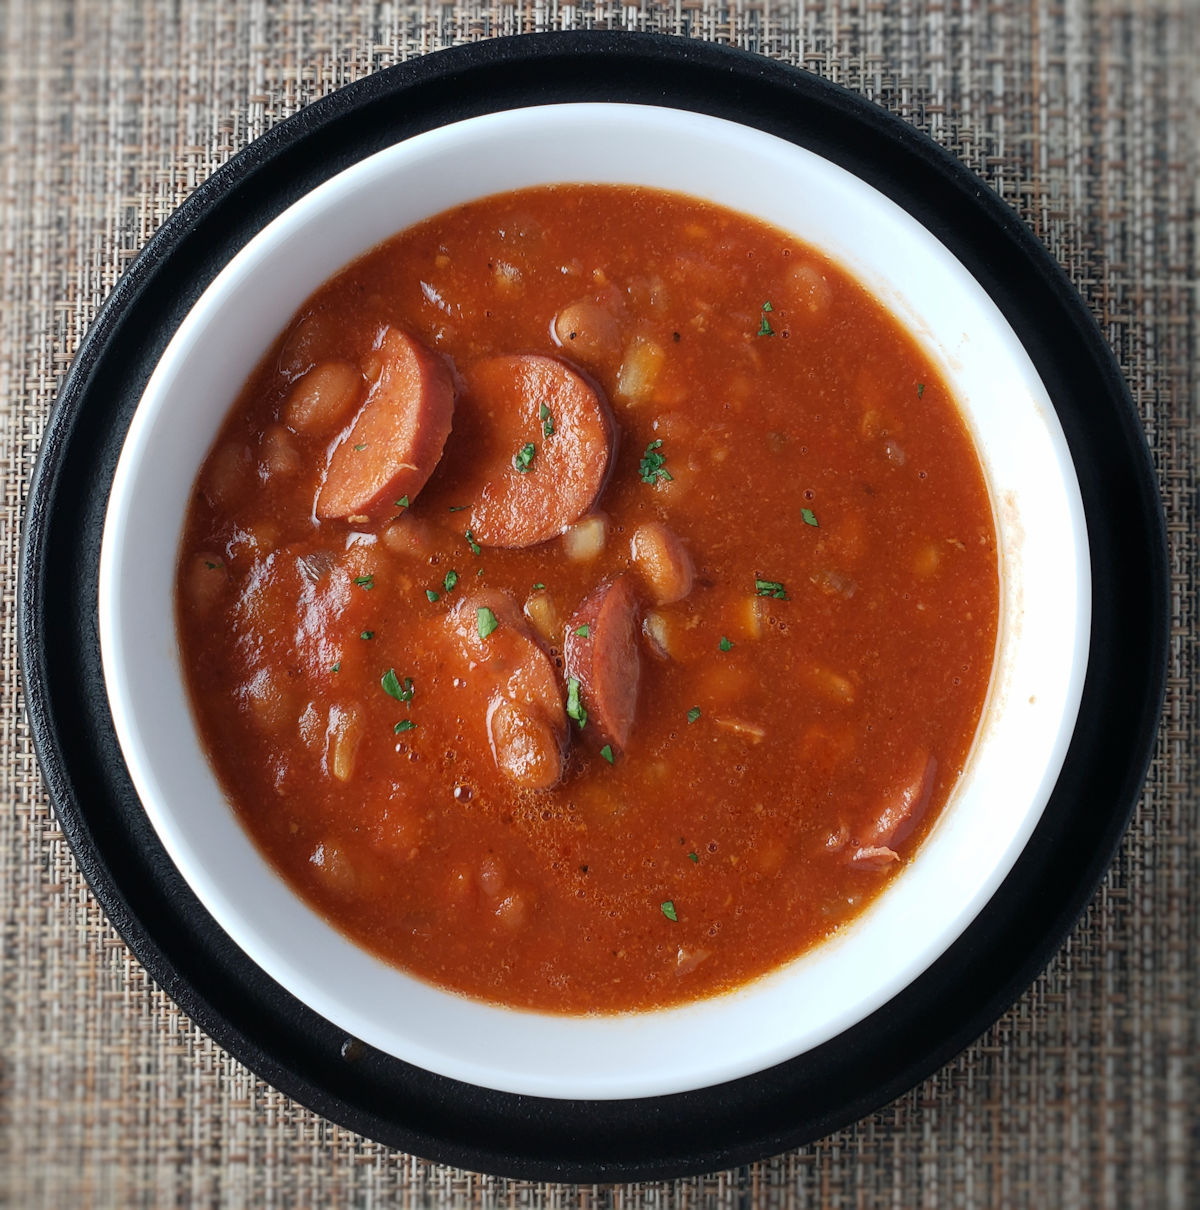
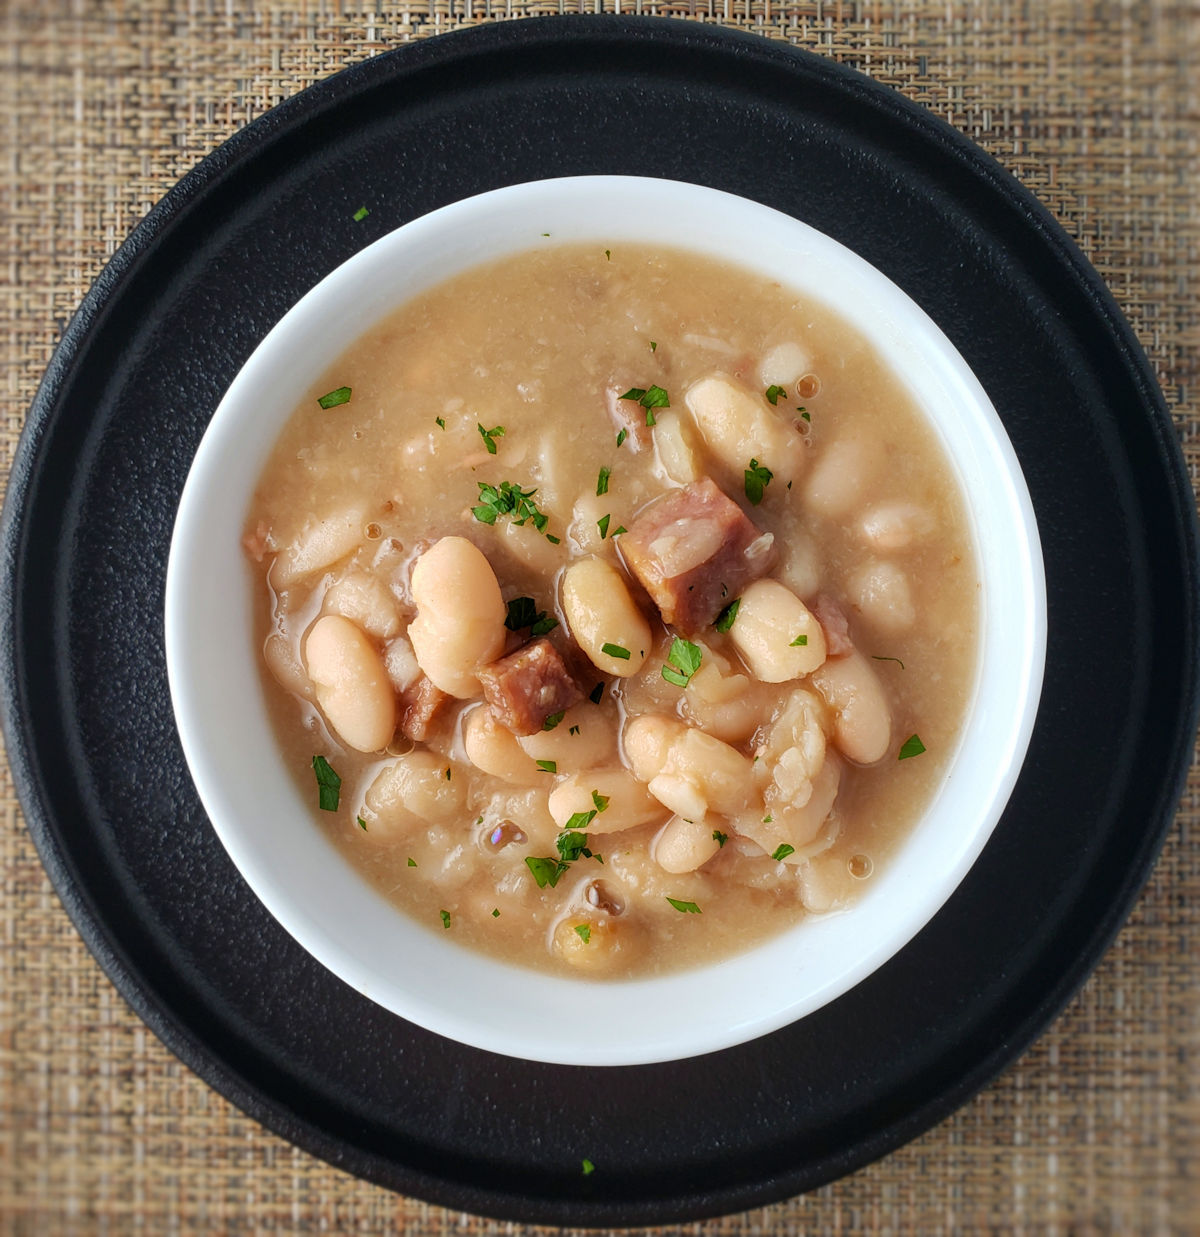
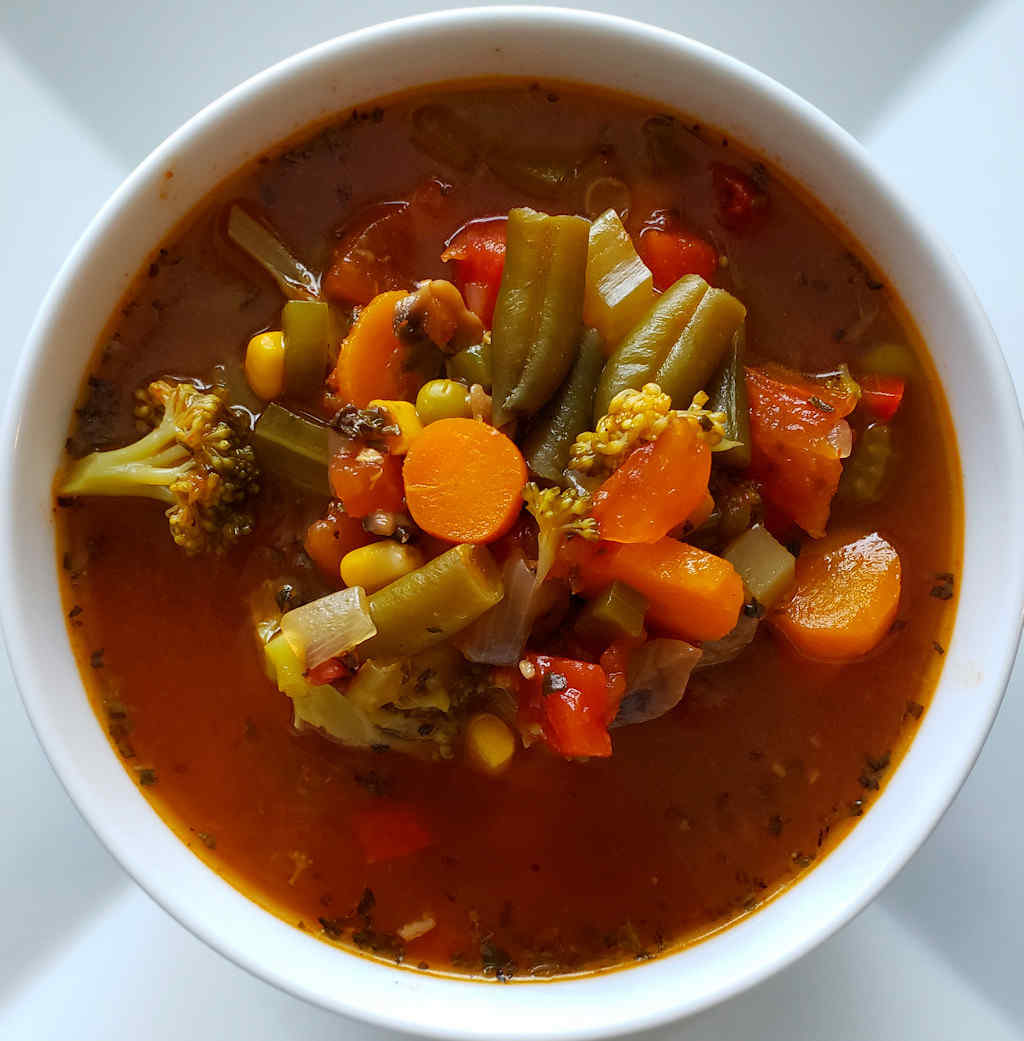
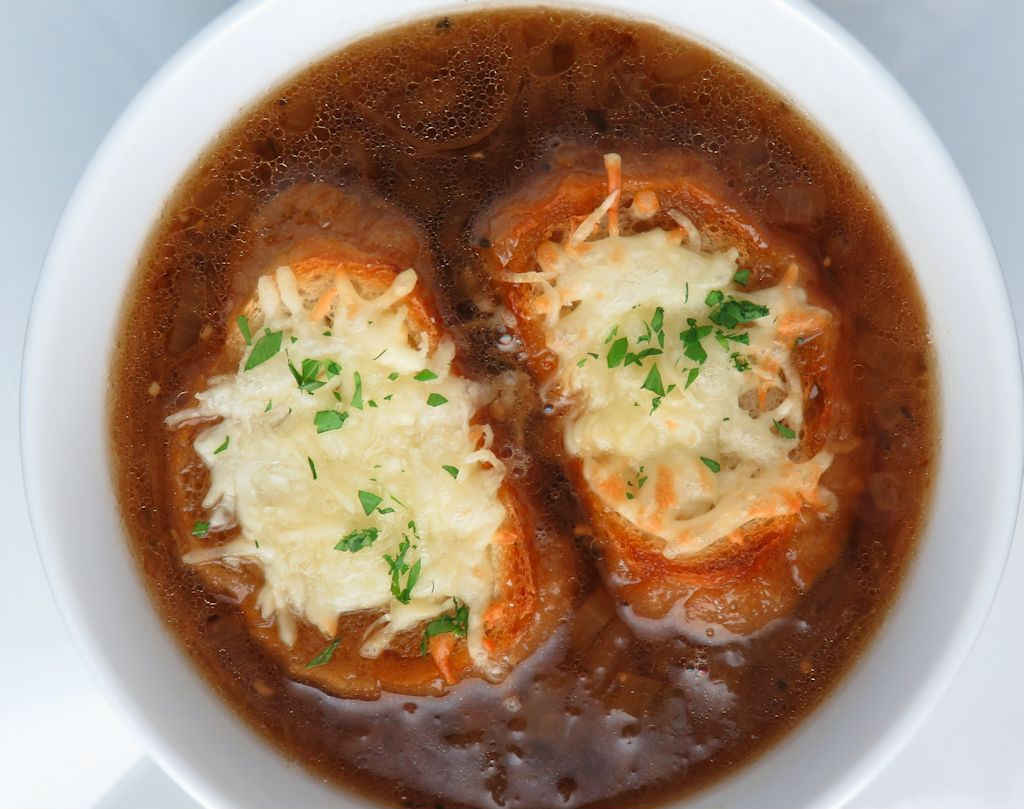
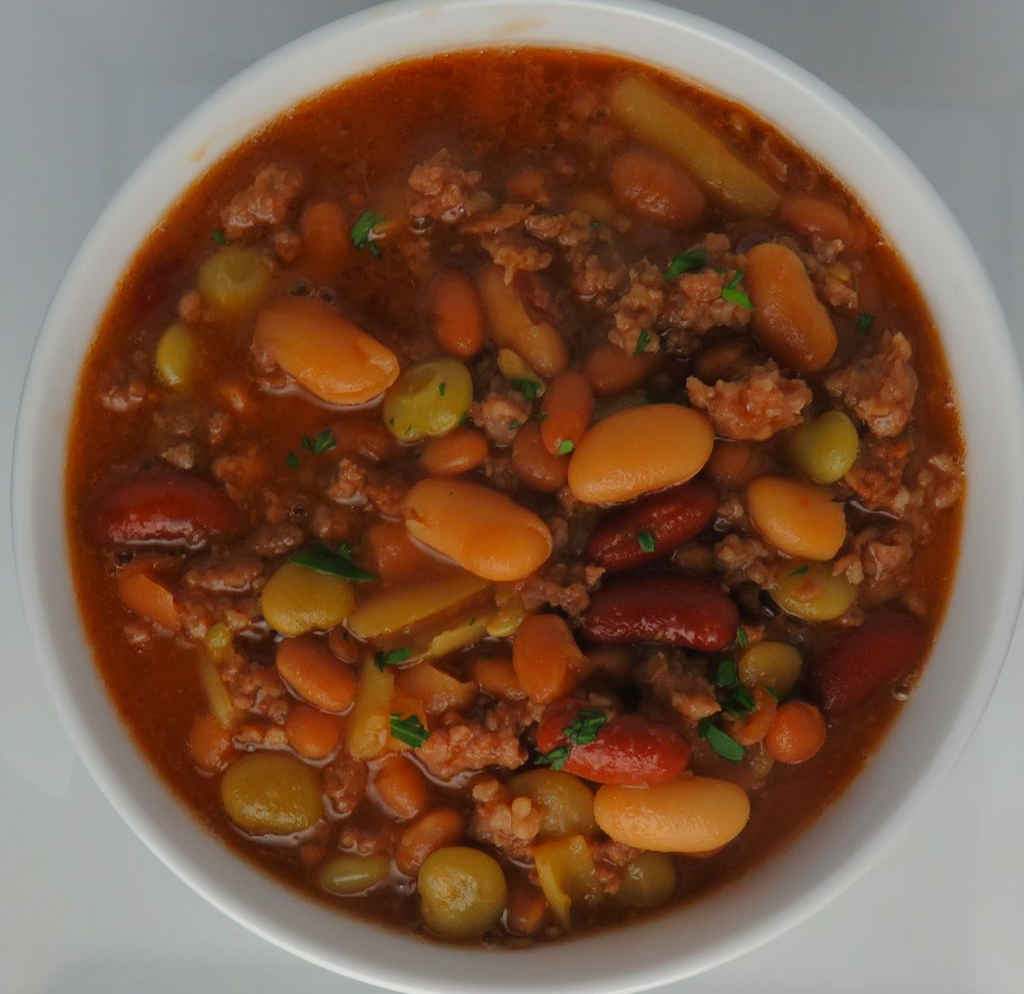
You’ll find everything from creamy, cheesy comfort like our Mac and Cheese Soup, Creamy Cheddar Soup, and that indulgent Cheeseburger Soup that got us through those below-zero days here in Indianapolis, to hearty, stick-to-your-ribs bowls like Slow Cooker Hearty Sausage and Beans, Chet’s Trucker Stew, and Kielbasa Sauerkraut and Potato Soup. Craving something classic? Our Chicken Noodle Soup, Roasted Chicken Noodle Soup, The Best Vegetable Soup, and Classic Hot and Sour Soup never disappoint. And if you want a little kick, you’ve got to try the Smoked Sausage Nacho Soup, Spicy Tomato Soup, and Slow Cooker Spicy Kielbasa Cabbage Soup.
Let’s Get To It!
Most of these are slow cooker friendly, make fantastic leftovers, and freeze beautifully, so you can make a big batch now and have cozy dinners ready whenever that Indiana wind starts howling. So grab your favorite big bowl, slice up some crusty bread, and let’s dive in.
The List
1
Smoked Sausage Nacho Soup
I wouldn't change anything about this smoked sausage nacho soup.
This soup was fantastic. It made for the perfect bowl of happiness on a cold, dreary winter’s day. Just the right amount of seasoning. Just the right of cheese. And oh so creamy smooth. I should’ve doubled the recipe.
You have those cans of tomato soup just sitting there in the pantry. It’s not bad soup. But those cans have been sitting there for a reason. That soups needs a little something.
This soup hit the spot, starting with an absolutely divine-tasting broth. Tender, flavorful chicken and a surprise… chickpeas… round out a big bowl of happiness.
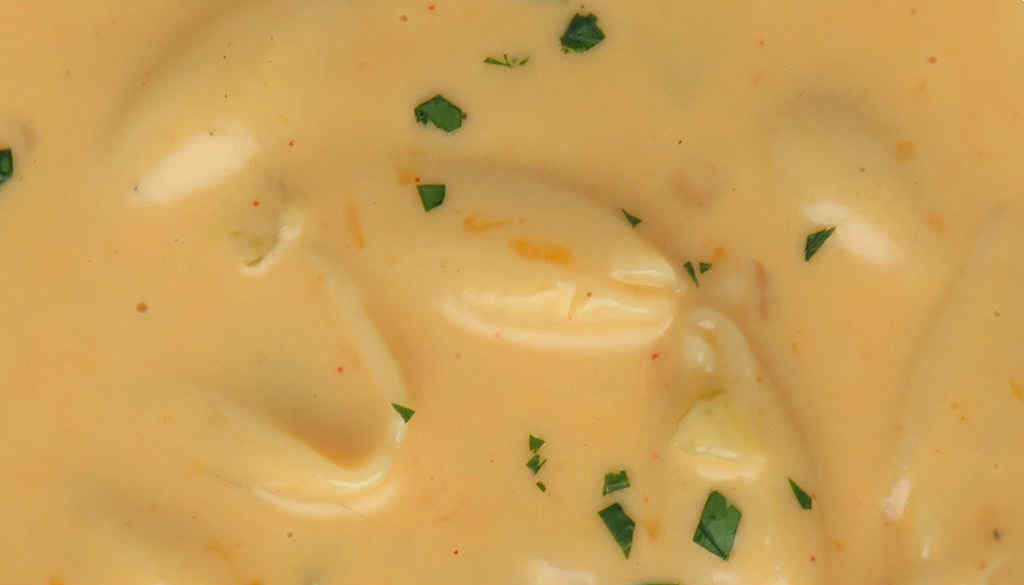
Four servings? Ok, maybe. You’ll think that before you taste this creamy cheddar soup. After that first taste you’ll be thinking… only one serving! And all mine!
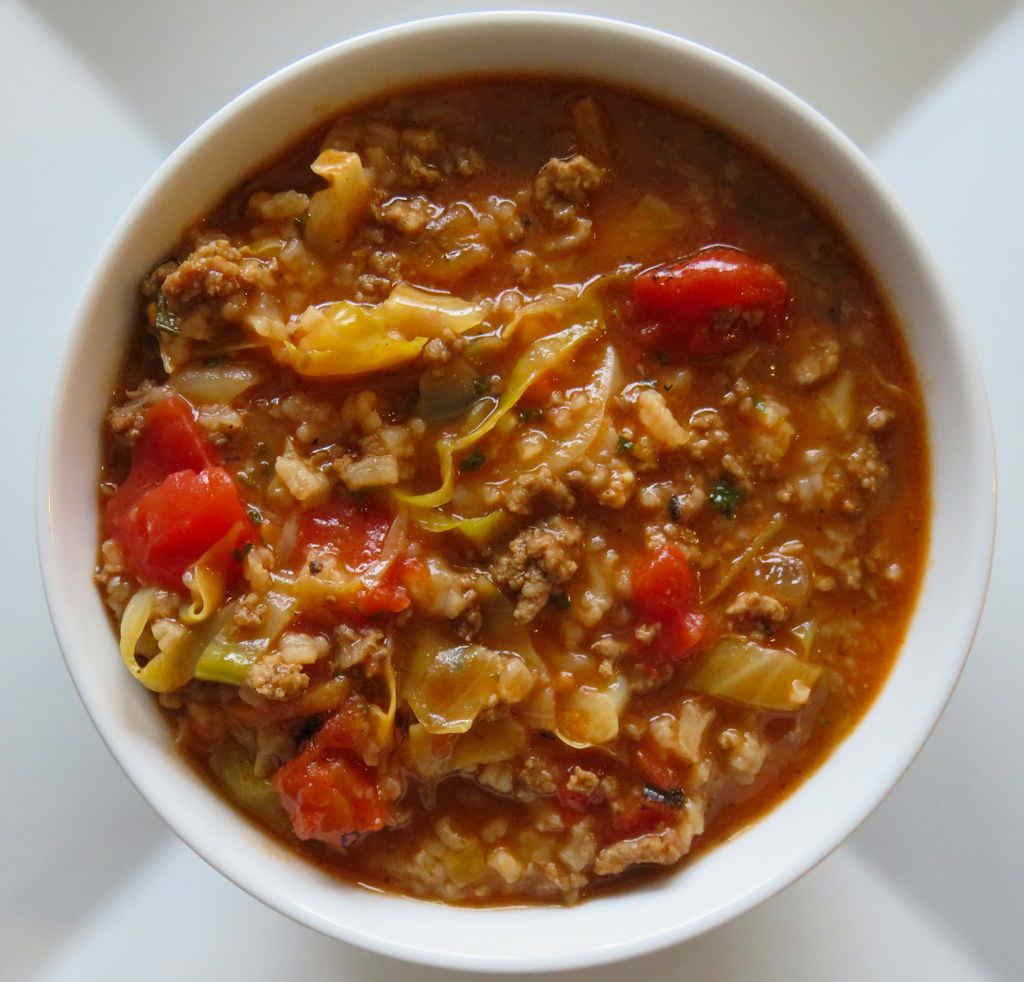
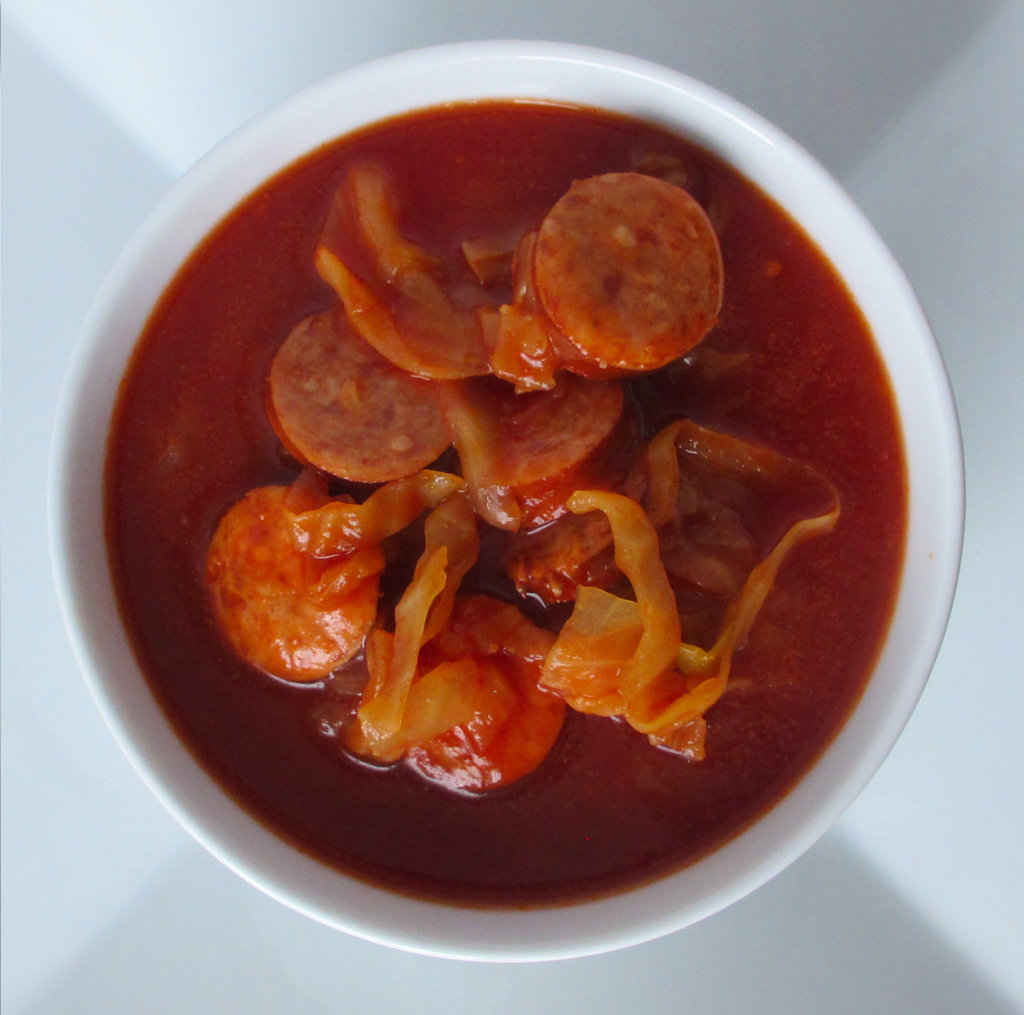
No need to mess with making actual cabbage rolls, this soup combines all the same great flavors in a bowl without having to worry about stuffing boiled cabbage leaves.
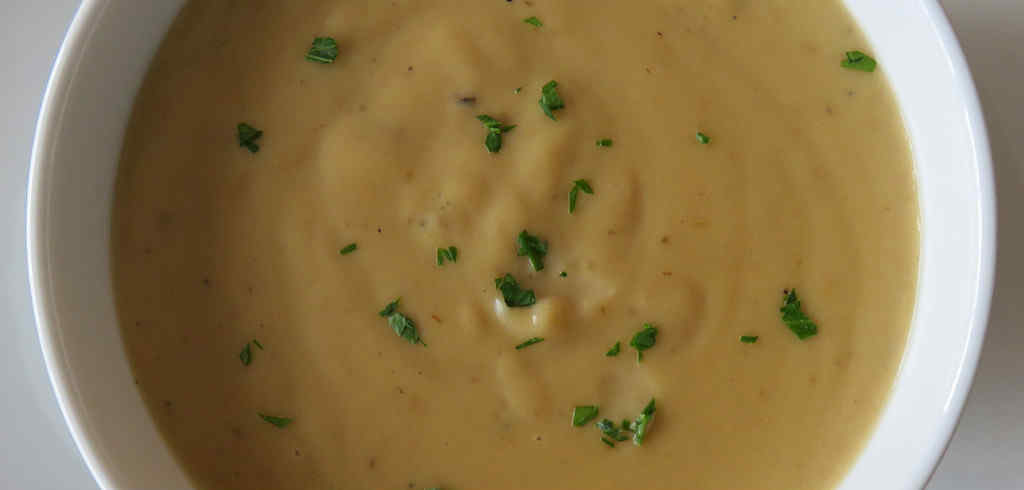
This celery and cheddar soup takes only a few minutes to put together, and just a few hours to cook in a slow cooker. When it’s done, you get to enjoy a creamy, smooth cheesy soup that has a wonderful hint of celery.
This thick, creamy cheeseburger soup absolutely hit the spot on a really cold day here in Indianapolis. We’ve had temperatures well below zero for days now. Having a big batch of this soup on hand really helped warm us up!
To get such great mushroom flavor, this soup is packed with mushrooms, both fresh and dried that have been reconstituted. If you really, really love meaty mushrooms, then you’ll love this soup right out of the pot.
Don’t let the ‘spicy’ part scare you. For us, at least, this soup did not come out overly spicy at all. The flavors mellow a bit as the soup cooks throughout the day.
I have a slow cooker (er, crockpot) for the same reasons everyone else does. I on occasion like a great, easy meal that I can toss into the pot and not have to fuss with
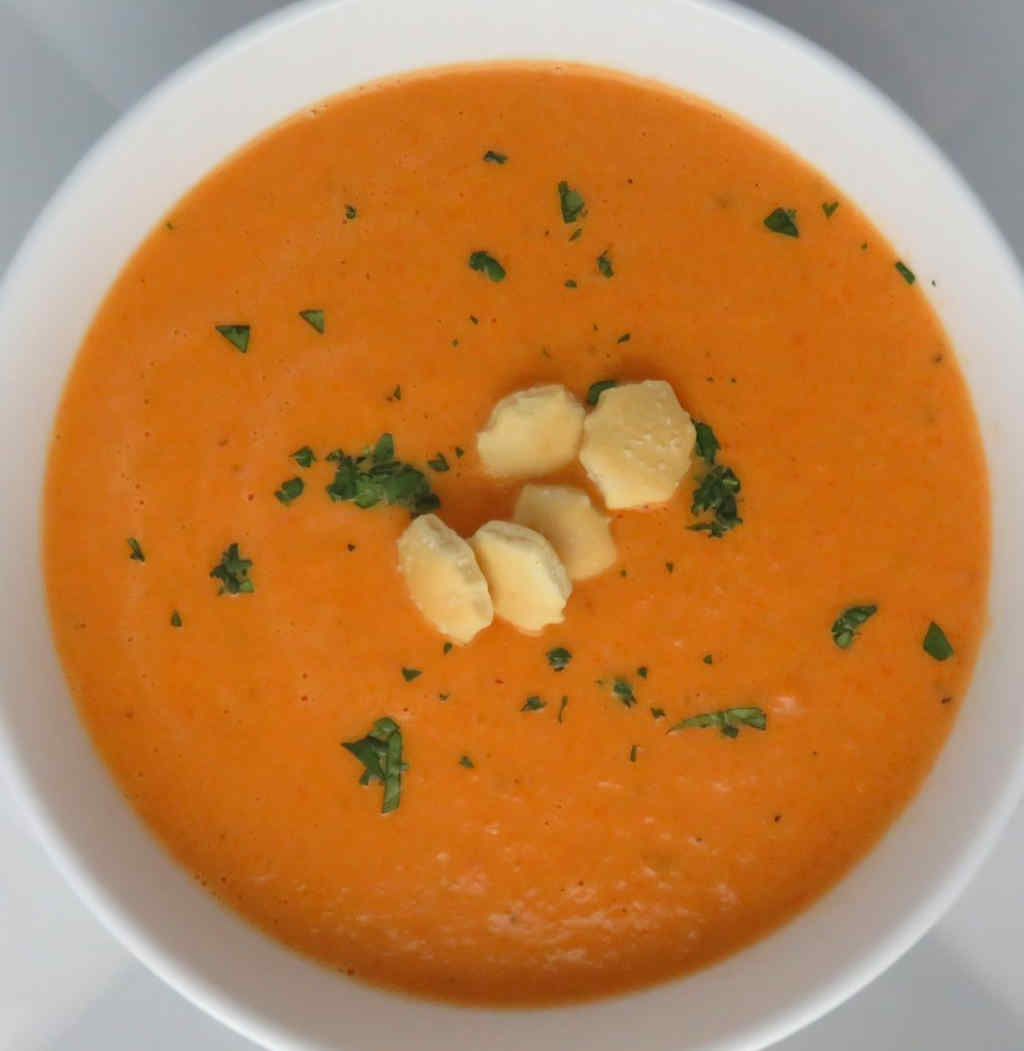
Wow. Talk about the perfect bowl of soup for a cold day. This spicy tomato soup is just fantastic. Super tomato flavor, with a hint of basil, and a really, really nice spicy kick.
I found this classic hot and sour soup to be so fantastic I couldn’t stop eating it. The broth is insanely tasty despite being so easy to make. There’s a great contrast between the woodsy mushroom and citrus lime flavors.
The smoked turkey adds just the right something to this Lentil soup. The soup could stand on its own without it, it’s just that good, but add in the turkey and oh yes, soup happiness!
It’s easy, it’s fast, and it is absolutely packed with great flavors. And it doesn’t matter how you cooked your turkey, whether it be smoked, fried, baked or roasted.
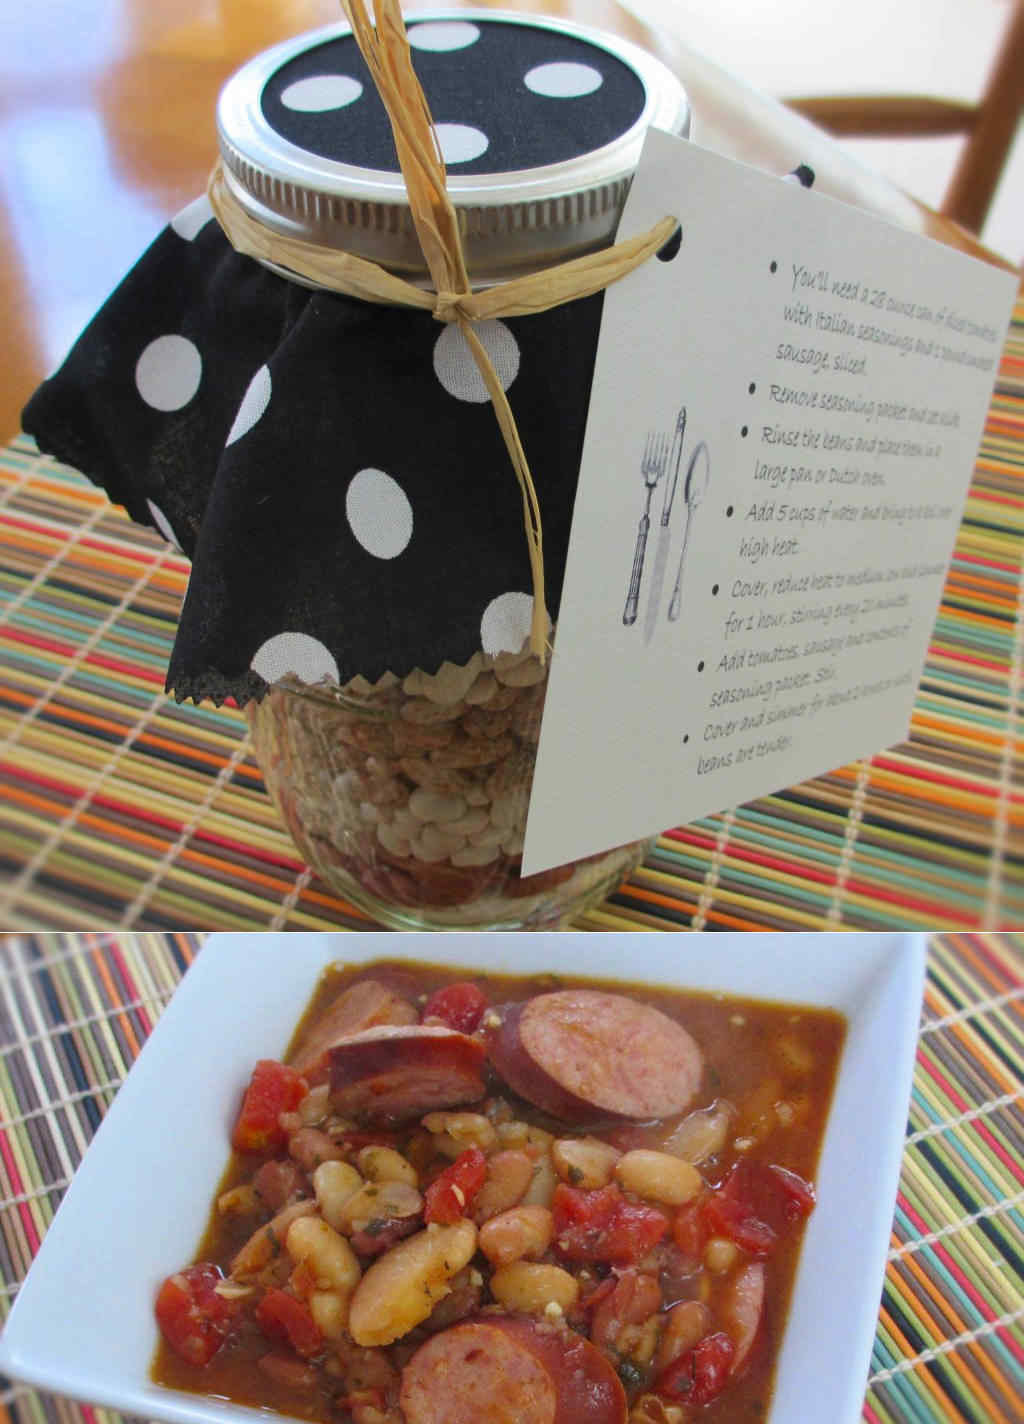
I made a few of these Country Five bean soup mixes in a jar and gave them out as gifts. The soup is simple and tasty and quite hardy. I keep a few jars of the mix on hand for a quick and delicious soup any time.
I’m bored with store-bought flavored chips. Oh sure, companies keep trying to come up with new flavors to get us to buy them but usually they just don’t ‘wow’ me. That’s why, more and more, I season store-bought chips at home. The flavors are only limited by my imagination. Well, and my pantry! Today I made a batch of quick fix cheesoning potato chips. They came out great. They taste like parmesan chips, but they have an herby twist. Nice and savory. And gone quick too.
Use Cheap Chips. Get Great Results.
You don’t have to start out with expensive, name-brand chips when you make some quick fix cheesoning potato chips. In fact, you’re gonna have great results with the cheapest chips you can find. Personally, I recommend wavy chips with those thick ridges. Ridges and waves help trap the seasonings and keep them on the chips. No big seasoning mounds in the bottom of the bowl here. You want that stuff to stick.
Be Heavy Handed
The Cheesoning seasoning from Dan-O’s is fairly mellow. So, it’s ok to be heavy handed with the seasoning. Big time. Load them up. If I wanted wimpy flavored chips I’d have bought the pre-made stuff. I want flavor. Everywhere. All over.
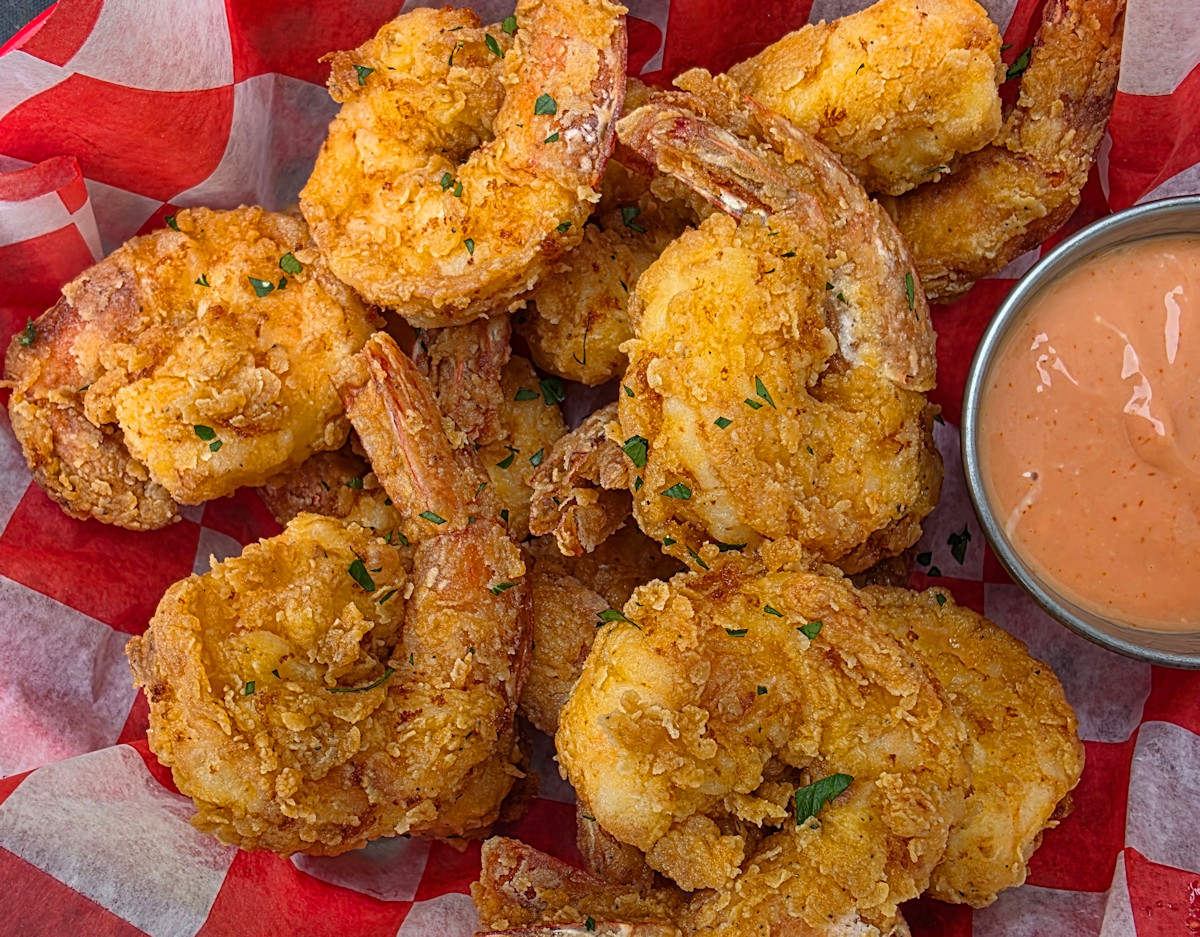
One of my fondest childhood memories is of the (very rare) times my family would eat out. My favorite place was Western Sizzlin Steakhouse and I always got the deep-fried shrimp. I have loved fried shrimp ever since then. I make it often. And often, the batter was the star of the show. The shrimp, although great, didn’t bring a lot of flavor to the party. Well these extra-tasty fried shrimp do. Big time. Beneath the crunchy delicious exterior are delicious shrimp. These shrimp are my new love.
Load ‘Em Up With Flavor
These extra-tasty fried shrimp are not hard to make. And they definitely disappear in no time at all. I highly recommend making extra. The dipping sauce is great too. But it’s kinda optional because the shrimp are great by themselves or with just ‘plain ole’ cocktail sauce (spicy is my fav!).
The shrimp do have a slight ‘kick’ to them thanks to the hot sauce but trust me, they are not spicy. If you’d like yours to have some more heat, add a few pinches of cayenne to the flour and batter. Not a lot, though. You don’t want to override the fantastic flavors.
The Presto Fry Daddy is perfect for making smaller batches of food. It only uses a few cups of oil and comes to temperature quickly. Clean-up is easy too!
Man oh man did this spicy Frito pie ever hit the spot. The weather took a weird turn for a few days and I needed something to warm me up. This dish did it. And oh was it ever so yummy. And very easy to make to boot. Usually, you might expect a Frito pie to be served as a casserole or even in a bag of Fritos. I kinda made mine more of a twist on nachos. No matter how you do it, the delicious meat sauce and cheese go great with crunchy salty corn chips.
As Spicy As You Want It To Be
With just a few little changes, you can make this Frito pie mild or hot. First up, the taco seasoning. Easy enough to use a hot spice mix. Or not. I like to use my homemade version so I can change up the heat level depending on my mood for the day. For the tomatoes I used Rotel with habaneros. The hot stuff. Yeah baby. That got us going. And finally I added a few jalapeno slices just for good measure.
I like to heat and serve this dish using my fajita skillets. They’re great for keeping food hot and melting cheese. You can also make this dish on a plate. Just top the hot meat with the cheese. It’ll melt a bit and you don’t have to worry about using the oven. Up to you. It’ll be great either way.
I’m kinda picky about my shredded cheese. I want it to be creamy. And I want it to melt nice and ooey gooey. That’s why I shred my own. The anti-caking agents used in the pre-shredded stuff prohibit good melting. It only takes a second (with the right tool) to shred it myself, and the results are worth it!
I’m not a complicated guy. My food doesn’t have to be all fancy fru-fru. I often find myself going back to the foods of my college bachelor days. Maybe with a twist or two here and there, but same kinda things. Like pizza rolls. I loved pizza rolls. Still do. And like everyone else, I’ve burned my tongue on them, popping them into my mouth long before they are cooled off. It happens. Today, I decided to heat up a few of my favorite flavor (supreme!) and add a bit of seasoning. Quick fix seasoned pizza rolls just have a little extra flavor. Not enough to be fru-fru, but definitely enough to be yummy!
Cheesoning Is The Reasoning
I’m a Dan-O’s Seasoning fan. So I grabbed some Cheesoning seasoning for my quick fix seasoned pizza rolls. It’s like a good grated Parmesan cheese, with some herbs and spices thrown in for good measure (and taste). It’s a great flavor that goes well with pizza rolls. Italian seasoning would be good too. Or pizza seasoning. No need to go crazy with it. Chances are that there’s something in your spice rack would be just great. We’re just taking regular good ole pizza rolls and making them a bit better.
I make a lot of quick-and-easy sandwiches on my Cuisinart Griddler. It does such a great job. The bread gets wonderfully crunchy. The cheese melts perfectly. And the meats get nice and hot. All I need is a sauce. Even if I use the same bread each time, and the same cheese and meats, I want a different sauce to change things up. This easy creamy Caesar sandwich spread is a fantastic topping for my sandwiches. It adds a bit of creamy nuttiness. A little garlic and lemon make it different. Much different than just using mayonnaise.
The Last Thing
I don’t add this easy creamy Caesar sandwich spread to my sandwich until moments before I’m ready to eat. And never before I put my sandwich onto my Cuisinart Griddler. The last thing I want is a hot sandwich spread. Not one that has mayonnaise in it, at least. The thought of hot mayonnaise does not appeal to me. Not even a tiny bit.
If you’re into dipping fries in mayo (and I am), this spread is great for that too!