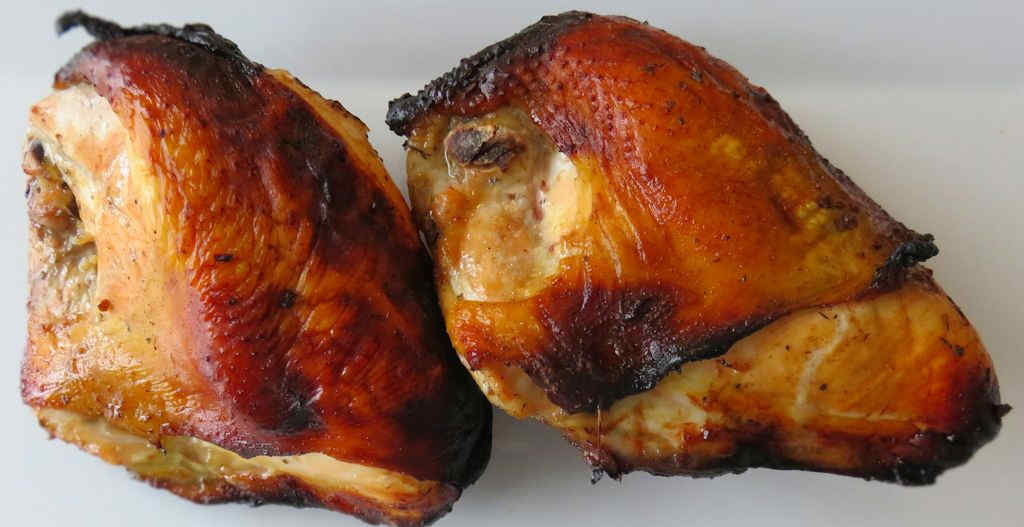
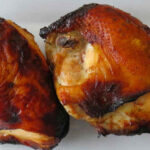
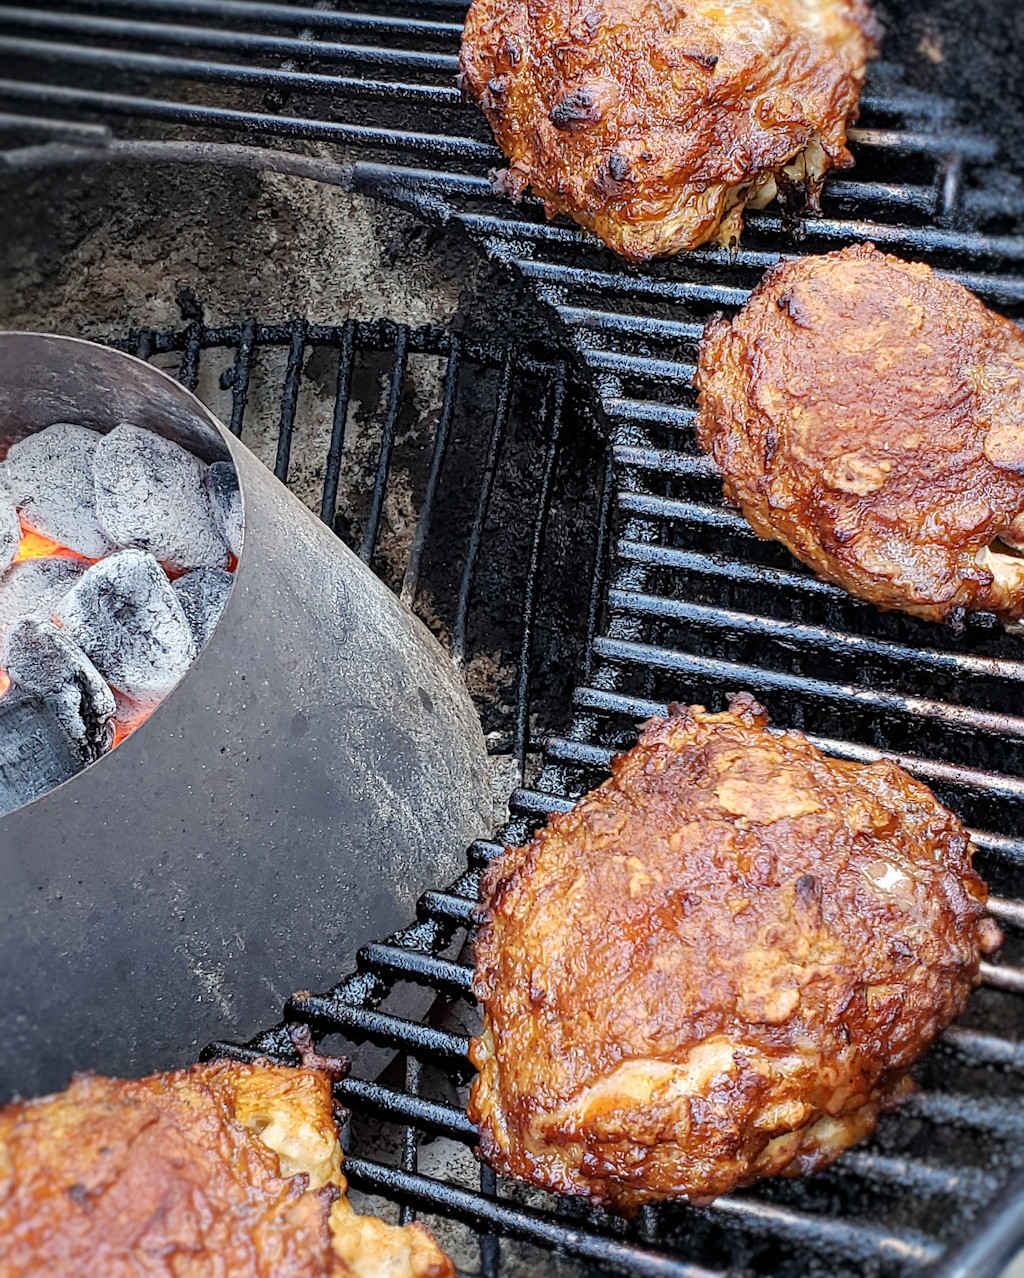
One of the things I really love to cook with my Vortex is to take written-for-a-deep-fryer chicken recipes and adapt them for my charcoal grill. Just about any thing you can do in a vat of hot oil can be made better using a Vortex. And with almost no oil at all. I do use a bit of oil at the very end of the cook. Just to help crunch up the skin. It’s optional, but oh does it make that skin superb! This sweet tea fried chicken using the Vortex was a total twist for me, and I thought it was incredible. The tea adds a bit of sweetness, a bit of a herby hint, to the chicken. This is my first time marinating chicken in tea, sweet or not, and it definitely won’t be my last.
Different. And Definitely Delicious.
I used Luziannne tea bags (our favorite tea for iced tea) when I made sweet tea fried chicken using the Vortex. It might be interesting to try other teas, maybe infused some different flavors. Or just do as I did and use what you know and love and get some incredible tasting chicken.

Also try my Amish fried chicken made using the Vortex.
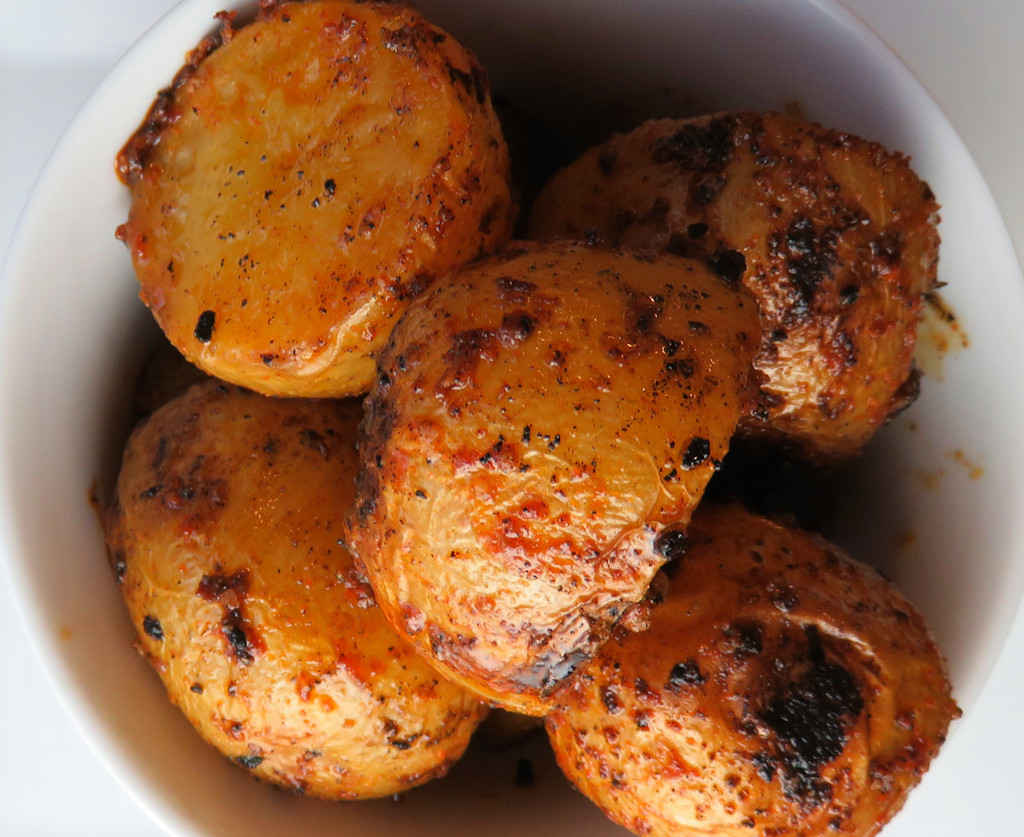
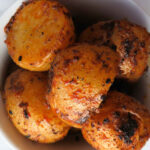
Sweet Tea Fried Chicken using the Vortex
Ingredients
- 3 cups water
- ¼ cup sugar
- 3 tea bags
- 8 chicken thighs bone-in, skin-in
- 2 large eggs lightly beaten
- 1 cup buttermilk
- 2 cups all-purpose flour
- 2 teaspoons garlic salt
- 1 teaspoon lemon pepper seasoning
- 1 teaspoon poultry seasoning
- 1 teaspoon paprika
- 1 teaspoon ground black pepper
- ¾ teaspoon kosher salt
- 2 tablespoons vegetable oil
Instructions
- Bring the water to boil in a small pot over high heat.
- Add the sugar and stir until dissolved.
- Add the teabags and remove from the heat. Let the bags steep for 5 minutes then remove.
- Let the tea cool completely.
- Place chicken into a large sealable container. Add the tea. Make sure all the pieces are submerged, adding a bit more water if needed.
- Refrigerate for 24 hours, turning at least once to make sure that all sides of the chicken get marinated.
- Fire up your charcoal grill fitted with a Vortex full of charcoal.
- In a medium bowl, whisk together the eggs and buttermilk.
- In a shallow bowl or pie plate, whisk together the flour, garlic salt, lemon pepper seasoning, poultry seasoning, paprika, pepper and salt.
- Remove the chicken from the tea, shaking off any excess. Working in batches, transfer the chicken to the buttermilk mixture and coat well.
- Remove and shake off any excess, then coat in the flour mixture. Place on a wire rack while you finish dredging all of the pieces.
- Transfer chicken to the grill around the Vortex (assuming the coals are ashed over and are good and hot). Cover and cook for 45 minutes or until the chicken reaches 165 F as measured in several places. Turn the lid 90 degrees every 15 minutes so the chicken cooks evenly.
- Lightly brush the tops of the chicken with some oil and let cook another 3-4 minutes to get the skin good and crunchy.
- Remove and let cool slightly before serving.
Notes
Nutrition
Nutritional values are approximate.