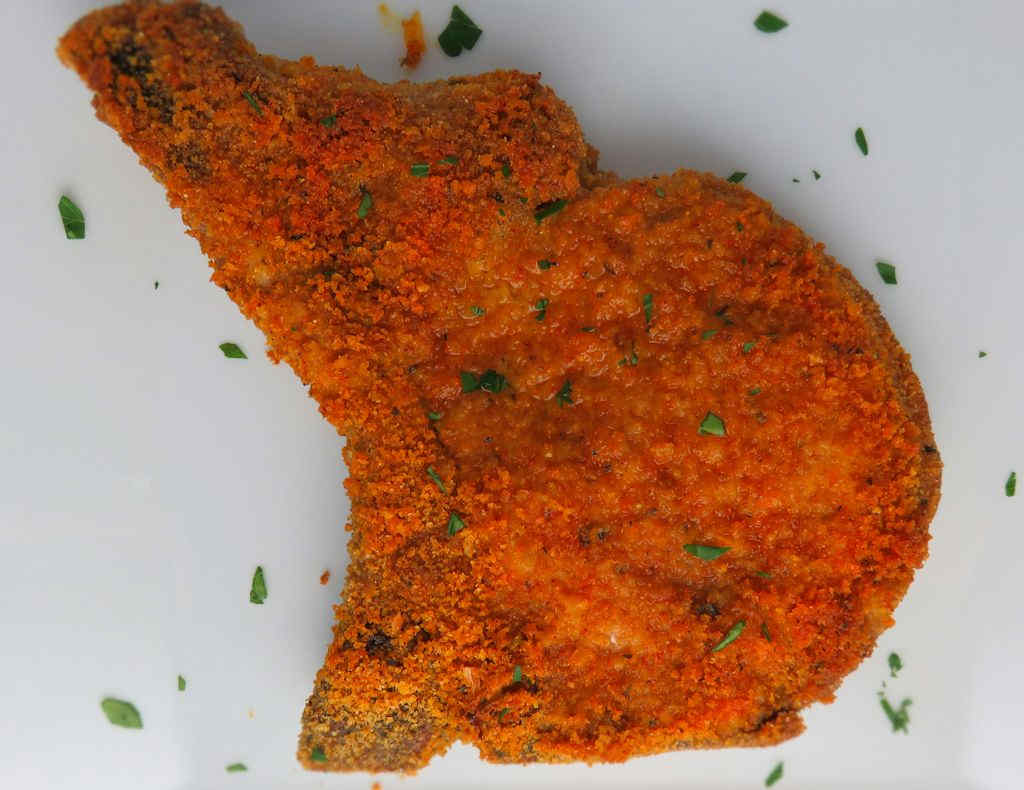
I admit it, I’m a Shake ‘n Bake addict. It started when I was a kid. My mom would make Shake ‘n Bake pork chops on occasion and I loved them. They became a common site on my dinner table years later. Today, I make my own Shake ‘n Bake mix, often coming up with my own flavor, like chipotle, and now my over-the-top delicious curry mix.
Perfect Flavors
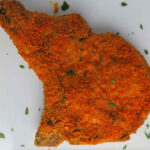
I was blown away by how much I loved this curry Shake’n Bake mix on pork chops (I’m sure it’d rock big time on chicken too!). Just the right amount of curry flavor, the mix adheres perfectly to the meat. Every bite is packed with flavor and is oh so juicy. I loved these curry Shake ‘n Bake chops. They were fantastic!
Love Curry? Add More!
If you really like the taste of curry, like I do, I would definitely recommend adding more curry than I state in the recipe. You can taste and add more as you mix. I found the two tablespoons to have a nice, fairly mellow curry flavor. If you prefer yours to be stronger, go for it! You’ll love it!
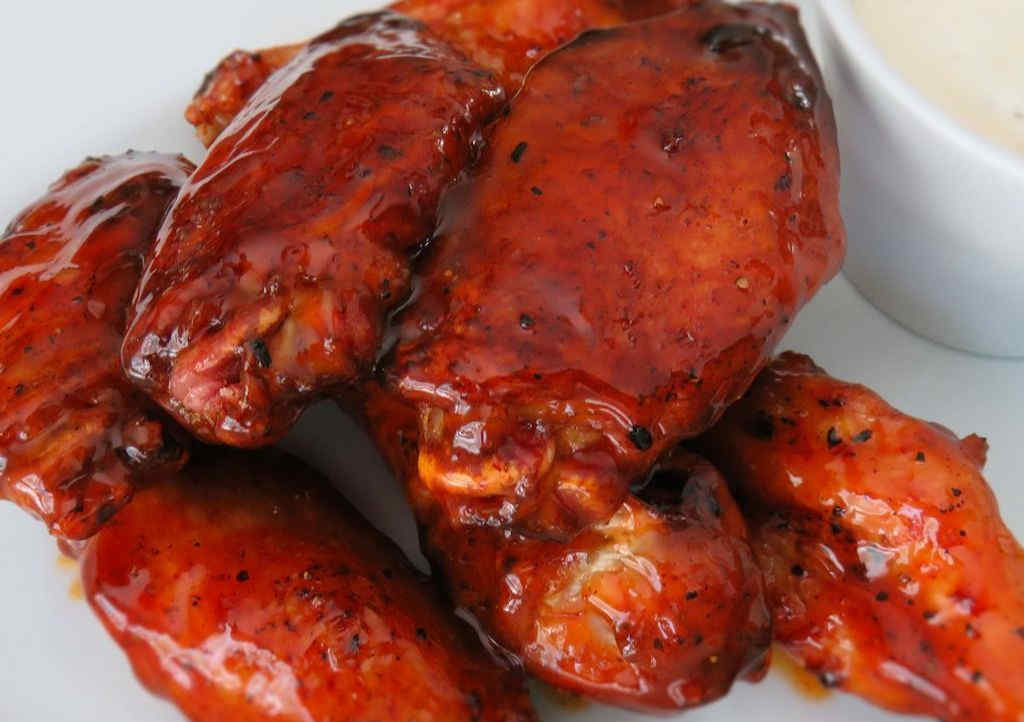
Curry is also great on chicken wings. Try my brown sugar curry wings.
Curry Shake ‘n Bake
Equipment
Ingredients
Curry Shake’N Bake
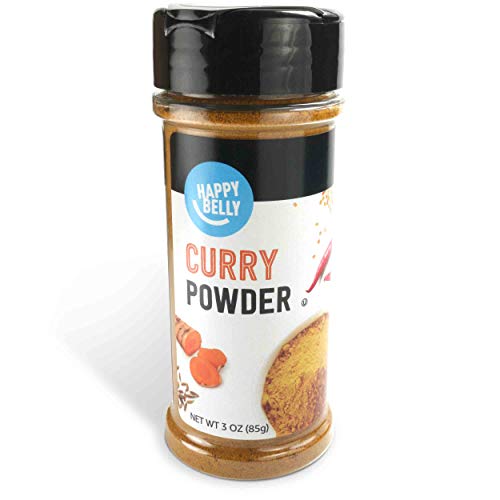
- 2 tablespoons curry powder or more, to taste
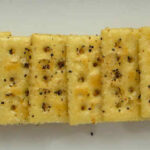
- 3 cups breadcrumbs
- 1 tablespoon kosher salt
- 1 tablespoon dried minced onion
- 3 teaspoon paprika
- 2 teaspoons sugar
- 1 teaspoon garlic powder
- 1 teaspoon freshly ground black pepper
- ½ teaspoon cayenne pepper
- ½ teaspoon dried parsley
- ½ teaspoon dried basil
- ½ teaspoon dried oregano
- ¼ cup vegetable oil
Instructions
Curry Shake’N Bake
- Combine the dry ingredients in a bowl.
- Add the oil and stir until the lumps are all gone.
- Store in an air-tight container for up to 2 months until ready to use.
For pork chops
- Preheat oven to 425 F.
- Rinse chops and pat dry.
- Working in batches, transfer chops to a resealable bag.
- Add curry Shake’n Bake mix.
- Seal and shake to coat chops.
- Shake off excess coating and transfer chops to a foil-lined baking sheet.
- Bake for 20-25 minutes or until done.
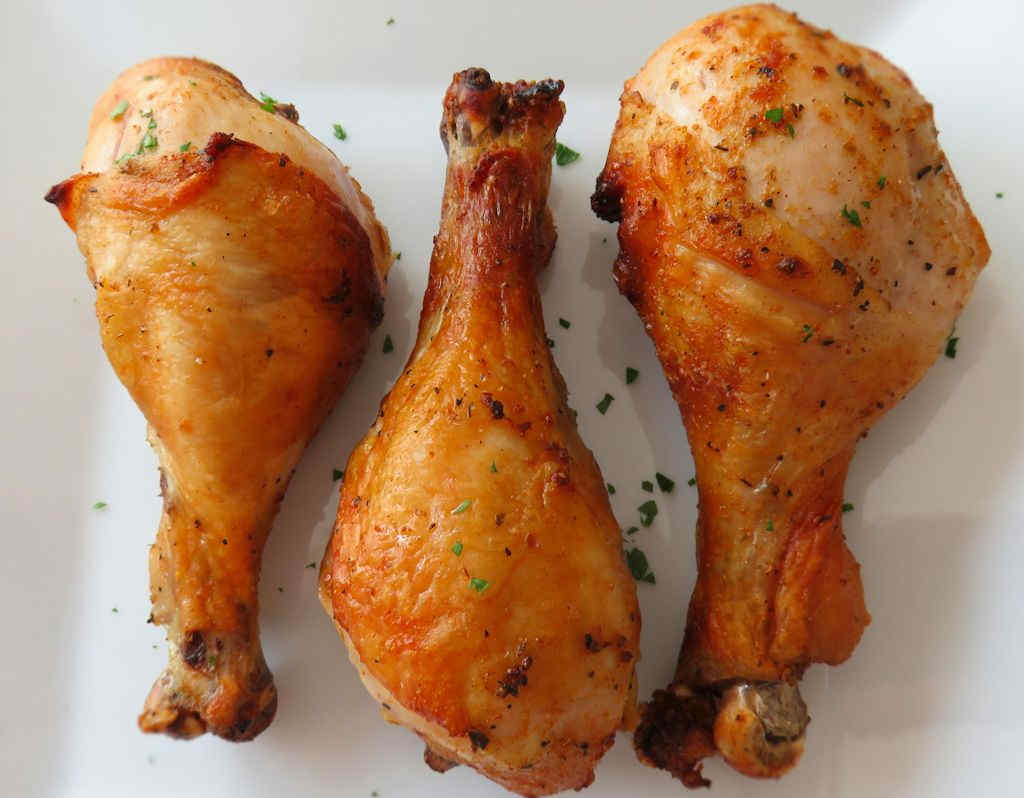
For chicken
- Preheat oven to 400 F.
- Working in batches, transfer chicken pieces to a resealable bag.
- Add curry Shake’n Bake mix.
- Seal and shake to coat chicken.
- Shake off excess coating and transfer chicken to a foil-lined baking sheet.
- Bake for 40-45 minutes for bone-in chicken or 20 minutes for boneless chicken until done.
Notes
Nutrition
Nutritional values are approximate.