Note: This recipe was developed using the Char-Broil Big Easy Oil-Less Fryer. If you are cooking using the Char-Broil Smoker-Roaster Grill you should cook with the lid open and the temperature set to High. You might also need to adjust the cooking time.
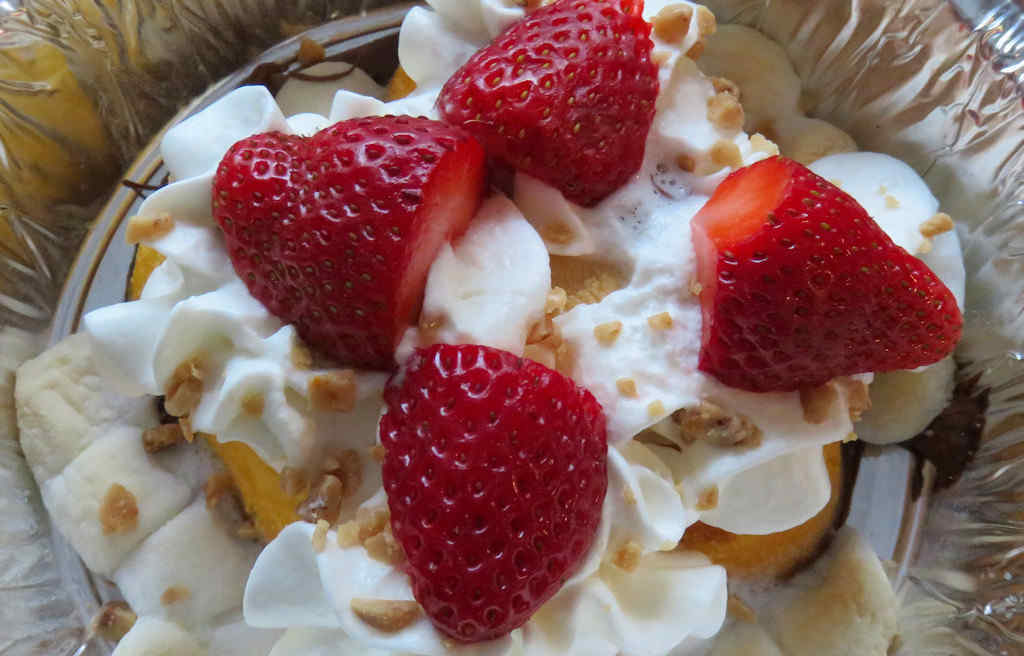
Oh how I do love cooking Twinkies on my Char-Broil Big Easy. They’re the world’s easiest dessert, topped with darn near anything you have in the pantry, fridge or freezer. The Twinkies take only a few minutes to get a nice little crunch on the outside, while the insides get all oooey gooey. I topped my loaded roasted Twinkies on the Char-Broil Big Easy with Nutella, marshmallows, whipped cream, toffee and for a hint of healthy, some fresh strawberries.
The Big Easy Does Dessert Too!
Spreading a bit of Nutella on the Twinkies first gives the remaining ingredients something to hold onto. They don’t slide off and into the pan. That’s not to say that if they did slide off that it’d be the end of the world. The more toppings the better because loaded roasted Twinkies on the Char-Broil Big Easy are meant to be loaded!
The bunk bed basket lets you double the amount of cooking space you have on your Big Easy. And it’s easy to take in and out of the cooker too!
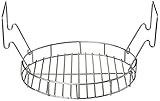
- Expands the cooking space of The Big Easy
- Perfect for cooking two chickens at once
Also make up a batch of chocolate chip cookies or some bloomin’ apples for dessert. On your Big Easy. Yep, that’s right, on your Big Easy!
It’s always a good idea to keep a few spare grease trays on hand for your Char-Broil Big Easy.
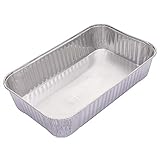
- MATERIAL: Disposable aluminum liners made…
- SIZE: Measures 6” x 10” across the top and…
Love your Big Easy as much I love mine? Check out my Big Easy Add-Ons page and all 3 of my huge free Big Easy eCookbooks!
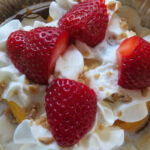
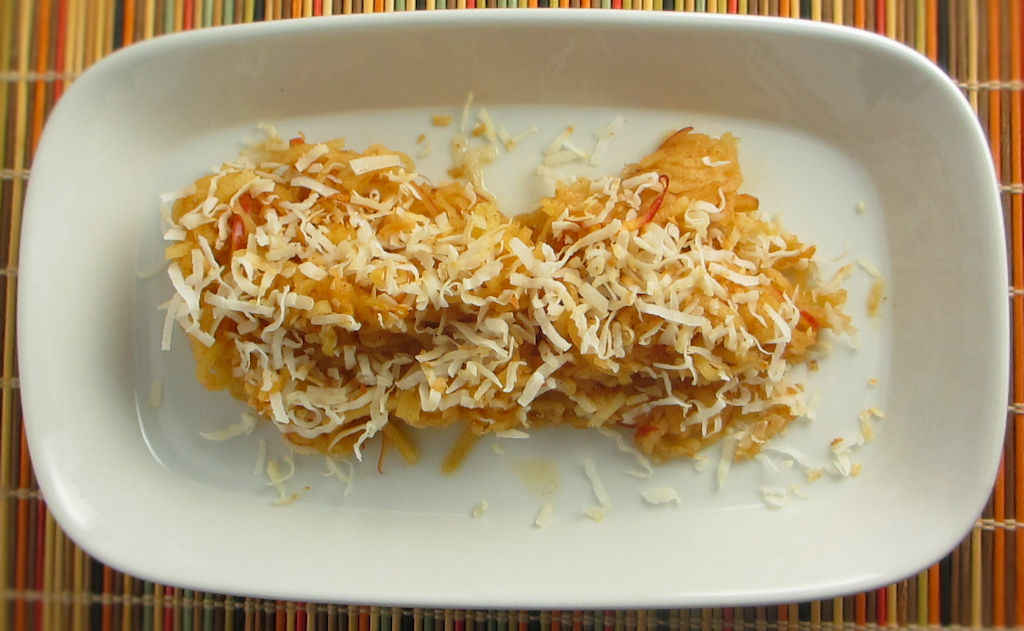
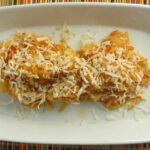
Loaded Roasted Twinkies on the Char-Broil Big Easy
Ingredients
- ¼ cup Nutella divided
- 2 Twinkies
- handful miniature marshmallows
- Whipped cream
- ¼ cup Toffee pieces
- Fresh berries
Instructions
- Fire up your Big Easy.
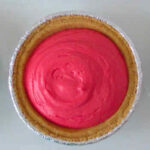
- Spread most of the Nutella out on the bottom of the pie pan.
- Add the Twinkies then top with the remaining Nutella (It gives the marshmallows something to stick to).
- Place into the Big Easy for 10 minutes or until the Twinkies start to brown and crisp a bit and the marshmallows have melted.
- Remove and add whipped cream, Toffee and berries.
- Serve.
Notes
Nutrition
Nutritional values are approximate.
- Expands the cooking space of The Big Easy
- Perfect for cooking two chickens at once