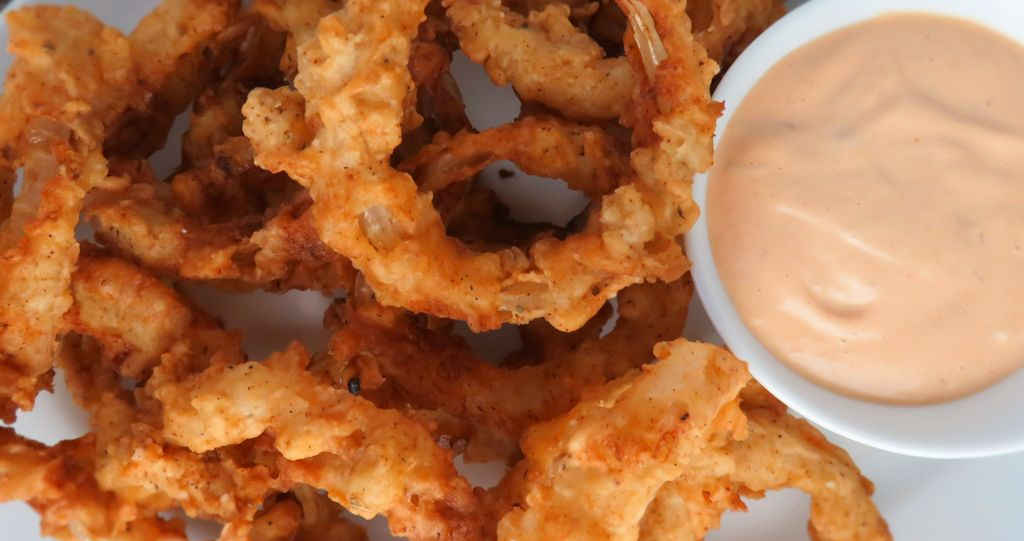
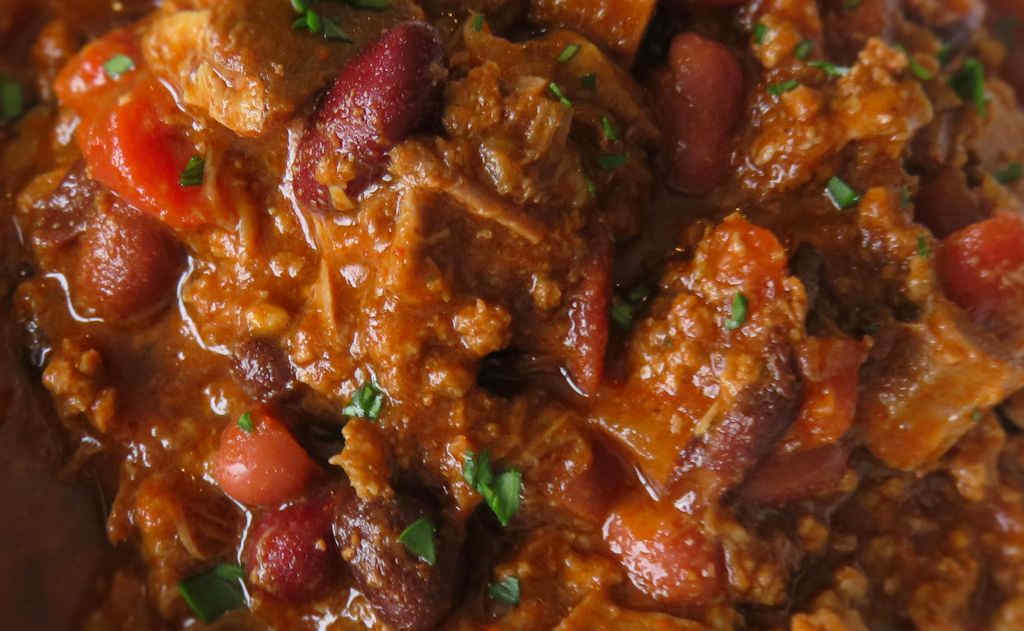
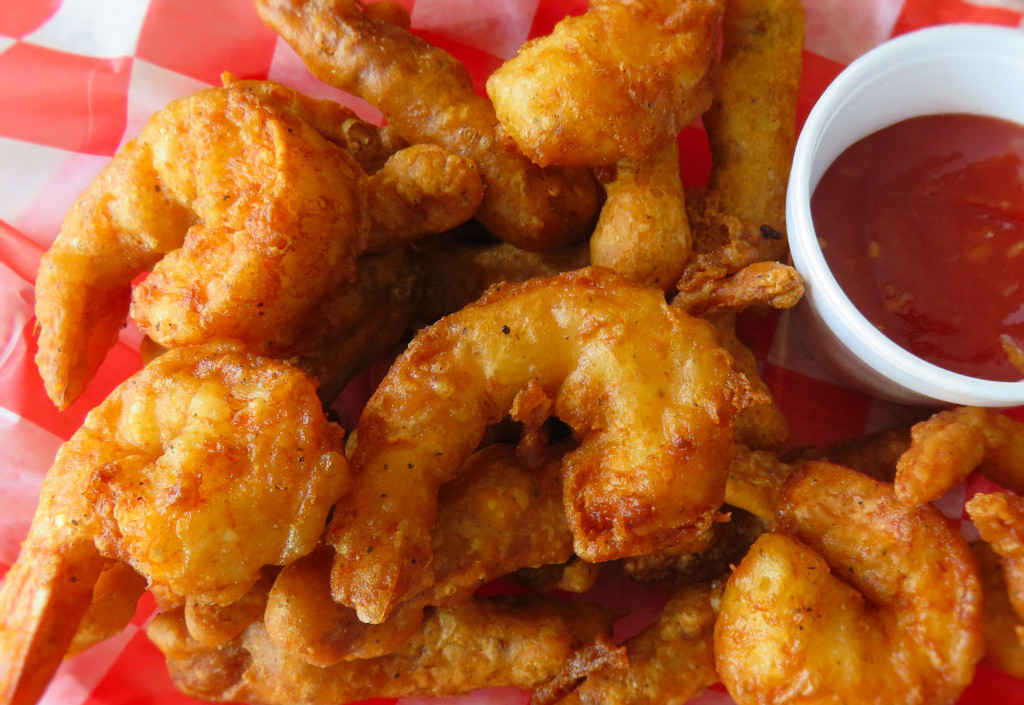
“I’ll have the beer battered shrimp and fries and… a side salad.” No. No one has ever said that. This isn’t a salad-on-the-side kind of dish. It’s seriously battered, deep-fried decadence, from start to finish. The shrimp are absolutely delicious. I could eat well…. ok, more than a few of them. And the fries? Insane. I opted to double-dip them. They ended up just amazing. Yeah, they’re definitely battered and then some. But they’re sooooo good and different! And huge! All that batter makes them gigantic I tell ya!
If the double-battered monster fries scare you, they’re actually just as fantastic (or pretty much) single dipped.
So Crazy Good And Addicting
I used my little Fry Daddy when I made these beer battered shrimp and fries. I’m not sure I can recommend doing that. I mean, sure, they came out fantastic, but you can’t really fry a bunch of either the shrimp or the fries at once, so it’ll take you a while to make a mess of them. The battered shrimp and fries like to stick together, so you can’t crowd them. If you can, I’d recommend using a larger fryer or a Dutch oven.
If I’m cooking for a crowd I use my big fryer. But if it’s just the two of us I’ll use my Fry Daddy instead.
I get out my big deep fryer when it’s time to fry a large batch of food. It comes to temperature quickly and it maintains that temperature perfectly. It has a built-in oil filter and storage unit so I can re-use the oil several times.

Also try my blackened fried shrimp.
Beer Battered Shrimp and Fries
Equipment
Ingredients
For the shrimp
- 1 pound large shrimp peeled, deveined (I used 20-24 count shrimp)
- all-purpose flour
- vegetable oil for frying
For the shrimp batter
- 1 cup all-purpose flour
- 1 cup lager beer plus more, if needed
- 2 teaspoon Old Bay Seasoning
- 1 teaspoon kosher salt
- ¼ teaspoon freshly ground black pepper
For the fries
- 2 pounds russet potatoes
- 2 cups all-purpose flour
- 1 tablespoon Cajun seasoning
- 2 teaspoons garlic salt
- 2 teaspoons onion powder
- 2 teaspoons paprika
- 2 teaspoons kosher salt
- 1 teaspoon ground black pepper
- 1 cup lager-style beer
- vegetable oil for frying
Instructions
For the shrimp (note the fries need to soak, so start them well before you plan on eating)
- Place the shrimp in a bowl and lightly dust with flour. Stir gently to coat. You just want a light coating, so don't use too much flour.
- In a large bowl, whisk together the flour, Old Bay seasoning, salt and pepper and the beer. You want the batter to be slightly thick, like a pancake batter. If it's too thick add a small amount of beer and whisk. Let stand for 15 minutes.
- Heat oil in your deep fryer or Dutch oven to 350 F . If you have a small deep fryer like I do, I recommend warming your oven on the lowest setting so you can put the shrimp and fries in there to keep warm while you cook all of the batches.
- Working in batches if needed, dip shrimp in the batter and coat completely. Transfer to the oil and fry for 2 minutes per side. Remove to a paper towel lined plate to drain.
For the fries
- Fill a large bowl with cold water.
- Cut the potatoes into 1/4" sticks. I did not peel mine, but you can peel yours first if you desire.
- Transfer the potatoes to the water and soak for at least 4 hours. Ideally, you'll want to drain and add fresh cold water every hour, but if you don't have the time, just soak for 4 hours.
- In a large bowl whisk together the remaining ingredients except for the oil. You want a pancake batter-like consistency. If it's too thick, add a bit more of beer and whisk some more.
- Heat oil in your deep fryer or Dutch oven to 350 F.
- Working in batches, dip the fries in the batter and transfer to the hot oil. Fry for 5 minutes or until just golden but not done. Transfer to a paper towel-lined plate. Note: If you're not double frying, you'll want to extend the fry time and cook the fries until golden brown and crispy.
- Now it's time for the second fry if you're doing it. Again dip the fries in the batter and fry until golden brown and crispy, 3-5 minutes. Remove to a paper towel-lined plate and season.
Notes
Nutrition
Nutritional values are approximate.