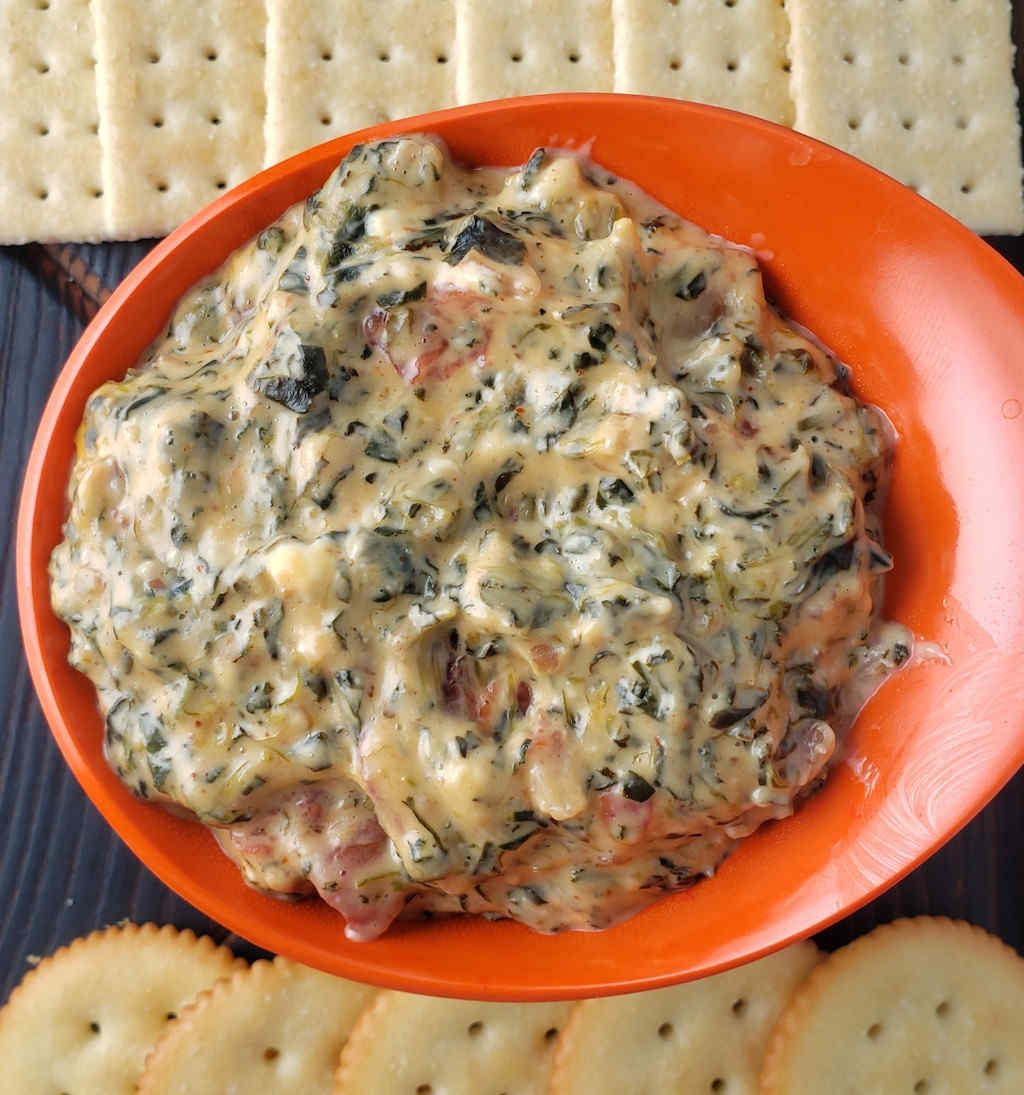
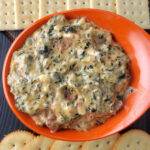
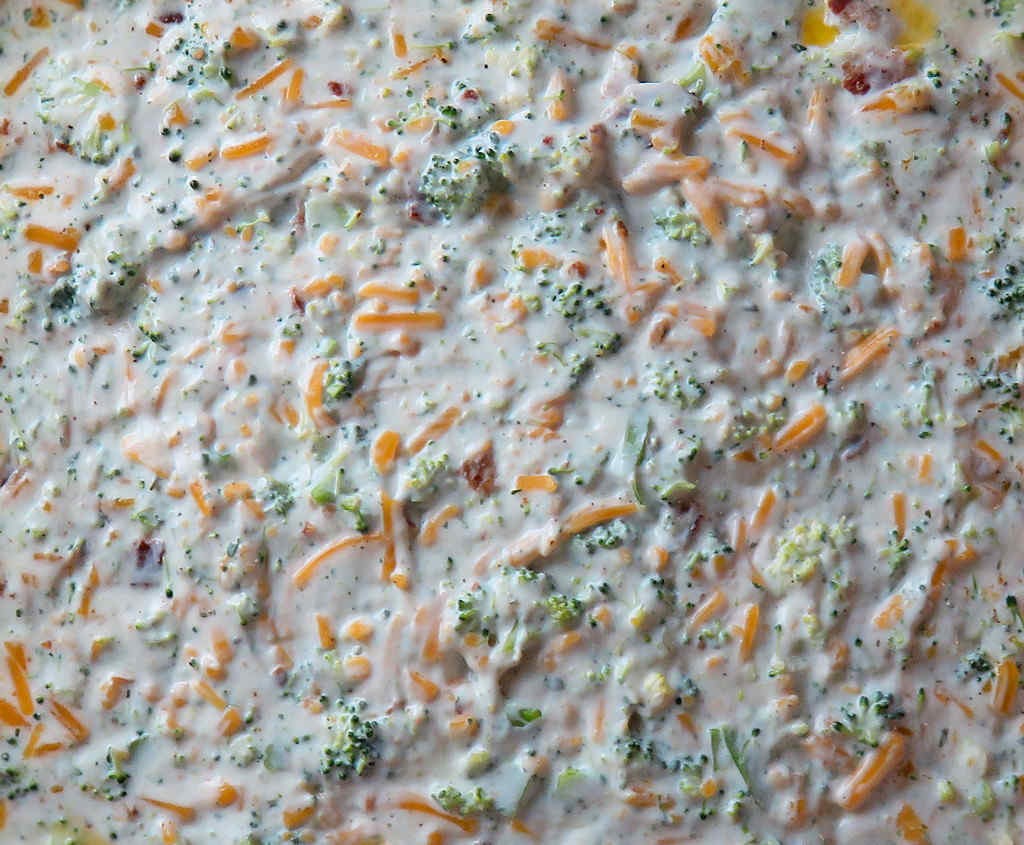
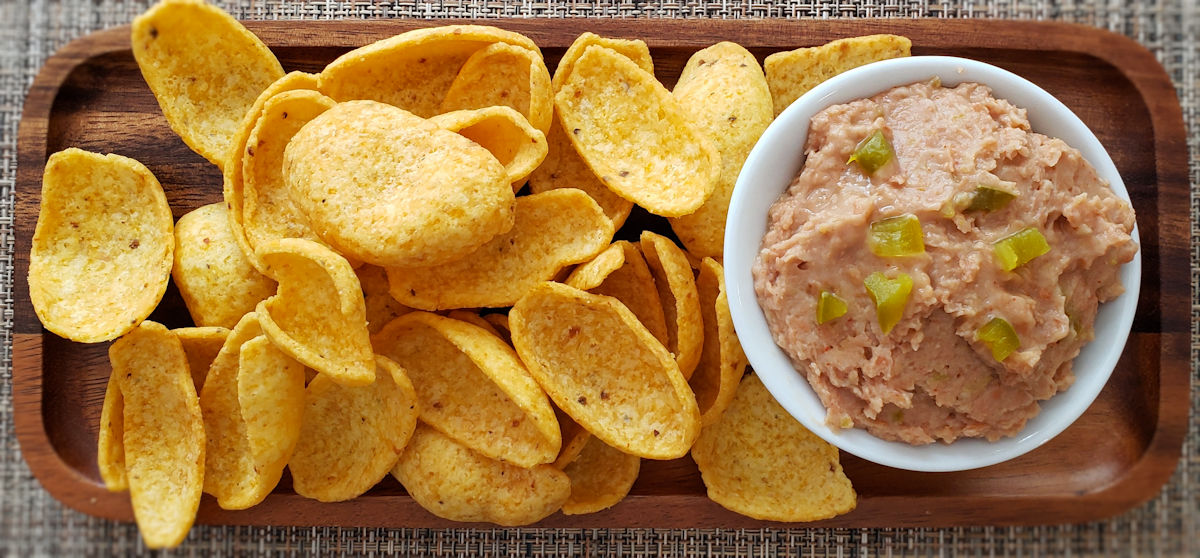
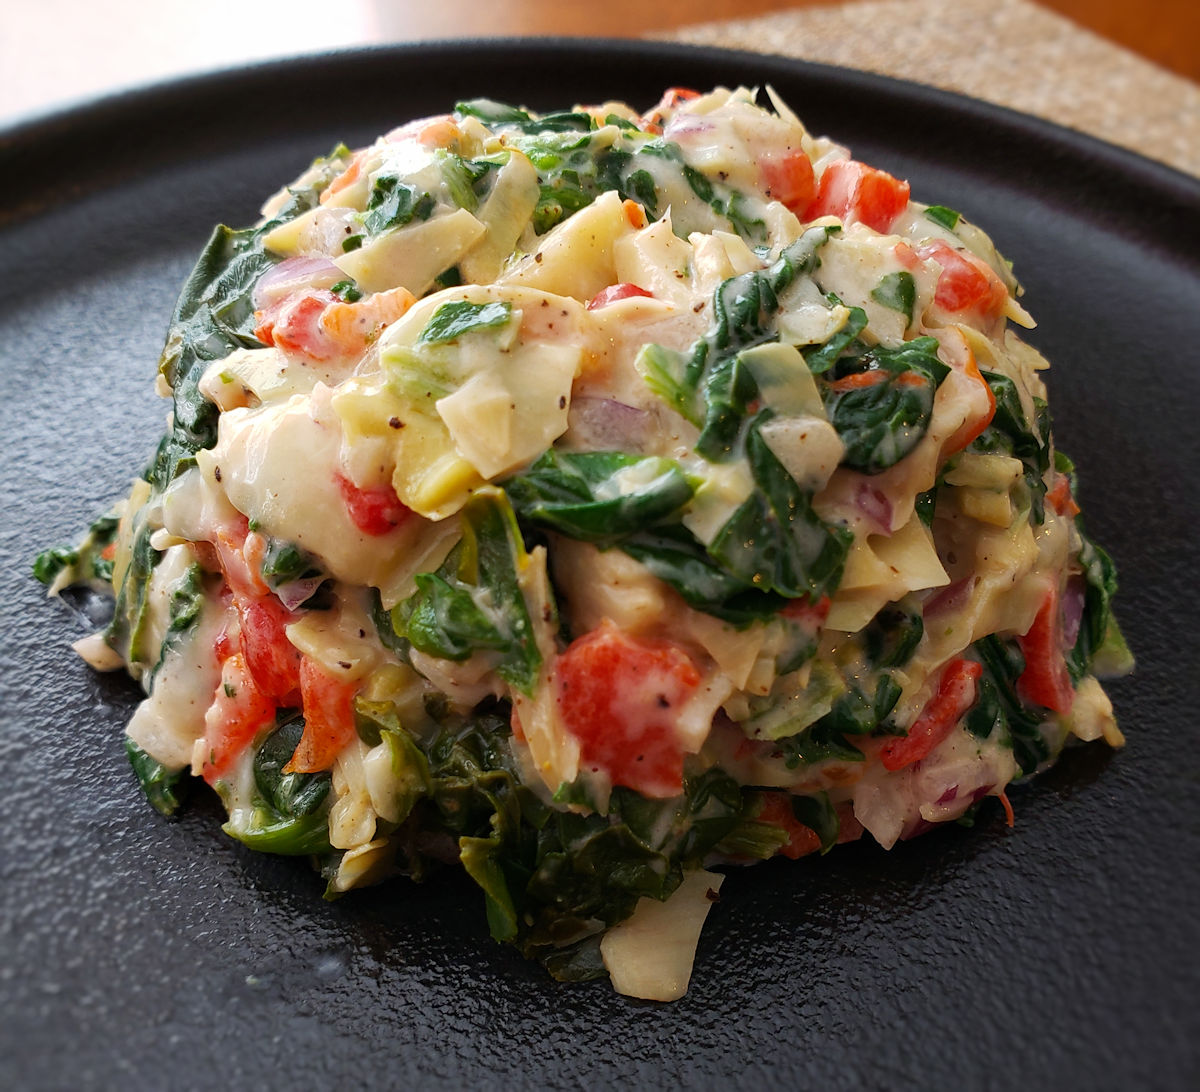
This is not your usual spinach dip. Not even close. Not by a mile. This copycat Bubba Gump Far Out dip is flat-out amazing. So many great flavors, all in each and every bite. Ooey-gooey cheese. Crispy vegetables. This dip doesn’t weigh you down. Even though this dip is not thin, it’s still light and very delicious. You’ll want more and more. So, make a double batch or more, especially if you’re taking it to a get-together.
Drain Those Artichokes!
Make sure you drain your artichokes well before making this copycat Bubba Gump Far Out dip. This dip is on the thick side and it needs to stay that way. If you don’t drain the artichokes the dip will end up runny. Served hot, each bite of this dip delivers on taste and creaminess. We’ve eaten at several Bubba Gump restaurants. If we’re in the mood for an appetizer, this is it. Well, ok, some times I get a shrimp appetizer, but I mean… it’s Bubba Gump, you have to get shrimp!

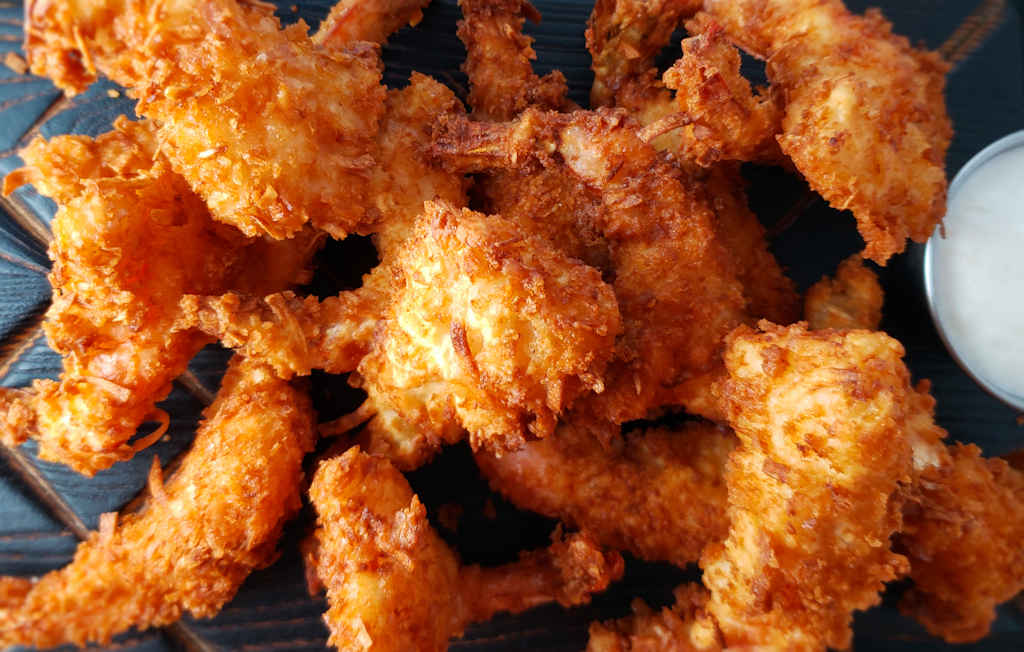
Also try my copycat Bubba Gump’s Dumb Luck coconut shrimp.
Copycat Bubba Gump Far Out Dip
Equipment
Ingredients
- 14 ounces artichoke hearts drained, diced
- 9 ounces frozen creamed spinach thawed
- ½ cup red onion minced
- ½ cup roasted red bell pepper diced
- ⅓ cup Monterey Jack cheese grated
- 2 tablespoons mayonnaise
- 1 teaspoon fresh ground black pepper
- ½ teaspoon kosher salt
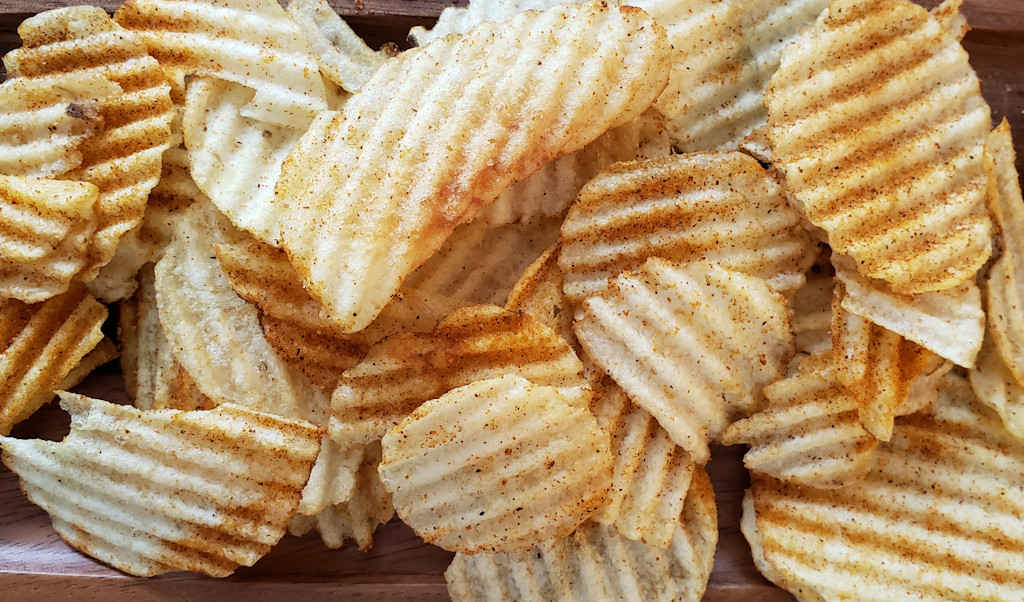
- tortilla chips for serving
- saltine crackers or your favorites, for serving
Instructions
- Preheat oven to 350 F. Lightly spray a 9" x 9" baking pan with non-stick spray.
- Combine all ingredients except for the chips and crackers in a large bowl. Mix well. Transfer to the baking pan and cover with foil.
- Bake for 20 minutes or until the cheese has melted. Serve immediately.
Notes
Nutrition
Nutritional values are approximate.