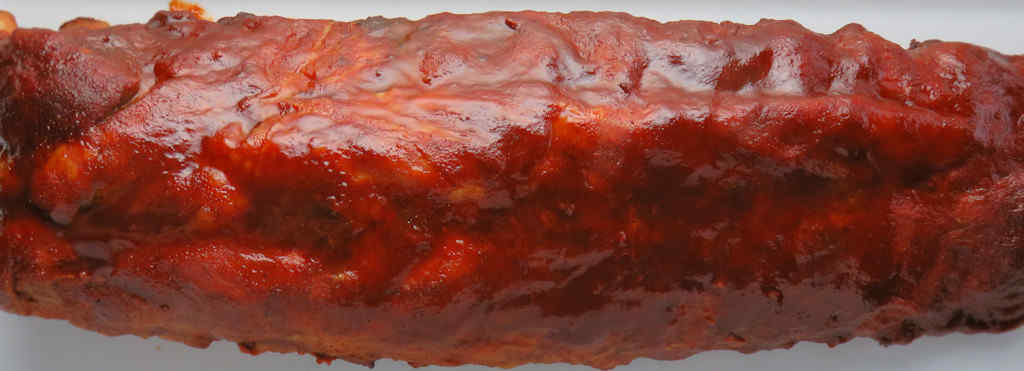
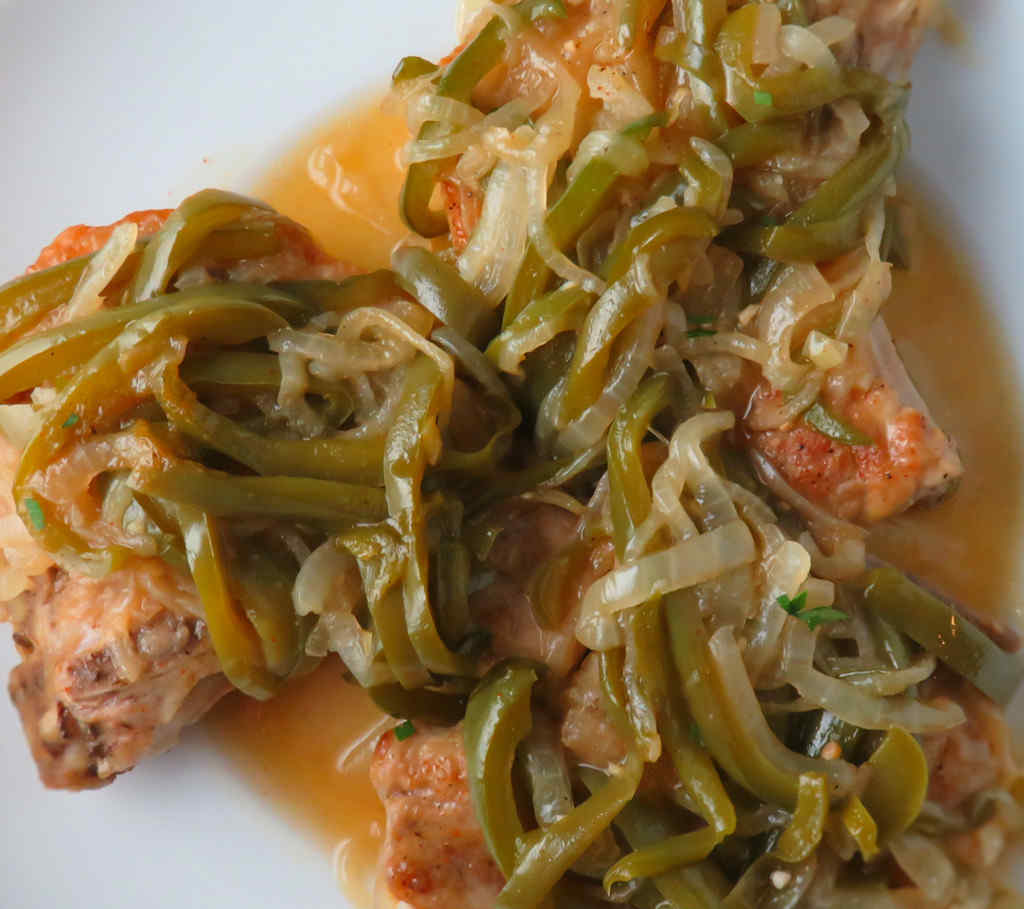
Smothered? Ok, so maybe I drowned them. But that’s ok, because these lowcountry smothered pork chops were divine. The chops were oh so tender. The sauce was oh so savory. And the topping? My favorite part, oddly enough. The key is to load up each forkful of pork with tons and tons of the peppers and onions then get ya some sauce. The perfect bite.
Want A Twist? You Got It.
For a slight Cajun twist on this dish, season the chops with Cajun seasoning instead of the salt, pepper and cayenne. And add a few splashes of Louisiana hot sauce in when you add the chicken broth.
Lowcountry smothered pork chops are best served with some fried okra and collard greens.
I like to use my good ole trusty Dutch oven to make these pork chops and pretty much darned near anything like it on my stovetop. It’s nice and big and sturdy. That extra weight helps it maintain and distribute heat perfectly. As an added bonus, it’s actually pretty easy to clean up too!

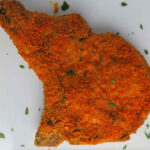
Also try my homemade chipotle Shake’n Bake pork chops.
Lowcountry Smothered Pork Chops
Equipment
Ingredients
- 4 pork chops preferably bone-in, 1" thick
- Kosher salt
- freshly ground black pepper
- cayenne pepper
- 2 tablespoons butter
- ¼ cup all-purpose flour
- 2 medium green bell peppers sliced
- 2 yellow onions sliced
- 3 cloves garlic minced
- 2 cups chicken broth
- ½ teaspoon Worcestershire sauce
Instructions
- Combine the salt, black pepper and cayenne, to taste.
- Season the chops liberally with the mixture.
- Melt the butter in a Dutch oven or large skillet over medium-high heat.
- Spread the flour out onto a plate.
- Coat the chops in the flour, shaking off the excess, then transfer to the skillet.
- Brown the chops on both sides, about 3 minutes per side.
- Remove to a plate.
- Add the bell peppers and onion to the skillet and saute for 5 minutes or until just starting to soften.
- Add the garlic and saute for another minute.
- Add the broth and Worcestershire sauce and stir.
- Add the chops back to the skillet, spooning the cooked vegetables on top.
- Cover, reduce heat to a simmer, and simmer for 45 minutes or until the chops are very tender.
Notes
Nutrition
Nutritional values are approximate.