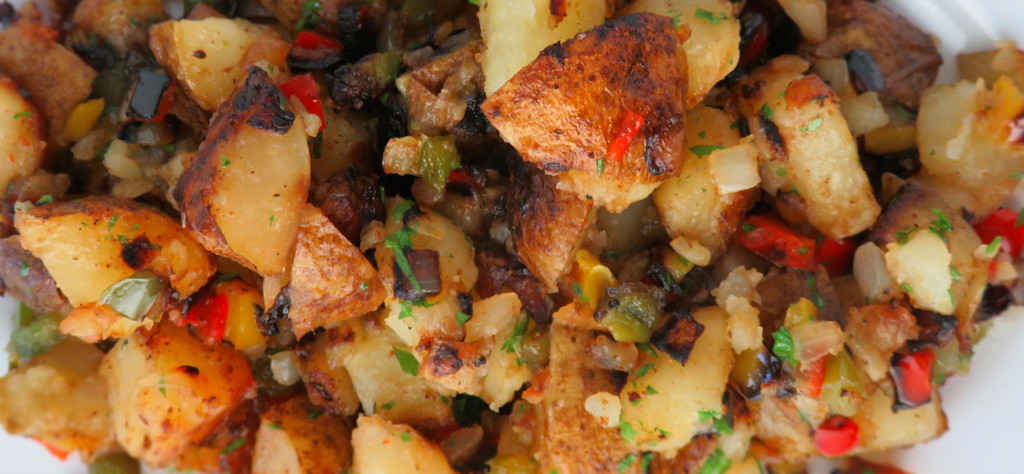
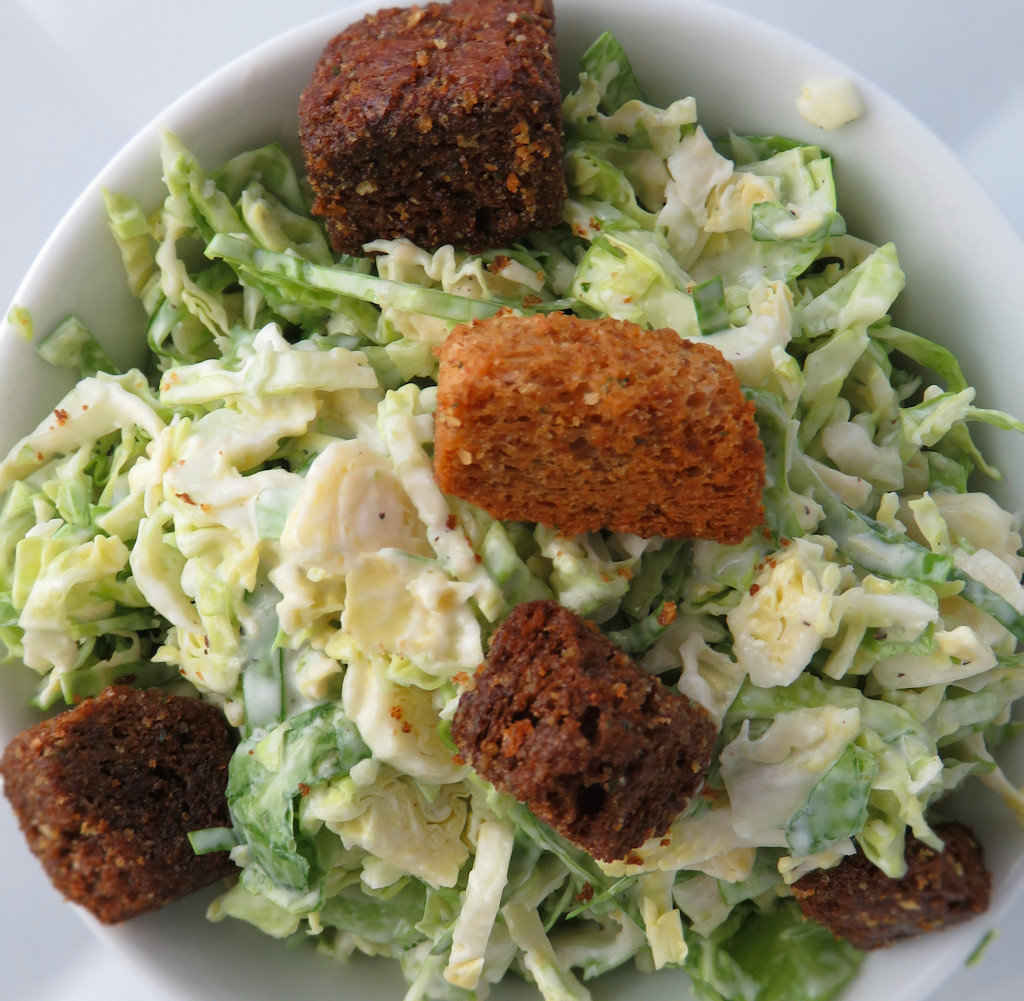
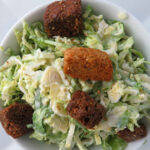
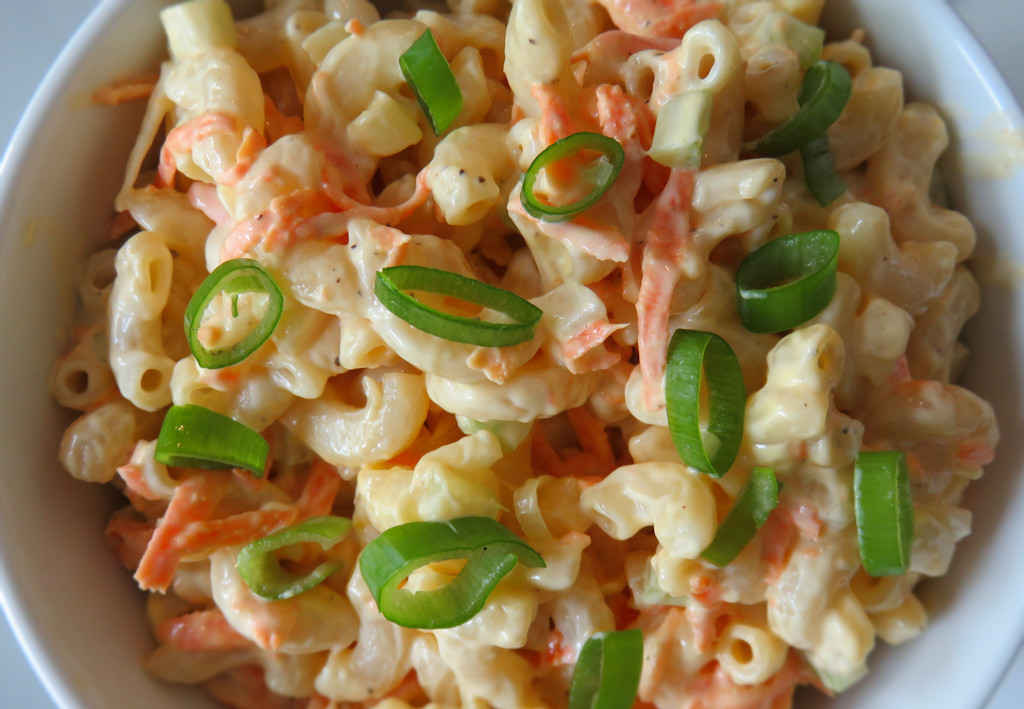
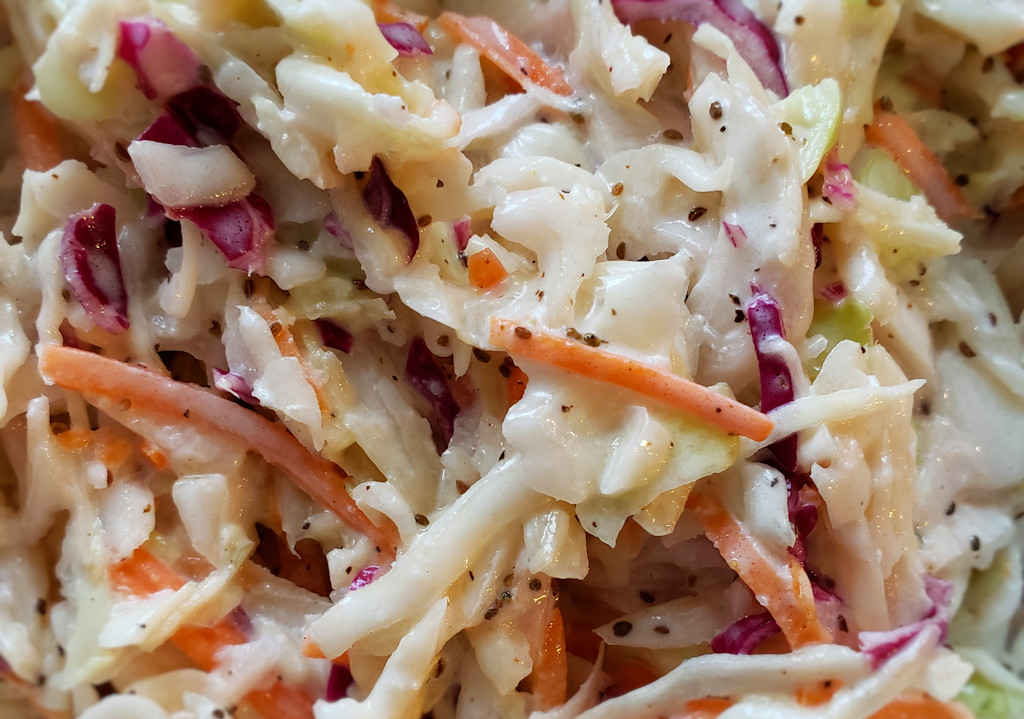
I am a certified, card-carrying member of the Coleslaw Addicts Club, also known as the CAC. Ok, I made that up. But if there was such a club I’d be in it and I’d probably be its president. Because I can eat any kind of slaw, any time, anywhere. I almost always order slaw when eating out. Now, true, I’m not sure if coal miner’s ate a lot of slaw, but if their slaw was anything like this from Tub’s Fine Chili (sadly now closed) they probably did. Buttermilk and vinegar do make this one wonderful slaw. Different than your normal creamy slaw. And different than your normal vinegar slaw. It’s like having the best of both in one.
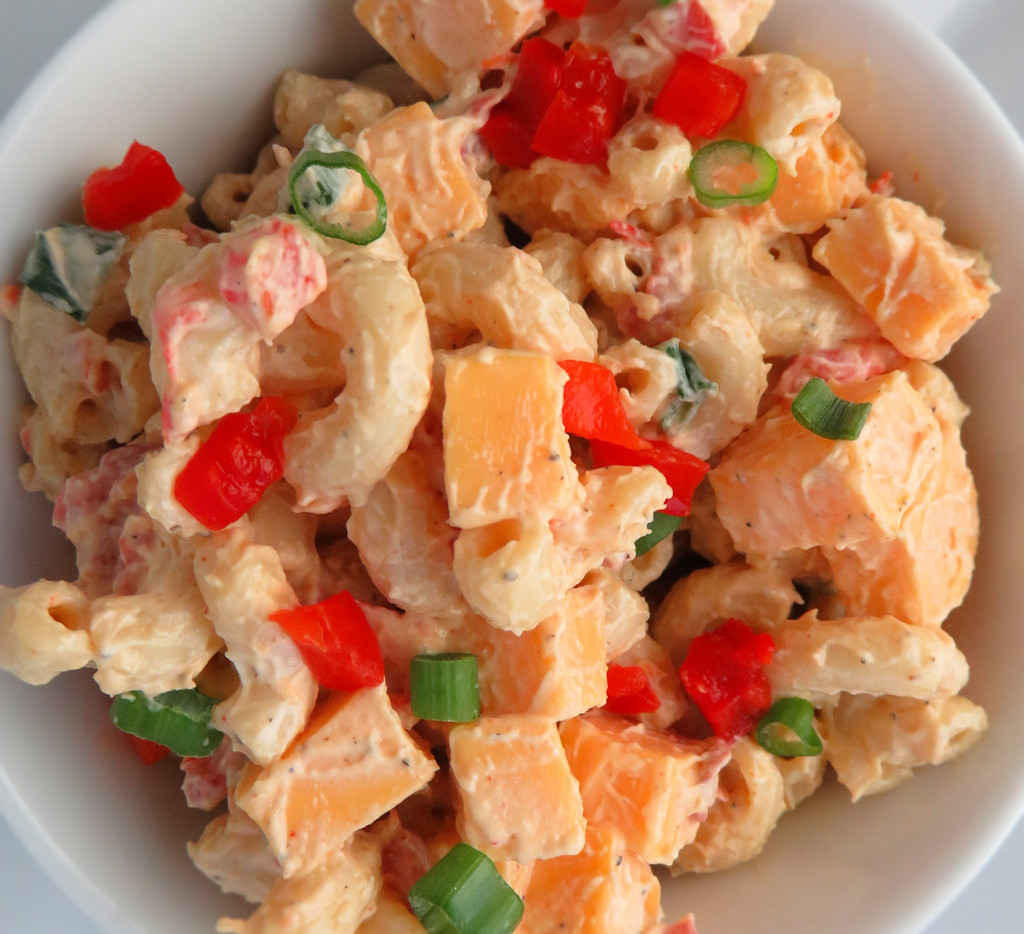
Add The Dressing To Taste
This recipe for Tub’s coal miner’s slaw might make a bit more dressing than you want. That wasn’t the case for me, but I don’t mind a nice ‘wet’ slaw. I’d say add some of the dressing and see what you think. It’s a lot easier to add more later than it is to take it out.
I almost always use Blue Plate mayonnaise in the dishes I make. I think it is the best around. If you can’t find it locally you can pick it up online for a fair price.

- Real Mayonnaise Made Like Homemade: Time-honored…
- A History of Delicious: Our simple…
Also try my Asian slaw.
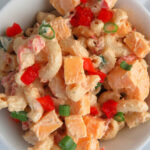
Tub’s Coal Miner’s Slaw
Equipment
Ingredients
For the slaw
- 1 pound slaw mix with cabbage, shredded carrots, etc
For the dressing
- ¾ cup mayonnaise
- ½ cup buttermilk
- 3 tablespoons lemon juice
- 3 tablespoons apple cider vinegar
- 4 tablespoons white vinegar
- ⅓ cup vegetable oil
- ¼ cup sugar
- 1 ½ teaspoons kosher salt
- 1 teaspoon ground black pepper
- 1 teaspoon celery seed
- ½ teaspoon onion powder
- ¼ teaspoon granulated garlic
- ¼ teaspoon ground mustard
Instructions
- Place the slaw mix in a large bowl.
- Whisk together the mayonnaise, buttermilk, lemon juice, cider vinegar, vinegar, vegetable oil and sugar in a medium bowl. Add the salt, pepper, celery seed, onion powder and granulated garlic. Whisk until well combined.
- Slowly start adding the dressing to the slaw, stirring as you go. Stop when the slaw is the desired consistency. I used all of the dressing, you might not. Reserve any unused dressing for later use.
- Refrigerate slaw for at least 1 hour before serving.
Notes
Nutrition
Nutritional values are approximate.

- Meal Prep MVP – A practical and innovative way to…
- 12 Diverse Blades – With nine interchangeable…

- Set includes: 1/4 cup, 1/3 cup, 1/2 cup and 1 cup
- Magnetic handles keep Cups together for storage…