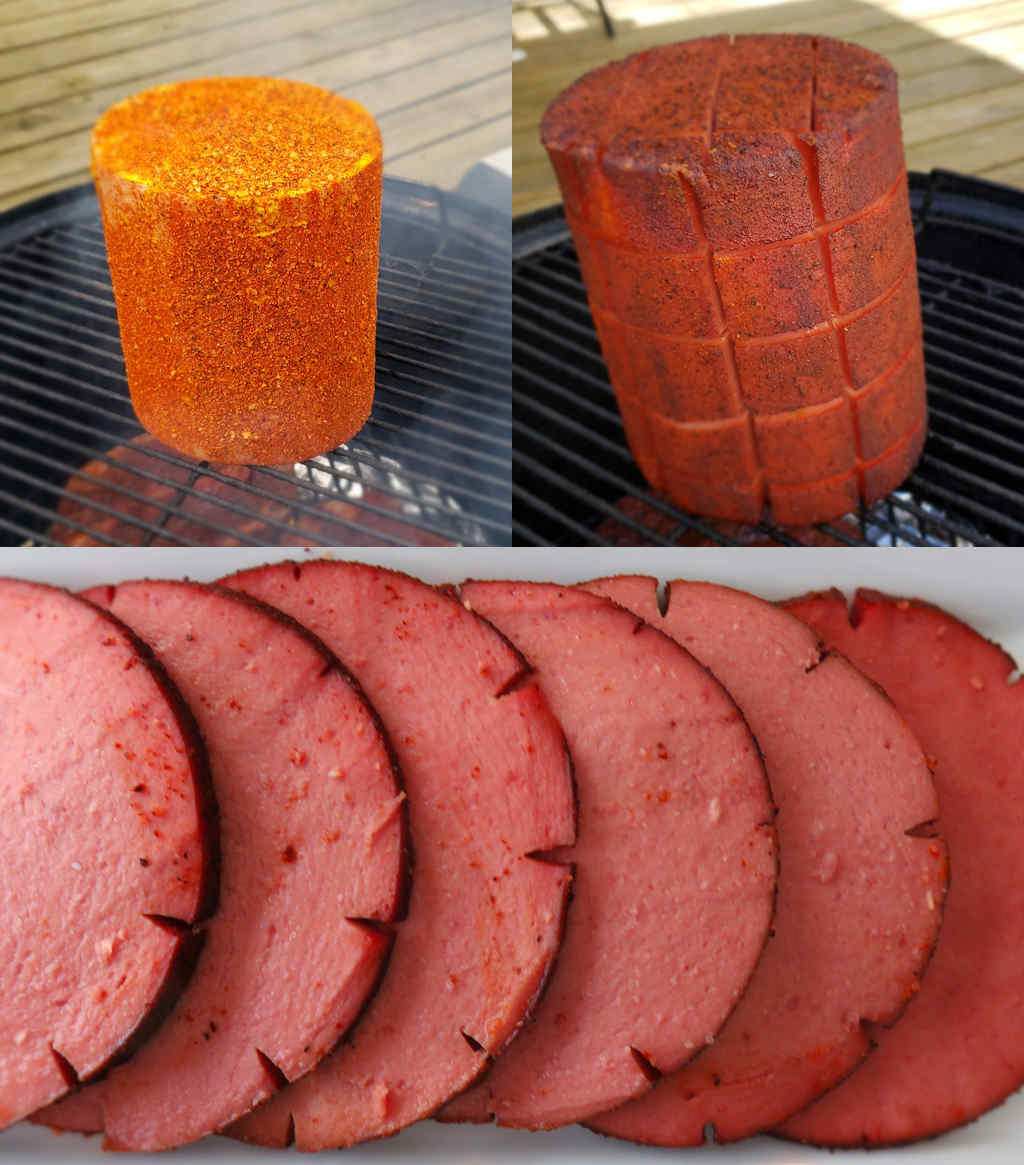
This isn’t my first time smoking a bologna chub (often called a log). But it is by far the best I’ve ever made. I used Albukirky Seasoning’s Red Chile BBQ rub . It added a fantastic flavor (and a slight spiciness) to the bologna. You can use any rub you want, but I highly recommend theirs.
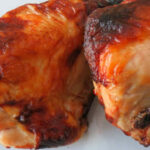
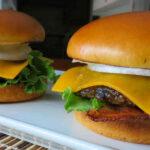
I sliced my smoked bologna about 1/2″ thick. Then I fried it up to get a bit of a crust on it. It was absolutely crazy good on a bun with lettuce, onion and mustard for the world’s best bologna sandwich!
I’m No Artist
Just about everyone can score a bologna better than I can. I’ve seen all sorts of fancy fru-fru angled scoring works of art. Me, I’ve had to resign myself to a simple checkerboard pattern. It really doesn’t matter how you do it, but you do need to do it or the chubb will crack or even blow open while smoking.
I went with a mellow wood (apple) when smoking my red chile bologna. I wanted that smoke flavor, but I didn’t want it to be so strong that I couldn’t taste the rub or the bologna. Feel free to use whatever wood you prefer, of course!

Also check out my traditional smoked bologna and my crazy-good Montreal steak-seasoned smoked bologna.
Red Chile Smoked Bologna
Ingredients
- 4 pound bologna chub I've found that a third or half chub is easiest to handle.
- prepared mustard
- Albukirky Seasonings Red Chile BBQ Rub to taste
Instructions
- Fire up your smoker for smoking at 250 F. I prefer a lighter wood, such as apple or peach, but you can use a stronger wood such as hickory.
- Score the bologna chub using a sharp knife. Make the cuts 1/4" – 1/2" deep. Use any pattern you want. If you don't score it the bologna will crack or pop open as it smokes.
- Rub the chub liberally with mustard. Get in there, get your hands dirty. I find it easiest to stand the chub on one end (which is why I don't use a full-sized one).
- Sprinkle the rub liberally all over the chub. More is better here, so don't be shy with the rub.
- Transfer the chub to your smoker and smoke for 3 to 3 1/2 hours.
- Remove the chub and let rest for 15 minutes before slicing.
Notes
Nutrition
Nutritional values are approximate.