For years and years and years I made my Reuben sandwiches pretty ‘normal’. Russian or Thousand Island dressing. A little (or a lot) of corned beef or pastrami. Warmed sauerkraut. And plenty of Swiss cheese. Then along came this southern take on a Reuben sandwich. I’ll never make a Reuben the ‘old’ way again. Crunchy tangy coleslaw replaces the kraut. A spicy homemade dressing replaces the stuff out of the bottle. This is nothing but good.
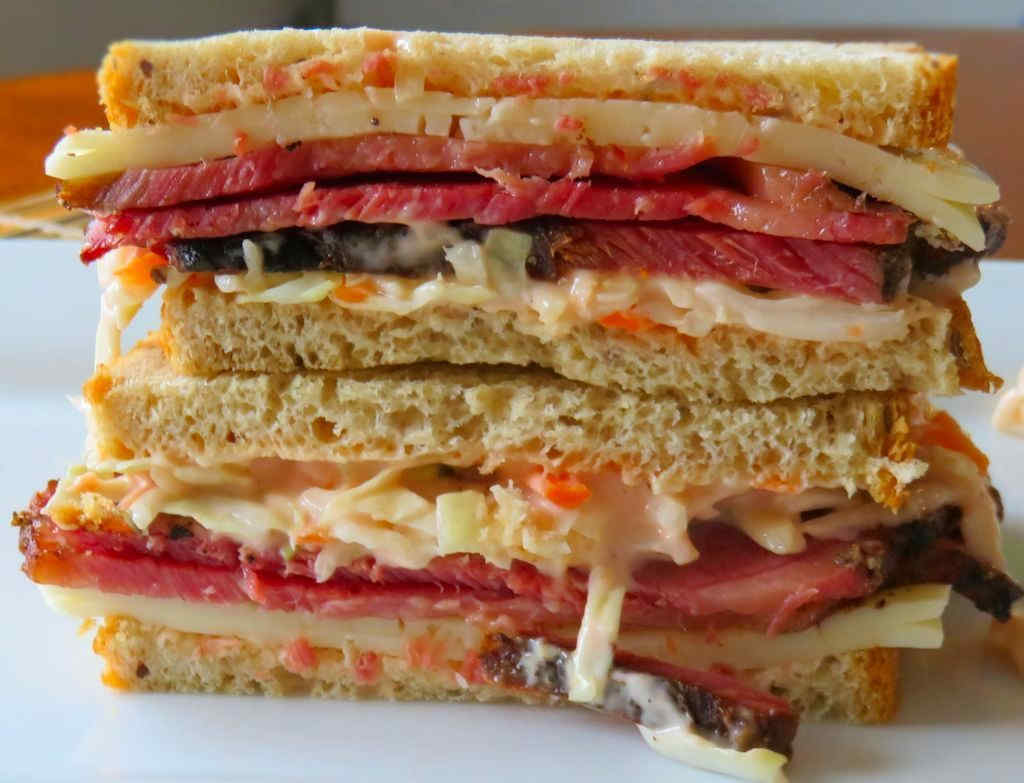
A Better Reuben
I prefer pastrami on my southern Reuben sandwich. I like the extra kick of the peppery flavoring. And when it comes to pastrami, my hands-down favorite is my homemade version. Sure, I’m biased, but for good reason. I’ve never heard anything but high praise for my pastrami. I can never make enough.
I almost always use Blue Plate mayonnaise in the dishes I make. I think it is the best around. If you can’t find it locally you can pick it up online for a fair price.

Also try my slow cooker chopped corned beef Reuben sandwich.
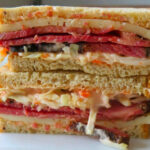
Southern Reuben Sandwich
Equipment
Ingredients
For the sauce mixture
- 1 cup mayonnaise
- ¼ cup ketchup
- 1-2 tablespoons sweet pickle relish
- ¼ teaspoon cayenne pepper
For the slaw mixture
- ½ cup sauce mixture from above
- 3 cups coleslaw mix
For the sandwich
- Sauce and slaw mixtures from above
- 8 slices rye bread
- 4 slices Swiss cheese
- 1 pound pastrami sliced thin
Instructions
For the sauce mixture
- Combine all ingredients.
For the slaw mixture
- Combine all ingredients.
For the sandwich
- Note: If desired you can toast the sandwich in the oven in a 350 F oven for 10-15 minutes.
- Slather one side of each slice of bread with 1 tablespoon of the sauce mixture.
- Divide cheese, meat and slaw mixture between 4 slices of the bread.
- Top with remaining bread and serve.
Notes
Nutrition
Nutritional values are approximate.