Hot Honey Fried Chicken Sandwiches

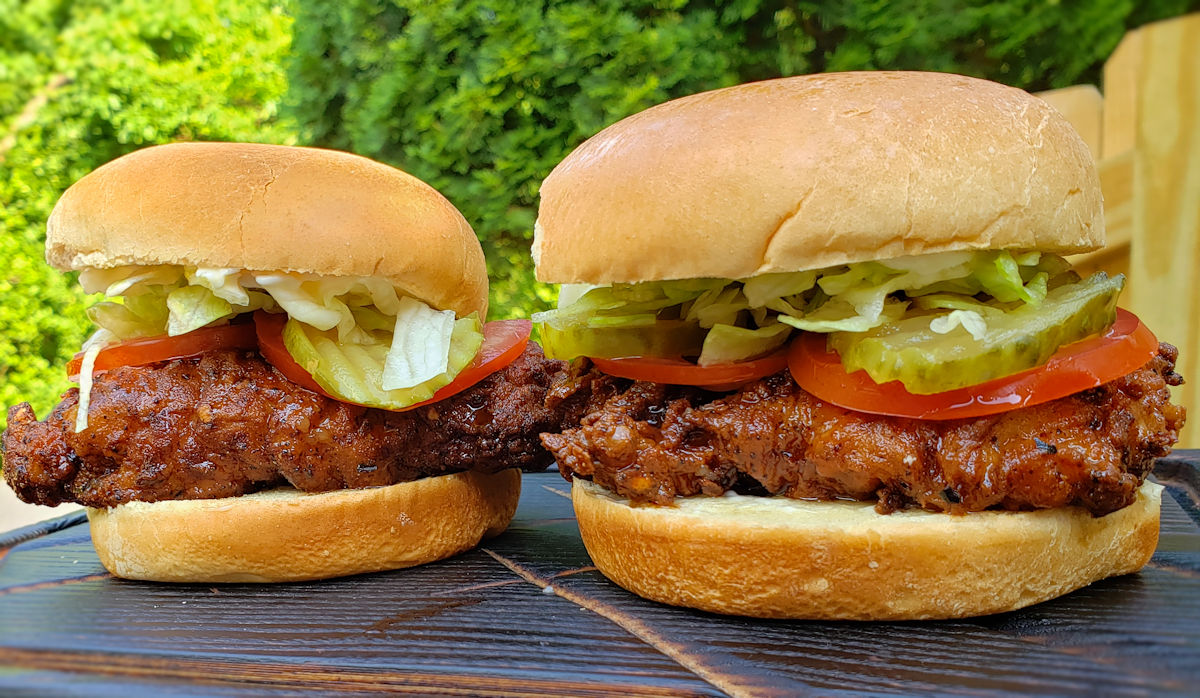
These hot honey fried chicken sandwiches are why I have a deep fryer. No, I don’t load it up and fry every day. I might want to but I have to pace myself. When I do use it, though, I don’t mess around. I’m not deep frying kale. I could. Nothing wrong with that. But I’d rather go big. These sandwiches are the kind you’re still talking about the next day. Crazy crunchy well-seasoned batter. A spicy sweet sauce. Served loaded up with all my favorite toppings. These sandwiches are not messing around.
Hot Honey Fried Chicken Sandwiches

Chicken Perfection

The chicken in these hot honey fried chicken sandwiches is lacking in nothing. They’re double-battered for that extra crunch. The coating is seasoned and seasoned well. I’m not shy with the seasoning. Oh and then there’s the hot honey sauce. The perfect combination of sweet and heat. Forget those wimpy fast-food chicken sandwiches.

Hot Honey Fried Chicken Sandwiches

Moaning Is Allowed

You’re going to want to do the ‘sandwich hunch’ when you bite into these hot honey fried chicken sandwiches. You know the process. Pick up the sandwich. Lean over the plate. Bite. Drip. Drip some more. See stuff fall out a bit. Repeat. But before taking that last bite, swirl the bread and chicken around on the plate. Sop up all that flavorful goodness. And enjoy.

I get out my big deep fryer when it’s time to fry a large batch of food. It comes to temperature quickly and it maintains that temperature perfectly. It has a built-in oil filter and storage unit so I can re-use the oil several times.
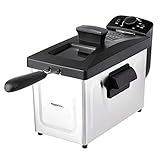
Amazon Basics 3.2-Qt (3.0L) Electric Deep Fryer…
  • FAST-HEATING & FAMILY-SIZE: This powerful…
  • ADJUSTABLE TEMPERATURE & VERSATILE COOKING: With…

Also try my Cajun fried chicken sandwich.

Hot Honey Fried Chicken Sandwiches
Print Pin
5 from 1 vote

Hot Honey Fried Chicken Sandwiches

Forget those wimpy fast-food chicken sandwiches.
Course Main
Cuisine American
Keyword chicken sandwiches
Prep Time 45 minutes
Cook Time 20 minutes
Servings 4
Calories 533kcal

Ingredients

For the Chicken

For the Hot Honey Sauce

For the Sandwiches

Instructions

For the Chicken

  • Butterfly each chicken breast by slicing it in half horizontally.
  • Cut each butterflied breast in half, forming two equally-sized chicken breast cutlets.
  • Pound the chicken breasts out until they are the desired thickness. Make sure they have the same thickness throughout, whether you like them thick or thin.
  • Heat 3″ oil in a Dutch oven or deep fryer to 350 F.
  • In a large bowl combine the flour, Old Bay, seasoning salt and pepper.
  • In another bowl beat the eggs with a tablespoon of water.
  • Dredge the chicken breasts in the flour.
  • Shake off excess and dip in the egg mixture.
  • Shake off excess and coat in flour again.
  • Fry 8-10 minutes until golden brown and they measure 165 F.
  • Meanwhile make the hot honey sauce (or make it ahead of time and keep it warm).
  • Transfer to a paper towel-lined plate or wire rack to drain.
  • Brush on both sides with the sauce.

For the Hot Honey Sauce

  • In a small saucepan melt the butter over medium low heat.
  • Add the hot sauce, honey and sesame oil.
  • Bring to a simmer and let simmer until thickened.
  • Reduce heat to low and keep warm until ready to use.

For the Sandwiches

  • Toast buns as desired.
  • Add the cooked chicken.
  • Add pickles, tomato, onion and lettuce.
  • Slather top bun with mayonnaise. Place on the sandwiches and serve!

Notes

Use hot honey for even more of a spicy flavorful kick!

Nutrition

Calories: 533kcal | Carbohydrates: 56g | Protein: 35g | Fat: 18g | Saturated Fat: 7g | Polyunsaturated Fat: 3g | Monounsaturated Fat: 5g | Trans Fat: 0.4g | Cholesterol: 177mg | Sodium: 2412mg | Potassium: 773mg | Fiber: 3g | Sugar: 11g | Vitamin A: 1021IU | Vitamin C: 17mg | Calcium: 124mg | Iron: 5mg

Nutritional values are approximate.

Amazon Basics 3.2-Qt (3.0L) Electric Deep Fryer…
  • FAST-HEATING & FAMILY-SIZE: This powerful…
  • ADJUSTABLE TEMPERATURE & VERSATILE COOKING: With…

Taco Smash Burgers

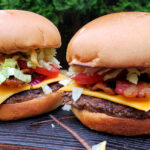
It’s gonna be messy. Juices are gonna run down your forearm. Cheese sauce is gonna drip in your lap. Taco sauce is gonna get on your face. That’s how taco smash burgers are supposed to be. Messy. And fantastic. Thin, hot burger patties with the right crust around the edges make for the perfect canvas for great taco flavors.

Taco Smash Burgers

I was going to add variations to these taco smash burgers. But I decided not to. You don’t need variations. I don’t need variations. Just make them like the recipe says and get to devouring them. Don’t over-think them. They’re great. Just enjoy them and look forward to the next time you make them!

The equipment

Here’s the equipment I use. You can get by using two cast iron skillets. Use a larger skillet for cooking the burgers, and a smaller one to smash the burgers and keep them flat. Since I’m a cooking gadget collector, I prefer to use a few more tools.

The griddle

First, a griddle. You can buy griddles that sit on top of your grill grates or ones that replace them. Just about every grill I have has a griddle on it. I use them for a lot of things, not just smash burgers. You want one that can be placed over the hottest part of your grill so it gets screaming hot.

Lodge Pro-Grid Reversible Grill/Griddle…
  • Dual-Sided Plate: The Lodge Pro-Grid Reversible…
  • Time-Tested Even Heat Distribution: This durable…

A burger press

Next, you need a burger press. You can use a heavy cast iron skillet, like I mentioned. Or get a burger press. For easy cleanup I wrap mine in foil first. When I’m done, just peel off the foil and toss. Super easy. Get a press that’s at least big enough to cover two burgers. You only smash one at a time, but if you want to keep them flat, you want to rest the press on top so bigger (and heavier) is better. Plus I’ve found that a bigger, heavier press tends to stay on the burgers whereas a smaller, lighter one is hard to keep centered on the burgers, specially if you have a bunch of them cooking at once.

Whaleme Blackstone Burger Press Set – 7″ Round…
  • Food-Grade Cast Iron Burger Press : Our barbeque…
  • Grooved Bottom Design&Non-Stick Surfaces : Our…

A dome

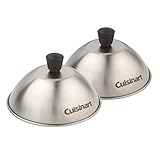
Next up, a dome. While not 100% required, it does speed the time it takes to melt the cheese and it does it in a nice even fashion. In my opinion you don’t really need one if you’re using a super melty cheese, such as American, but for thicker slices like say a deli pepper jack, you want the cheese to melt before you over-cook the burger and that’s where a dome comes in handy.

Cuisinart CMD-108 Melting Dome, 9″,Stainless steel
  • EVEN MELTING: Traps heat under the dome to quickly…
  • ENHANCED FLAVOR: Griddle dome retains moisture to…
Cuisinart CMD-388 Melting Dome, 6″, 2-Pack
  • 2 Pack of 6″ diameter domes
  • Concentrates heat to cook evenly

Cleaning time!

Lastly, you need something to clean your griddle. I like to clean mine when I’m done cooking, but you can do it at the start instead. I use one of these pad holders with a griddle cleaning pad. Then I add a bit of water to my griddle then use the pad (connected to the holder) to scrub off any big chunks and get up some of the grease. I don’t go crazy with it, I always heat the heck out of my griddle before cooking, but I get the worst. The long arm on the pad holder makes it perfect for scrubbing a hot griddle, too.

3M Scotch-Brite Griddle Cleaning, 4 in x 5.25 in…
  • TOUGH CLEANING POWER: Very tough, non-rusting…
  • LONG-LASTING: High quality bonding resin system…

Also try my bacon guacamole smash burgers!

Taco Smash Burgers
Print Pin
5 from 1 vote

Taco Smash Burgers

Messy goodness with great taco-inspired flavors.
Course Main
Cuisine American
Keyword smash burgers, spicy
Prep Time 15 minutes
Cook Time 15 minutes
Servings 4
Calories 479kcal

Ingredients

For the smash burgers

Instructions

For the smash burgers

  • Fire up your grill for high heat. Place a griddle or a large cast iron pan over the highest heat.
  • Season the ground beef with the taco seasoning, mix and form into four 4 ounce balls (not patties!).
  • Place the balls of beef on the griddle and let cook for one minute. Just let them cook, don't mess with them.
  • Take your press and flatten out the patties. I like to use the point of the press and work my way around the ball first, doing a little section at a time and then finally I press down on the entire patty to flatten it out. You can also just flatten out the ball all at once. At this point I also like to season the patties some more.
  • Let the patties cook until you start to notice a little char along the edges. Flip, season again if desired, and continue cooking another minute or so until the other side is charred. The burgers are thin so they will cook very quickly so watch out.
  • Add the nacho cheese sauce. If desired, cover in a dome to help the cheese melt and get it warmed completely.
  • Toast the buns. Remove, add the patties and serve with taco sauce, tomato slices and lettuce.
  • Devour immediately.

Notes

The more napkins you use, the better the smash burger.

Nutrition

Calories: 479kcal | Carbohydrates: 27g | Protein: 25g | Fat: 30g | Saturated Fat: 10g | Polyunsaturated Fat: 1g | Monounsaturated Fat: 10g | Trans Fat: 1g | Cholesterol: 83mg | Sodium: 586mg | Potassium: 512mg | Fiber: 2g | Sugar: 6g | Vitamin A: 758IU | Vitamin C: 9mg | Calcium: 112mg | Iron: 4mg

Nutritional values are approximate.

Meykers Hamburger Press Patty Maker 150 Paper…
  • Saving Storage Space : The detachable solid…
  • Making Hamburger Elegantly – Perfectly…
Gandeer 3 Pcs Cast Iron Grill Press 8 x 4 Inch…
  • Quality Material: the bacon press is made of food…
  • Practical Wood Handle Design:Featuring a…
Katbite 300Pcs 6×6 Inches Patty Paper, Burger…
  • Perfect Size: 6×6 inches of 300 count patty paper…
  • Non-Stick & Easy to Clean: Patty paper use the…

Lemon Pepper Shake ‘n Bake

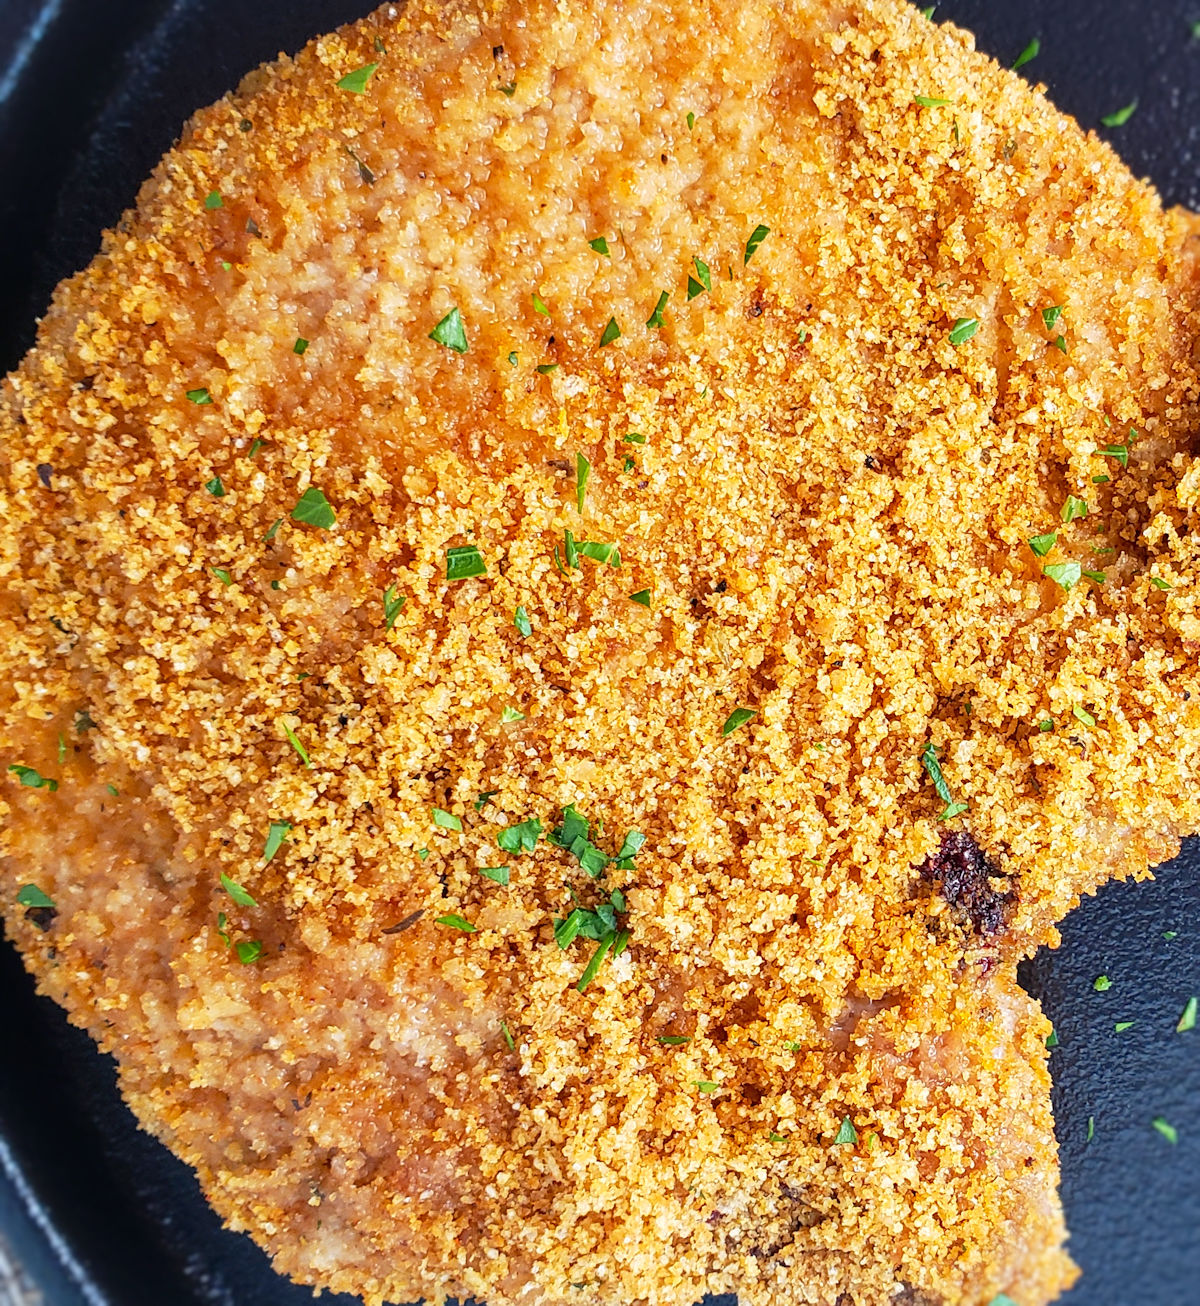
There’s something about me and coated baked pork chops. My mom made them when I was a kid and I loved them then. I make them now and I still love them. Sometimes I use the stuff right out of the box, and sometimes I make my own. Like this Lemon Pepper Shake ‘n Bake. Same wonderful coating as the classic, but with a wonderful kiss of citrusy lemony yumminess and a little bit of pepper. Lemon and pork go great together.

Lemon Pepper Shake 'n Bake

More Coating. More Better.

I’m not shy with the coating when I use my lemon pepper Shake ‘n Bake mix. I really like that lightly crunchy bread crumb goodness. I get my chops coated all over. Sides too. Then I coat them one more time. I know, that’s probably a little excessive but I love it so!

Use a good lemon pepper seasoning. You want one that is perfectly balanced, no one flavor over-powering the other. That way you’ll end up with the best baked chops!

McCormick Perfect Pinch Lemon & Pepper Seasoning…
  • Great on chicken
  • Lemon and pepper seasoning for…

Also try my curry Shake ‘n Bake. Yes, curry.

Lemon Pepper Shake 'n Bake
Print Pin
5 from 1 vote

Lemon Pepper Shake ‘n Bake

A wonderful twist on a traditional baked pork chop coating.
Course Seasoning
Cuisine American
Keyword baked, pork chops
Prep Time 5 minutes
Total Time 5 minutes
Servings 4 cups
Calories 466kcal
Author Mike

Ingredients

Curry Shake’N Bake

Instructions

Curry Shake’N Bake

  • Combine the dry ingredients in a bowl.
  • Add the oil and stir until the lumps are all gone.
  • Store in an air-right container for up to 2 months until ready to use.

For pork chops

  • Preheat oven to 425 F.
  • Rinse chops and pat dry.
  • Working in batches, transfer chops to a resealable bag.
  • Add lemon pepper Shake'n Bake mix.
  • Seal and shake to coat chops.
  • Shake off excess coating and transfer chops to a foil-lined baking sheet.
  • Bake for 20-25 minutes or until done.

For chicken

  • Preheat oven to 400 F.
  • Working in batches, transfer chicken pieces to a resealable bag.
  • Add lemon pepper Shake'n Bake mix.
  • Seal and shake to coat chicken.
  • Shake off excess coating and transfer chicken to a foil-lined baking sheet.
  • Bake for 40-45 minutes for bone-in chicken or 20 minutes for boneless chicken until done.

Notes

I prefer bone-in pork chops for my Shake ‘n Bake but you can use boneless or chicken instead!

Nutrition

Calories: 466kcal | Carbohydrates: 65g | Protein: 12g | Fat: 18g | Saturated Fat: 12g | Sodium: 2340mg | Potassium: 261mg | Fiber: 5g | Sugar: 8g | Vitamin A: 258IU | Vitamin C: 6mg | Calcium: 177mg | Iron: 5mg

Nutritional values are approximate.

Sale
NutriChef Automatic Vacuum Air Sealing System for…
  • AUTOMATIC VACUUM FOOD SEALER WITH STARTER KIT…
  • DUAL DRY & MOIST MODES FOR EVERY FOOD TYPE…

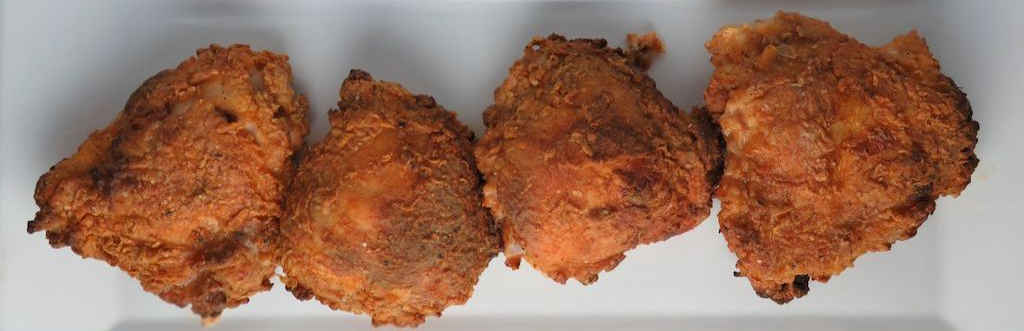
The Best Vortex Fried Chicken Recipes

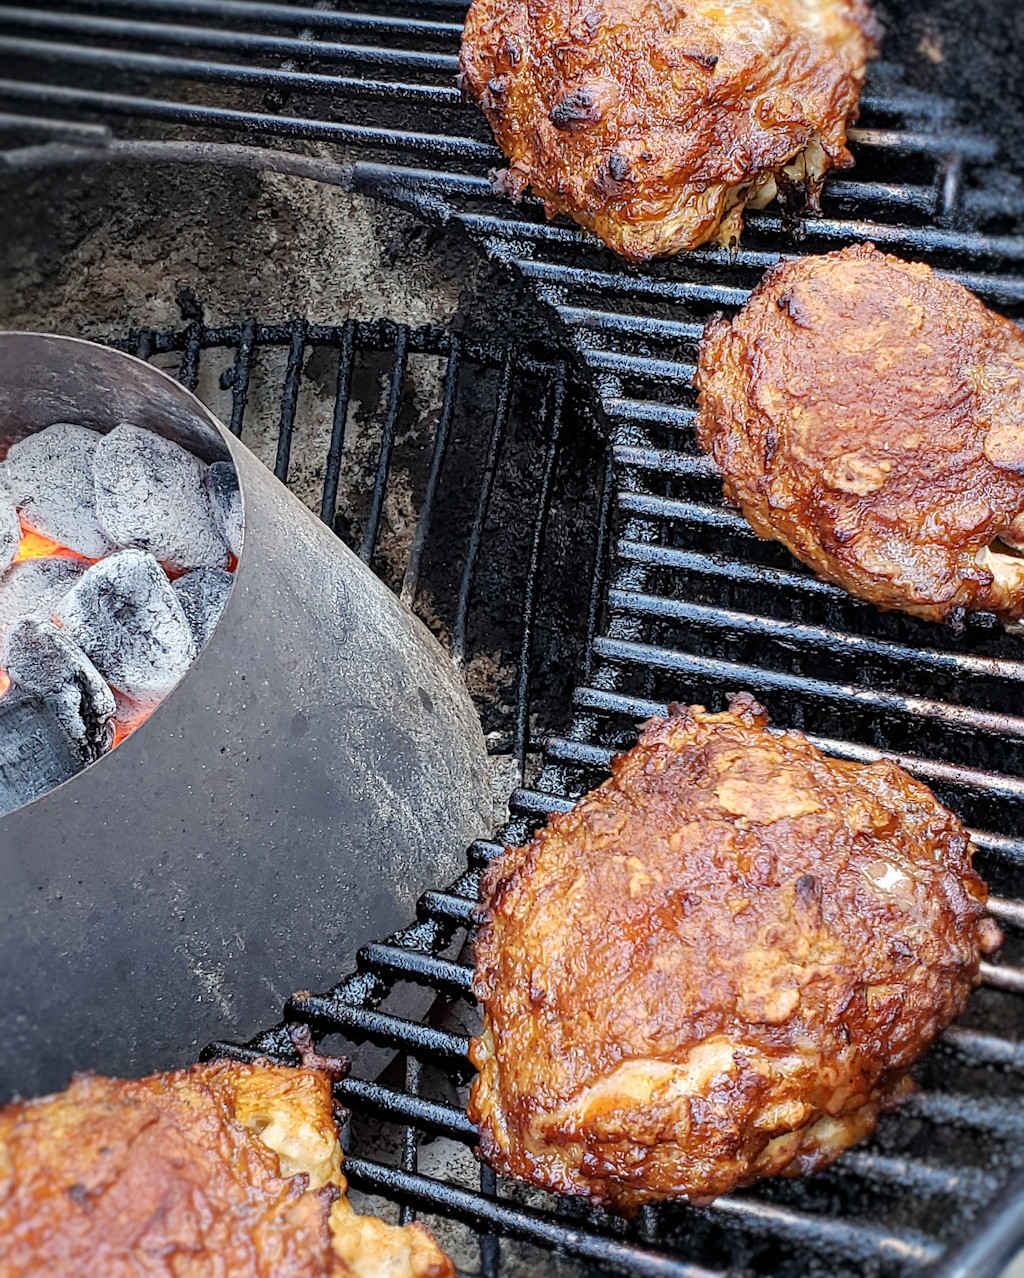
These are what I consider to be the absolute best recipes for the Vortex BBQ. This isn’t just a random roundup — this is years of testing, tweaking, and eating a whole lot of chicken here at Life’s A Tomato. After literally hundreds of cooks on my kettle, these recipes are the ones my family and I keep coming back to.

Jump to the List

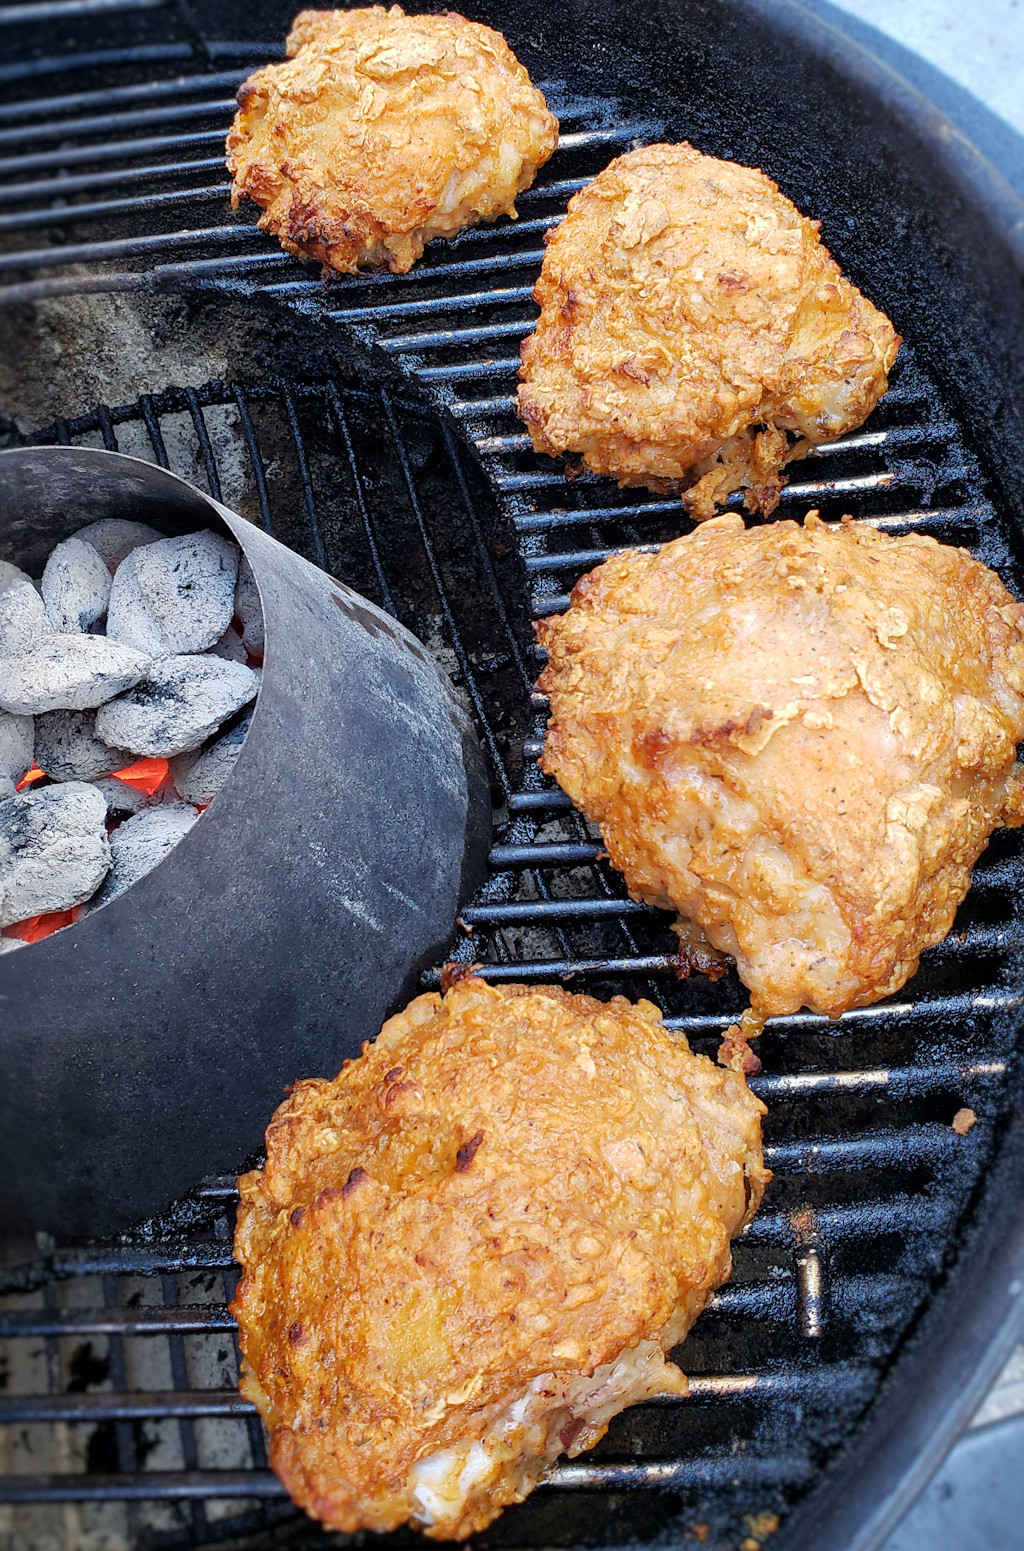
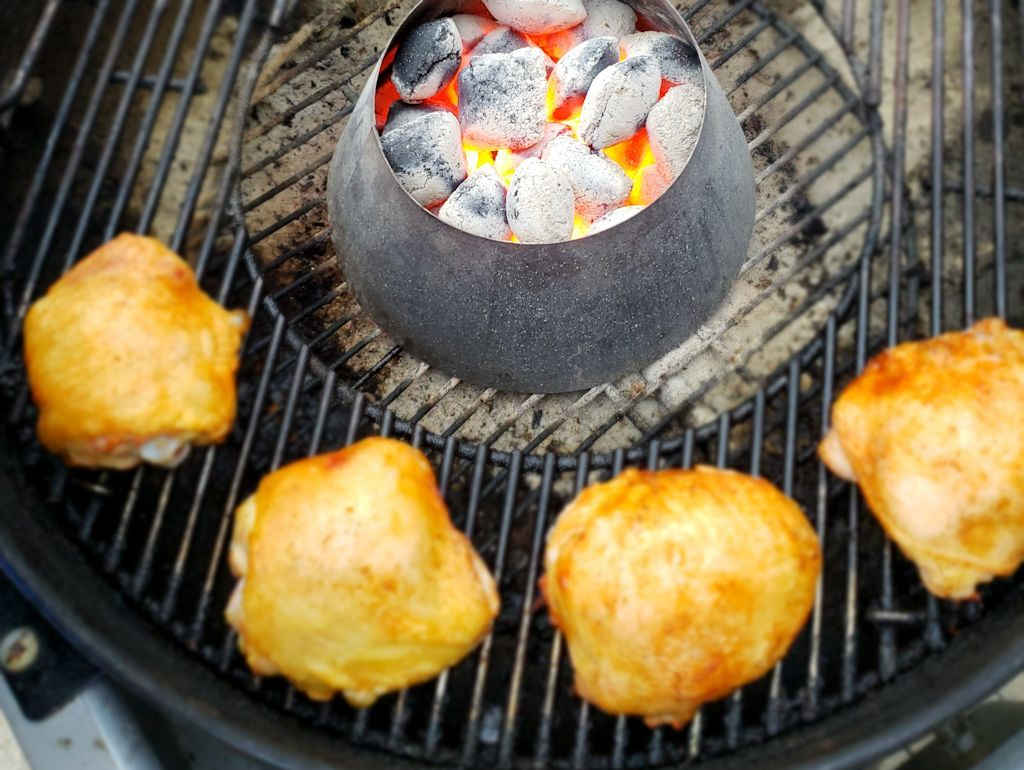
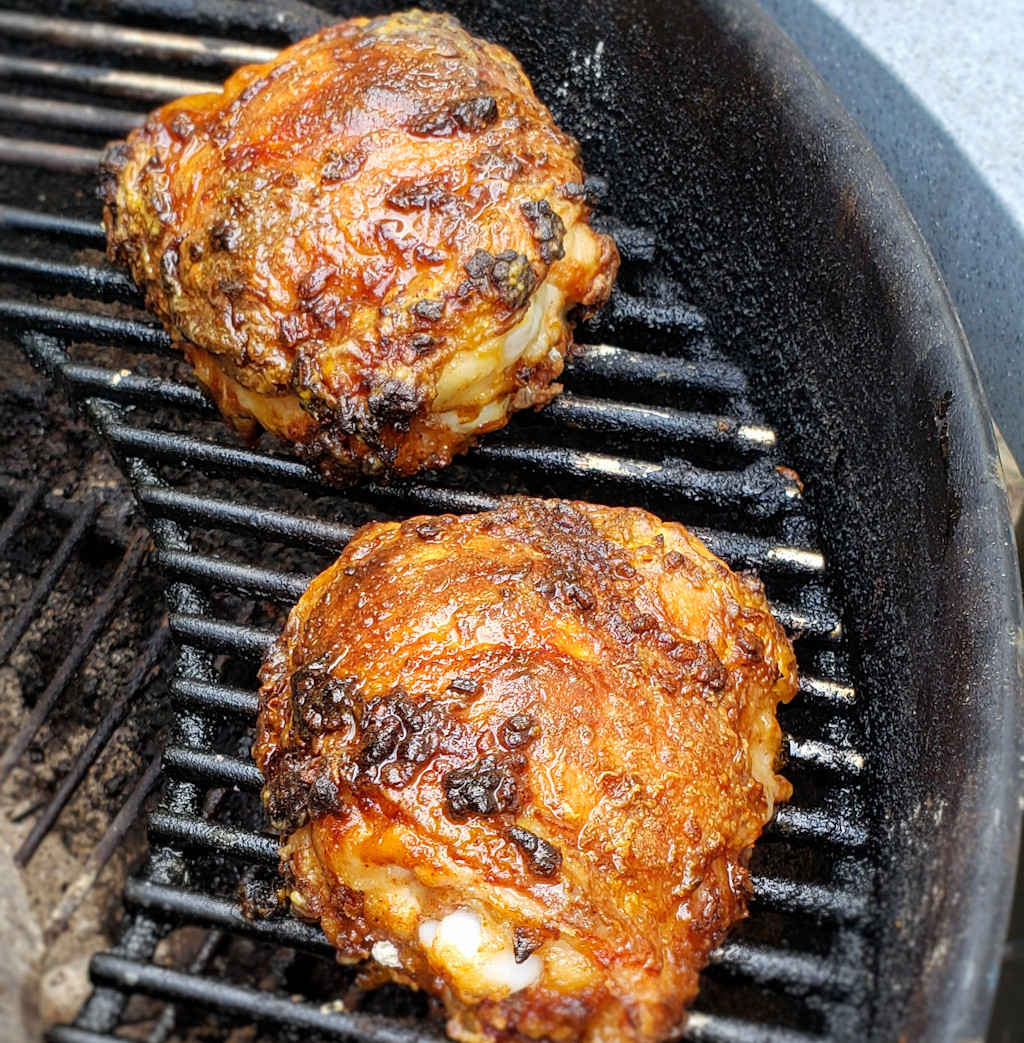
I love firing up a charcoal grill using a Vortex. For anyone who hasn’t used one yet, the Vortex is that simple cone-shaped stainless steel insert that sits in the middle of your charcoal grill. You pile a full chimney of screaming hot coals right in the center, put the grate on, and it transforms your regular Weber kettle into a high-heat convection oven. We’re talking 500-600+ degrees of indirect, circulating heat that cooks from every angle at once.

And I know I’m always in for a great treat! Because what comes off that grill really shouldn’t be possible.

It Starts With Chicken

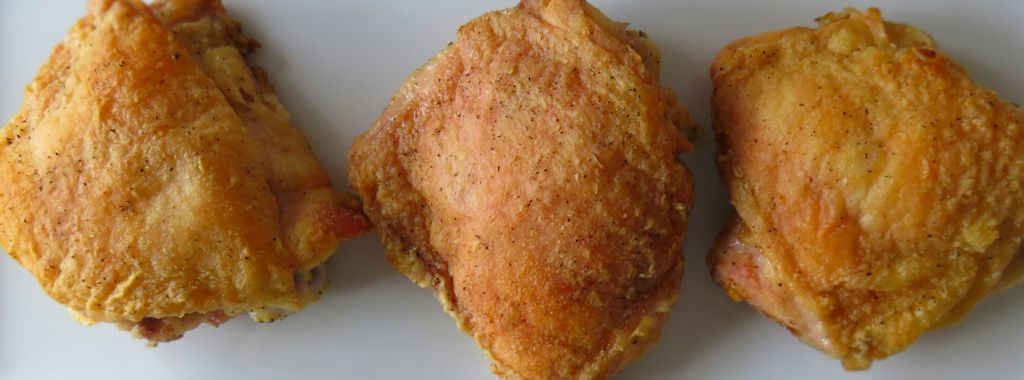
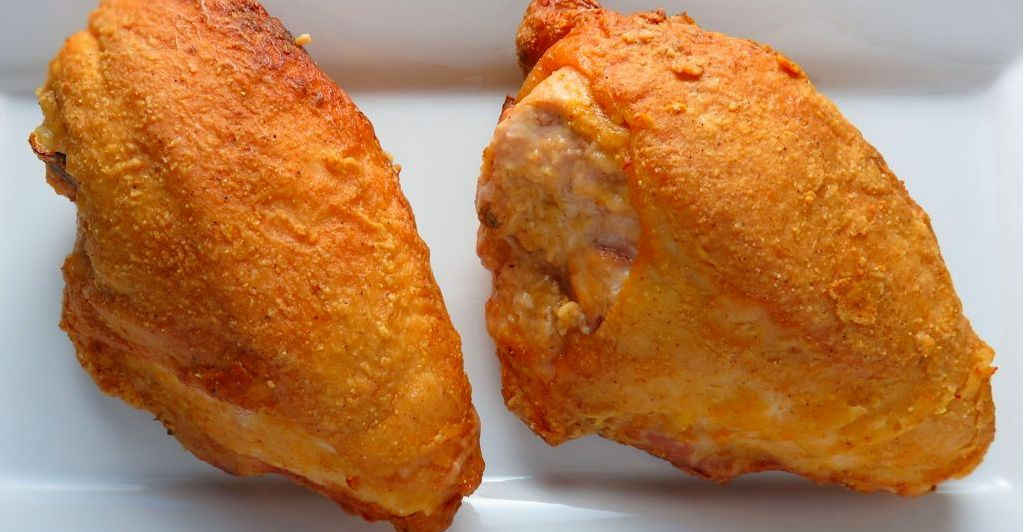
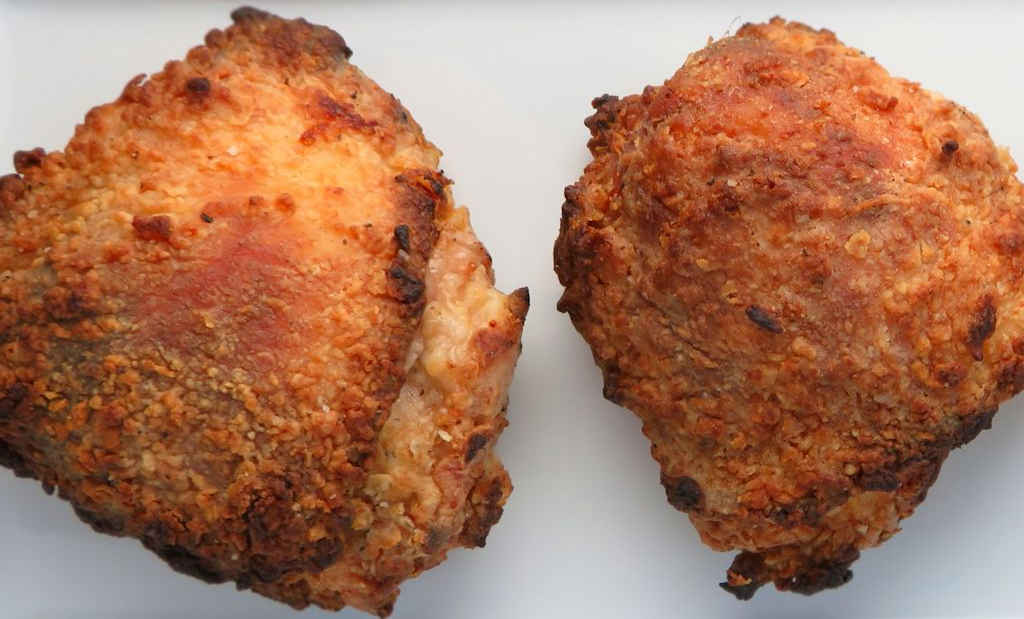
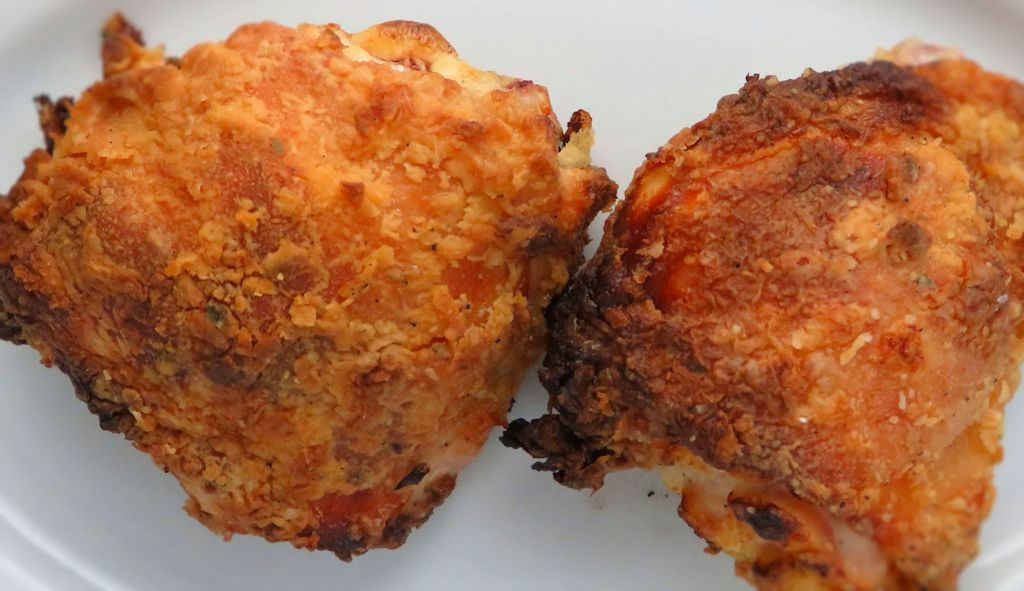
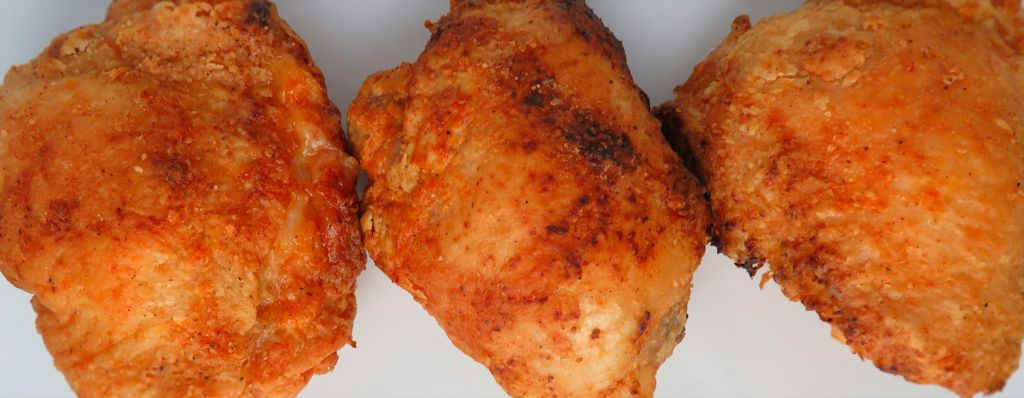
I’m talking about chicken with perfectly golden-brown, crunchy skin that crackles when you bite into it. I’m talking about meat that is unbelievably tender, moist, and juicy — so juicy you need extra napkins. And the flavors are amazing. It tastes like it came straight out of a deep fryer. In fact, the first time I served it, everyone swore it WAS deep-fried. That’s the magic of the Vortex.

The best part? There’s no or very little oil. No messy pot of oil on the stove, no greasy splatters all over the kitchen, no gallons of oil to figure out how to dispose of afterward. It’s all of the reward of fried chicken with none of the hassle.

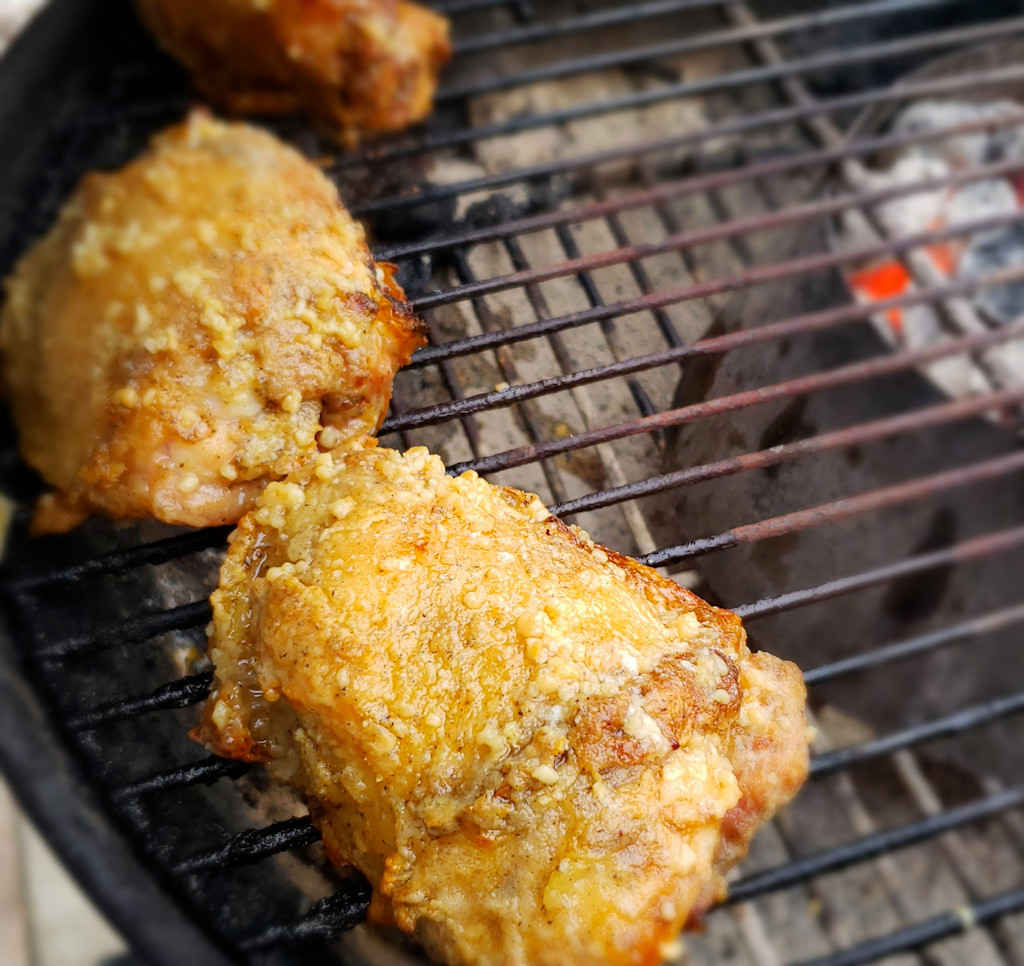
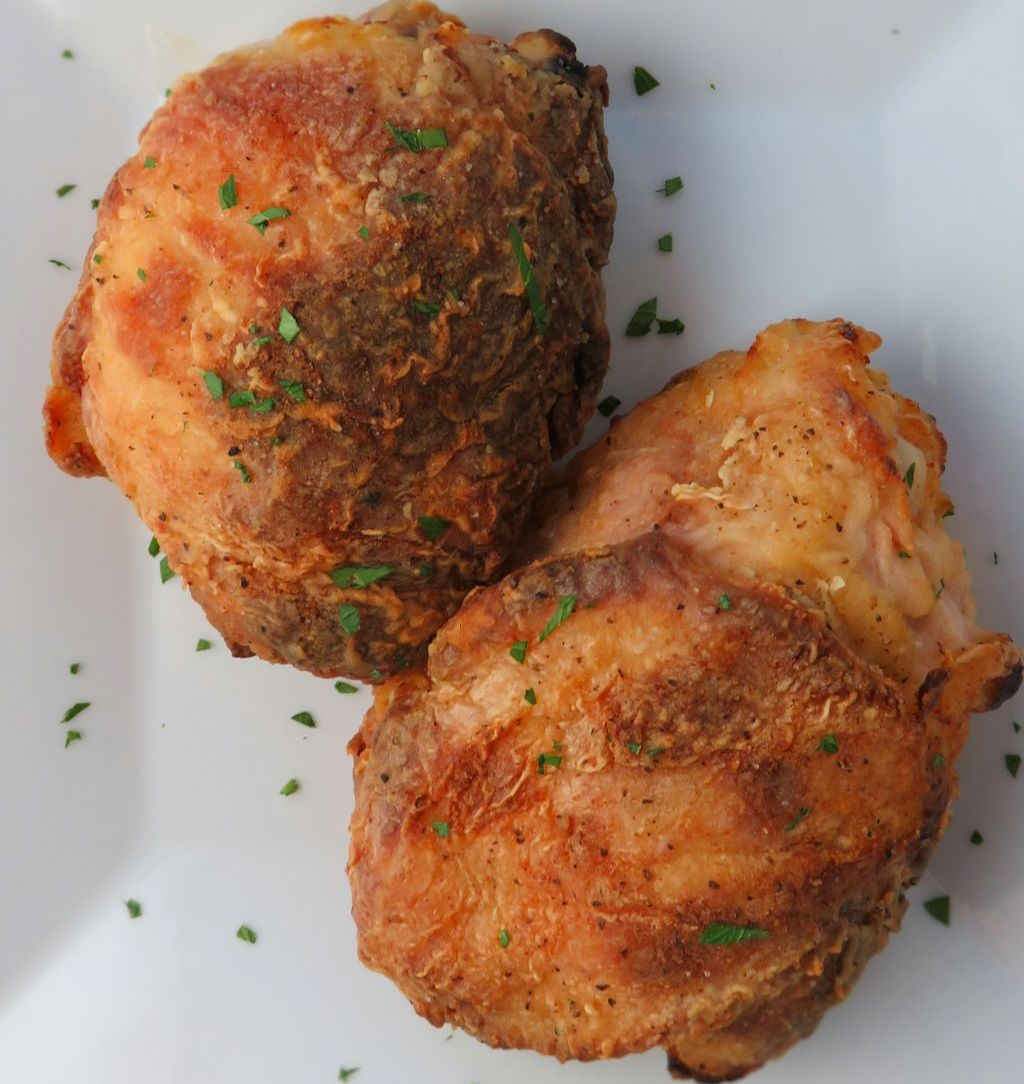
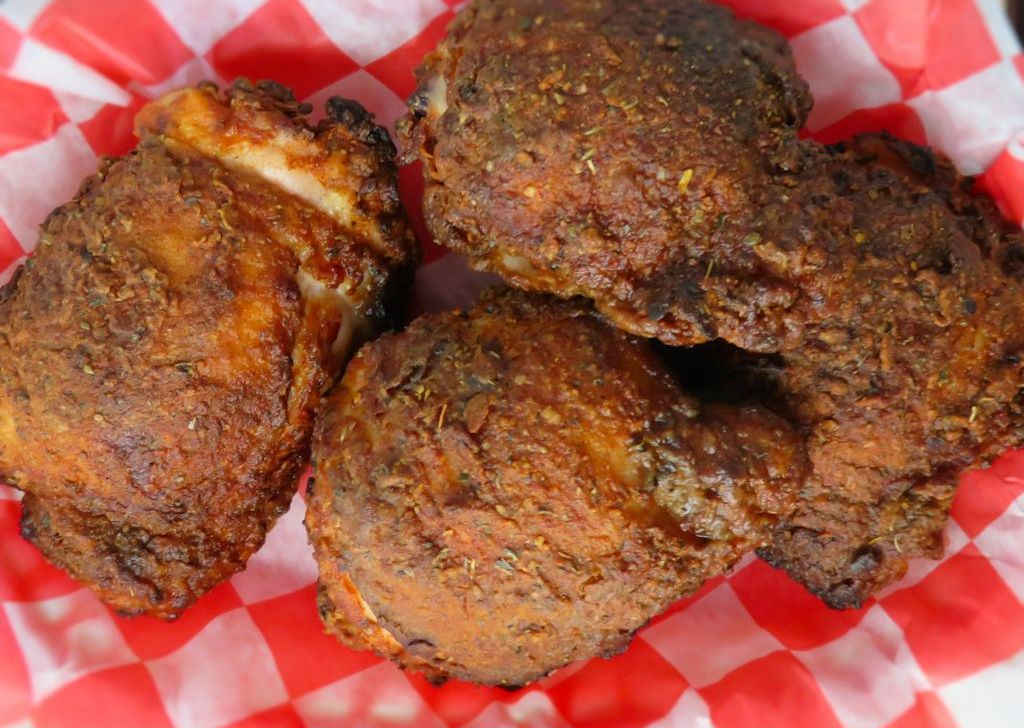
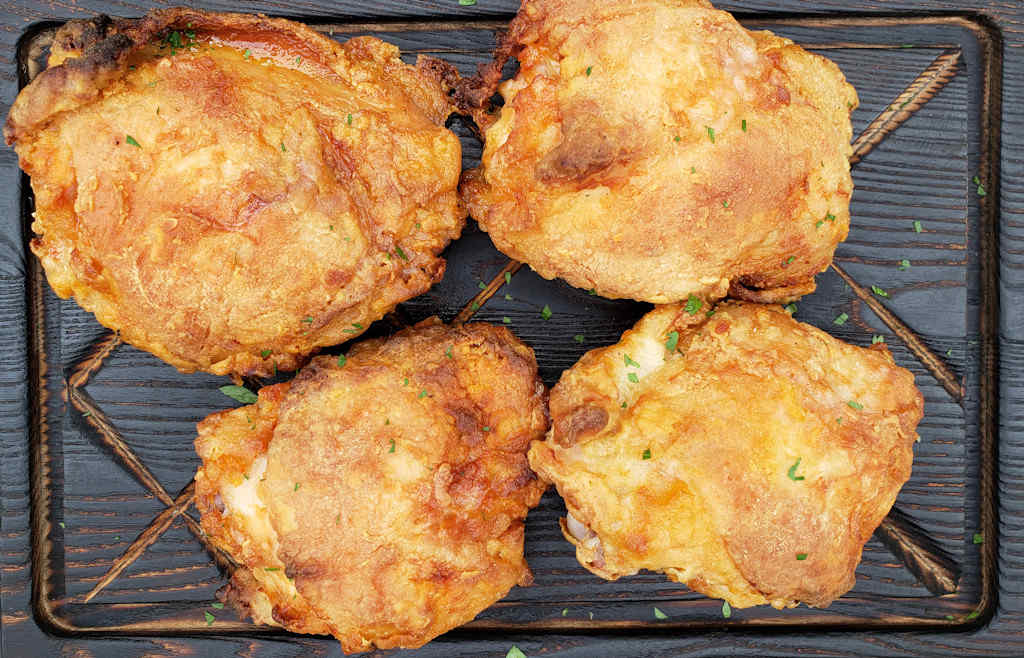
Over time I’ve learned my favorites. My go-to will always be bone-in, skin-on chicken thighs. The dark meat just has more flavor, it always cooks up tender, and it’s very forgiving. I coat them in my seasoned flour mix, arrange them in a circle around the outside of the grill — not directly over the Vortex — close the lid, and come back in about 40-45 minutes. No flipping required.

The Best Vortex Fried Chicken Recipes

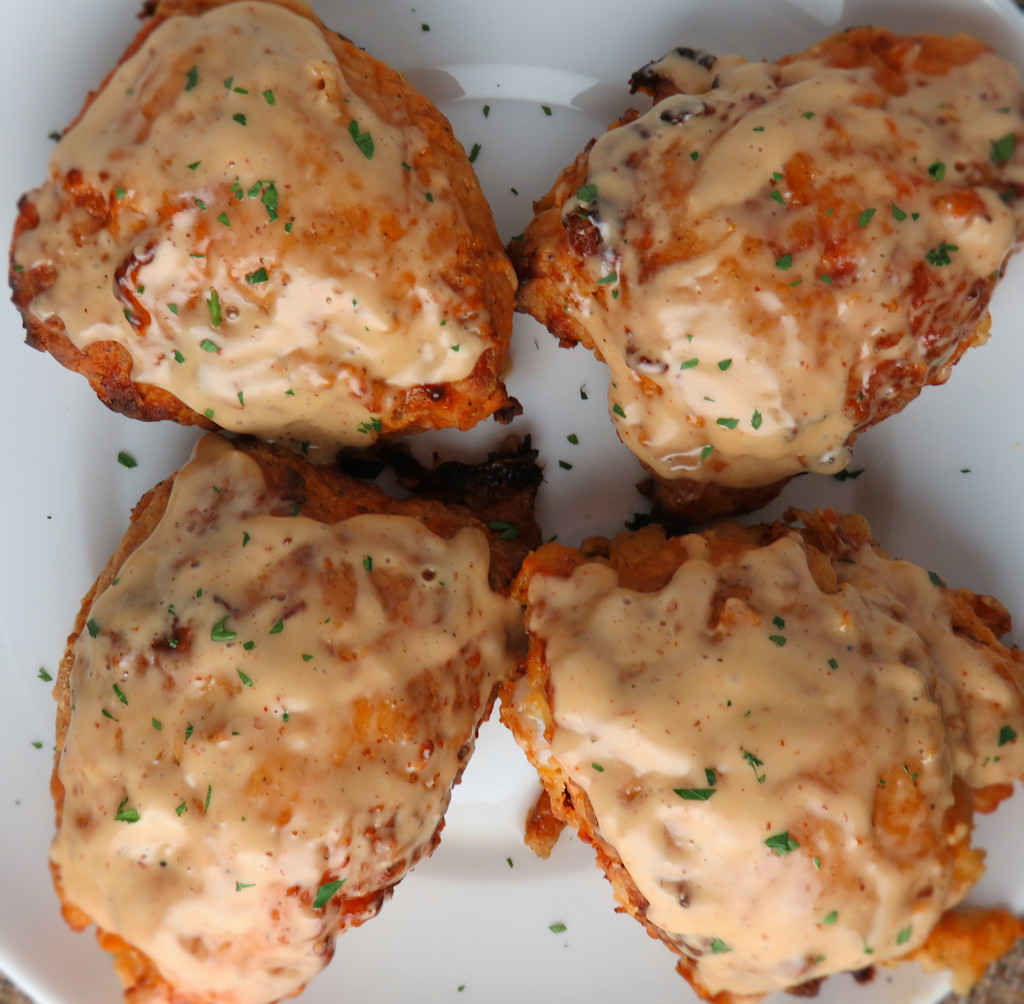
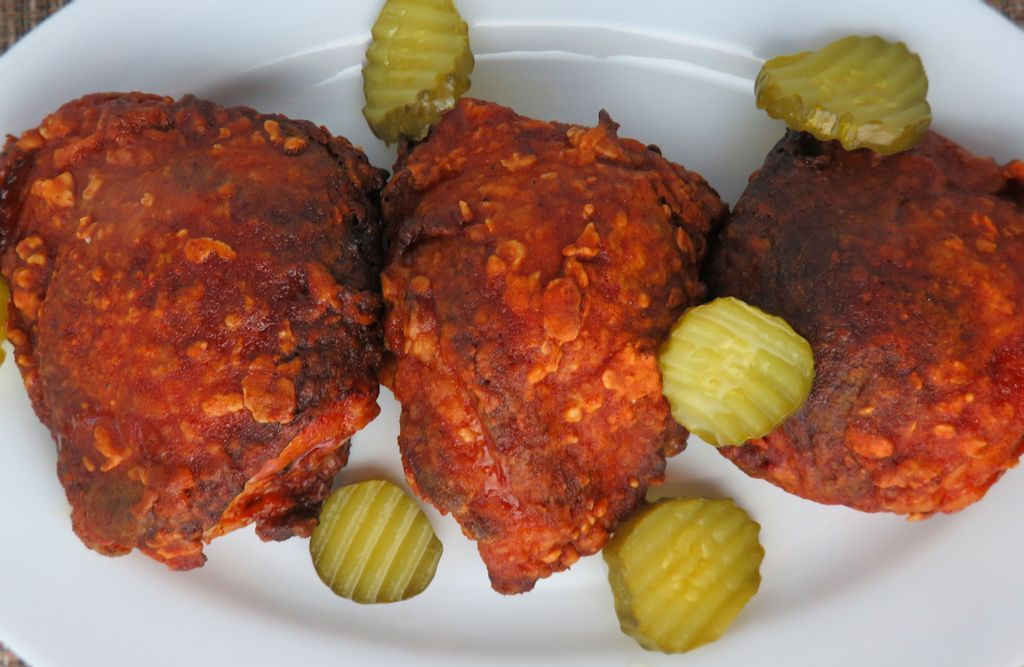
Below are my all-time favorite ways to do it, from Kentucky Kernel and Alabama White Sauce to Cajun-brined, Nashville Hot, and Korean Fried Chicken. If you love fried chicken, you’re going to love the Vortex.

The List

1
Kentucky Kernel 'Fried' Chicken using the Vortex
Kentucky Kernel ‘Fried’ Chicken using the Vortex
Perfectly juicy, crunchy skin, crazy good fried chicken flavor without all of the oil.
Check out this recipe
2
The Best Vortex Fried Chicken Recipes
Alabama White Sauce Fried Chicken using the Vortex
The tangy Alabama white BBQ sauce is different. If you've never had it, I highly recommend it. It's great on any chicken, fried, grilled, roasted, you name it.
Check out this recipe
3
Cajun-Brined Fried Chicken using the Vortex
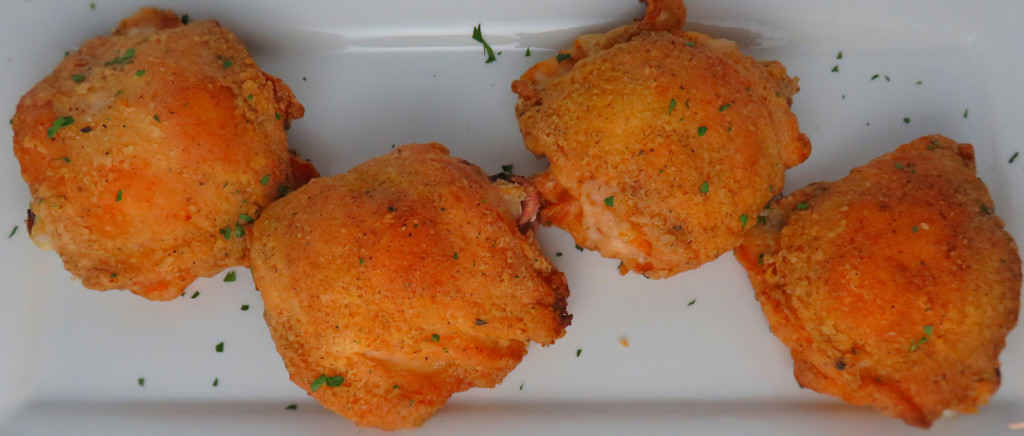
I almost always use bone-in, skin-on chicken thighs when I make this Cajun-brined fried chicken or any other ‘fried’ chicken using the Vortex. The dark meat has the most flavor and always cooks up tender and juicy.
Check out this recipe
4
Bloody Mary Buffalo Chicken using the Vortex
The fried chicken mix recipe can be used for any chicken, it doesn’t have to be Bloody Mary flavored. The coating adheres perfectly and gives you that perfect crispy crust. For me, my go-to chicken on the Vortex is bone-in, skin-on thighs. They are the juiciest and have the most flavor.
Check out this recipe
5
Buttery Garlic Fried Chicken using the Vortex
If you’re craving garlic flavor, you’ve come to the right place. My buttery garlic fried chicken made using the Vortex brings the garlic punch and then some. And crunchy skin? Craving that too? Got you covered there, too.
Check out this recipe
6
Amish Fried Chicken using the Vortex
Amish fried chicken has that great down-home, grandma-made-it flavor. It's all about the seasoning… and well, a little bit of butter too.
Check out this recipe
7
Cajun Injected Chicken using the Vortex
I cook a lot, and I do mean a lot, of chicken using my Vortex. Wings and thighs are my favorite and I’ve cooked them countless delicious ways. But I’d never injected my chicken until now. 
Check out this recipe
8
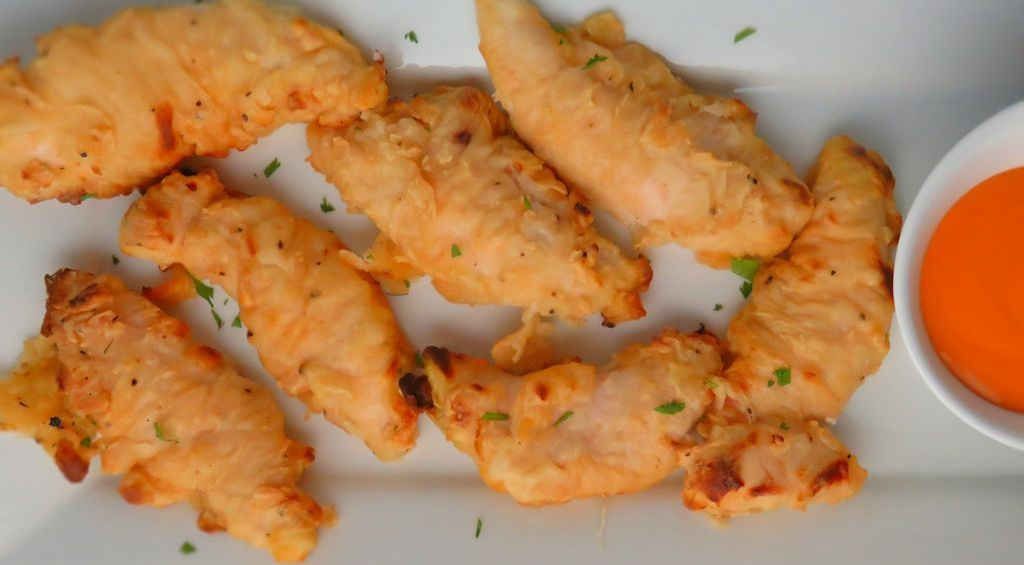
Chicken Fingers using the Vortex
Just as easy as wings or fried chicken, these fingers came out tender and super tasty. 
Check out this recipe
9
Dip-Fried Chicken using the Vortex
This dip-fried chicken is unbelievably moist, tender, and delicious. I’ve said it a thousand times: nothing beats ‘fried’ chicken made using the Vortex. Nothing.
Check out this recipe
10
Easy Cajun Fried Chicken using the Vortex
After trying literally 100s of recipes, this easy Cajun fried chicken one is our go-to, easy technique. The end result is incredible.
Check out this recipe
11
Easy Crispy Fried Chicken using the Vortex
Absolutely delicious, crunchy, moist fried chicken with about as little fuss and mess as possible. And no oil.
Check out this recipe
12
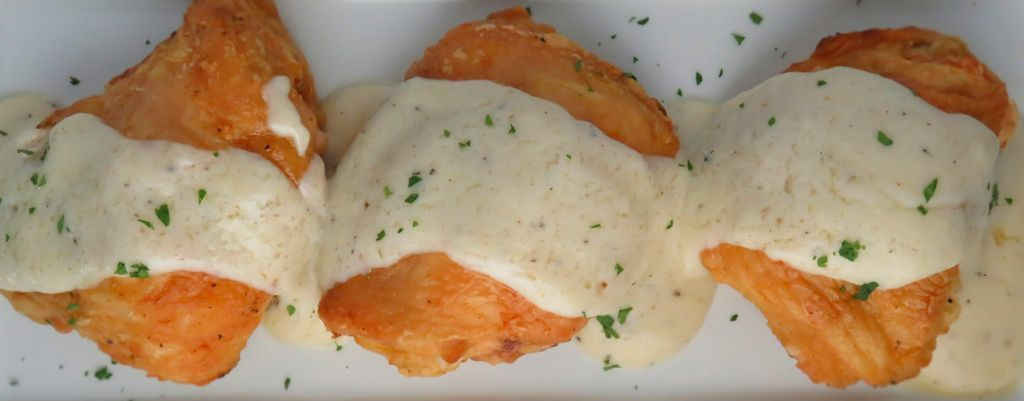
Fried Chicken with Gravy using the Vortex
This right here is amazingly great chicken, and all without deep-frying.
Check out this recipe
13
Granny’s Secret Fried Chicken using the Vortex
I keep having to pinch myself when I make ‘fried’ chicken on my charcoal grill using the Vortex. Am I dreaming? I’m really eating deep-fried chicken, right? But it’s not.
Check out this recipe
14
Hidden Valley Ranch Fried Chicken using the Vortex
This Hidden Valley Ranch fried chicken is crazy tender, unbelievable moist. And the skin? Well, let’s just say I leave it for last because it’s almost like dessert. A true treat.
Check out this recipe
15
Honey Fried Chicken using the Vortex
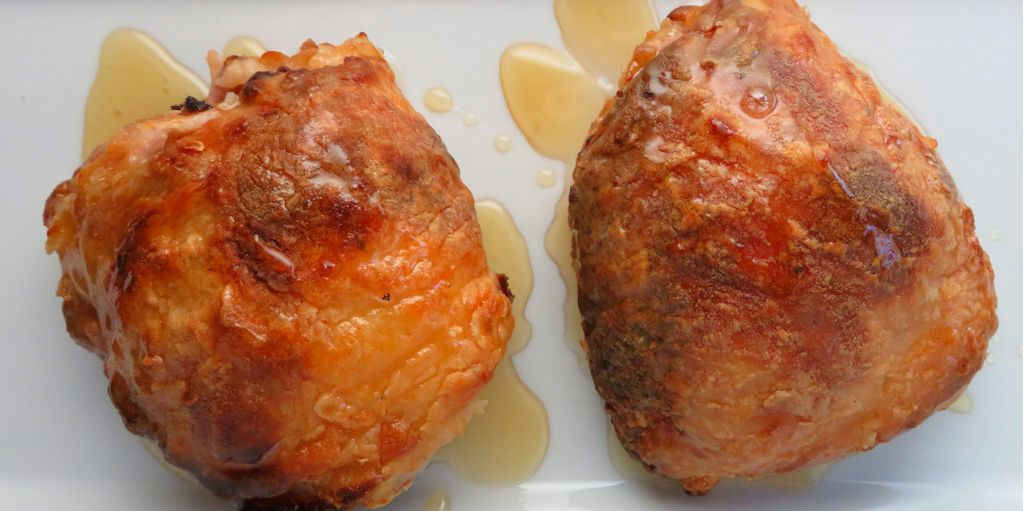
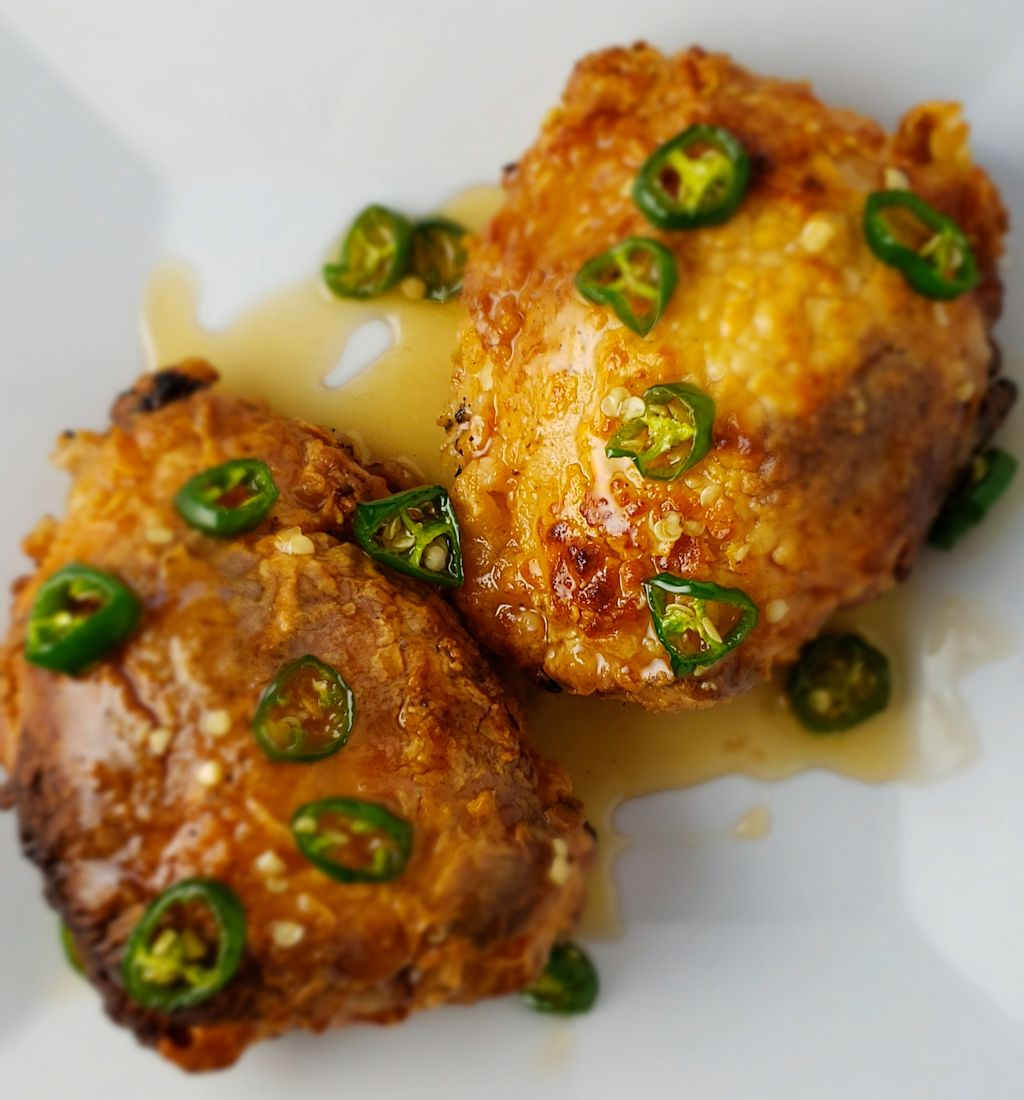
 This time, for a change, I drizzled the fried chicken with a bit of honey. Honey fried chicken using the Vortex was crazy good.
Check out this recipe
16
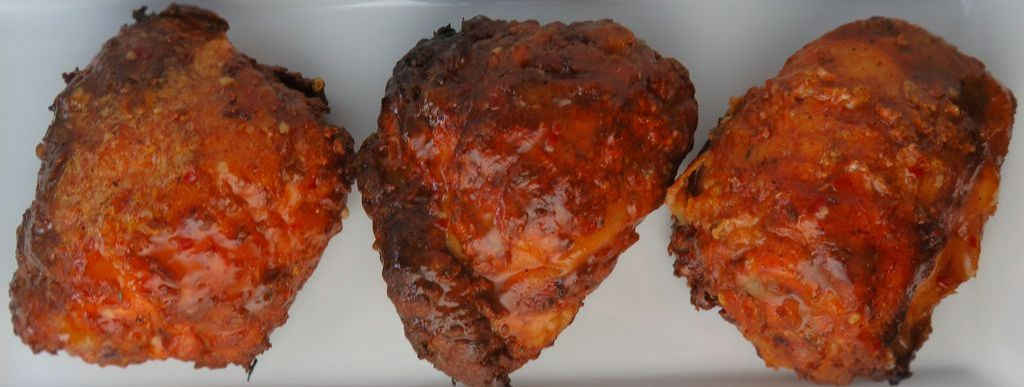
Hot Stuff Chicken using the Vortex
Whenever I cook chicken on my Vortex I always give it a quick, light brushing of oil just at the end.
Check out this recipe
17
Krispy Country Chicken using the Vortex
The easiest mix in the world, giving you nicely crunchy, juicy, flavorful chicken in less than an hour with no oil used for frying.
Check out this recipe
18
Korean Fried Chicken using the Vortex
This Korean fried chicken using the Vortex was right up my alley. As always with the Vortex, the chicken is cooked perfectly. Tender and juicy and delicious.
Check out this recipe
19
Louisiana Crispy Fried Chicken using the Vortex
This is seriously crispy chicken. Seasoned perfectly. Moist and tender meat. Make extra because you’ll need it. And don’t expect any leftovers either.
Check out this recipe
20
Nashville Hot Chicken using the Vortex
Wow, oh wow, was this ever absolutely great chicken. Lightly crunchy, and a little spicy, it was a dish to remember.
Check out this recipe
21
Orange Chicken using the Vortex
No, it’s not an illusion. It’s not Photoshopped. And I’m not fibbing. This crunchy, moist, tender, delicious chicken was not deep-fried. It was made on a charcoal grill using the Vortex.
Check out this recipe
22
Proper Pub Fried Chicken using the Vortex
The seasonings give every single bite the most fantastic flavor. Tender, moist. And crunchy skin? Oh yes. 
Check out this recipe
23
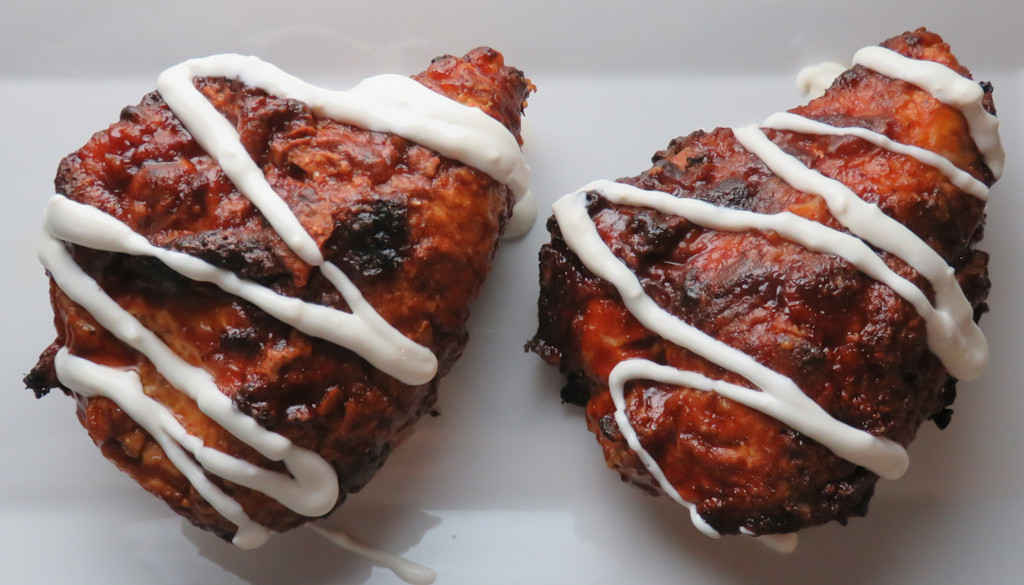
Spicy BBQ Fried Chicken using the Vortex
This spicy BBQ fried chicken using the Vortex is my go-to recipe. I can then add whatever I want at the end. This time I added a spicy BBQ sauce and a drizzle of Ranch dressing. There were no leftovers.
Check out this recipe
24
Spicy Buttermilk Fried Chicken using the Vortex
This. Right. Here. Absolutely divine ‘fried’ chicken, hot off my charcoal grill. Yes, grill.
Check out this recipe
25
Spicy Honey Fried Chicken using the Vortex
Oh. My. Goodness. This spicy honey fried chicken is off-the-charts fantastic. Crispy crunchy skin. Juicy, moist, tender chicken.
Check out this recipe
26
Spicy Hot Fried Chicken using the Vortex
This version brings a bit of heat. Just the right amount. And oh, so tender, juicy meat.
Check out this recipe
27
Sweet Tea Fried Chicken using the Vortex
This is my first time marinating chicken in tea, and it definitely won't be my last.
Check out this recipe
28
Sylvia's Crispy Fried Chicken using the Vortex
Sylvia’s Crispy Fried Chicken using the Vortex
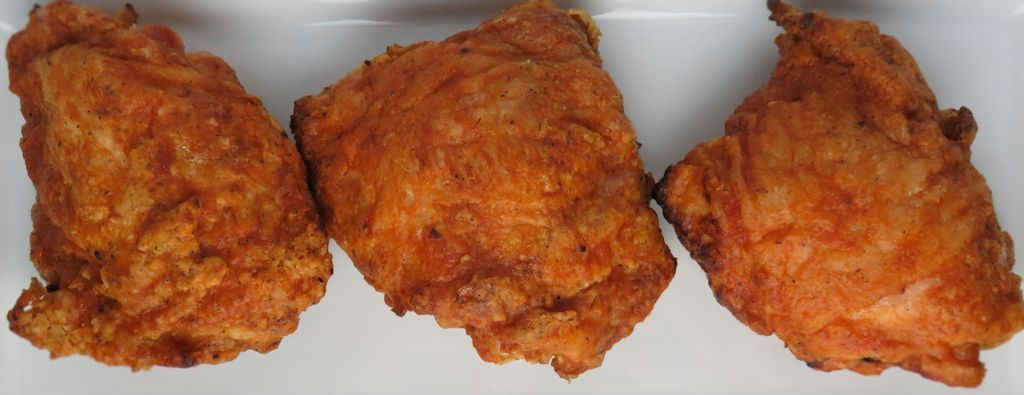
Just fire up, coat the chicken, place it on the grill and come back in 45 minutes or so to grab some delicious chicken. You’d swear it was fried in oil it’s so good. Crispy skin and tender, juicy meat. Perfect.
Check out this recipe
Genuine Medium BBQ Vortex Gift Pack for wsm Kettle…
  • ULTIMATE GIFT PACK Medium size BBQ Vortex…
  • VORTEX Brand Rub is great for Perfect crispy wings…

Deluxe Burger Sauce

I was making my standard burgers for dinner the other day. Nothing fancy. But I wanted a little something extra. Something to jazz them up a bit. They aren’t bad burgers to start with, nope. But some deluxe burger sauce might take them over the top, I figured. And I was right.

Deluxe Burger Sauce

A Well-Balanced Simple Sauce

If I had to come up with one word to describe this deluxe burger sauce I’d say ‘balanced’. It’s a little sweet. Oh and there’s a little heat. There are some classic burger flavors, too. And a little of that umami thing. So a bit of everything. Nothing overpowering yet not boring. Great on a burger. That’s what I was after.

I store my homemade sauces in squeeze bottles. If refrigerated, I set them out thirty minutes to an hour before using so they come to room temperature. You don’t want to put cold sauce on hot food!
8 Pcs 3 Hole Squeeze Bottles 16 oz Plastic…
  • Ample quantity: You will receive 8 pieces of…
  • Durable & Lightweight: made of quality plastic…

Also try my BBQ Thousand Island burger sauce.

Deluxe Burger Sauce
Print Pin
5 from 1 vote

Deluxe Burger Sauce

Balanced.
Course Burger Sauce
Cuisine American
Keyword burger sauce
Prep Time 5 minutes
Get Happy Time 30 minutes
Total Time 35 minutes
Servings 10
Calories 101kcal

Equipment

Ingredients

Instructions

  • Combine all of the ingredients in a small bowl.
  • Cover and place in the fridge for at least 30 minutes before serving.

Notes

Stir again before serving.

Nutrition

Calories: 101kcal | Carbohydrates: 6g | Protein: 0.5g | Fat: 9g | Saturated Fat: 1g | Polyunsaturated Fat: 5g | Monounsaturated Fat: 2g | Trans Fat: 0.02g | Cholesterol: 5mg | Sodium: 238mg | Potassium: 48mg | Fiber: 0.3g | Sugar: 5g | Vitamin A: 45IU | Vitamin C: 1mg | Calcium: 9mg | Iron: 0.3mg

Nutritional values are approximate.

New Star Foodservice Condiment Squeeze Bottle Set…
  • 3-Pack Food-Safe Commercial-Grade Plastic: Made…
  • Versatile Use for Sauces, Oils, and Condiments…

Chili’s Honey Chipotle Chicken Fingers (Copycat Recipe)

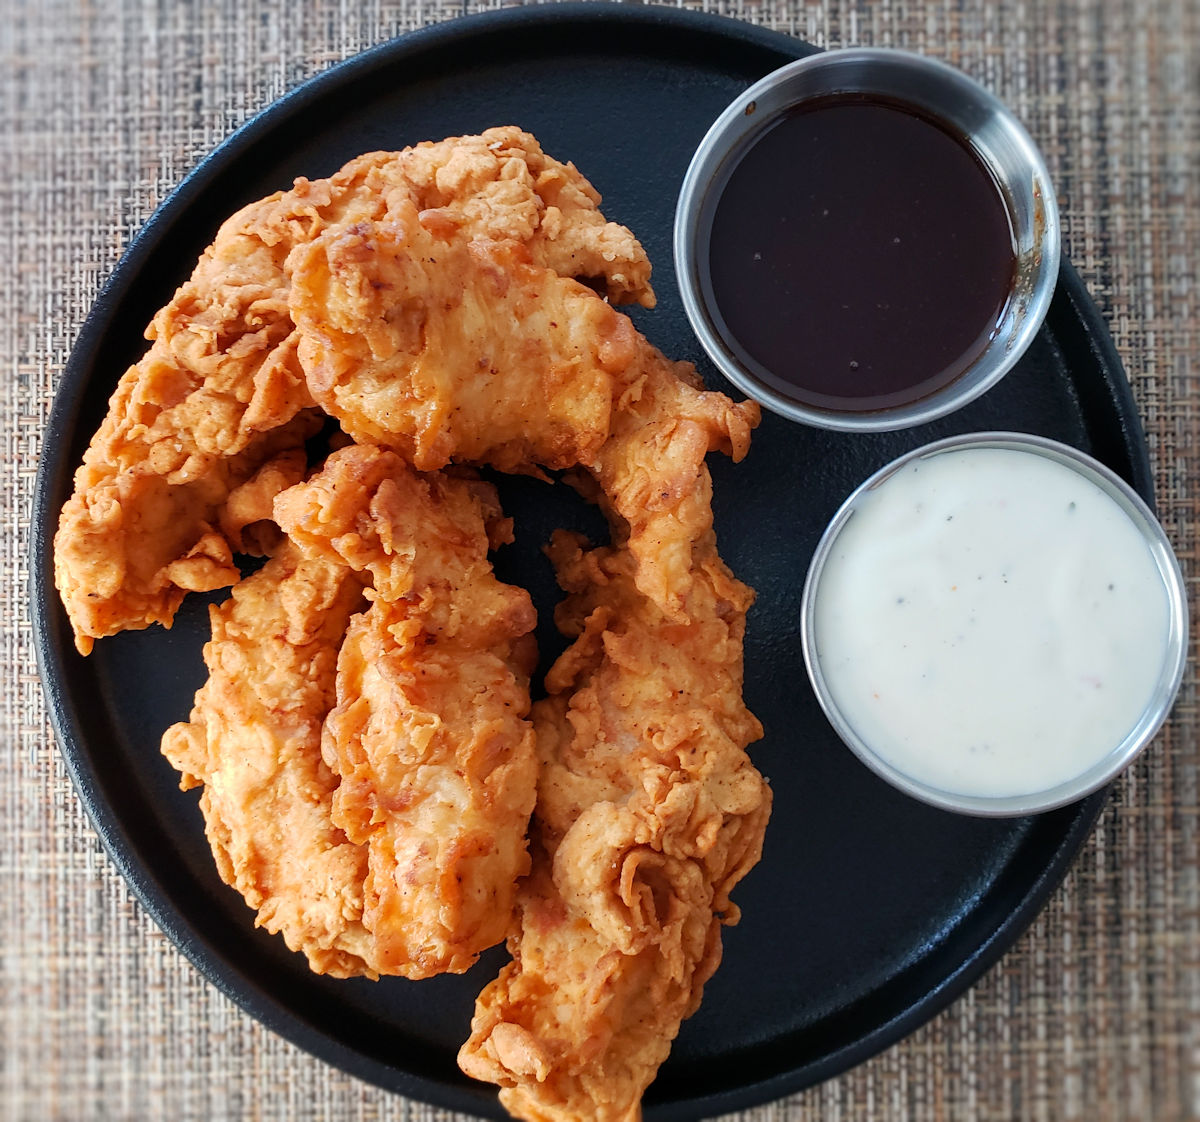
This is easily one of my favorite chicken recipes, from roasted to fried. Doesn’t matter how they were prepared, this one wins. Hands down. The coating on this copycat recipe of Chili’s honey chipotle chicken fingers is perfect. It adheres to the chicken. Bite after bite, it sticks. It’s got a tremendous, delicious crunchiness to it. And I mean crazy crunchy too! And then there’s the sauce. It’s slightly sweet with just the right amount of smokiness and heat. I think it’s fantastic. So fantastic that I doubled the recipe. Why? Because more is better! That and I’m a sauce-a-holic. More sauce is always more better, I always say!

Chili's Honey Chipotle Chicken Fingers (Copycat Recipe)

The Perfect Sauce

The sauce for these copycat recipe Chili’s honey chipotle chicken fingers has just the right amount of sweetness. From honey. Yummy honey. There’s just a little bit of heat and smokiness. Chipotle chili pepper is great in a sauce. It adds that bit of a kick from jalapenos. And it adds the flavor and aroma of the smoke used to smoke the jalapenos. It’s great stuff and it’s what really makes this sauce fantastic.

Great On Salads, Too

These chicken fingers are also great on top of a bed of greens for a tremendous fried chicken salad. Just add your favorite dressing. The sauce might be a little much for a salad, so grab your favorite and use that instead. Save the sauce for more chicken!

Kick It Up A Bit

If you like your sauce to have a little more heat to it, just add a little hot sauce to it while it is simmering. I wouldn’t go nuts with it. These aren’t Buffalo tenders or wings.

You can also spice up the chicken batter by adding a few good pinches of cayenne pepper. Or some of that chipotle chili pepper that’s also in the sauce. Again, don’t go crazy with it. These aren’t meant to be super-hot.

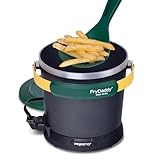
The Presto Fry Daddy is perfect for making smaller batches of food. It only uses a few cups of oil and comes to temperature quickly. Clean-up is easy too!

Sale
Presto 05427 FryDaddy Electric Deep Fryer
  • SPECIAL GREEN/GOLD EDITION: Our best-selling…
  • FOUR SERVINGS: Makes four servings of french fries…

Also try my copycat Chili’s crispy shrimp.

Copycat Chili's Honey Chipotle Chicken Fingers
Print Pin
5 from 3 votes

Chili’s Honey Chipotle Chicken Fingers (Copycat Recipe)

Golden delicious, crunchy chicken fingers with a sweet heat sauce that is to-die for!
Course Appetizer or Main
Cuisine American
Keyword chicken, deep-fried
Prep Time 15 minutes
Cook Time 20 minutes
Servings 4
Calories 605kcal

Ingredients

For the batter

For the breading

For the chicken fingers

  • 8 chicken tenderloins trimmed of any fat, cut into smaller pieces of desired
  • vegetable oil for frying

For the sauce (double if you like a lot of sauce)

Instructions

For the sauce

  • Place all ingredients in a small saucepan over medium heat.
  • Stir and bring to a boil.
  • Reduce heat to a simmer and simmer 2-4 minutes or until thickened slightly.
  • Remove from heat and set aside until ready to use.

For the batter

  • In a shallow bowl or pie plate, combine all of the batter ingredients EXCEPT for the flour. Continue stirring for 30 seconds.
  • Whisk or stir in the flour until smooth.

For the breading

  • In a shallow bowl or pie plate, combine all of the breading ingredients.

For the chicken fingers

  • Heat 3″ of oil in a deep fryer or Dutch oven to 350 F.
  • Working in batches as needed, dip chicken tenderloin pieces into the batter. Shake off any excess.
  • Toss the chicken pieces in the breading and coat well. Do not shake off any excess.
  • Fry wings for about 8 minutes or until golden brown and cooked completely.
  • Remove to a paper towel-lined plate.
  • Serve tenders drizzled with the sauce or serve the sauce on the side for dipping. I do not recommend tossing the chicken in the sauce as it'll knock off the delicious crunchy coating.

Notes

Serve with more sauce and Ranch dressing for dipping!

Nutrition

Calories: 605kcal | Carbohydrates: 108g | Protein: 32g | Fat: 6g | Saturated Fat: 2g | Polyunsaturated Fat: 1g | Monounsaturated Fat: 1g | Trans Fat: 0.02g | Cholesterol: 109mg | Sodium: 2430mg | Potassium: 597mg | Fiber: 3g | Sugar: 52g | Vitamin A: 247IU | Vitamin C: 3mg | Calcium: 70mg | Iron: 4mg

Nutritional values are approximate.

Amazon Basics 3.2-Qt (3.0L) Electric Deep Fryer…
  • FAST-HEATING & FAMILY-SIZE: This powerful…
  • ADJUSTABLE TEMPERATURE & VERSATILE COOKING: With…

Steak Fingers with Easy White Gravy

I seriously don’t know what came over me. I think it’s been at least 20 years since I’ve had steak fingers. And I’ve never made them at home. But for some reason, I needed them and now. So I made them. These steak fingers with easy white gravy weren’t like the ones I recall from decades ago. Those were kinda tough. Kinda tasteless. These hit the spot. Nothing tough about them. And very tasty. I certainly had no problem devouring a good number of them!

Steak Fingers with Easy White Gravy

I’m A Huge Fan Of These

If I’d had more time, I would’ve made gravy using the grease left over from frying the steak in a pan. But I didn’t. I had to get on with it so I deep-fried the beef and made a simple gravy on the side. These steak fingers with easy white gravy weren’t about recreating the classic step-by-step. They’re more about just getting the flavor and consistency right. And I did. I liked them. A lot.

If I’m cooking for a crowd, I’ll break out my big deep fryer. But, if it’s just the two of us or I’m cooking things that don’t take too long, I’ll fire up my Fry Daddy fryer. It fries everything perfectly. And as an added bonus, it doesn’t use a lot of oil, which saves me money.

The Presto Fry Daddy is perfect for making smaller batches of food. It only uses a few cups of oil and comes to temperature quickly. Clean-up is easy too!

Sale
Presto 05427 FryDaddy Electric Deep Fryer
  • SPECIAL GREEN/GOLD EDITION: Our best-selling…
  • FOUR SERVINGS: Makes four servings of french fries…

Also try my blackened chicken fingers.

Steak Fingers with Easy White Gravy
Print Pin
5 from 1 vote

Steak Fingers with Easy White Gravy

An easy version of the classic.
Course Appetizer or Main
Cuisine American
Keyword deep-fried, steak fingers
Prep Time 15 minutes
Cook Time 30 minutes
Servings 8
Calories 367kcal

Ingredients

For the steak fingers

For the white gravy

Instructions

For the steak fingers

  • Heat 2" of oil to 350 F in a deep fryer or Dutch oven.
  • In a shallow bowl (or pie plate), mix together the flour, Cajun seasoning and baking powder.
  • In another shallow bowl (or pie plate), whisk together the milk, eggs, and Worcestershire sauce.
  • Working in batches, dip the steak strips in the flour mixture. Make sure to coat them well, then shake off any excess.
  • Next, roll the strips in the milk mixture. Shake off any excess.
  • Return the strips to the flour and again coat well.
  • Add strips to the hot oil and fry 1-2 minutes per side, turning once, until golden brown. Remove to a paper towel-lined plate or wire rack while cooking the remaining strips.
  • Serve the steak fingers with the white gravy for dipping.

For the white gravy

  • Place all ingredients in a medium saucepan over medium heat.
  • Whisk while heating, bringing to a slow boil.
  • Reduce heat to a simmer and let simmer until the desired thickness is achieved.

Notes

I like my gravy peppery so I always add a pinch or two of pepper and stir it in before serving.

Nutrition

Calories: 367kcal | Carbohydrates: 23g | Protein: 30g | Fat: 16g | Saturated Fat: 7g | Polyunsaturated Fat: 1g | Monounsaturated Fat: 6g | Trans Fat: 0.01g | Cholesterol: 158mg | Sodium: 280mg | Potassium: 605mg | Fiber: 2g | Sugar: 3g | Vitamin A: 1484IU | Vitamin C: 1mg | Calcium: 176mg | Iron: 4mg

Nutritional values are approximate.

Lodge Silver 12 Inch Aluminum Foil Dutch Oven…
  • YOUR NEW GO-TO DUTCH OVEN LINERS: The Lodge Dutch…
  • WHAT’S COMPATIBILE? This dutch oven liner pairs…
IPROUDER Cast Iron Trivet 2 PCS Set, 8-inch, Meat…
  • Made of cast iron and seasoned with natural…
  • Raises meats, sourdough bread, pies, and other…

Cedar-Plank Cool Ranch Doritos

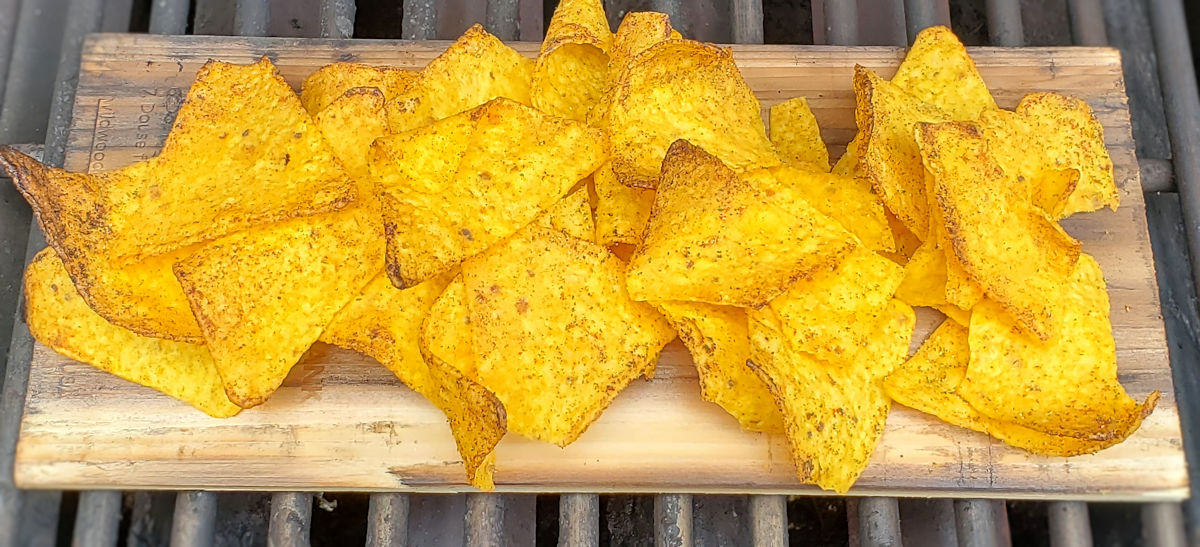
Yep. Cedar-plank cool Ranch Doritos. “Now what in the world is he up to now?” It’s ok if that’s what you’re thinking. My wife certainly thought the same thing. Then she tried them. Then she knew. They’re fantastic! She doesn’t doubt me any more! Well, at least not when it comes to grilled tortilla chips!

Once you have soaked your board you’re only minutes away from enjoying these delicious chips. They take truly almost no time at all. You can easily feed a small crowd with just a few planks and a few bags of chips.

Cedar-Plank Cool Ranch Doritos

Not Just For Show

Cedar-plank cool Ranch Doritos look cool. I think they did. It’s not every day that I see a load of chips going onto the grill. Well, not until I did them at least. Now I see it all of the time. They’re the perfect snack. Or side. The cedar aroma and flavor is not overpowering. It’s subtle. You still get the classic chip flavor. But it’s more pronounced. Stronger. Better. And the chips are crunchier.

These little bites of deliciousness are fantastic hot off the grill.

Cedar Grilling Planks – 12 Pack – Made In USA
  • Textured Grilling Planks for More Smoke and More…
  • 5.5″. x 11.00″ x 1/3″ – Upgraded Thickness!

Also try my cedar-plank spicy nacho cheese Doritos.

Cedar Planked Ranch Doritos
Print Pin
5 from 1 vote

Cedar-Plank Cool Ranch Doritos

Nice and crispy, with a hint of cedar smoke.
Course Snack
Cuisine Main
Keyword cedar plank, tortilla chips
Prep Time 1 hour
Cook Time 5 minutes
Servings 4
Calories 147kcal

Ingredients

Instructions

  • Soak plank (or planks if you need more than one) in water for at least 1 hour.
  • Fire up your grill to medium-high heat, around 400 F.
  • Place the plank over indirect heat. Add the chips. Close the lid.
  • Let the chips grill for 2-5 minutes. Check them at least once. If they start to turn dark brown or char on the edges, remove them.
  • Let cool slightly before serving.

Notes

Note: If you prefer a stronger cedar flavor and aroma, place your soaked plank over direct heat for a few minutes first. Get a nice char on the plank. Then move it to indirect heat and add the chips.

Nutrition

Calories: 147kcal | Carbohydrates: 17g | Protein: 2g | Fat: 8g | Saturated Fat: 1g | Polyunsaturated Fat: 3g | Monounsaturated Fat: 3g | Trans Fat: 0.1g | Sodium: 196mg | Potassium: 63mg | Fiber: 1g | Sugar: 1g | Vitamin C: 0.1mg | Calcium: 39mg | Iron: 0.3mg

Nutritional values are approximate.

Cedar Grilling Planks – 12 Pack – Made In USA
  • Textured Grilling Planks for More Smoke and More…
  • 5.5″. x 11.00″ x 1/3″ – Upgraded Thickness!

Double R Bar Smash Burgers

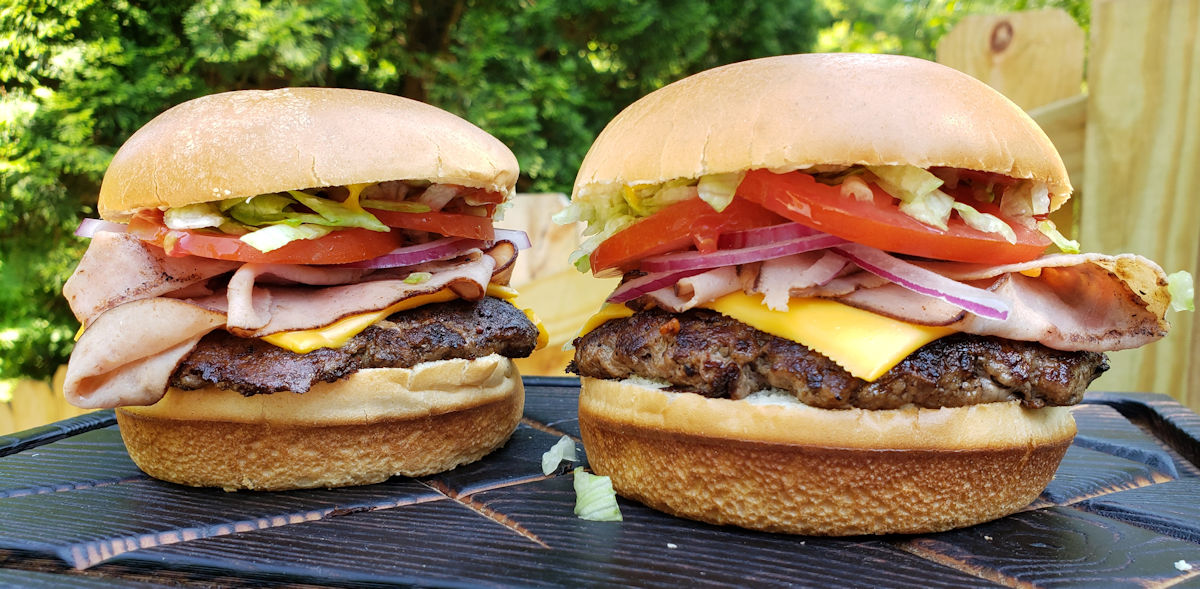
I was lucky as a kid because for a while we lived near a Roy Roger’s Restaurant. My favorite burger as a tyke was the Double R Bar burger. It wasn’t anything fancy, pretty much your standard burger, but it was topped with seared ham. Ham. And no ketchup or anything like that for me. BBQ sauce. For some reason my kid taste buds screamed for that combination. Many years later I make them at home, with a slight twist. Beyond the Double R Bar smash burger. I might put a bit more on them than just BBQ sauce, but they’re still mighty darned good.

Double R Bar Smash Burgers

There’s Nothing Wrong With Simple

This isn’t some kinda fru-fru fancy, thick, topped-with-stuff-you-can’t-pronounce burger. It’s a good ole backyard burger. Double R Bar smash burgers just have that slight twist that makes you think “hey, even if it’s simple, it’s special”.

The equipment

Here’s the equipment I use. You can get by using two cast iron skillets. Use a larger skillet for cooking the burgers, and a smaller one to smash the burgers and keep them flat. Since I’m a cooking gadget collector, I prefer to use a few more tools.

The griddle

First, a griddle. You can buy griddles that sit on top of your grill grates or ones that replace them. Just about every grill I have has a griddle on it. I use them for a lot of things, not just smash burgers. You want one that can be placed over the hottest part of your grill so it gets screaming hot.

Lodge Pro-Grid Reversible Grill/Griddle…
  • Dual-Sided Plate: The Lodge Pro-Grid Reversible…
  • Time-Tested Even Heat Distribution: This durable…

A burger press

Next, you need a burger press. You can use a heavy cast iron skillet, like I mentioned. Or get a burger press. For easy cleanup I wrap mine in foil first. When I’m done, just peel off the foil and toss. Super easy. Get a press that’s at least big enough to cover two burgers. You only smash one at a time, but if you want to keep them flat, you want to rest the press on top so bigger (and heavier) is better. Plus I’ve found that a bigger, heavier press tends to stay on the burgers whereas a smaller, lighter one is hard to keep centered on the burgers, specially if you have a bunch of them cooking at once.

Whaleme Blackstone Burger Press Set – 7″ Round…
  • Food-Grade Cast Iron Burger Press : Our barbeque…
  • Grooved Bottom Design&Non-Stick Surfaces : Our…

A dome

Next up, a dome. While not 100% required, it does speed the time it takes to melt the cheese and it does it in a nice even fashion. In my opinion you don’t really need one if you’re using a super melty cheese, such as American, but for thicker slices like say a deli pepper jack, you want the cheese to melt before you over-cook the burger and that’s where a dome comes in handy.

Cuisinart CMD-108 Melting Dome, 9″,Stainless steel
  • EVEN MELTING: Traps heat under the dome to quickly…
  • ENHANCED FLAVOR: Griddle dome retains moisture to…
Cuisinart CMD-388 Melting Dome, 6″, 2-Pack
  • 2 Pack of 6″ diameter domes
  • Concentrates heat to cook evenly

Cleaning time!

Lastly, you need something to clean your griddle. I like to clean mine when I’m done cooking, but you can do it at the start instead. I use one of these pad holders with a griddle cleaning pad. Then I add a bit of water to my griddle then use the pad (connected to the holder) to scrub off any big chunks and get up some of the grease. I don’t go crazy with it, I always heat the heck out of my griddle before cooking, but I get the worst. The long arm on the pad holder makes it perfect for scrubbing a hot griddle, too.

3M Scotch-Brite Griddle Cleaning, 4 in x 5.25 in…
  • TOUGH CLEANING POWER: Very tough, non-rusting…
  • LONG-LASTING: High quality bonding resin system…

Also try my Ultimate Smash Burgers with Secret Spicy Sauce.

Double R Bar Smash Burgers
Print Pin
5 from 1 vote

Double R Bar Smash Burgers

A fun take on the Roy Rogers hamburger chain's popular burger.
Course Main
Cuisine American
Keyword smash burgers
Prep Time 1 hour
Cook Time 15 minutes
Total Time 1 hour 15 minutes
Servings 4
Calories 576kcal

Ingredients

For the smash burgers

For the burger topping

Instructions

For the smash burgers

  • Fire up your grill for high heat.
  • Place a griddle or a large cast iron pan over the highest heat.
  • Season the ground beef with salt and pepper and form into four 4 ounce balls (not patties!).
  • Place the balls of beef on the griddle and let cook for one minute. Just let them cook, don't mess with them.
  • Take your press and flatten out the patties. I like to use the point of the press and work my way around the ball first, doing a little section at a time and then finally I press down on the entire patty to flatten it out. You can also just flatten out the ball all at once. At this point I also like to season the patties some more.
  • Let the patties cook until you start to notice a little char along the edges.
  • Flip, season again if desired, and continue cooking another minute or so until the other side is charred. The burgers are thin so they will cook very quickly so watch out.
  • Add the cheese slices. If desired, cover in a dome to help the cheese melt.
  • Meanwhile, place the ham onto the griddle and let brown, cooking for about 2 minutes.
  • Flip and cook another minute to get a little color on the other side. Remove.
  • Toast the buns.
  • Slather one side of each bun with your desired condiments.
  • Remove the patties from the grill and place on top of the bun bottoms.
  • Add the ham, followed by the onion, tomato, lettuce and pickles, as desired.

Notes

Serve with plenty of napkins.

Nutrition

Calories: 576kcal | Carbohydrates: 27g | Protein: 34g | Fat: 36g | Saturated Fat: 15g | Polyunsaturated Fat: 2g | Monounsaturated Fat: 14g | Trans Fat: 2g | Cholesterol: 119mg | Sodium: 976mg | Potassium: 648mg | Fiber: 2g | Sugar: 6g | Vitamin A: 694IU | Vitamin C: 10mg | Calcium: 317mg | Iron: 4mg

Nutritional values are approximate.

Meykers Hamburger Press Patty Maker 150 Paper…
  • Saving Storage Space : The detachable solid…
  • Making Hamburger Elegantly – Perfectly…
Gandeer 3 Pcs Cast Iron Grill Press 8 x 4 Inch…
  • Quality Material: the bacon press is made of food…
  • Practical Wood Handle Design:Featuring a…
Katbite 300Pcs 6×6 Inches Patty Paper, Burger…
  • Perfect Size: 6×6 inches of 300 count patty paper…
  • Non-Stick & Easy to Clean: Patty paper use the…

Homemade Old Bay Goldfish Crackers

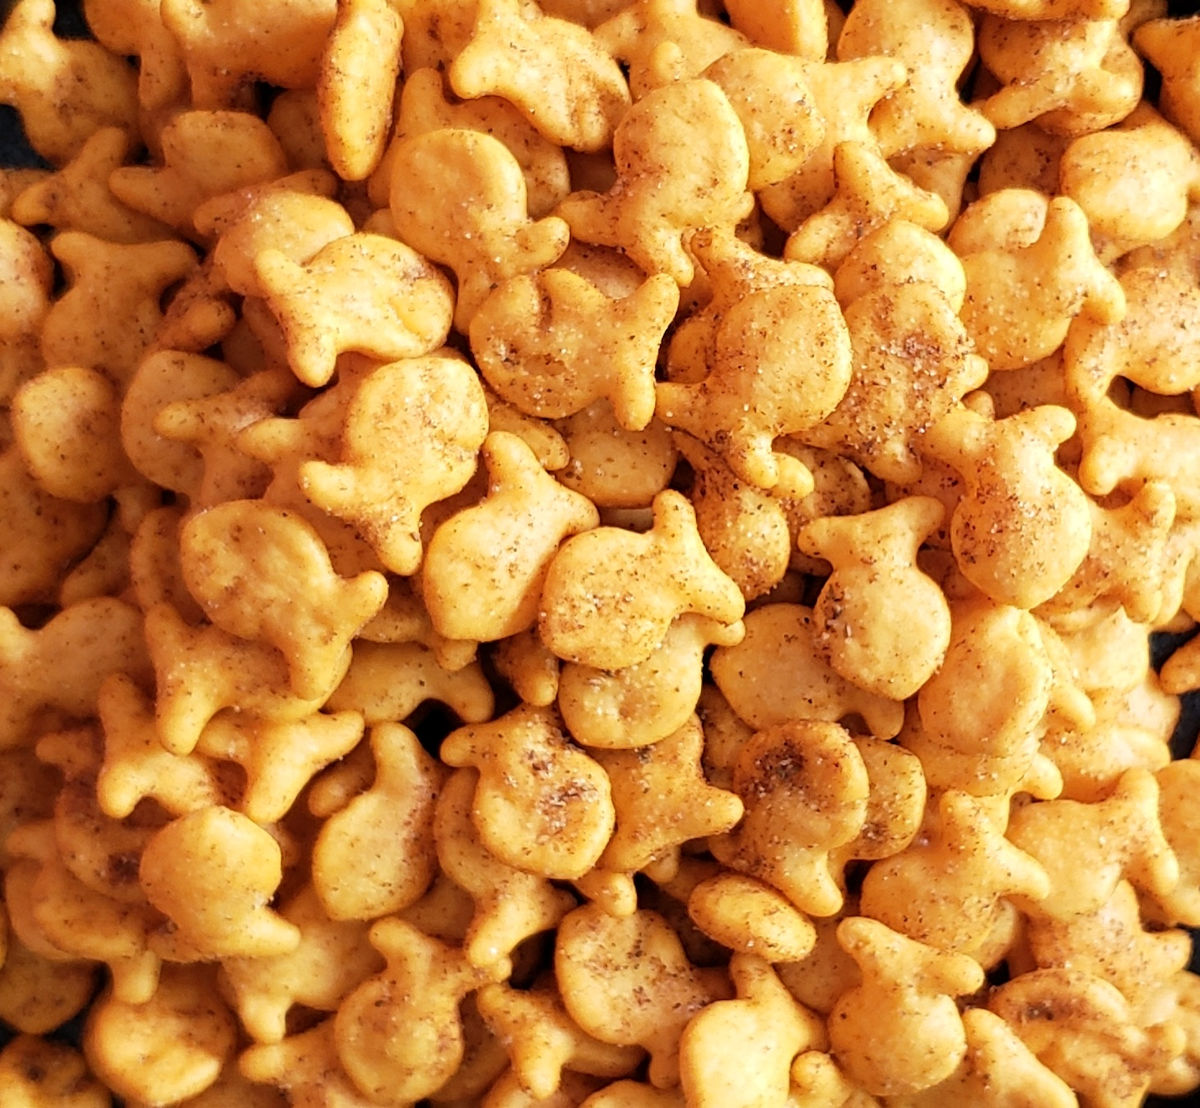
We were on vacation in Sevierville TN when we had to swing by a Publix grocery store for a few items. I always make sure I peruse the snack and wing sauce aisles of grocery stores when I’m out of town. I never know what I might find. Well, this time, the food gods were shining down on me because I found Old Bay Goldfish crackers. But when I returned home, I could not find them in our stores. That one little bag I had bought did not last long. I needed more. So I made homemade Old Bay Goldfish crackers instead! Just as good, and actually a bit better.

Homemade Old Bay Goldfish Crackers

Better. Much Better.

Why are my homemade Old Bay Goldfish crackers even better than the stuff in the bag? Because I added a lot more Old Bay seasoning is why! I’m addicted to that stuff. I loaded my crackers up big time. Heck yeah, they were finger-licking good! I didn’t let any of the seasoning go to waste, that’s for sure.

Get Your Crunch On

Just a little note. These crackers come out of the oven still a bit soft. Good, but not quite crunchy. They will be. Just let them cool a bit. Resist eating them and let them cool. Or don’t resist.

OLD BAY Seasoning, Classic Seafood, Non GMO…
  • CROWD-PLEASING FLAVOR: OLD BAY Classic Seafood…
  • GREAT ON SEAFOOD: Perfect for all types of…

You gotta try my Old Bay crab legs!

Homemade Old Bay Goldfish Crackers
Print Pin
5 from 1 vote

Homemade Old Bay Goldfish Crackers

Perfect for us Old Bay addicts!
Course Appetizer
Cuisine American
Keyword goldfish, Old Bay
Prep Time 5 minutes
Cook Time 15 minutes
Servings 8
Calories 111kcal

Ingredients

Instructions

  • Preheat your oven to 300 F.
  • Place the crackers into a large bowl.
  • Drizzle with the oil.
  • Using a spatula, stir the crackers until they are all coated in the oil.
  • Sprinkle with the Old Bay seasoning. I used about 1 1/2 tablespoons, but it's your call. You might want less. Or more.
  • Using a spatula, stir the crackers until they are all coated in the seasoning.
  • Dump the crackers out onto a large baking sheet and spread out evenly.
  • Bake for 10 minutes. Stir or shake the tray and bake another 5 minutes.
  • Remove from the oven and let cool before serving.

Notes

Crackers will get crunchier as they cool.

Nutrition

Calories: 111kcal | Carbohydrates: 16g | Protein: 2g | Fat: 4g | Saturated Fat: 1g | Polyunsaturated Fat: 0.01g | Monounsaturated Fat: 0.01g | Cholesterol: 8mg | Sodium: 195mg | Potassium: 3mg | Fiber: 1g | Sugar: 0.01g | Vitamin A: 13IU | Vitamin C: 0.1mg | Calcium: 36mg | Iron: 0.2mg

Nutritional values are approximate.

Sale
Mueller Pro-Series All-in-One, 12 Blade Mandoline…
  • Meal Prep MVP – A practical and innovative way to…
  • 12 Diverse Blades – With nine interchangeable…
OXO Good Grips 4 Piece Stainless Steel Measuring…
  • Set includes: 1/4 cup, 1/3 cup, 1/2 cup and 1 cup
  • Magnetic handles keep Cups together for storage…