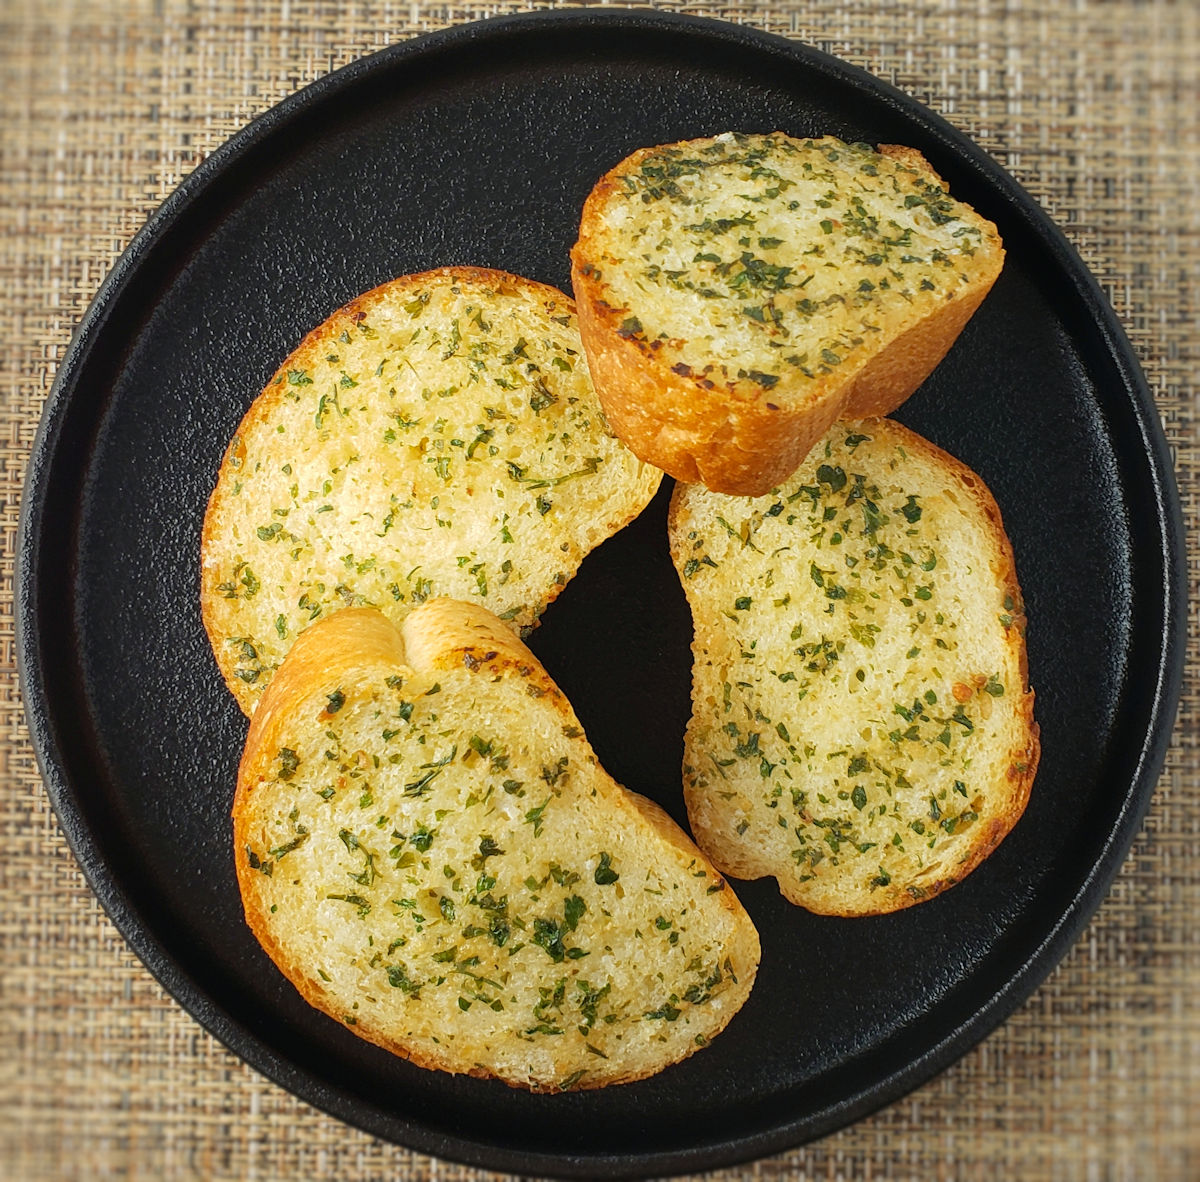
I used to buy frozen garlic bread from the grocery store. Regularly. And on occasion I’d make it from scratch. I was looking for something better and easier. This make-ahead garlic bread makes sure I always have great garlic bread on hand and for a better price. And it tastes a whole lot better too! Oh, and even better, I can make it as buttery and as garlicky as I want!
Perfect From The Freezer
I was afraid that all the buttery goodness in the topping would make this make-ahead garlic bread stick together. I feared I’d open the door to a huge block of bread stuck together. I’d be unable to even chisel a single piece away. But no! The pieces are frozen individually first, making sure they don’t stick. I keep them in a large one gallon freezer bag, always on hand for dinner!
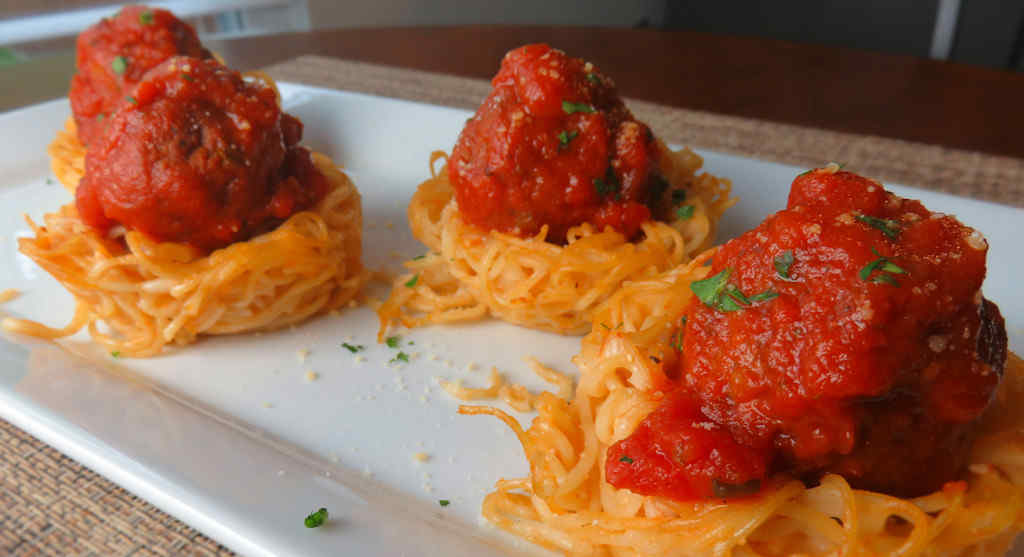
I’ve found spaghetti and meatballs to be a welcome go-to meal this fall. Usually that means making them in the slow cooker. My favorite recipe is absolutely delicious and uses ingredients I (luckily) always have on hand. As good as that is, I’ve made it enough times now that I might have been burning out on it. Time for something a bit different. Same great flavors, but more fanciful. These spaghetti and meatball nests are crazy easy to make and mighty fun to eat! And I love the little crust on the pasta!
Not Complicated But Oh So Good
The original recipe for these spaghetti and meatball nests called for Italian sausage, which would also be fantastic. I happened to stock up on frozen pre-made meatballs just before access to the grocery store became more limited, so that’s what I used! Smoked sausage would be great too, or you can go meatless and use something like a good mushroom spaghetti sauce. Yum!
I highly recommend that you hand grate or shred your cheeses in anything you make. It really makes a huge difference in taste and texture. And the hand-done stuff melts better, too!
The original recipe called for Italian sausage, which would also be fantastic. I happened to stock up on frozen pre-made meatballs just before access to the grocery store became more limited, so that’s what I used!
Place meatballs in a medium saucepan with 1 1/2 cups of the marinara sauce.
Bring to a boil then reduce to a simmer and continue simmering, stirring occasionally, while preparing the rest of the dish.
You want to heat the meatballs thoroughly.
Preheat oven to 400 F.
Spray a large muffin pan with non-stick spray.
Use a pan that holds 12 muffins. You can get by with a 9-muffin pan and enjoy the remaining meatballs on the side (or just heat 9!).
Cook the halved spaghetti according to the package directions.
Rinse and drain well.
In a bowl, stir together the egg, Parmesan cheese, mozzarella cheese, remaining 1/4 cup of the marinara sauce and spaghetti. Make sure the spaghetti is well coated.
Divide the spaghetti mixture into 12 of the muffin pan cups. Using your finger, make an indentation in the middle of each cup to create a nest.
Bake for 13-15 minutes or until the spaghetti is set. You don't want it to get crunchy, so check it after 13 or so minutes.
Transfer spaghetti nests to a platter. I used a spatula and tongs to both support the nests on the bottoms and sides. Be careful, some may want to fall apart on you. It won't be the end of the earth if they do!
Add a meatball to each nest then divide the sauce over the tops.
Sprinkle with additional Parmesan cheese and a little dried basil and Italian seasoning and serve.
These are my absolute favorite slow cooker recipes. The ones I come back to again and again when I want something hearty, flavorful, and truly effortless.
I’m a huge fan of my slow cooker. If you’ve been around Life’s A Tomato for any amount of time, you know it gets used at least a few times a week at my house. There’s just something unbeatable about being able to toss a few ingredients in the morning, go about your day, and come back to a house that smells amazing and dinner that’s basically done. No fuss, no standing over the stove, no last-minute scrambling.
Nothing Boring Here!
And let’s be honest – slow cooker food used to get a bad rap for being boring. Bland chicken, mushy vegetables, same old stew. Nothing boring here, just great easy recipes! I made sure every single recipe on this list is one I actually love to eat and serve to my family. These are the keepers.
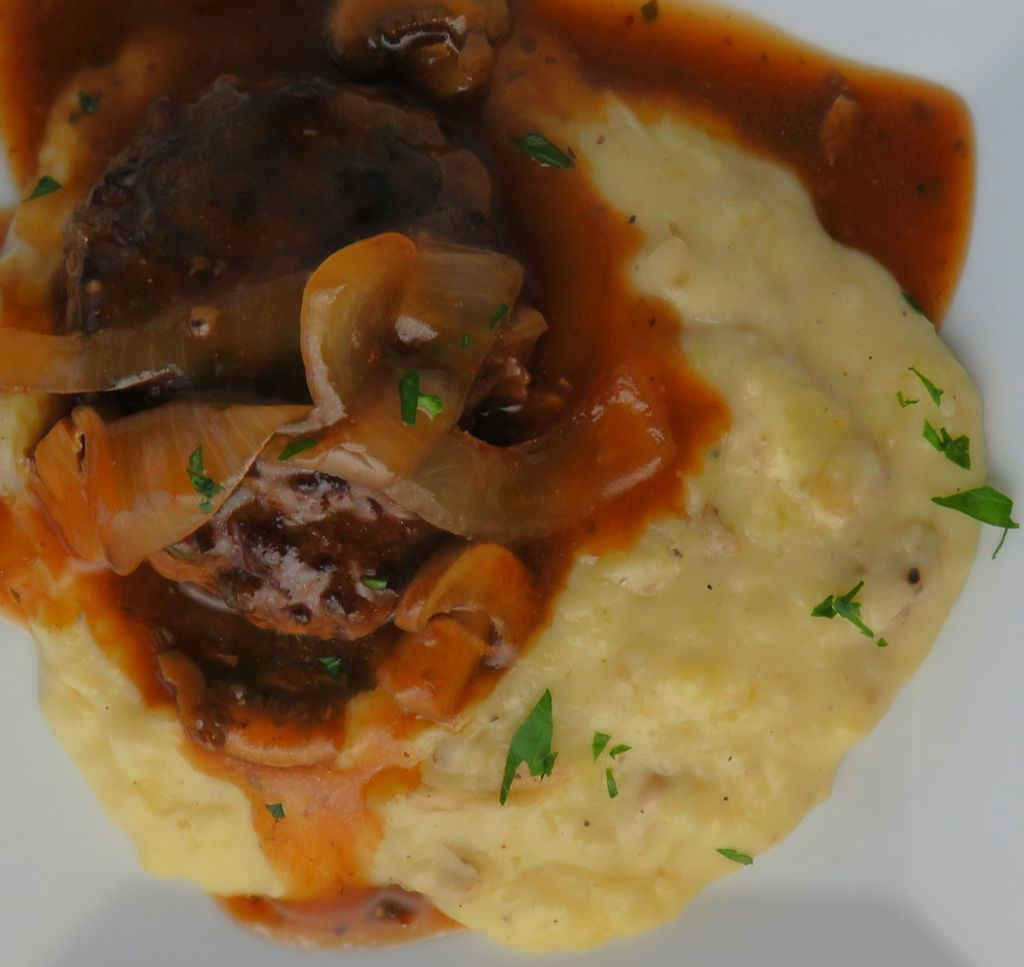
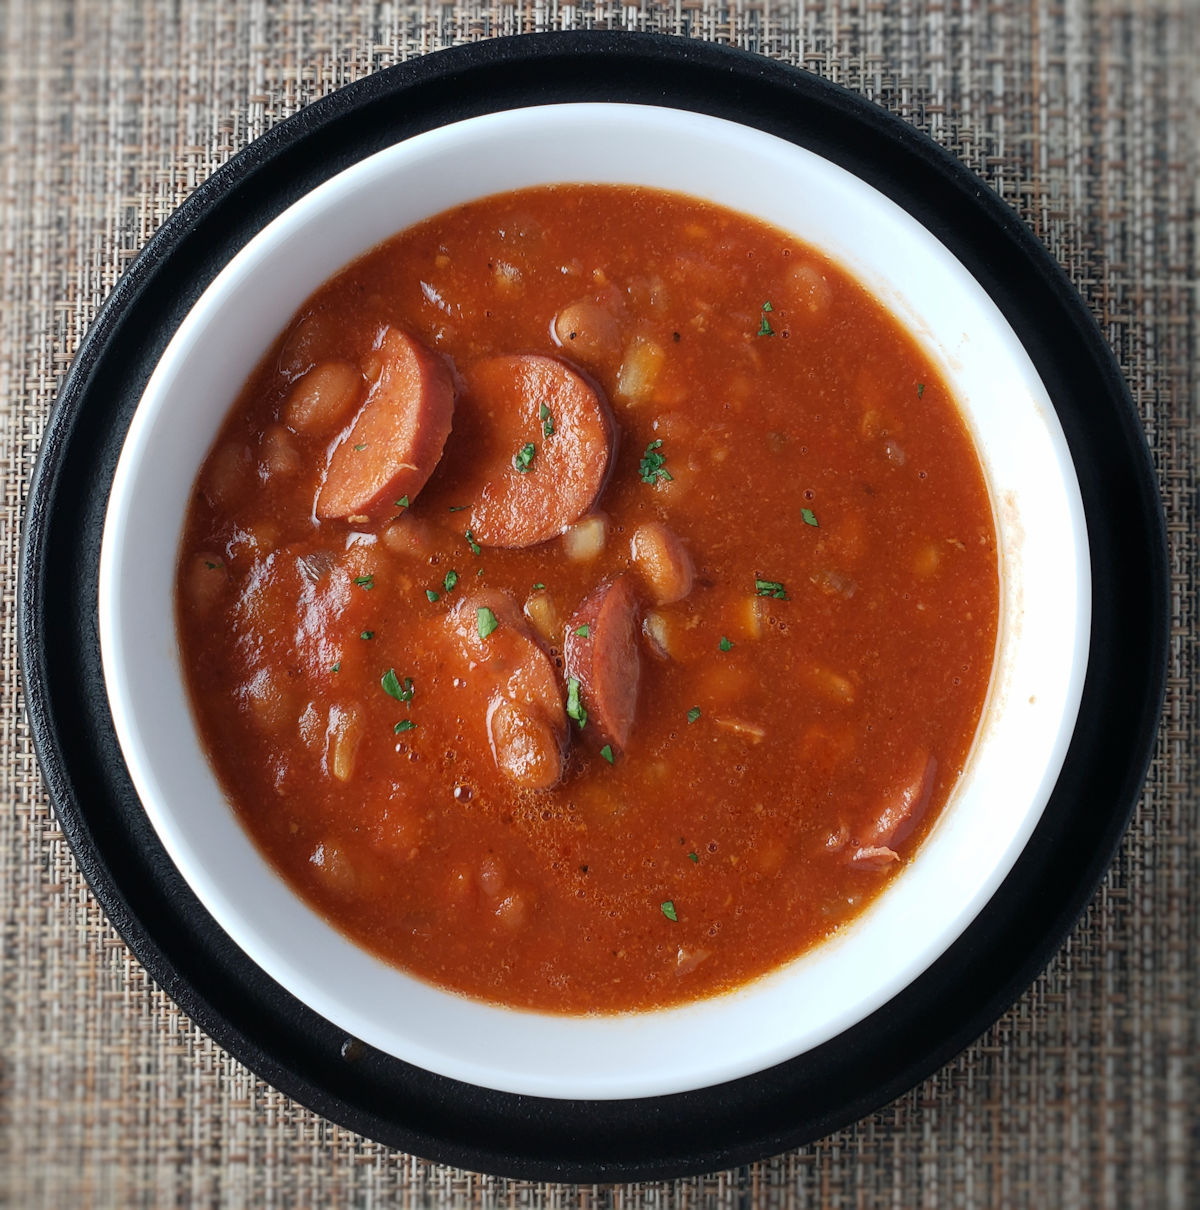
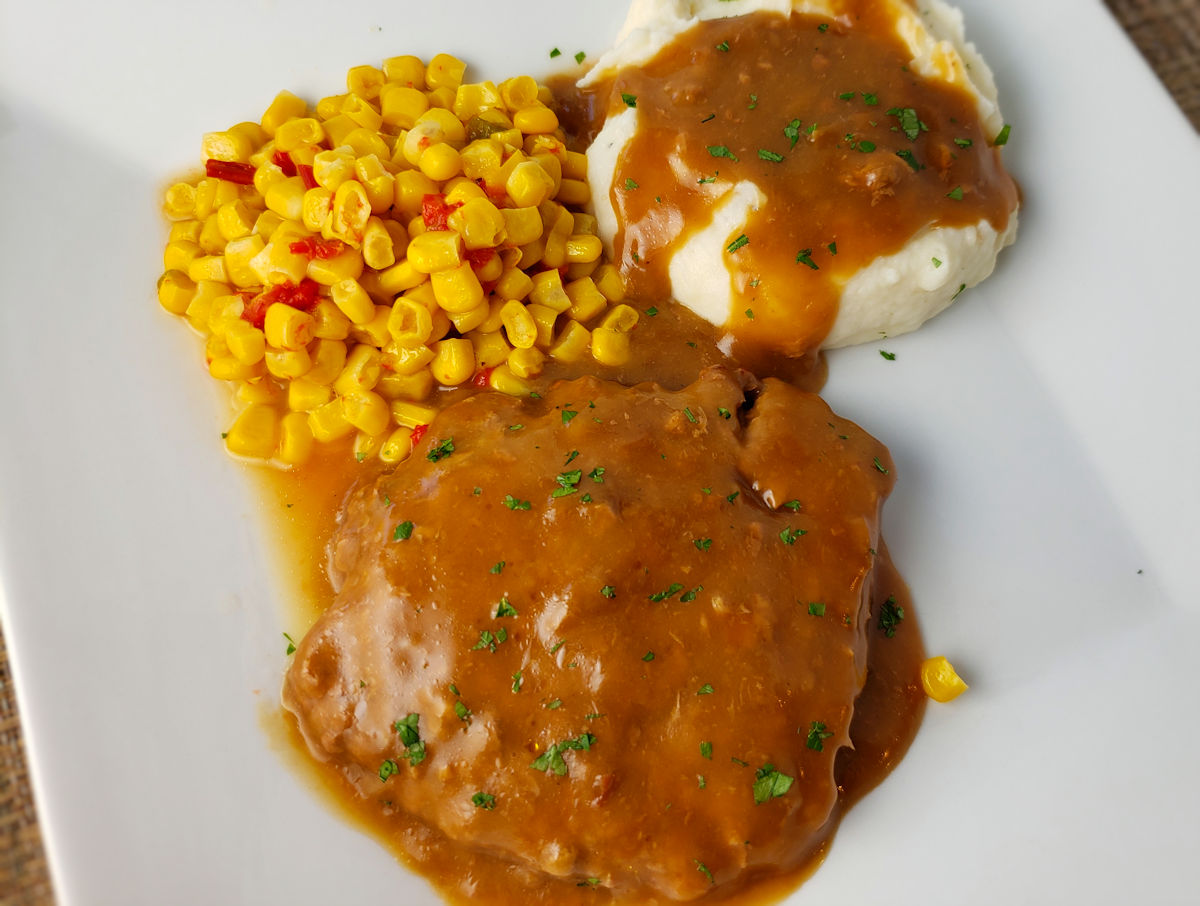
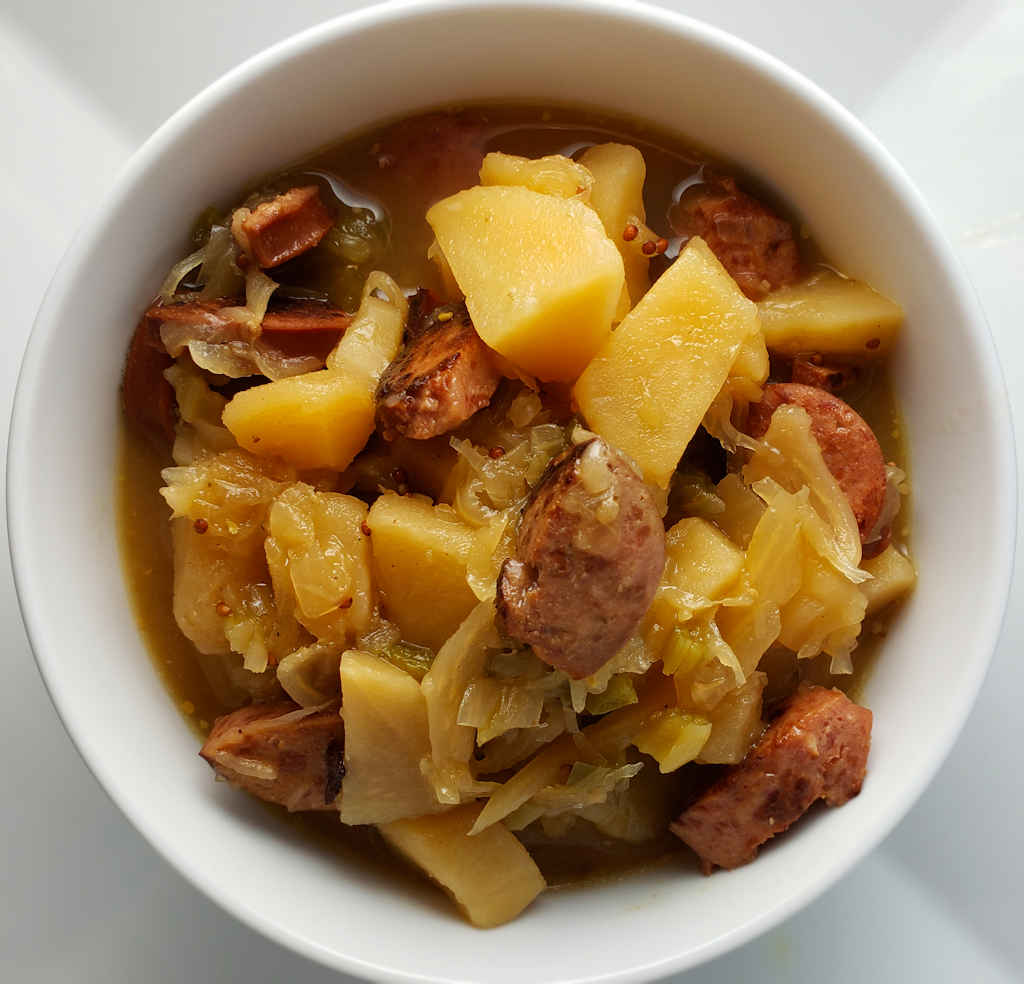
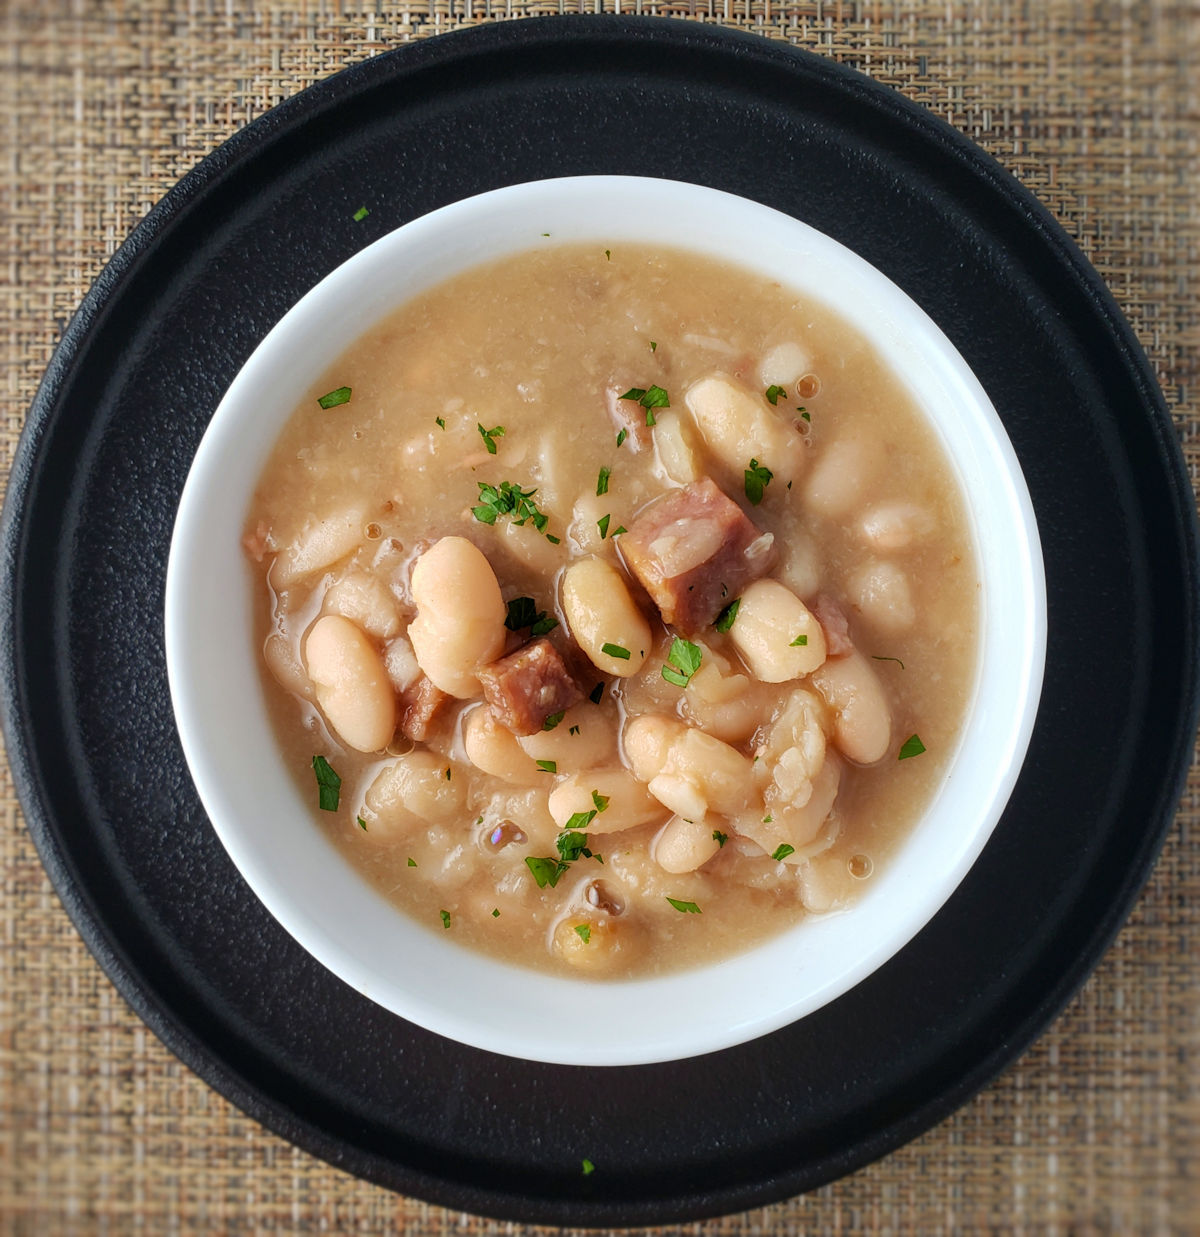
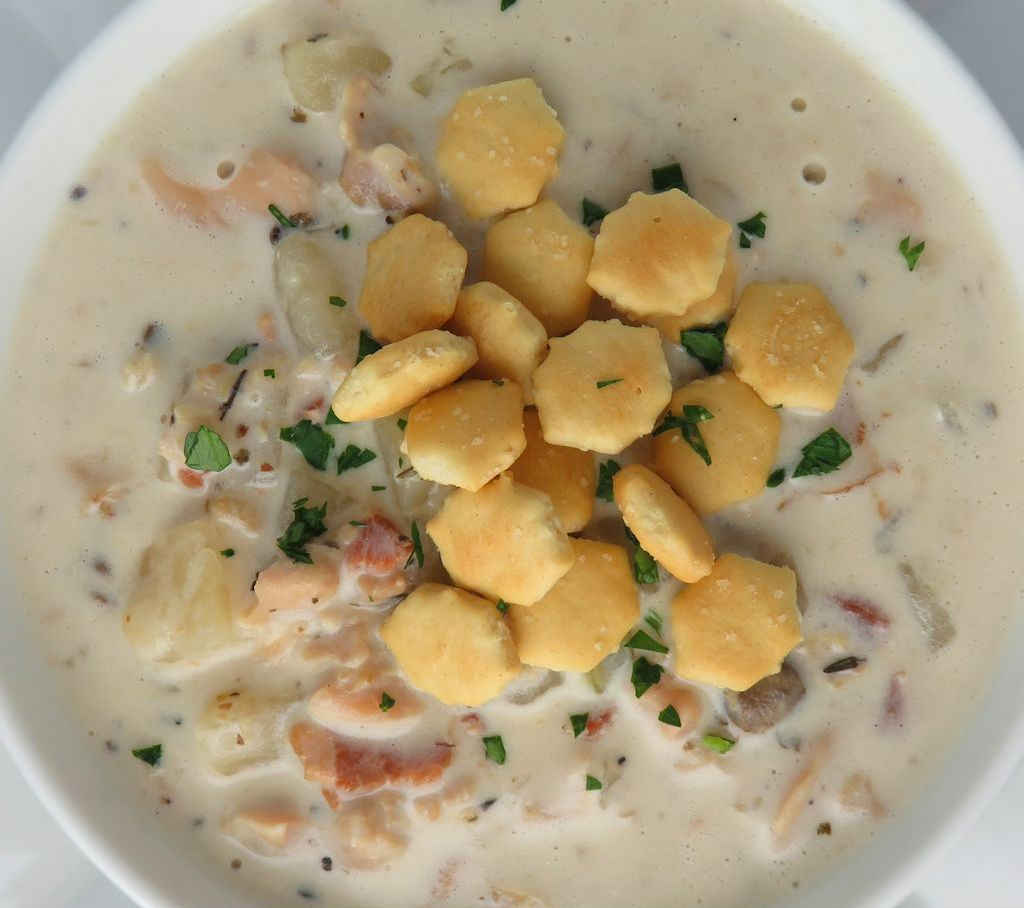
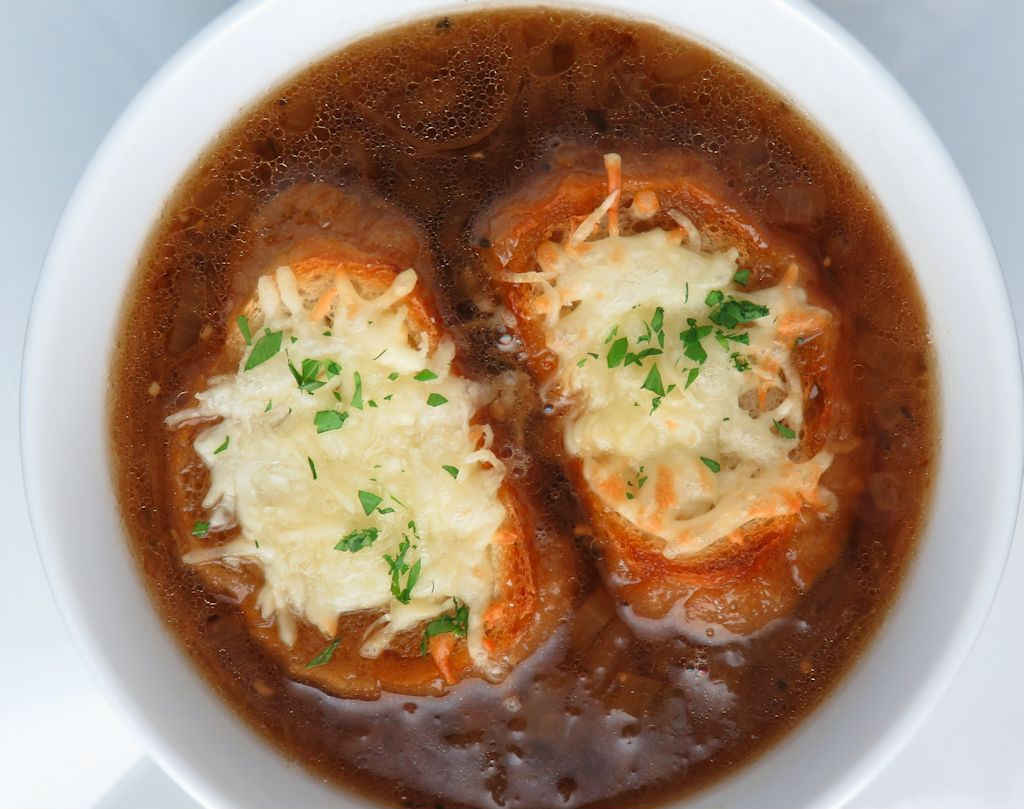
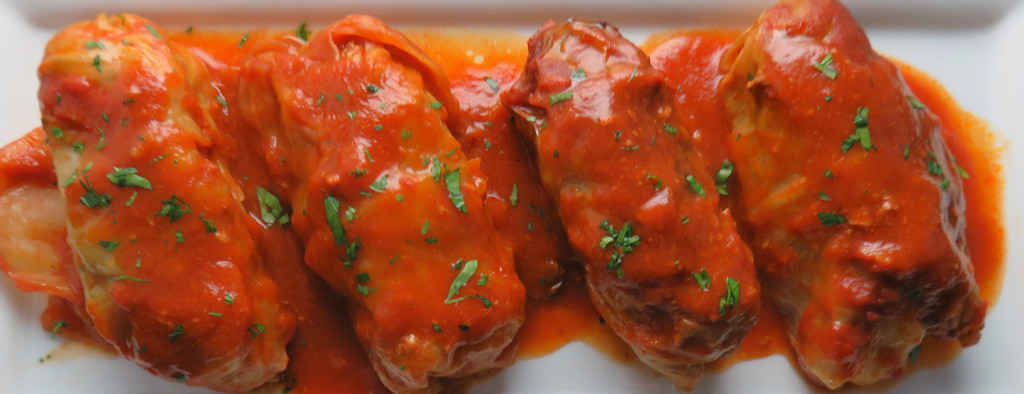
What you’ll find below is a little bit of everything I crave when I’m in slow cooker mode. We’ve got stick-to-your-ribs comfort food like Slow Cooker Salisbury Steak with perfect texture and rich gravy, Cubed Steaks with Gravy, and Stuffed Cabbage Rolls that are ideal for those cold days when you want something that really warms you up. If soup season is your favorite season, you’re covered. From my Hearty Sausage and Beans Soup and Kielbasa Sauerkraut and Potato Soup to a New England Clam Chowder that turned out way better than I ever expected. There’s even a French Onion Soup packed with deep, caramelized flavor.
Ready To Party!
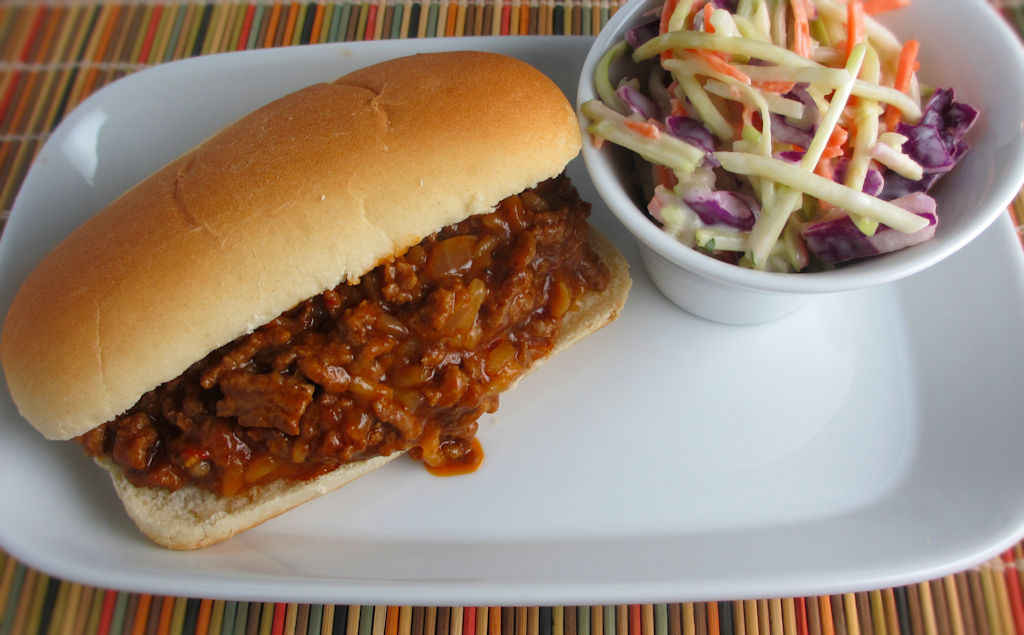
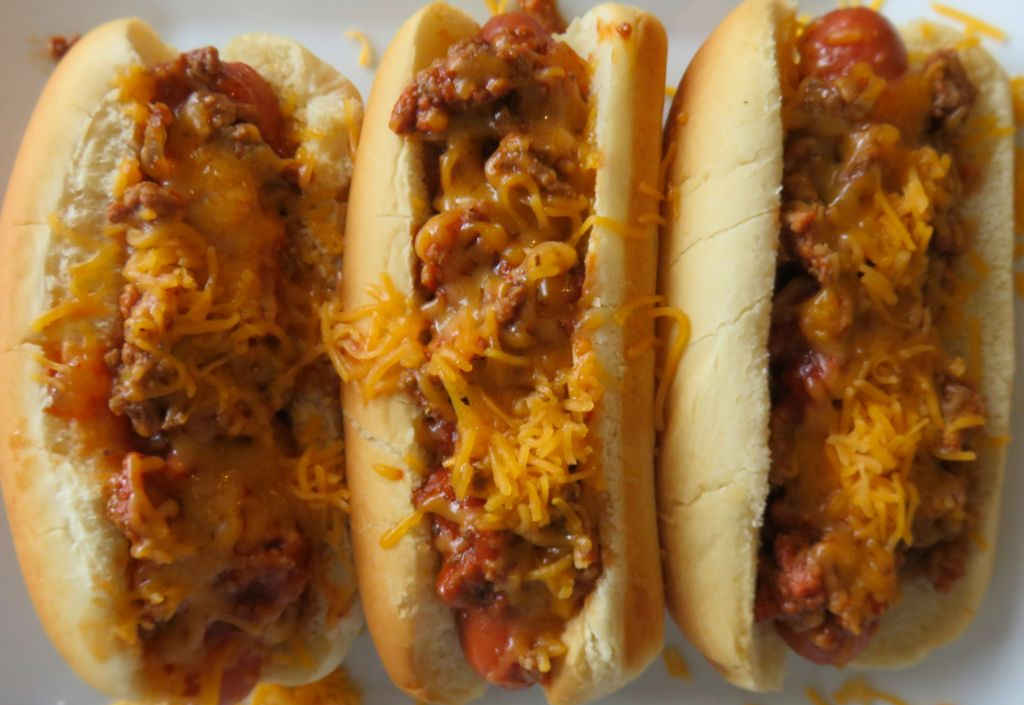
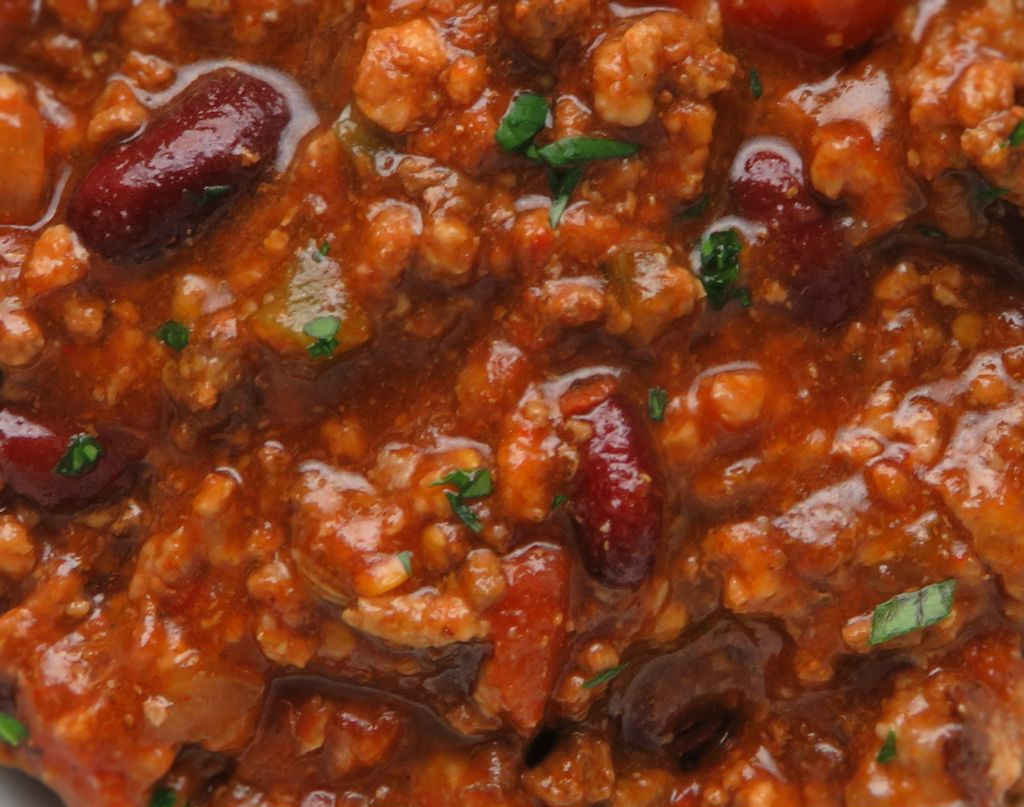
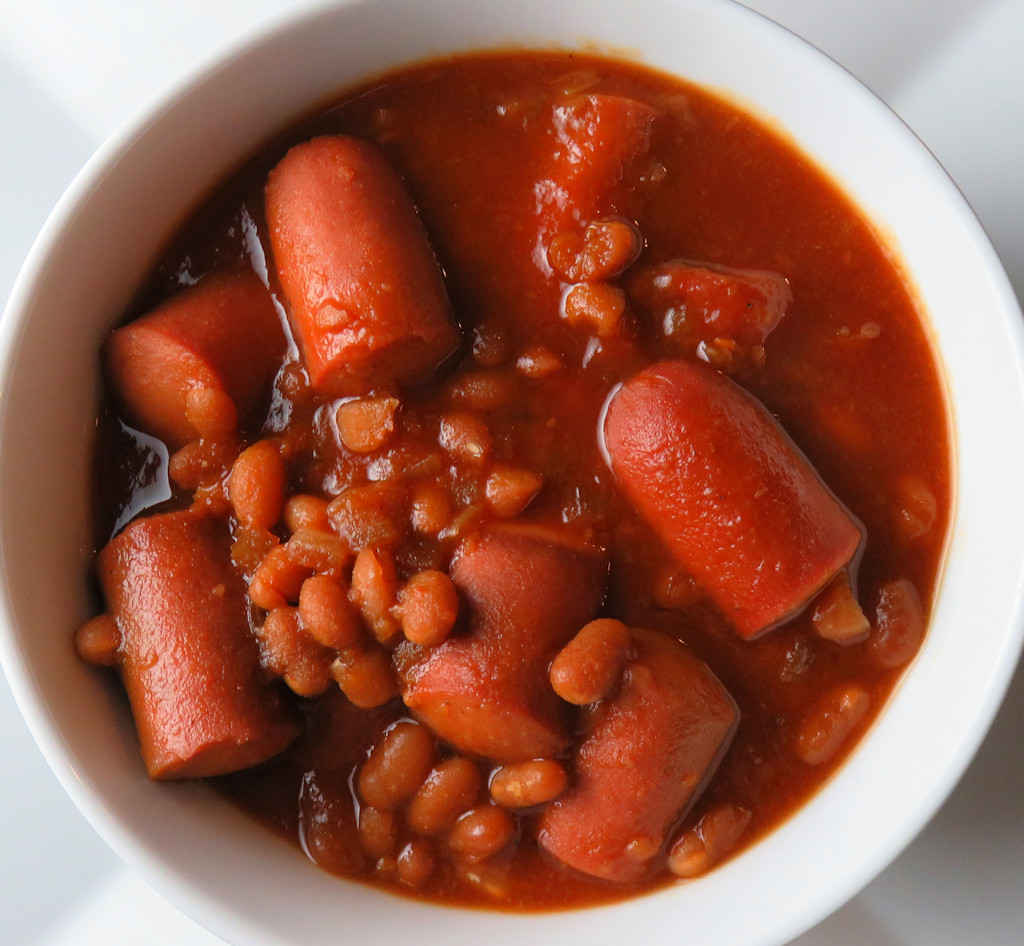
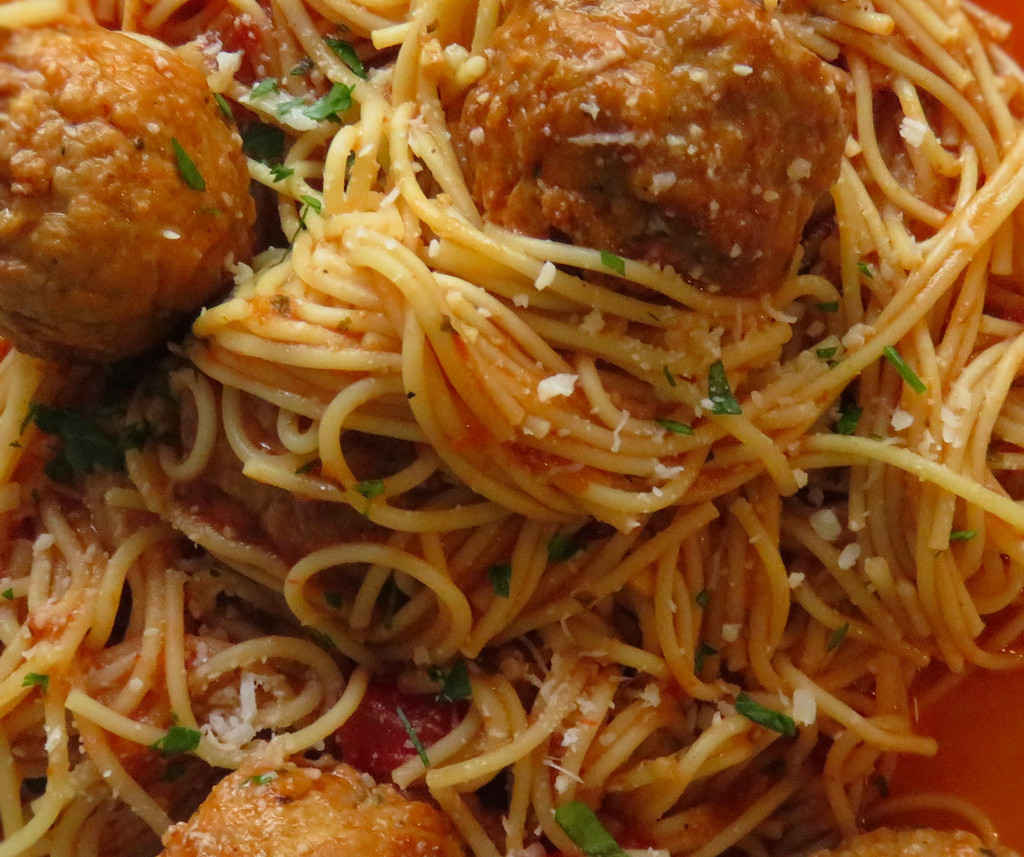
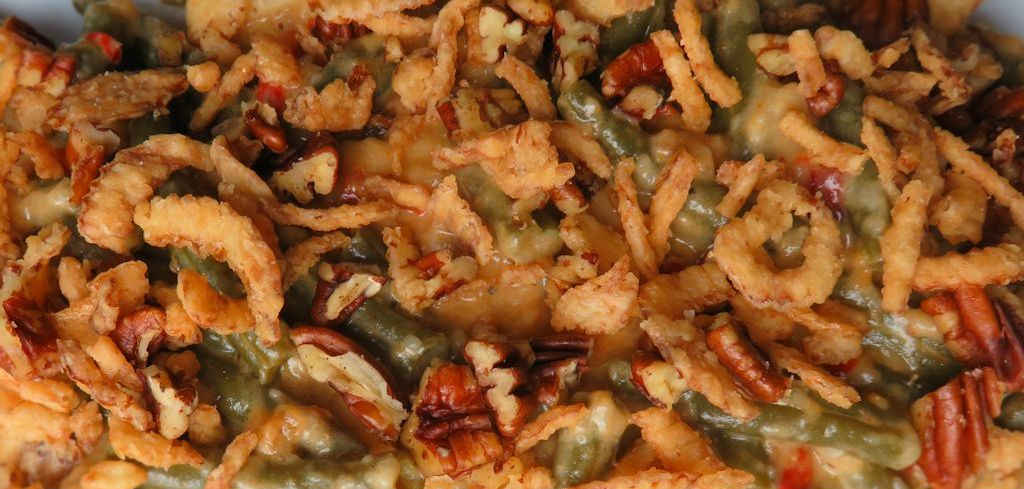
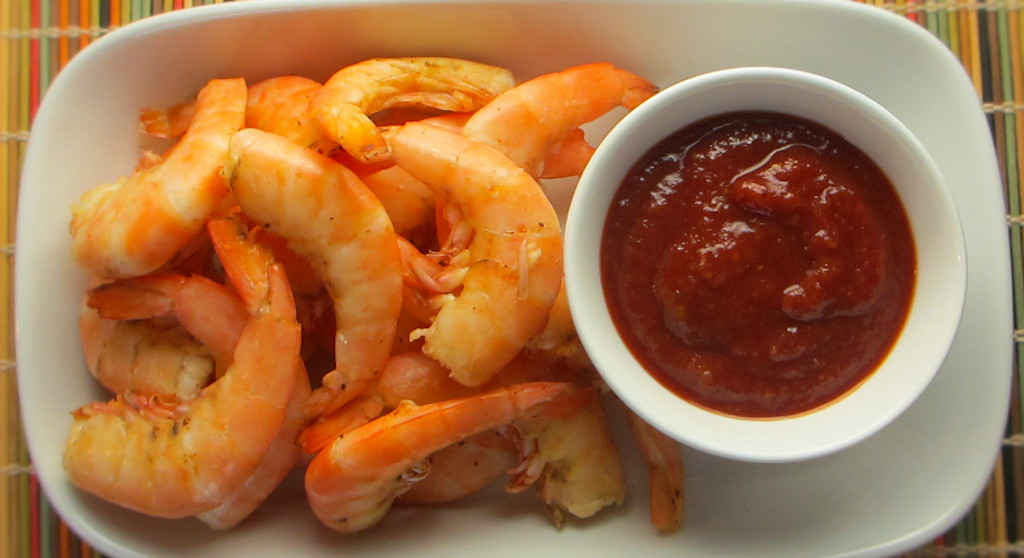
You’ll also find game-day and party favorites, like my Meat Lovers Chili loaded with three meats, Down-Home Chili Dogs that are gloriously sloppy and drippy, Party Shrimp that is hands-down the easiest way to feed a crowd, and even Ranch Corn Chips for snacking. And yes, classics like Beans ‘n Wieners, just like I loved as a kid, Spaghetti and Meatballs where the pasta cooks right in the sauce, and a Holiday Green Bean Casserole that will make you scrap the traditional version for good.
All of these recipes are tested in my own kitchen, designed to be low-effort with big payoff, and perfect for busy weeknights, cold weekends, or anytime you want real comfort food without the work. So dust off that slow cooker and let’s get cooking.
The List
1
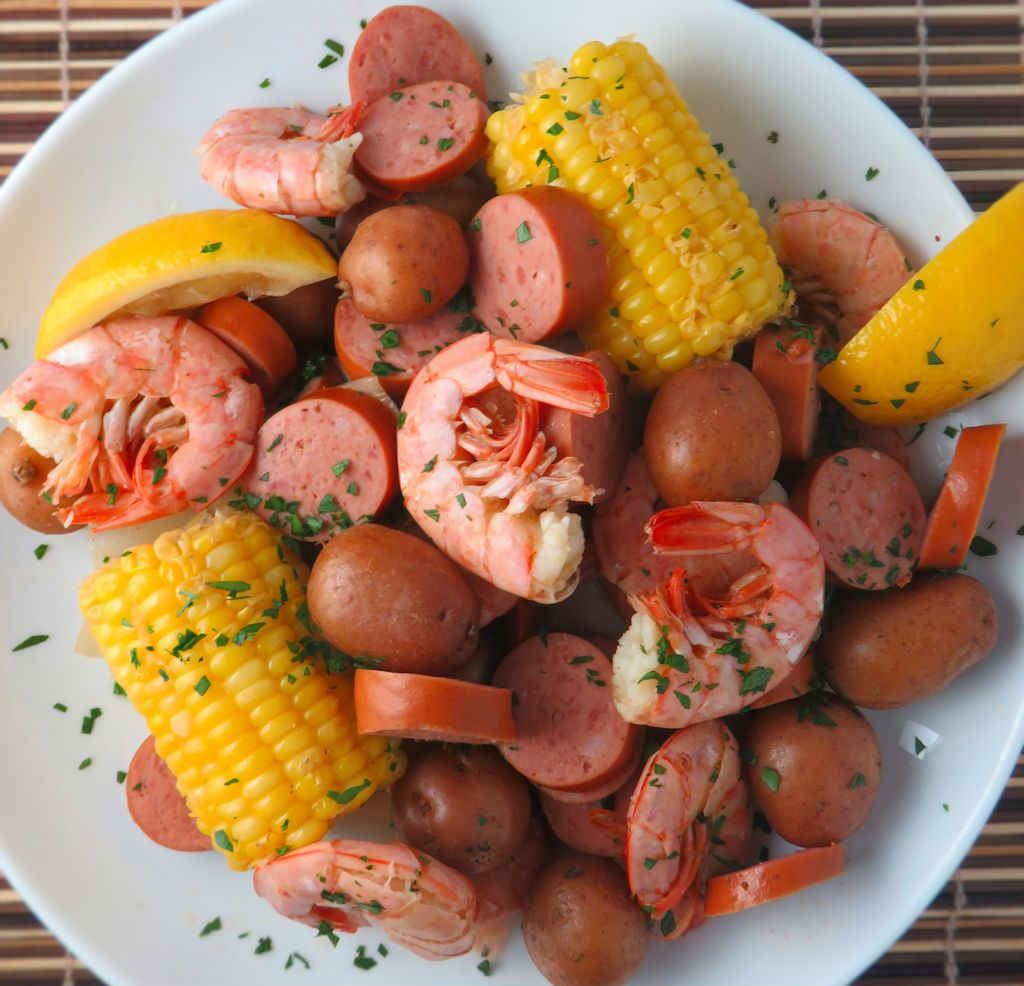
Slow Cooker Shrimp Boil
I’ve eaten my share of shrimp boils. But honestly, there’s no such thing as having had too many shrimp boils.
We’ve all had it. The traditional holiday green bean casserole. Well, scrap that and move on to this slow cooker holiday green bean casserole. Same idea, but oh, so much better.
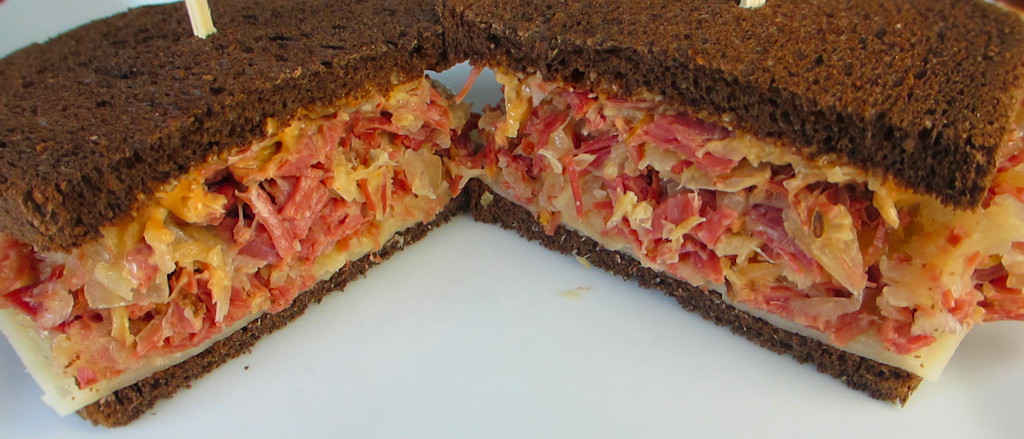
There’s nothing fancy about this Reuben. It’s your standard fare. Slow-cooked corned beef, tender, and then chopped. Mixed in with well-rinsed and drained kraut. Easy dressing, cheese, and rye. Done.
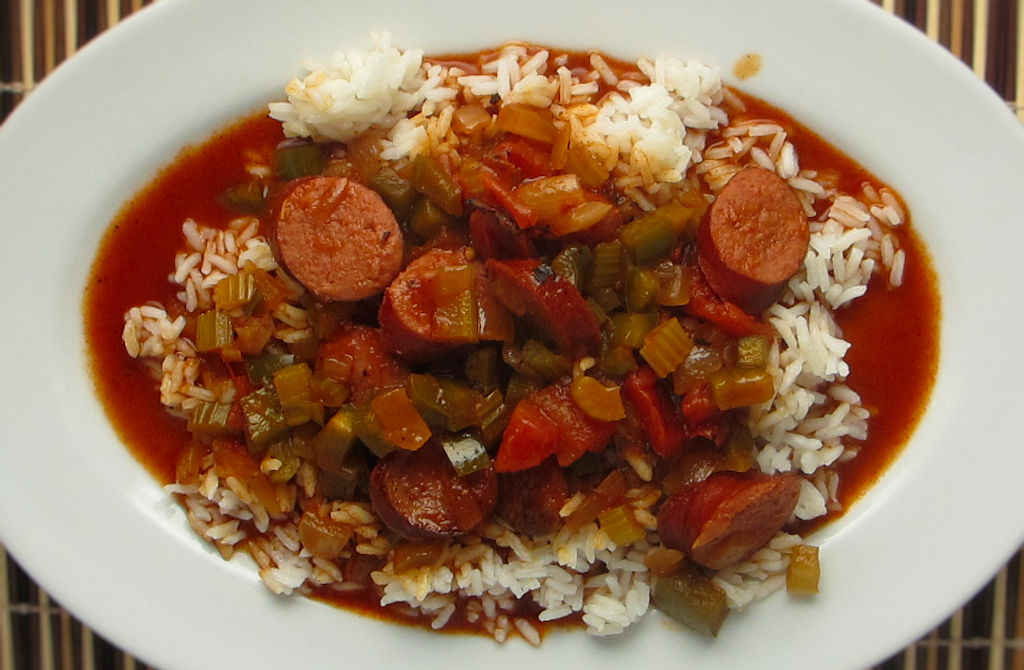
Smoked sausage is great in this slow cooker Delta sausage dish, but if you find Andouille sausage, use it instead. It’ll add even more flavor to an already delicious meal.
We were in Cincinnati for the weekend, visiting our favorite foodie destination, Jungle Jim’s, when we decided to stop at a Mexican restaurant for dinner. That meal got me thinking… boy, I haven’t made a decent Mexican dish at home in a long time. Time to remedy that! So as soon as we got home I made some beef and bean burritos with red chile chimayo. And boy, was I ever happy that I did because my Mexican-food-inspired desires were more than satisfied!
The Sauce Is Incredible
The real start of the beef and bean burritos with red chile chimayo is the red chile chimayo. That’s the sauce that goes over the burritos after they have been lightly fried in oil.
I highly recommend that you shred or grate your cheese at home. Don’t buy the pre-shredded or pre-grated stuff. It has stuff added to it to keep it from sticking together. That ‘stuff’ affects how the cheese melts. Shred it yourself and use the good stuff. It’s a chili powder-infused sauce that has hints of garlic, cumin, onion and oregano. It has an amazing flavor that makes the burritos really something special. I would not hesitate to double the recipe for the chimayo. I would also be more than happy to use it in other dishes.
These are what I consider to be the best deep-fryer recipes. I love deep-fried food. Maybe a little too much! But that’s ok, I consider them a treat so I make sure to always use my deep-fryer for something special! These are my favorite deep-fryer dishes to make at home.
I don’t fire up the deep-fryer every night. In fact, that’s part of what makes it so fun. When I do bring it out, it feels like a little celebration in the kitchen. The noise, the golden brown color, that incredible smell that fills the whole house. It instantly turns a regular evening into something worth remembering.
Good Equipment Makes Good Food
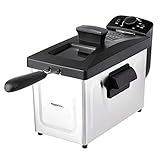
Make sure you have a good deep-fryer. One that can reach the desired temperature and maintain it. When you add cold food to a fryer the temperature drops. The quicker is can recover from that, the better your results will be.
If you’re going to do a lot of deep-frying for a lot of people, get a big deep-fryer. One with a built-in oil filter is nice to have. I’m a big fan of filtering my oil after every deep-fry, unless my last cook didn’t have a batter. Something like potatoes for French fries are ok deep-frying a few times without filtering the oil. Fried chicken or fish? I’m going to filter it after every cook.
For smaller batches, or just when cooking for myself, I use my Fry Daddy. I am on my second one now. Not because the first broke but because I used it so much it got covered in cooked… stuff… that I couldn’t get off.
I usually use canola oil for frying. Mostly because I’m cheap.
For me, it is all about balance. I eat pretty light most days, so when I do indulge, I really enjoy it. These dishes are my way of making the moment special.
Let’s get to it….
The List
1
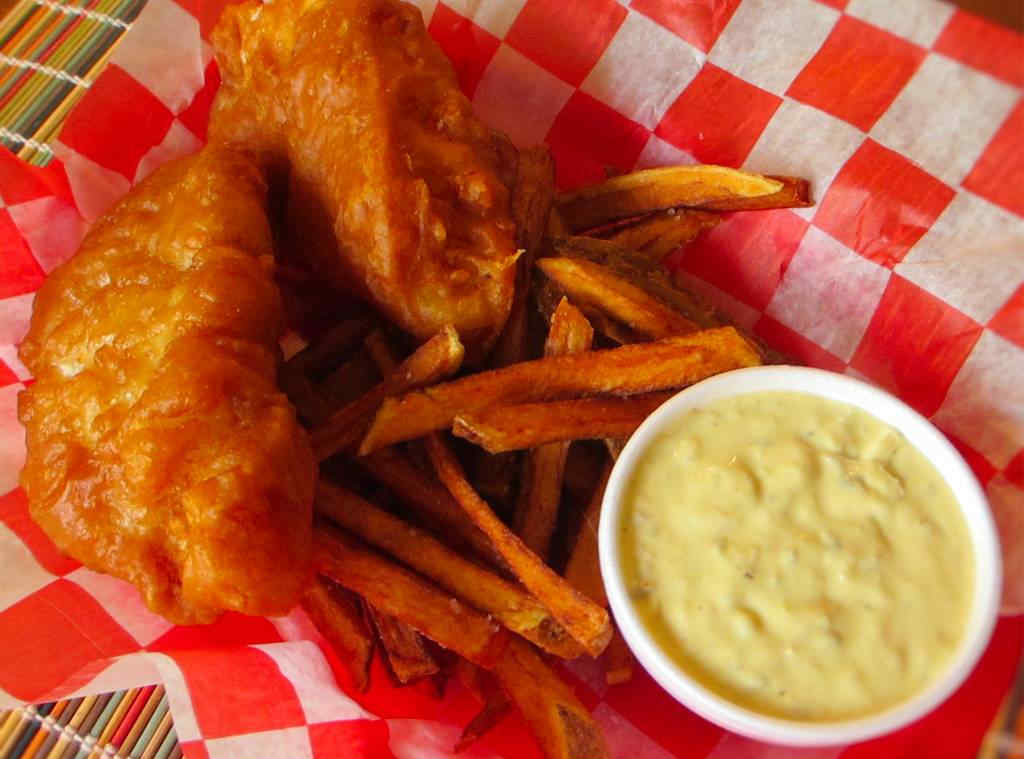
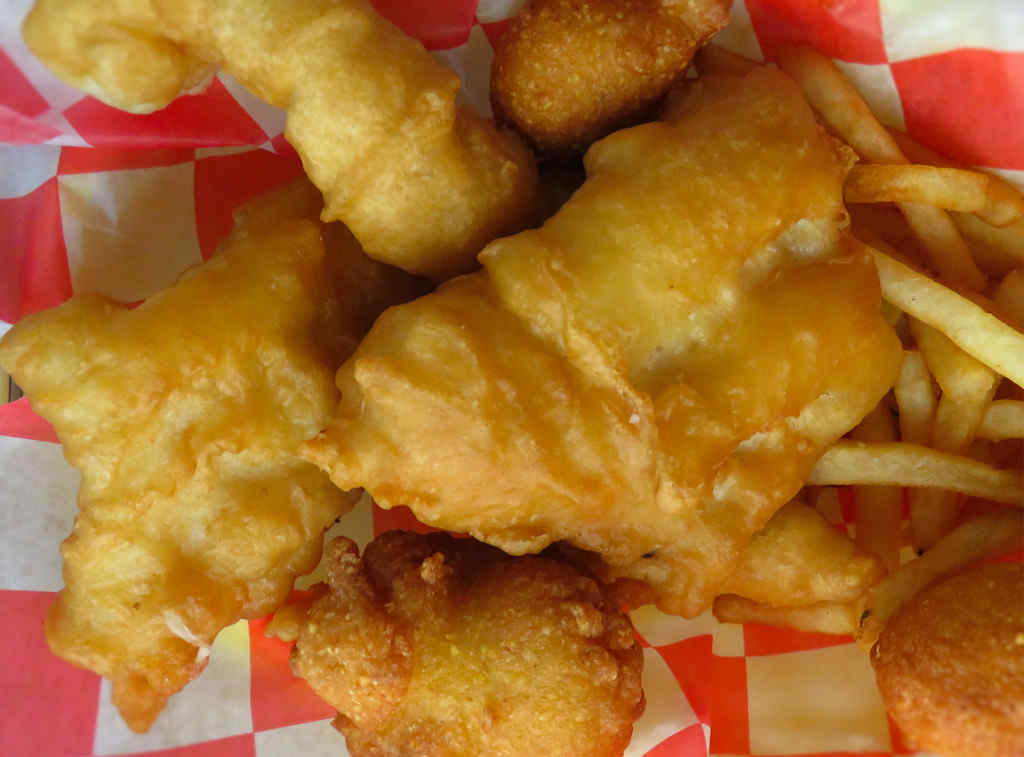
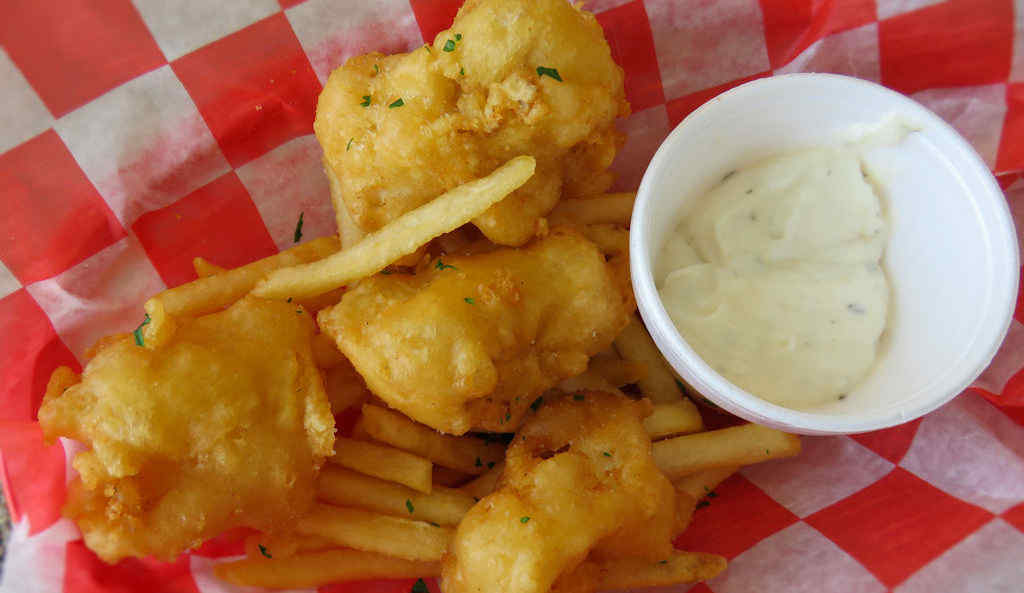
Long John Silver’s Fish-and-Chips (Copycat Recipe)
Now I can make my own copycat Long John Silver’s fish and chips. And if I want extra crunchies I just add a few drops of batter to the oil and in seconds… extra crunchies!
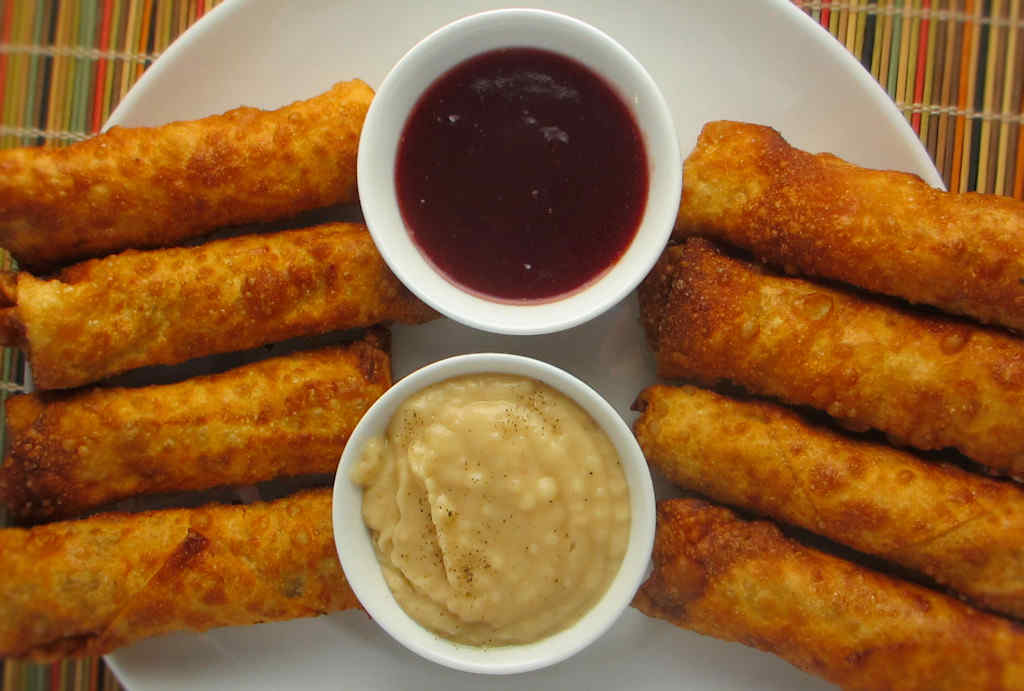
When I came across this idea for making egg rolls packed with turkey and stuffing there was no way that I was going to wait until I had Thanksgiving leftovers to make them.
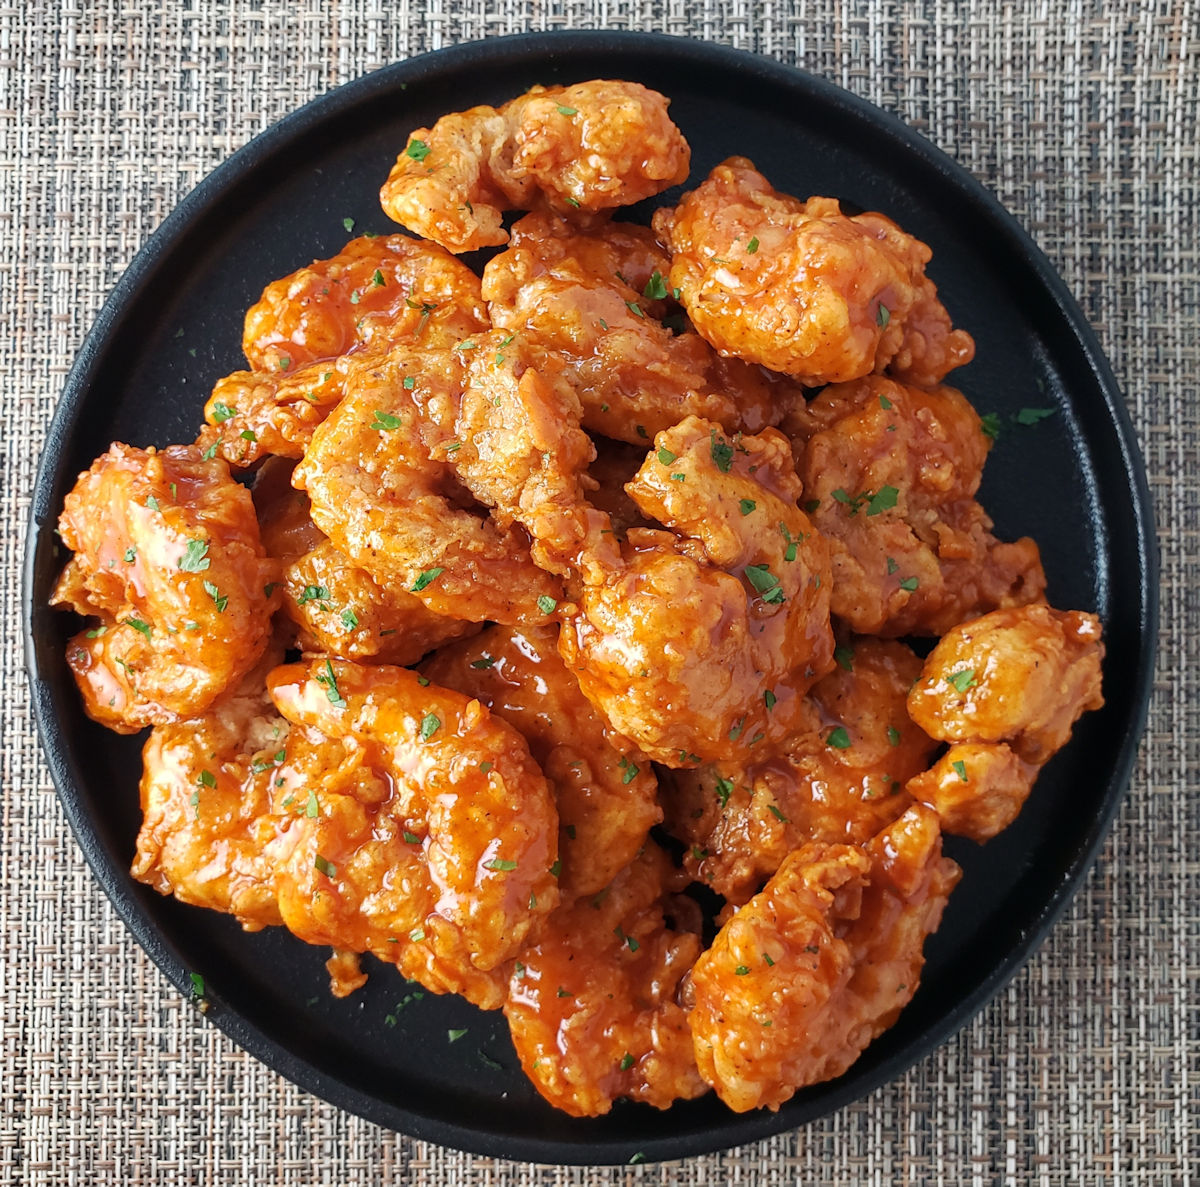
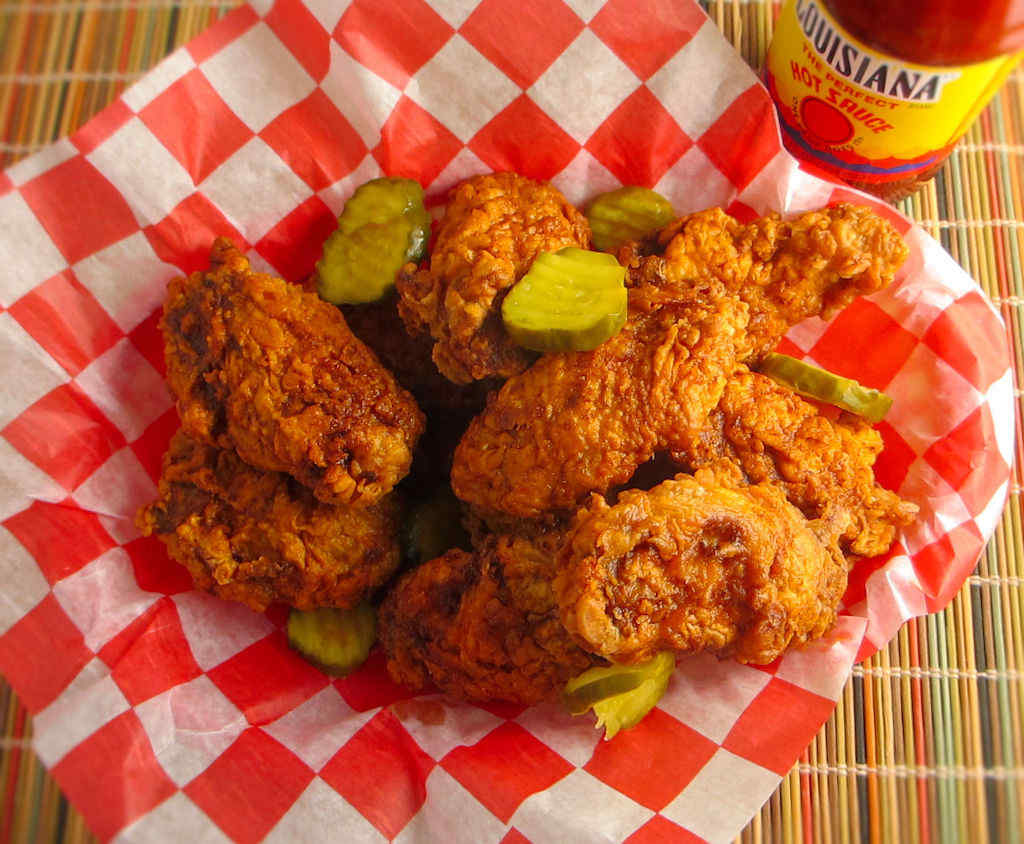
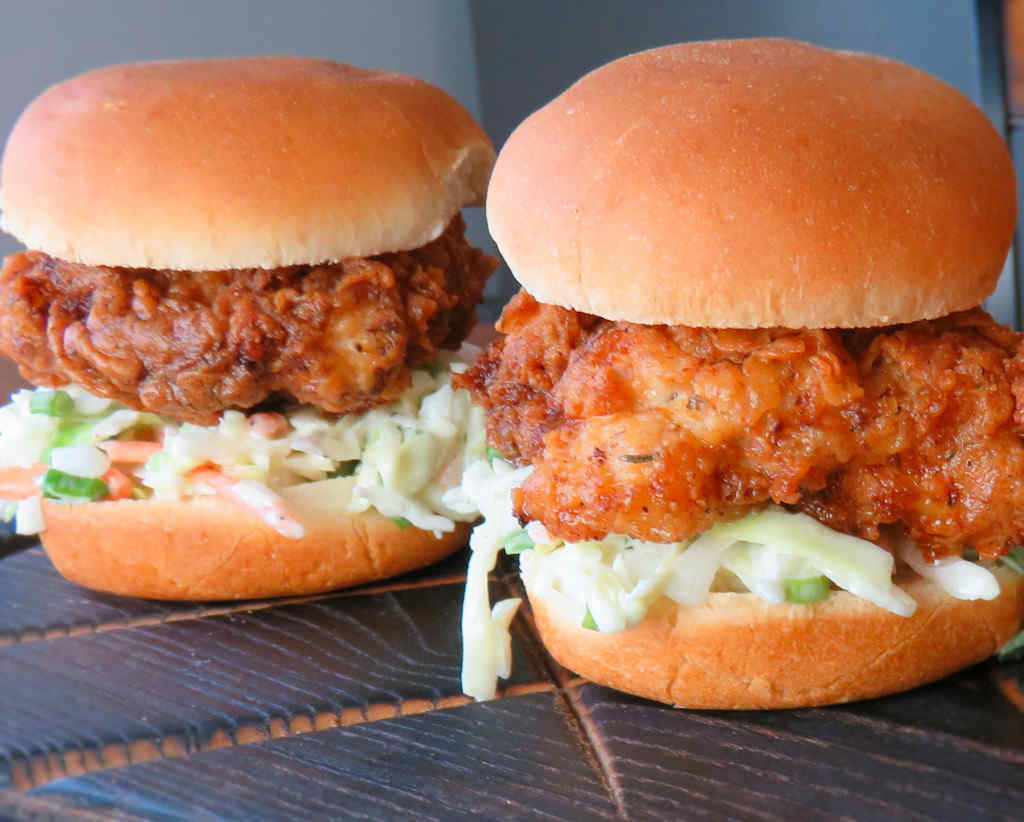
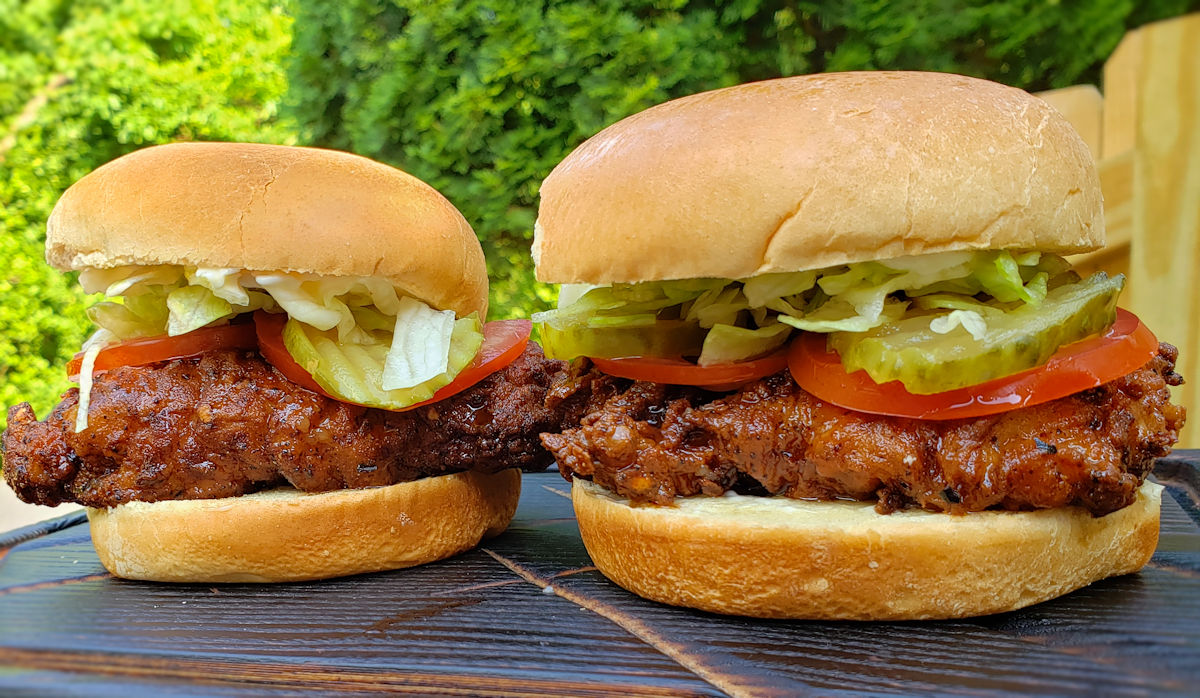
There’s good and then there’s great. Nothing beats Nashville hot chicken when it comes to great fried chicken. The best, light, crunchy coating that you can imagine. Tender, moist chicken. And of course, heat. Plenty of heat. I could make and eat Nashville hot chicken any day of the week.
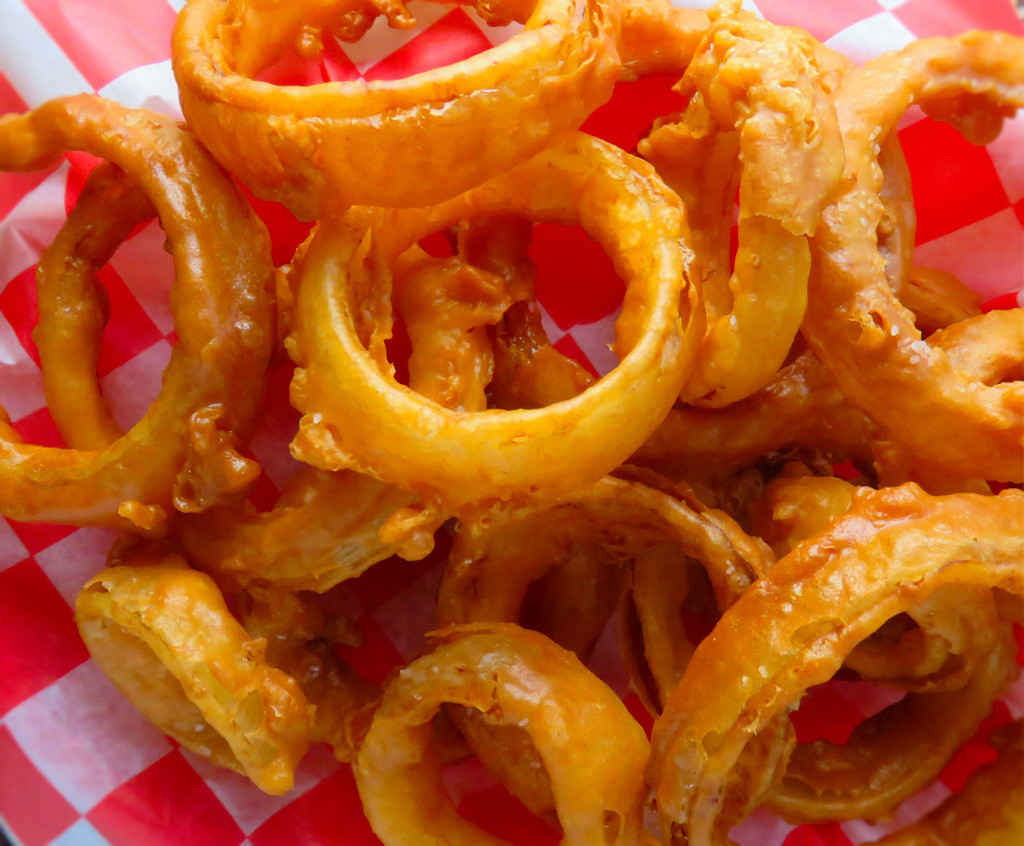
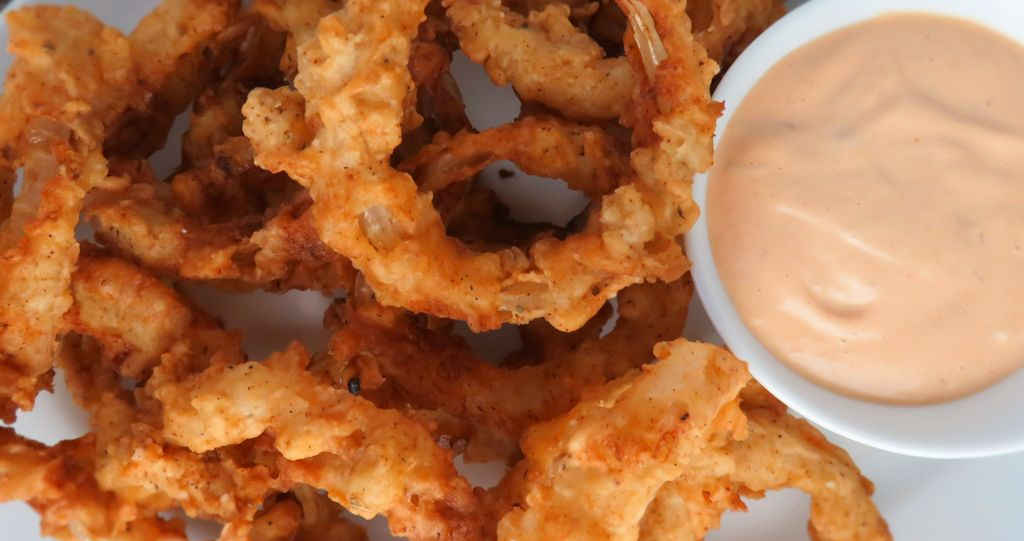
I’m addicted to onion rings. And I’m picky about them. I’m picking about the coating. It has to be light and crunchy and it has to stick to every inch of the onion. And I’m picky about the onion. Each bite has to be ‘clean’.
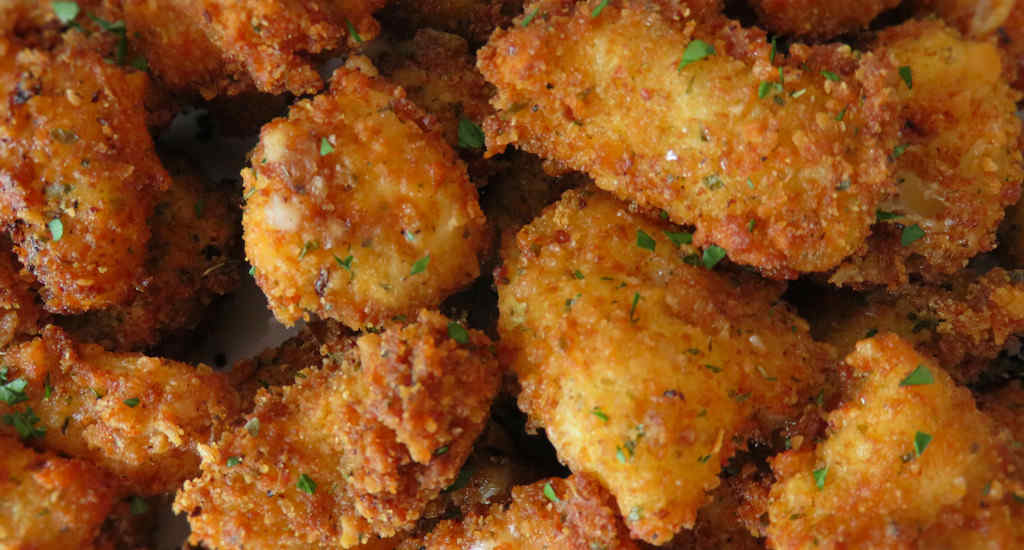
Long John Silver’s Chicken Planks (Copycat Recipe)
Fried in the same great crunchy batter as the fish planks, chicken planks were just as addicting as the fish. And oddly (for me as a kid), just as good with malt vinegar sprinkled on them.
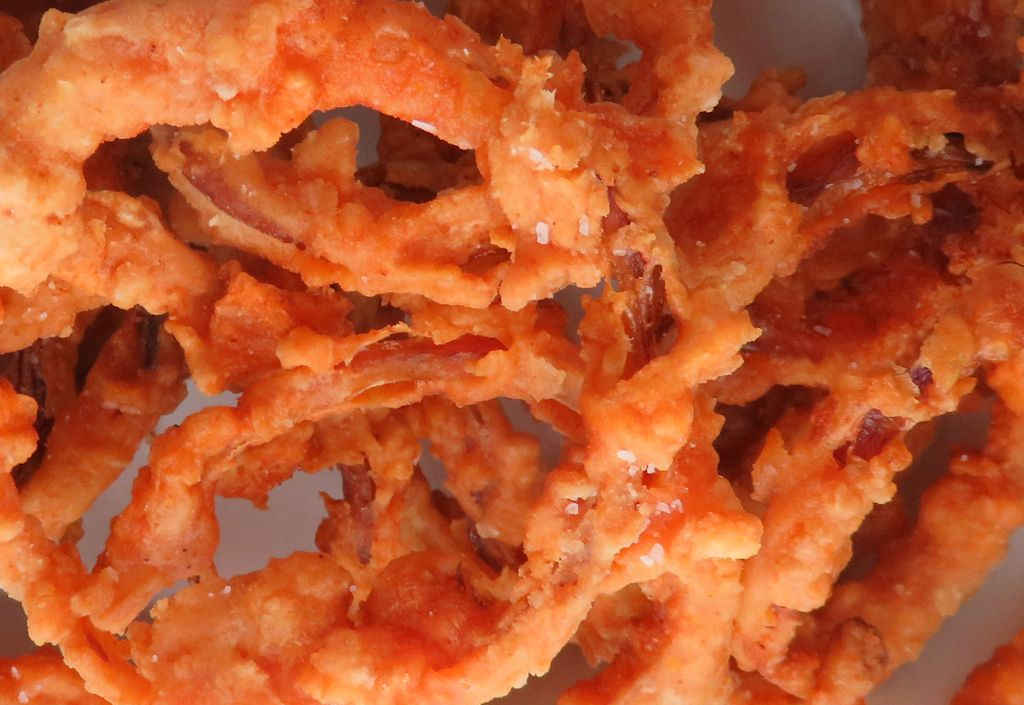
Oh, all those years spent eating (and enjoying!) onion rings made from white or sweet onions. Not wasted years, but years of missed opportunities of eating spicy red onion rings.
Along came these spicy Texan onion rings and every last bit of self-control I might have had was gone in an instant. I seriously do not remember what else we had for dinner the night I made these. Could’ve been filet mignon. Doesn’t matter. The rings were the star.
I’m a big fan of battered fried fish. Add in some fries, a side of tartar sauce, and give me a bottle of malt vinegar and I’m one happy guy. This copycat of Captain D’s batter dipped fish checks all my boxes.
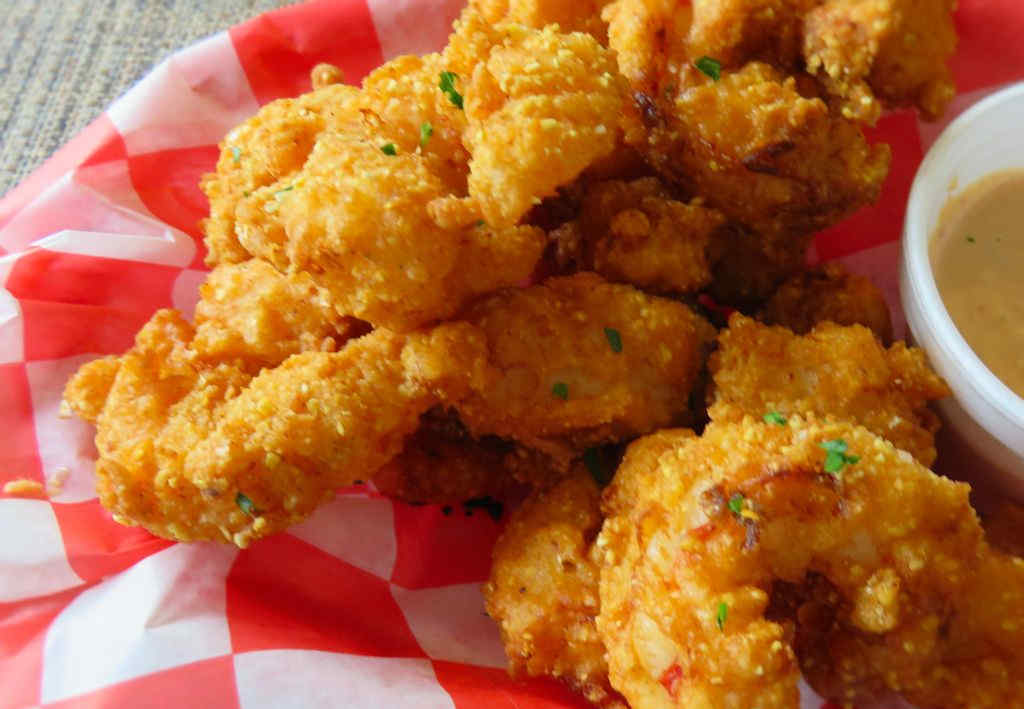
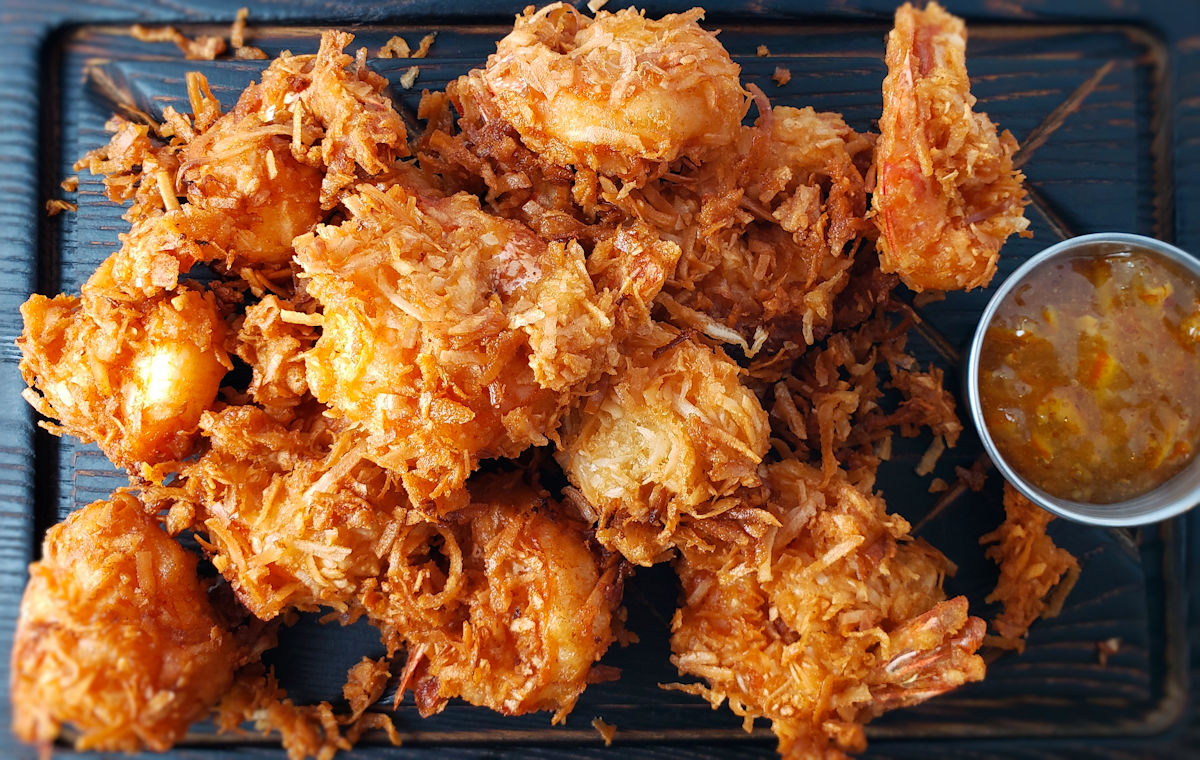
I’ve never had wings or shrimp that I didn’t absolutely love. Like these Cajun fried shrimp. Lightly crunchy. Stick-to-the-shrimp batter. A little heat. Perfectly cooked.
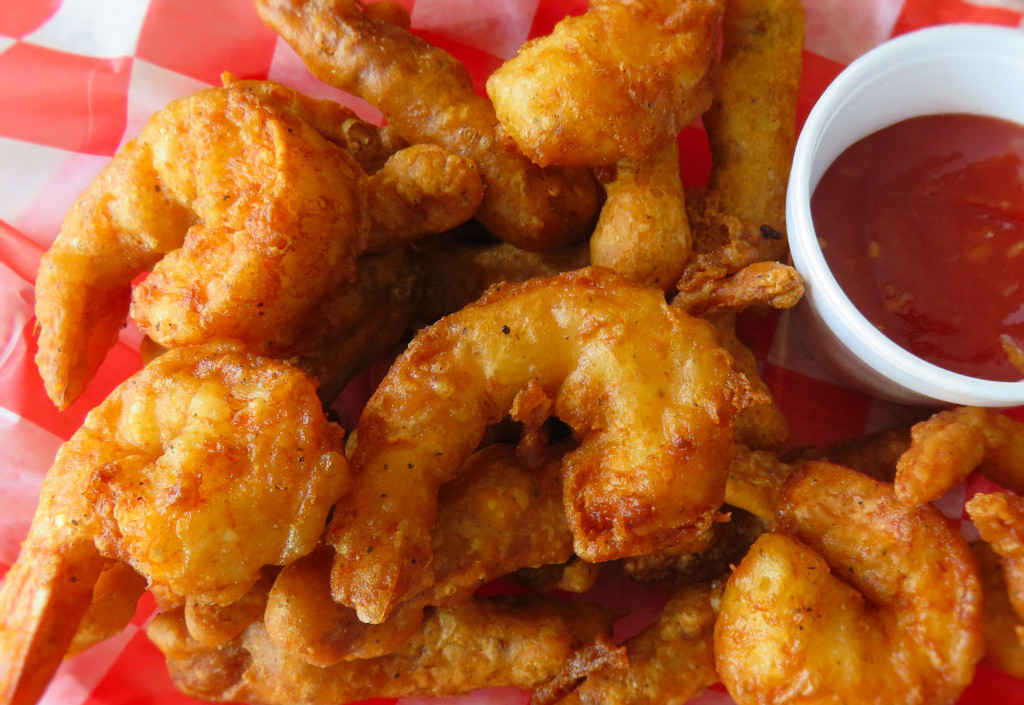
“I’ll have the beer battered shrimp and fries and… a side salad.” No. No one has ever said that. This isn’t a salad-on-the-side kind of dish. It’s seriously battered, deep-fried decadence, from start to finish.
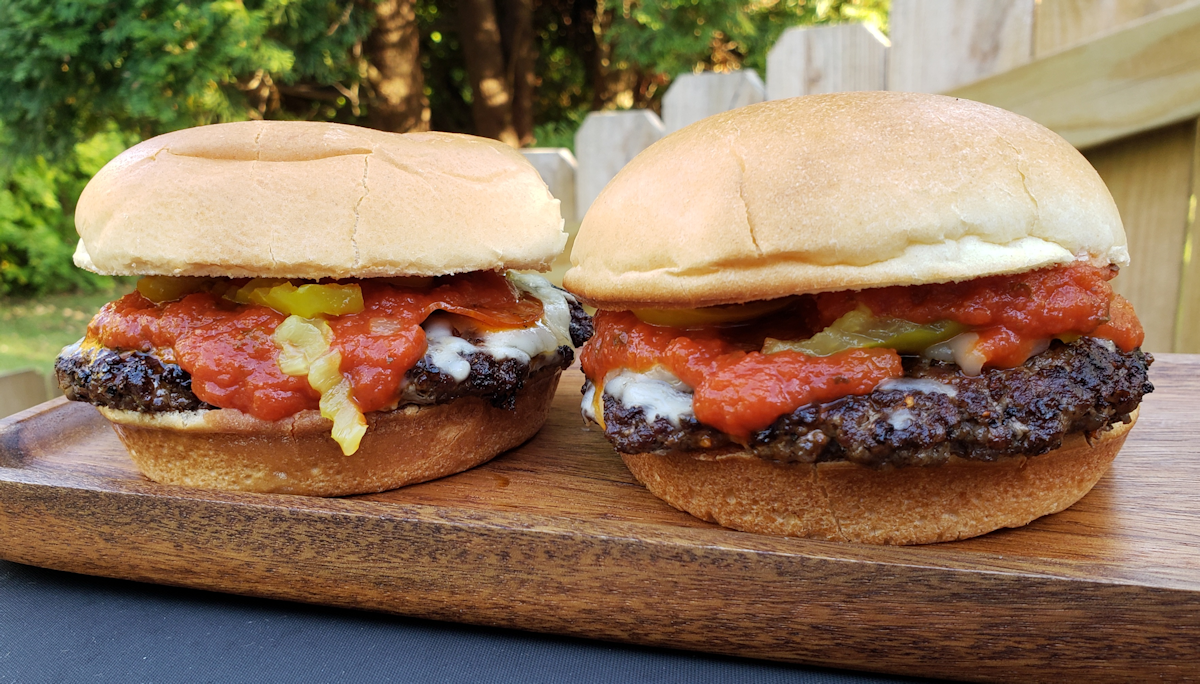
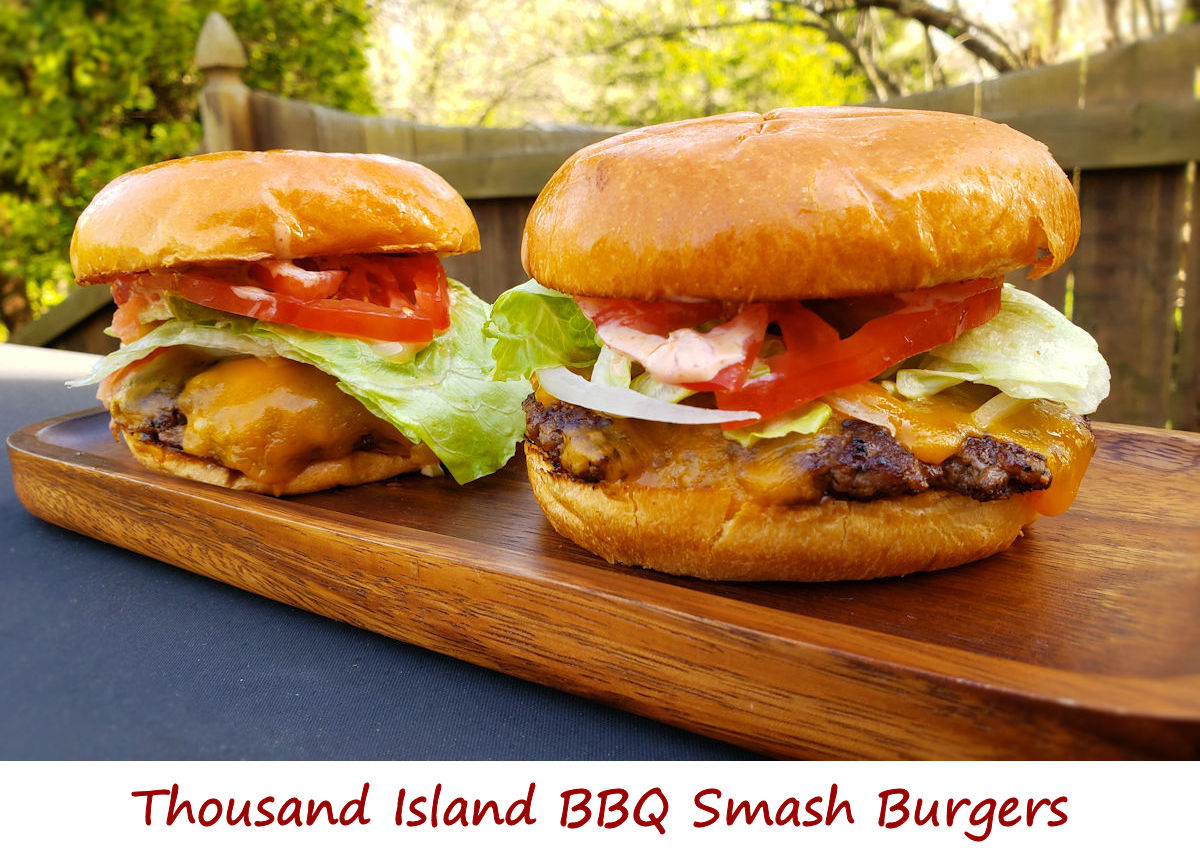
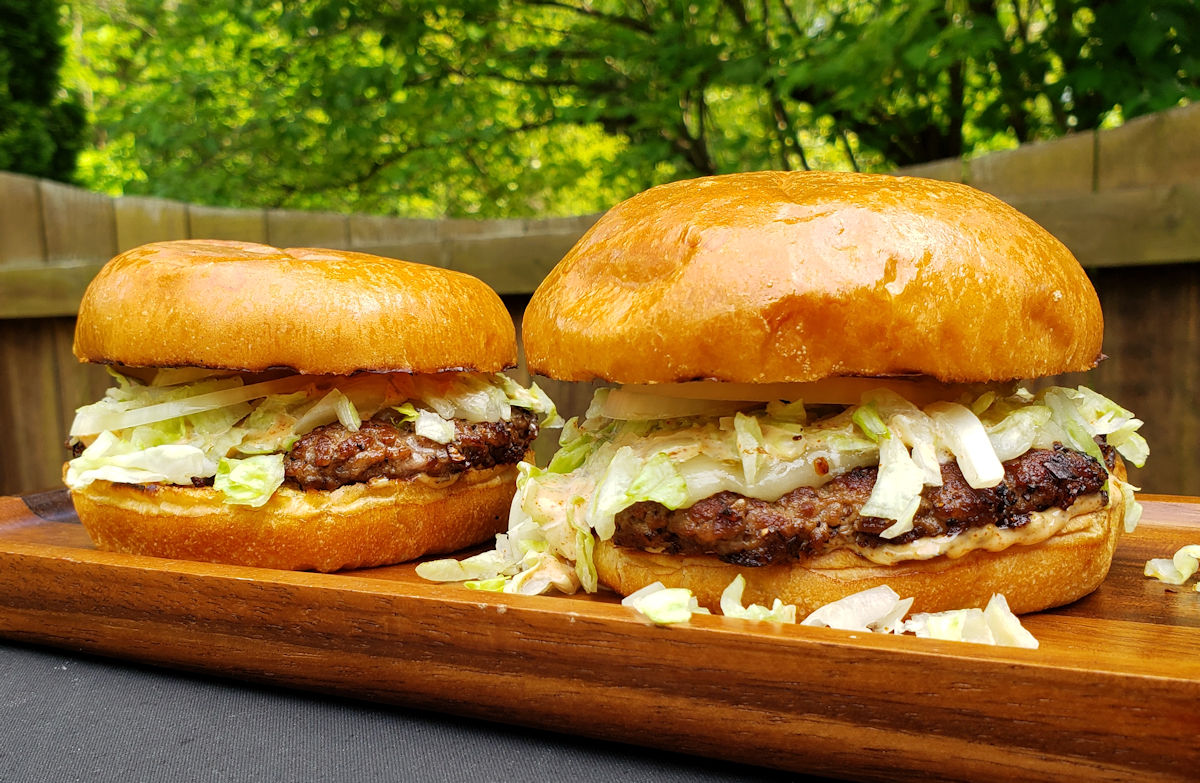
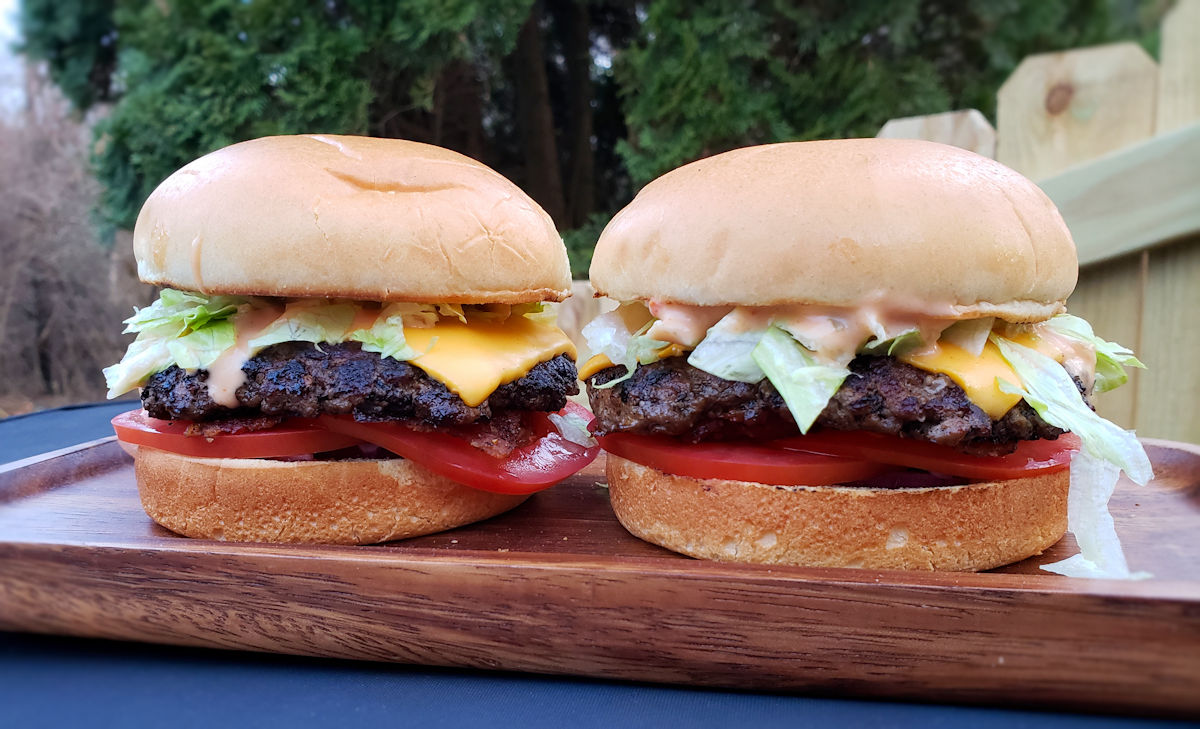
It’s gonna be messy. Juices are gonna run down your forearm. Pizza sauce too. Cheese is gonna drip onto your lap. All your favorite pizza flavors on a convenient grilled burger. No boring burger here. Pizza smash burgers are a wonderful way to change up your burger routine. The big thin patties are perfect for loading up the toppings so go big and enjoy!
You can go ‘loaded’ or ‘lightly loaded’ with these pizza smash burgers. I tried them both ways and both were great. More pepperoni. More pepperoncini. More cheese. Or not.
You can also add your other favorite pizza toppings, such as mushrooms or olives. Go crazy with it!
The equipment
Here’s the equipment I use. You can get by using two cast iron skillets. Use a larger skillet for cooking the burgers, and a smaller one to smash the burgers and keep them flat. Since I’m a cooking gadget collector, I prefer to use a few more tools.
The griddle
First, a griddle. You can buy griddles that sit on top of your grill grates or ones that replace them. Just about every grill I have has a griddle on it. I use them for a lot of things, not just smash burgers. You want one that can be placed over the hottest part of your grill so it gets screaming hot.
Next, you need a burger press. You can use a heavy cast iron skillet, like I mentioned. Or get a burger press. For easy cleanup I wrap mine in foil first. When I’m done, just peel off the foil and toss. Super easy. Get a press that’s at least big enough to cover two burgers. You only smash one at a time, but if you want to keep them flat, you want to rest the press on top so bigger (and heavier) is better. Plus I’ve found that a bigger, heavier press tends to stay on the burgers whereas a smaller, lighter one is hard to keep centered on the burgers, specially if you have a bunch of them cooking at once.
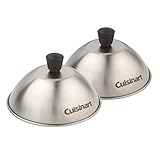
Next up, a dome. While not 100% required, it does speed the time it takes to melt the cheese and it does it in a nice even fashion. In my opinion you don’t really need one if you’re using a super melty cheese, such as American, but for thicker slices like say a deli pepper jack, you want the cheese to melt before you over-cook the burger and that’s where a dome comes in handy.
Lastly, you need something to clean your griddle. I like to clean mine when I’m done cooking, but you can do it at the start instead. I use one of these pad holders with a griddle cleaning pad. Then I add a bit of water to my griddle then use the pad (connected to the holder) to scrub off any big chunks and get up some of the grease. I don’t go crazy with it, I always heat the heck out of my griddle before cooking, but I get the worst. The long arm on the pad holder makes it perfect for scrubbing a hot griddle, too.
Fire up your grill for high heat. Place a griddle or a large cast iron pan over the highest heat.
Season the ground beef with the salt and pepper, mix and form into four 4 ounce balls (not patties!).
Place the balls of beef on the griddle and let cook for one minute. Just let them cook, don't mess with them.
Take your press and flatten out the patties. I like to use the point of the press and work my way around the ball first, doing a little section at a time and then finally I press down on the entire patty to flatten it out. You can also just flatten out the ball all at once. At this point I also like to season the patties some more.
Let the patties cook until you start to notice a little char along the edges. Flip, season again if desired, and continue cooking another minute or so until the other side is charred. The burgers are thin so they will cook very quickly so watch out.
Top patties with pepperoni, cheese, sauce and pepperoncini.
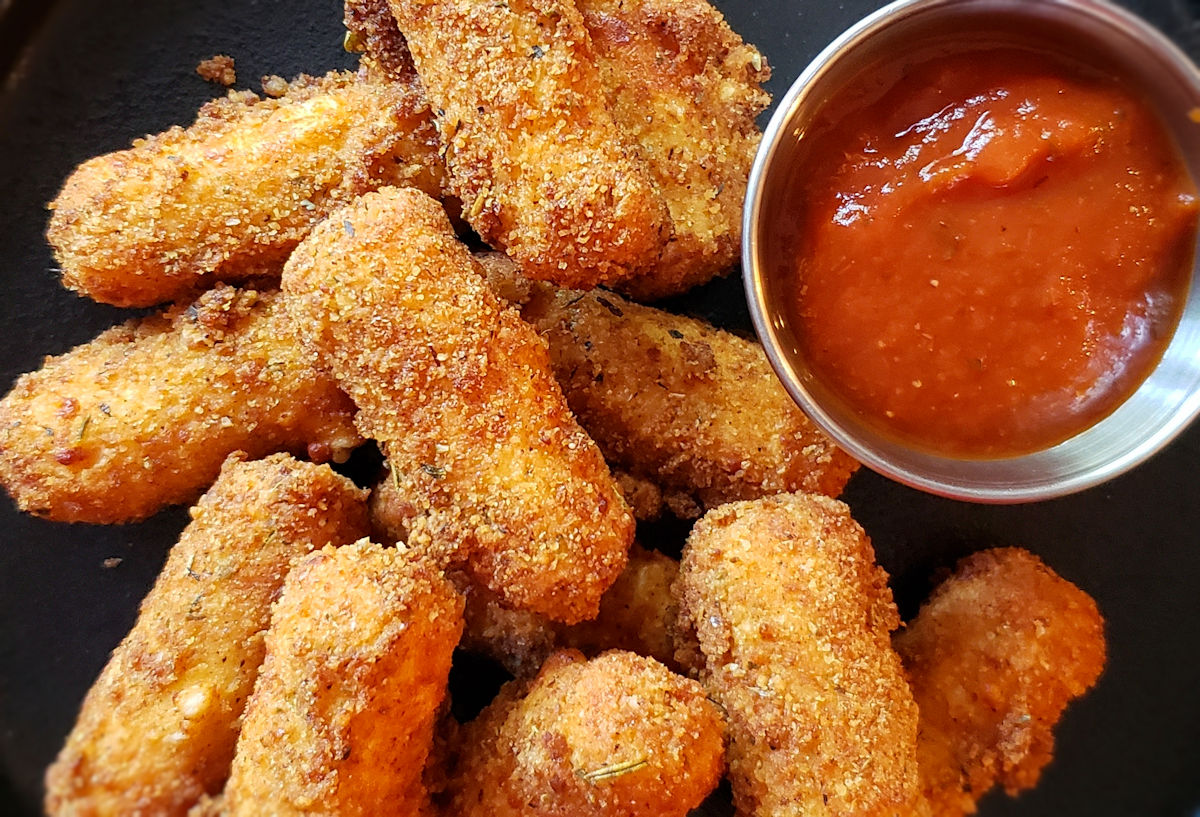
I was going to call these easy irresistible mozzarella cheese sticks just ‘easy mozzarella cheese sticks’. But no, that’s just not enough. It doesn’t tell you just how good they are. Eat two? Three. Yeah right. Not me at least. I’m not that strong. They have a power. The power of a crunchy, flavorful coating. Ooey gooey melty cheese. Perfect. Irresistible!
The Keys To Cheese Stick Success
These easy irresistible mozzarella cheese sticks are easy. But there are two things to remember while you’re making them. First is get the cheese well coated in the flour. Don’t forget the ends, either. Our goal here is the perfect breading, everywhere. Every inch of the cheese stick.
Second, is to make sure you get the cheese stick nice and coated in the egg. Beating the eggs well will help with this. And again, make sure you get the ends too.
After that it’s a walk in the park. Just get the breadcrumbs all over. And yep, get the ends again. Then fry until golden brown. Oh and resist eating them hot out of the fryer. Trust me on that. Let them cool a bit regardless of how tempted you might be!
I get out my big deep fryer when it’s time to fry a large batch of food. It comes to temperature quickly and it maintains that temperature perfectly. It has a built-in oil filter and storage unit so I can re-use the oil several times.
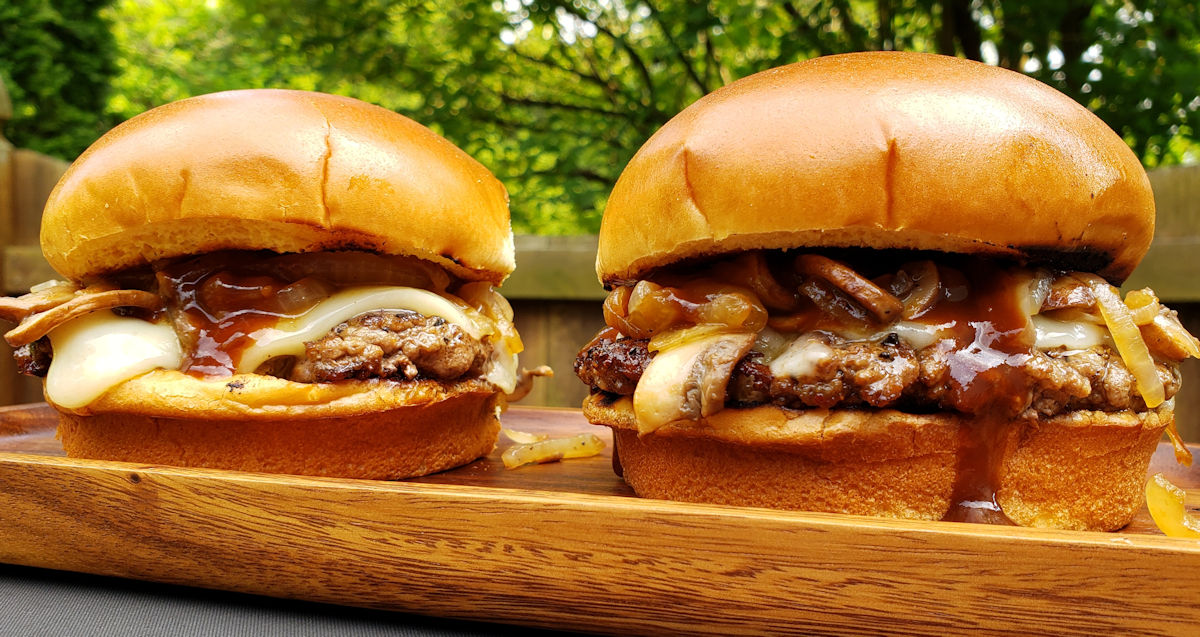
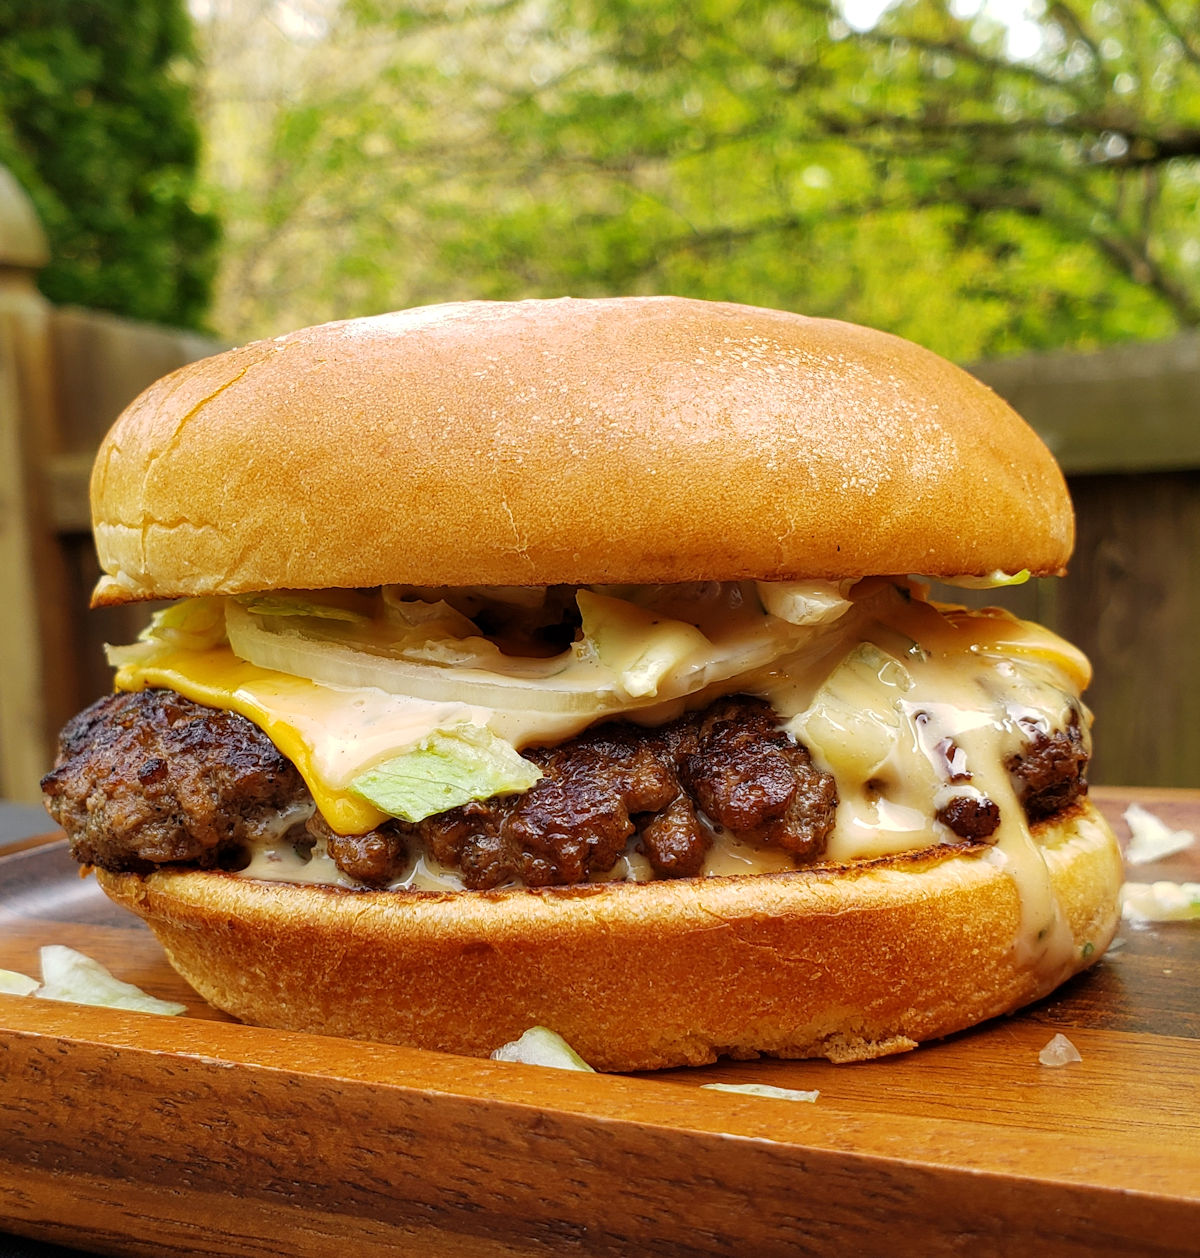
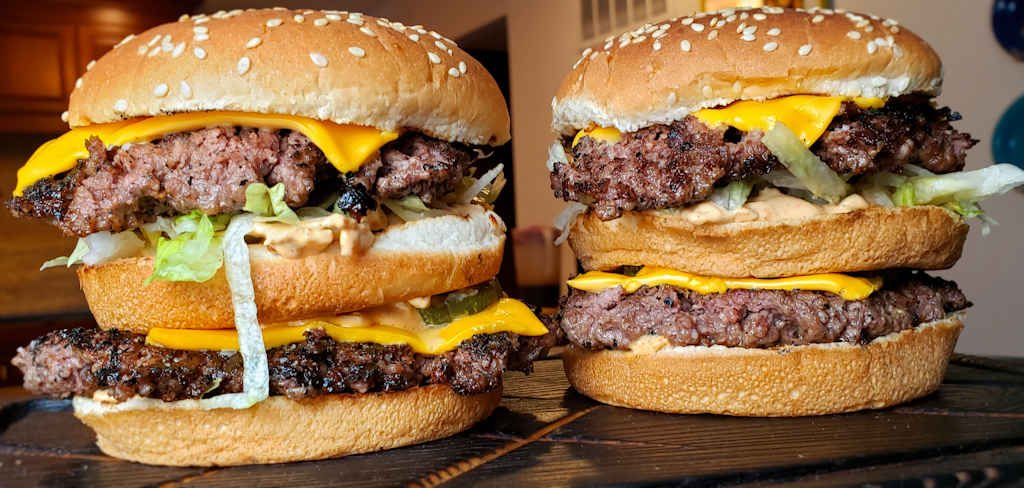
Juicy. Delicious. And with that slight, irresistible crunchy edge that harkens back to the days of great diner food, short-order cooks, and flat-top griddles that had seen a thousand burgers before yours.
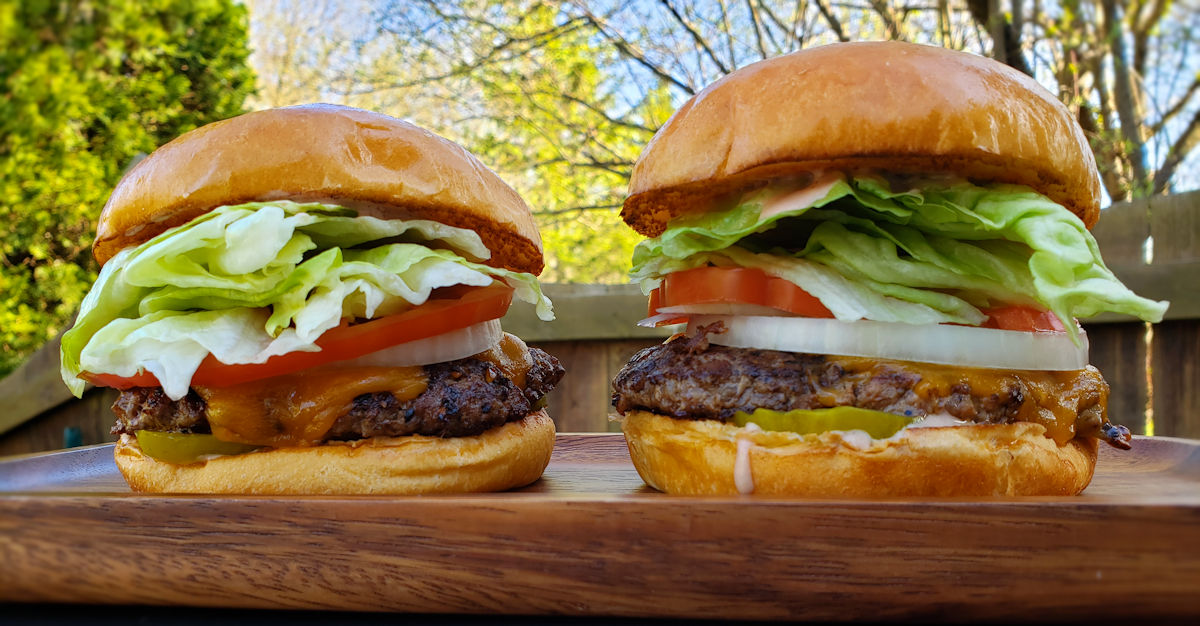
Nothing beats a great smash burger, and after making literally hundreds of them on my grills and griddles, I’m convinced it’s the one technique every home cook should master.
What makes a smash burger so different from your typical thick, pub-style burger? It all comes down to contact and heat. Instead of gently forming a thick patty and trying to keep it juicy on a grill, you take a loose ball of ground beef — I like an 80/20 blend for that perfect fat ratio — and you smash it, hard, onto a ripping-hot cast iron skillet or griddle. You hear that sizzle and you know the magic is happening. Good things are coming!
That Science Thing
That hard smash creates maximum contact with the hot surface, which triggers the Maillard reaction. In plain English, that’s the scientific term for that deep brown, super savory, almost caramelized crust that forms on the outside of the patty. The edges get lacy, crispy, and slightly crunchy, almost like a beefy potato chip, while the inside stays incredibly juicy and tender because it cooks so fast. You get the best of both worlds in every single bite.
It’s that texture contrast that gets me every time. That little bit of crunch reminds me of sitting at a counter in an old-school diner, watching the cook work the flat-top. It’s nostalgic, comforting, and just plain delicious.
A Blank Meat Canvas
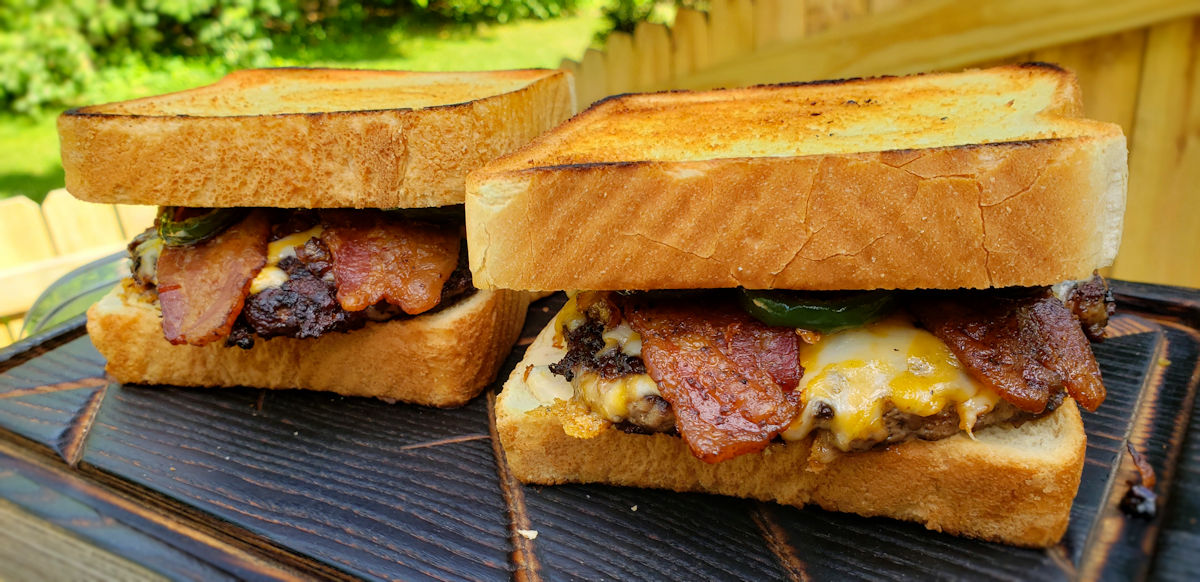
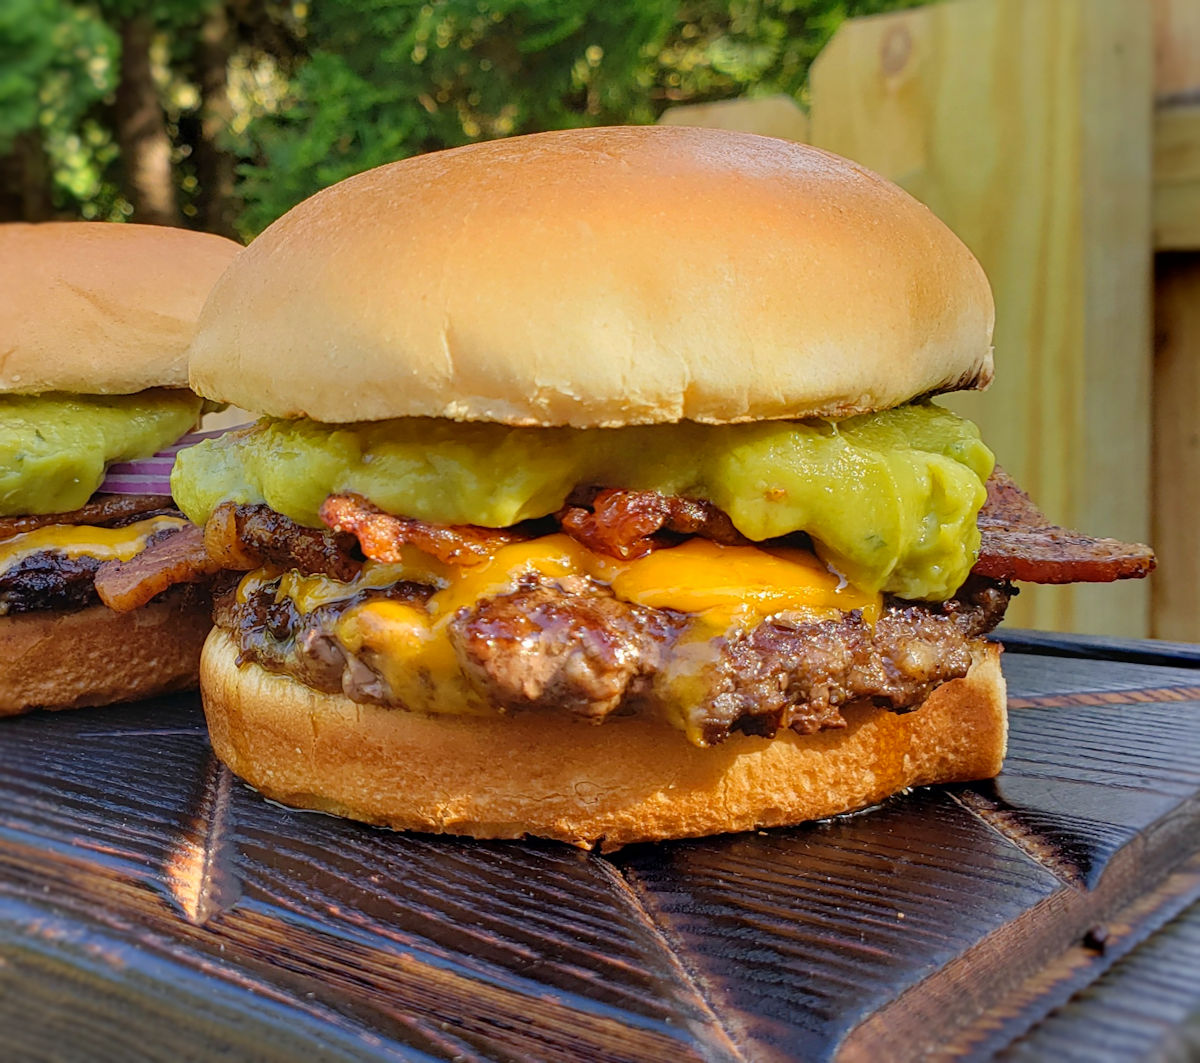
Another reason I love them? They’re incredibly fast and endlessly customizable. From a classic double cheeseburger with American cheese and pickles to something wild like my Spicy Texas Toast or Bacon Guacamole versions, the thin, crispy patty is the perfect canvas.
That’s why I put together this collection of The Best Smash Burger Recipes. These are my all-time favorites from the blog — tried, true, and guaranteed to make you a smash burger convert if you aren’t already. Let’s fire up that griddle!
The List
1
Pico de Gallo Smash Burger
A classic burger with a spicy twist on a classic sauce.
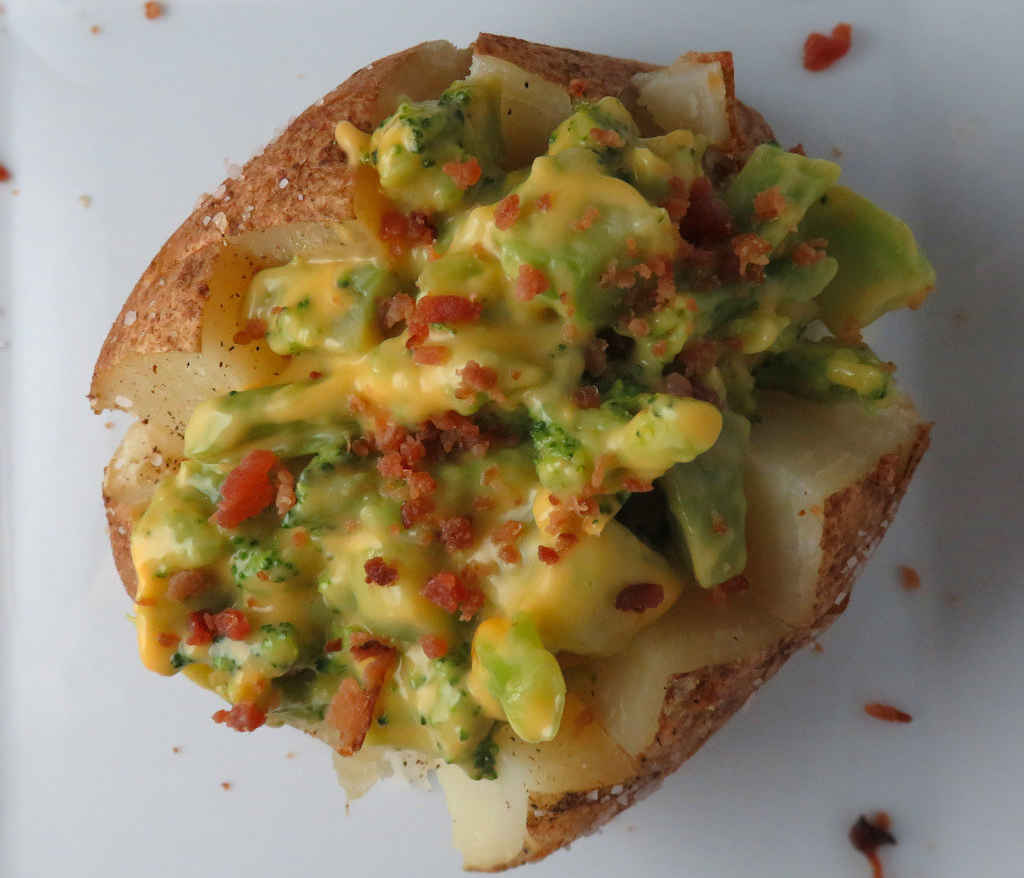
Baked potatoes find their way on our dinner menu with some regularity. Sometimes they are served up as side dishes, but often they are the main course. They’re easy to make, and pretty fuss-free depending how crazy you go when you top them. These quick fix broccoli and cheese baked potatoes are about as easy as you can get. Just bake some potatoes, heat some frozen broccoli and cheese, and boom! A fantastic baked potato is served! Well, ok, I added some bacon bits too but those aren’t that hard either! I just opened the bottle!
Feel free to peruse the frozen vegetable section in your grocery store. You might find other cheesy vegetables that would be just as good on a baked potato! And if they don’t include a cheese sauce, don’t fret. Just heat them as instructed and then top them with some freshly shredded cheese. Shredding your own is so much better than the pre-shredded stuff!
Rinse the potatoes under cold water and brush off any dirt. Dry well with a paper towel.
Pierce each potato 4 times with a sharp knife.
Brush potatoes with oil.
Sprinkle some salt onto a plate and roll the potatoes in the salt.
Place potatoes directly on the oven center rack. You might want to put a baking sheet lined with foil beneath them to catch any drippings.
Bake until potatoes are done (210 F internal temperature, or tender all the way through when poked with a knife), 40-60 minutes depending on their size. You can also test for doneness by squeezing the potatoes (with potholders on). If they give easily, they are done.
While the potatoes cool prepare the broccoli per package instructions.
Cut the potatoes open. Fluff the insides with a fork if desired. Add butter, and season well with salt and pepper.
Divide heated broccoli with cheese sauce between the potatoes and serve topped with bacon bits.
Notes
Don’t be shy when seasoning your potatoes, they need plenty of salt and pepper!
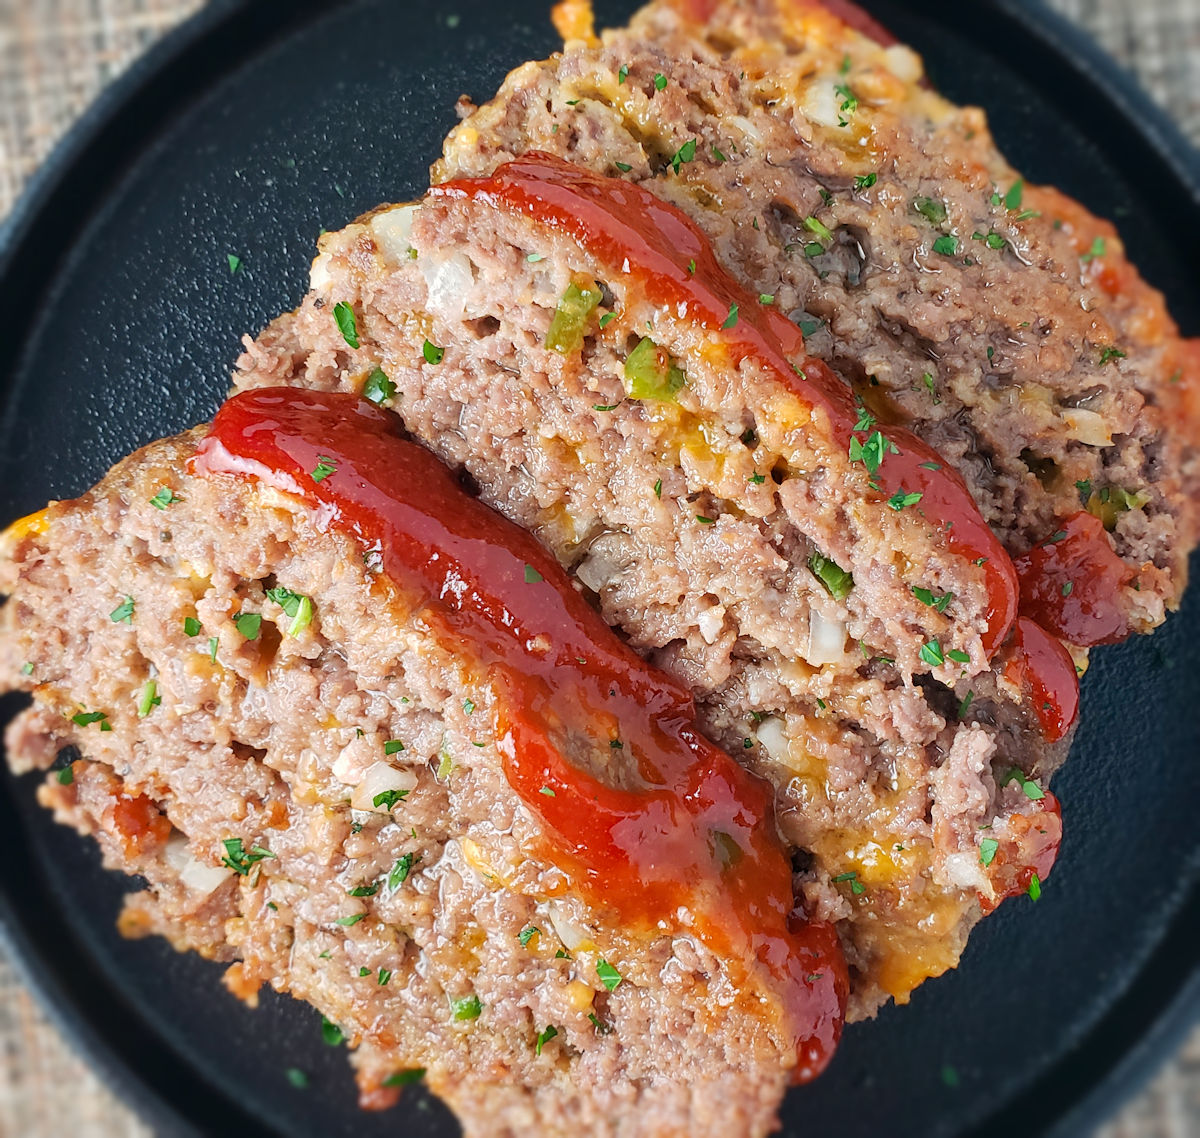
Nothing beats meatloaf when it comes to a quick, easy, delicious dinner dish. Perfect on a cold night. And who doesn’t love the leftovers? Meatloaf sandwiches are one of my all-time favorites! But, no need to have boring meatloaf. Chewy? Ew. Dry? Ew-ier. Boring? No! This jalapeno cheddar meatloaf is what meatloaf is supposed to be. Crazy moist. Lightly spicy. And oh, so tender. I’ll take two slices (but don’t tell anyone)!
Cheesy Greatness
I used cheddar in my jalapeno cheddar meatloaf. I know, Mr. Obvious, right? But you don’t have to go with cheddar. Pepper jack is fantastic, too. Or use a Mexican blend. Any good melting cheese will work.
I highly recommend that you shred or grate your cheese at home. Don’t buy the pre-shredded or pre-grated stuff. It has stuff added to it to keep it from sticking together. That ‘stuff’ affects how the cheese melts. Shred it yourself and use the good stuff.
If you like little cheese ‘nuggets’ in your meatloaf, use cubed cheese instead. I would recommend that you cut your cheese (yeah, I said that) into small cubes so they get nice and melty soft. You don’t want to hit a hard chunk of cheese when you take a bite.
Is It Hot In Here?
Want more heat? Use a habanero or serrano pepper instead of the jalapeno. Substitute a hot cheese for the cheddar. And a few good splashes of hot sauce added to the ketchup in the glaze never hurt anyone either!
Want less heat? Bell pepper or poblano peppers are a great substitute.
Make Me A Sandwich!
I like to slice the leftover meatloaf into thin (sorta) slices. I heat a bit of oil in a skillet then add the slices to warm them up and give them a little char. Then, I serve them on thick toasted Texas toast with ketchup. Or on hamburger buns!