Cheesy Chicken Fajita Melt

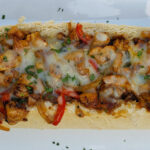
This cheesy chicken fajita melt was a huge hit in our house. Huge. The chicken, vegetable and cheese filling is incredibly tasty. The chicken is tender and juicy and packed with classic fajita flavor. Oh, yes, there’s cheese. And lots of it. This is one fantastic sandwich. We made it on the griddle on our grill, but you can use a countertop griddle, an outdoor griddle such as ones from Blackstone or Weber, or even a large skillet. No matter what you use, you’ll love the end result for sure!

Cheesy Chicken Fajita Melt

More Seasoning Makes These More Better

Don’t be shy with the fajita seasoning when you make this cheesy chicken fajita melt. Get to shaking that bottle. You’ll be happy you did. You want the chicken to have that fajita flavor. You want the vegetables to have that fajita flavor. And yep, get some on top of the cheese too. Last thing you want to have happen is that you take a big ole bit of sandwich only to ask yourself “Where’s the fajita?”.

These are not light fare. You’re not going to the leave the table hungry after devouring these sandwiches. That’s for sure!
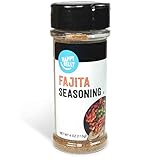
Amazon Brand – Happy Belly Fajita Seasoning…
  • 4-ounces of Happy Belly Fajita Seasoning
  • Southwestern flavor
Cheesy Chicken Fajita Melt
Print Pin
5 from 1 vote

Cheesy Chicken Fajita Melt

A favorite in our household!
Course Main
Cuisine American
Keyword chicken sandwiches, fajita
Prep Time 30 minutes
Cook Time 20 minutes
Servings 8
Calories 402kcal

Equipment

Ingredients

  • 6 chicken thighs boneless, skinless, trimmed of any excess fat
  • ¼ cup fajita seasoning divided, you might use more or less
  • 4 tablespoons unsalted butter divided
  • ½ medium sweet onion sliced
  • 1 poblano pepper sliced
  • 1 medium red bell pepper sliced
  • 2 loaves French bread
  • 1 pound Oaxaca cheese shredded, divided
  • cilantro chopped, to taste
  • crema to taste

Instructions

  • Season the thighs with the fajita seasoning. Don't be shy with the seasoning. Let the chicken set for 15 minutes or up to 2 hours.
  • Preheat a griddle or large cast iron skillet over high heat. I used a large griddle on my gas grill, but a flat top griddle, Griddler or the like will work just fine. You'll want a large surface as this recipe makes a large batch.
  • Also preheat your oven to 400 F. Note: Since I was using a griddle on a gas grill, I used the grill as my oven instead.
  • Add 2 tablespoons of butter to the griddle. Add the thighs and cook for 4 minutes per side until lightly charred and cooked to 165 F.
  • Remove the chicken to a platter to cool slightly then cut into small cubes.
  • Add remaining butter to the griddle and add the onions and peppers. Cook until lightly softened and charred, stirring often.
  • Add the chicken to the vegetables. Season with more fajita seasoning and stir to combine.
  • Add half of the cheese and mix until melted. Remove to a plate or bowl.
  • Slice off the top of the bread loaves and remove most of the contents. You want a completely hollowed loaves, but be careful to not poke any holes in the sides or bottoms!
  • Top with the remaining cheese and sprinkle with more fajita seasoning. Transfer to the oven (or a hot grill over indirect heat) and toast for 10 minutes or until the bread is lightly toasted and the cheese is melted. If you want a little color to your cheese, place the loaves under the broiler for a minute or two.
  • Top with chopped fresh cilantro and Mexican crema and serve!

Notes

You can substitute shredded Monterey Jack or pepper jack for the cheese.

Nutrition

Calories: 402kcal | Carbohydrates: 6g | Protein: 26g | Fat: 30g | Saturated Fat: 16g | Polyunsaturated Fat: 3g | Monounsaturated Fat: 6g | Trans Fat: 0.1g | Cholesterol: 103mg | Sodium: 576mg | Potassium: 256mg | Fiber: 1g | Sugar: 2g | Vitamin A: 599IU | Vitamin C: 32mg | Calcium: 44mg | Iron: 1mg

Nutritional values are approximate.

Sale
Mueller Pro-Series All-in-One, 12 Blade Mandoline…
  • Meal Prep MVP – A practical and innovative way to…
  • 12 Diverse Blades – With nine interchangeable…
OXO Good Grips 4 Piece Stainless Steel Measuring…
  • Set includes: 1/4 cup, 1/3 cup, 1/2 cup and 1 cup
  • Magnetic handles keep Cups together for storage…

Bacon Guacamole Smash Burgers

Very few things go together as great as guacamole, bacon, cheese, onion and a burger. These bacon guacamole smash burgers are a real winner in our house. I love the coolness from the guacamole on a hot-off-the-grill patty. Smoky bacon is always a great addition. Ooey, gooey cheese is a must. A little onion adds a great crunchiness. Every bite is fantastic.

Bacon Guacamole Smash Burgers

Good Guacamole Makes For A Great Burger

I don’t skimp on the guacamole when I make bacon guacamole smash burgers. Sometimes I’ll use a spicier guac for a little kick. But normal, good-ole mild guacamole is fine too. If you’re looking for heat, you can also add a good pepper jack cheese. Jalapeno jack is a real winner, too.

Delicious Hot Juiciness

I like to serve these burgers as soon as they come off the grill. I love the cool guacamole on the hot patty. Oh, I already said that. Well, I’d apologize for repeating myself but I was remembering just how great every bite was as I was writing this.

The equipment

Here’s the equipment I use. You can get by using two cast iron skillets. Use a larger skillet for cooking the burgers, and a smaller one to smash the burgers and keep them flat. Since I’m a cooking gadget collector, I prefer to use a few more tools.

The griddle

First, a griddle. You can buy griddles that sit on top of your grill grates or ones that replace them. Just about every grill I have has a griddle on it. I use them for a lot of things, not just smash burgers. You want one that can be placed over the hottest part of your grill so it gets screaming hot.

Lodge Pro-Grid Reversible Grill/Griddle…
  • Dual-Sided Plate: The Lodge Pro-Grid Reversible…
  • Time-Tested Even Heat Distribution: This durable…

A burger press

Next, you need a burger press. You can use a heavy cast iron skillet, like I mentioned. Or get a burger press. For easy cleanup I wrap mine in foil first. When I’m done, just peel off the foil and toss. Super easy. Get a press that’s at least big enough to cover two burgers. You only smash one at a time, but if you want to keep them flat, you want to rest the press on top so bigger (and heavier) is better. Plus I’ve found that a bigger, heavier press tends to stay on the burgers whereas a smaller, lighter one is hard to keep centered on the burgers, especially if you have a bunch of them cooking at once.

Whaleme Blackstone Burger Press Set – 7″ Round…
  • Food-Grade Cast Iron Burger Press : Our barbeque…
  • Grooved Bottom Design&Non-Stick Surfaces : Our…

A dome

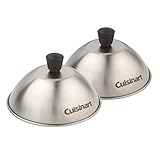
Next up, a dome. While not 100% required, it does speed the time it takes to melt the cheese and it does it in a nice even fashion. In my opinion you don’t really need one if you’re using a super melty cheese, such as American, but for thicker slices like say a deli pepper jack, you want the cheese to melt before you over-cook the burger and that’s where a dome comes in handy.

Cuisinart CMD-108 Melting Dome, 9″,Stainless steel
  • EVEN MELTING: Traps heat under the dome to quickly…
  • ENHANCED FLAVOR: Griddle dome retains moisture to…
Cuisinart CMD-388 Melting Dome, 6″, 2-Pack
  • 2 Pack of 6″ diameter domes
  • Concentrates heat to cook evenly

Cleaning time!

Lastly, you need something to clean your griddle. I like to clean mine when I’m done cooking, but you can do it at the start instead. I use one of these pad holders with a griddle cleaning pad. I add a bit of water to my griddle then use the pad (connected to the holder) to scrub off any big chunks and get up some of the grease. I don’t go crazy with it, I always heat the heck out of my griddle before cooking, but I get the worst. The long arm on the pad holder makes it perfect for scrubbing a hot griddle, too.

Also try my fantastic taco smash burgers.

Bacon Guacamole Smash Burgers
Print Pin
5 from 1 vote

Bacon Guacamole Smash Burgers

Cool guacamole on a hot burger. You can't beat it.
Course Main
Cuisine American
Keyword bacon, guacamole, smash burgers
Prep Time 15 minutes
Cook Time 15 minutes
Servings 4
Calories 711kcal

Ingredients

For the smash burgers

  • 1 pound ground beef
  • kosher salt to taste
  • ground black pepper to taste
  • 4 hamburger buns
  • 4 slices cheddar cheese
  • 8 slices bacon cooked
  • ½ cup guacamole divided
  • 4 slices red onion optional
  • 8 slices tomato optional

Instructions

For the secret spicy sauce

  • In small bowl, stir together the salad dressing, hot sauce and jalapenos.
  • Cover and refrigerate until ready to serve.

For the smash burgers

  • Fire up your grill for high heat. Place a griddle or a large cast iron pan over the highest heat.
  • Season the ground beef and form into four 4 ounce balls (not patties!).
  • Place the balls of beef on the griddle and let cook for one minute. Just let them cook, don't mess with them.
  • Take your press and flatten out the patties. I like to use the point of the press and work my way around the ball first, doing a little section at a time and then finally I press down on the entire patty to flatten it out. You can also just flatten out the ball all at once. At this point I also like to season the patties some more.
  • Let the patties cook until you start to notice a little char along the edges. Flip, season again if desired, and continue cooking another minute or so until the other side is charred. The burgers are thin so they will cook very quickly so watch out.
  • Add the cheese slices. If desired, cover in a dome to help the cheese melt.
  • Toast the buns. Remove, add the patties and serve topped with two pieces of the bacon and 2 tablespoons each of the guacamole. Add the onion and tomato if using.
  • Devour immediately.

Notes

Scoop up any guacamole that drips off your burger onto your plate with tortilla chips!

Nutrition

Calories: 711kcal | Carbohydrates: 25g | Protein: 34g | Fat: 52g | Saturated Fat: 19g | Polyunsaturated Fat: 5g | Monounsaturated Fat: 22g | Trans Fat: 1g | Cholesterol: 127mg | Sodium: 693mg | Potassium: 610mg | Fiber: 3g | Sugar: 3g | Vitamin A: 233IU | Vitamin C: 4mg | Calcium: 208mg | Iron: 4mg

Nutritional values are approximate.

Meykers Hamburger Press Patty Maker 150 Paper…
  • Saving Storage Space : The detachable solid…
  • Making Hamburger Elegantly – Perfectly…
Gandeer 3 Pcs Cast Iron Grill Press 8 x 4 Inch…
  • Quality Material: the bacon press is made of food…
  • Practical Wood Handle Design:Featuring a…
Katbite 300Pcs 6×6 Inches Patty Paper, Burger…
  • Perfect Size: 6×6 inches of 300 count patty paper…
  • Non-Stick & Easy to Clean: Patty paper use the…

The Best Big Easy Side Dish Recipes

When most people think of the Char-Broil Big Easy, they picture the big show-stoppers: a perfectly browned Thanksgiving turkey, a juicy whole chicken with crispy skin, or a pork roast that just falls apart. And yes, it absolutely crushes all of that. That’s what I bought mine for years ago and it’s still what it’s famous for.

Jump to the List

But after cooking on my Big Easy for over a decade now here at Life’s A Tomato, I can tell you this with total confidence: Don’t sleep on the side dishes. In fact, some of my family’s most-requested recipes from the Big Easy aren’t the mains at all — they’re the sides that come out of that oil-less fryer.

My Best Big Easy Side Dish Recipes

The Do-Everything Cooker

The Char-Broil Big Easy is basically a super-hot, infrared, oil-less roaster, and that design makes it an absolute weapon for side dishes. It roasts, bakes, crisps, and caramelizes without heating up your entire kitchen, without a ton of added oil, and with almost zero babysitting. You just load up your cooking basket or a small pan, lower it in, close the lid, and let that TRU-Infrared heat do its magic.

That’s a game-changer, especially in the summer here in the Midwest. I don’t have to crank my indoor oven to 400 degrees and heat up the whole house just to get crispy Roasted Garlic Parmesan Potatoes or sweet, caramelized Roasted Carrots. I can do fresh corn on the cob, Twice-Baked Potatoes loaded with cheese, and even crispy French Fries from frozen right outside on the patio, right alongside whatever main I’m cooking.

Accessorize!

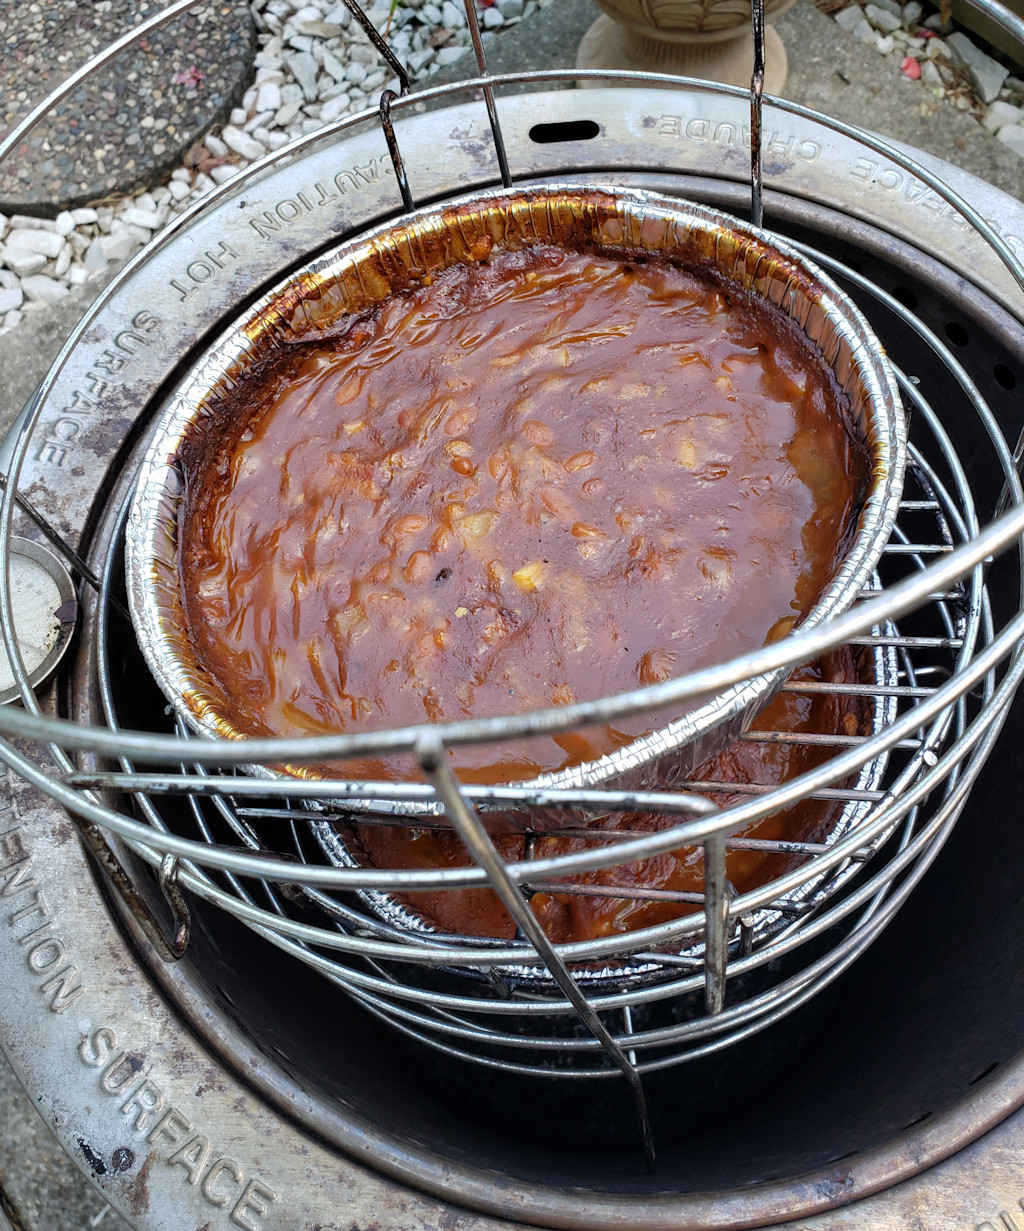
It’s also way more versatile than people realize once you add a couple of inexpensive accessories. I use those disposable mini meatloaf pans for almost all of my saucy sides like my Pimento Cheese Scalloped Potatoes and my Spicy Barbecue-and-Bacon Baked Beans — they fit perfectly in the standard basket and make cleanup a breeze. If I’m cooking for a crowd, I break out the Bunk Bed baskets so I can stack two or three different sides at once and time everything to finish right when the main course is ready.

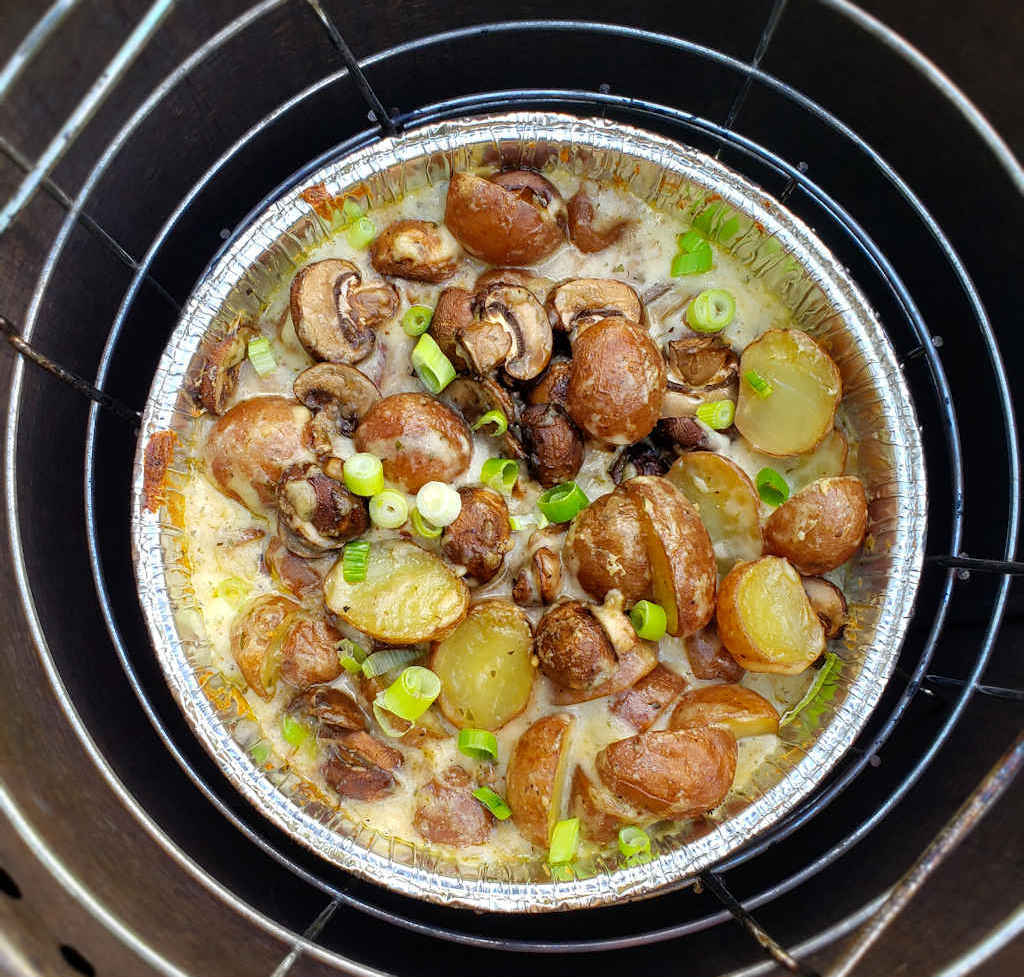
Over the years I’ve made dozens and dozens of side dishes in the Big Easy, from smoky Apple Pie Baked Beans to herby Roasted Mushrooms, crispy golden Hash Brown Patties, tender Roasted Cauliflower with just a hint of bacon smokiness, and spicy Cajun Corn on the Cob. What follows are the tried-and-true winners — the recipes my family asks for again and again.

So if you’ve only been using your Big Easy for the turkey or the chicken, it’s time to let the side dishes have their moment. Here are my all-time favorite Big Easy side dish recipes that prove this cooker really can do just about everything.

The List

1
My Best Big Easy Side Dish Recipes
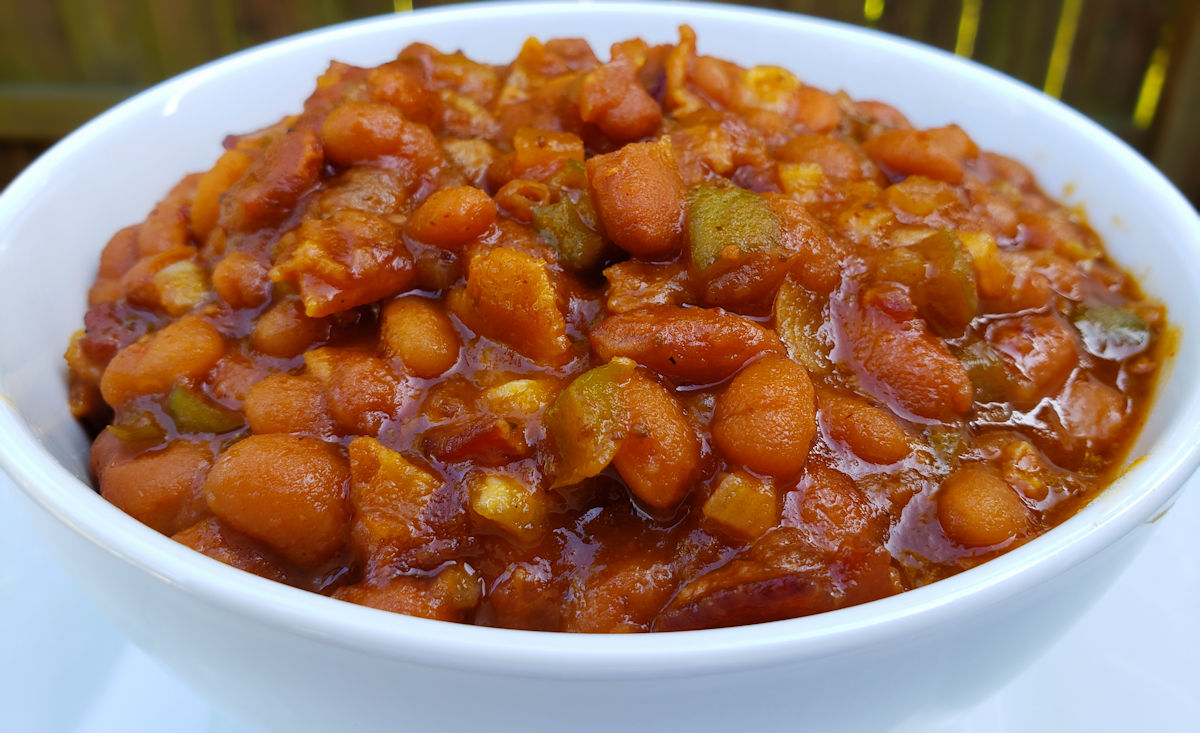
Spicy Barbecue-and-Bacon Baked Beans on the Char-Broil Big Easy
Use a hickory BBQ sauce to add a bit of that outdoorsy flavor.
Check out this recipe
2
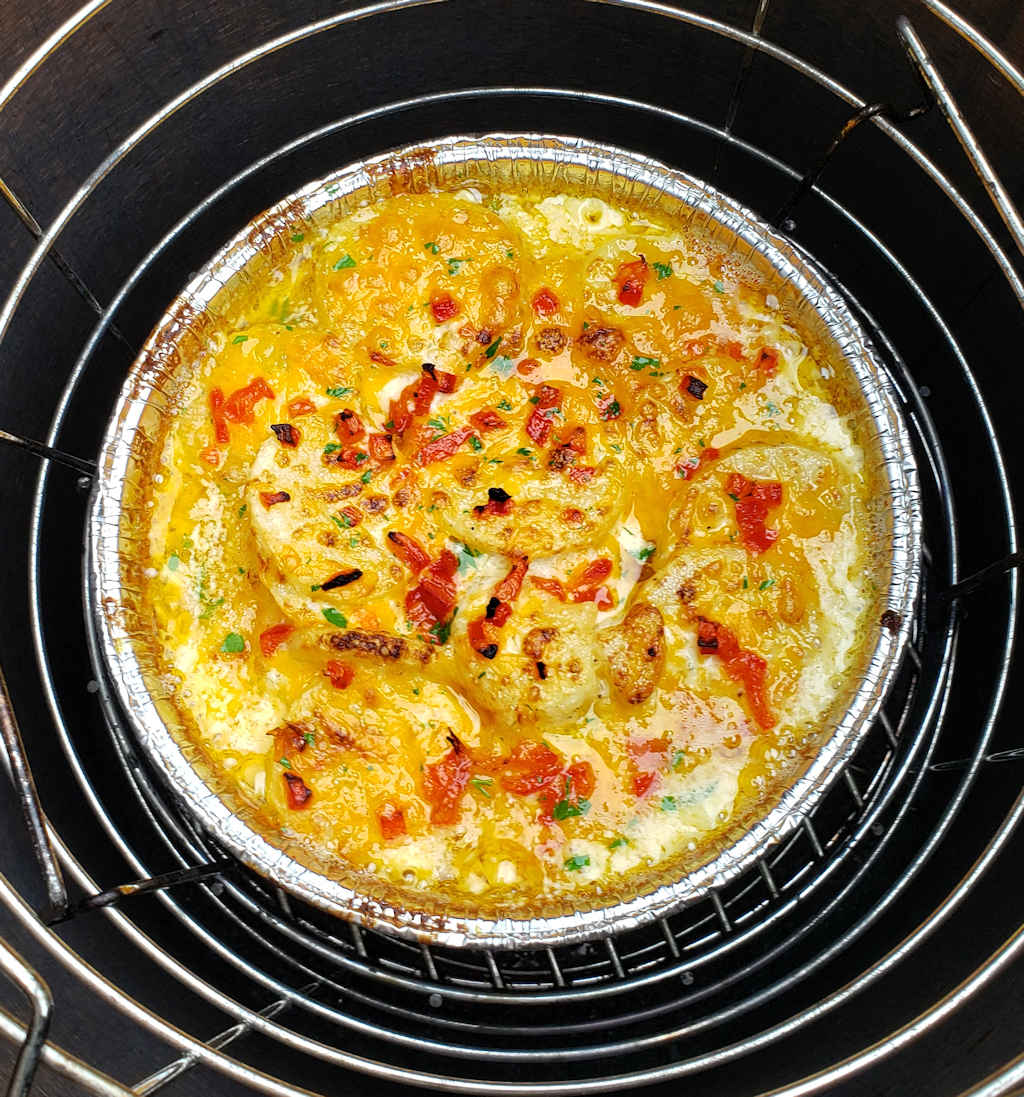
Pimento Cheese Scalloped Potatoes using the Char-Broil Big Easy
Tender creamy potatoes with pimento cheese that you won't be able to resist!
Check out this recipe
3
Roasted Garlic Parmesan Potatoes on the Char-Broil Big Easy
The sauce is amazing, and has quickly become one of our favorites.
Check out this recipe
4
Apple Pie Baked Beans on the Char-Broil Big Easy
I added onion and bacon. These beans are amazing!
Check out this recipe
5
Twice Baked Potatoes on the Char-Broil Big Easy
Absolutely fantastic baked potatoes. I prefer to use disposable mini-meatloaf pans for this recipe. They fit into the Big Easy perfectly and are easy to handle. If you heat more than two mini pans at a time you'll need a Bunk Bed basket.
Check out this recipe
6
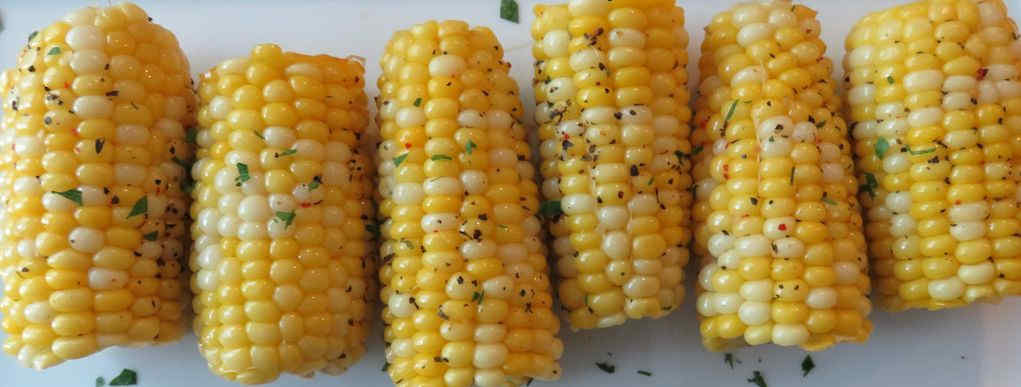
Easy Corn-on-the-Cob on the Char-Broil Big Easy
I was already addicted to sweet corn-on-the-cob before this recipe came along. The Big Easy, though, made my addiction much, much worse.
Check out this recipe
7
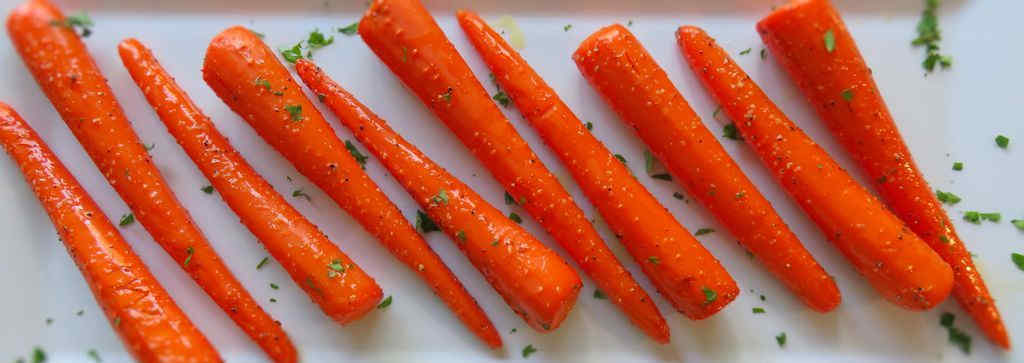
Roasted Carrots on the Char-Broil Big Easy
Mmmm. Lovely sweet delicious roasted carrots. Nothing fancy, nothing hard, just great flavor. 
Check out this recipe
8
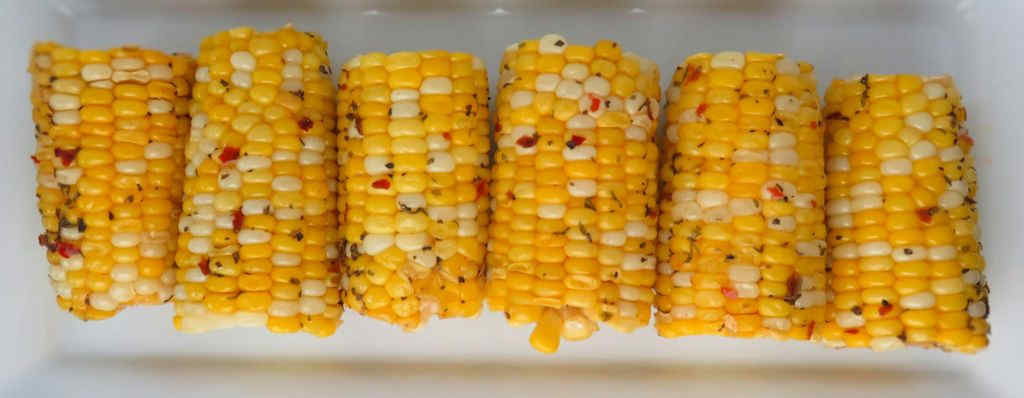
Cajun Corn-on-the-Cob on the Char-Broil Big Easy
This Cajun corn-on-the-cob is just another great side dish. As with just about anything on the Big Easy, it’s no-fuss and as easy as can be. 
Check out this recipe
9
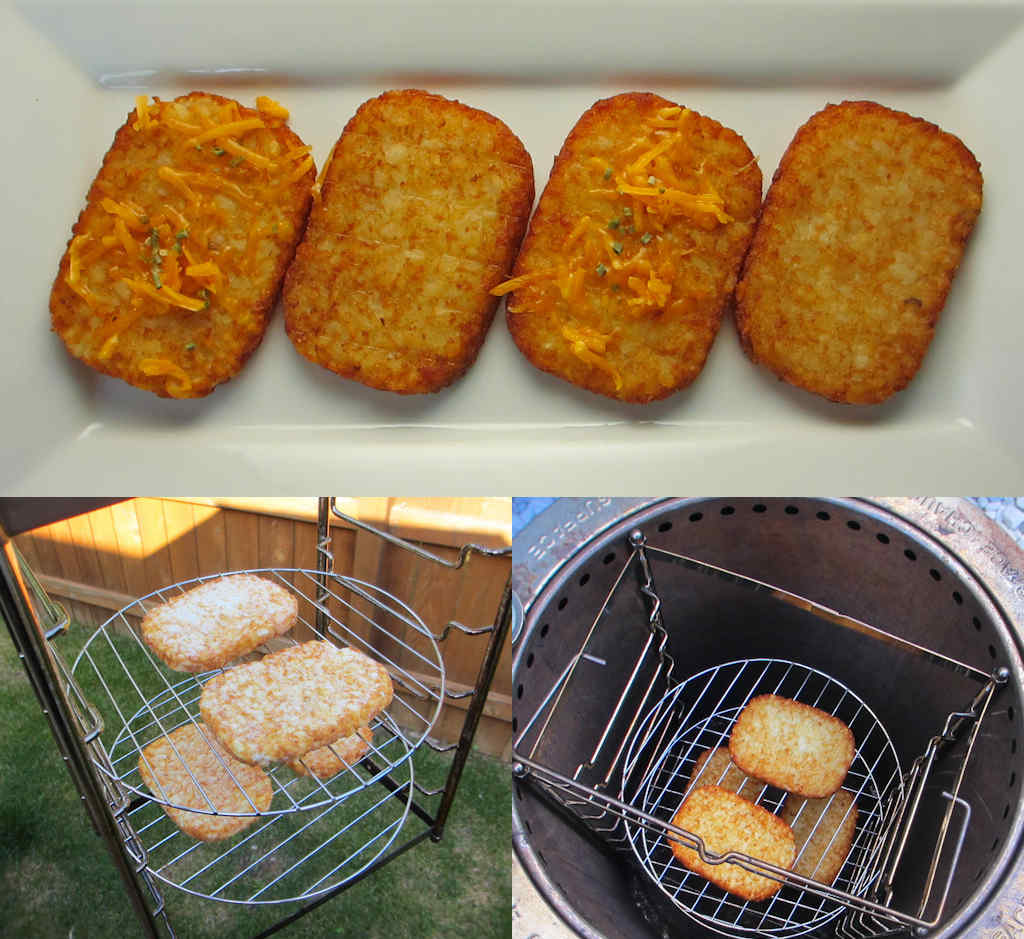
Hash Brown Patties on the Char-Broil Big Easy
Just toss a few little cakes-of-potato-goodness into the cooker and in no time you have crispy golden brown hash browns.
Check out this recipe
10
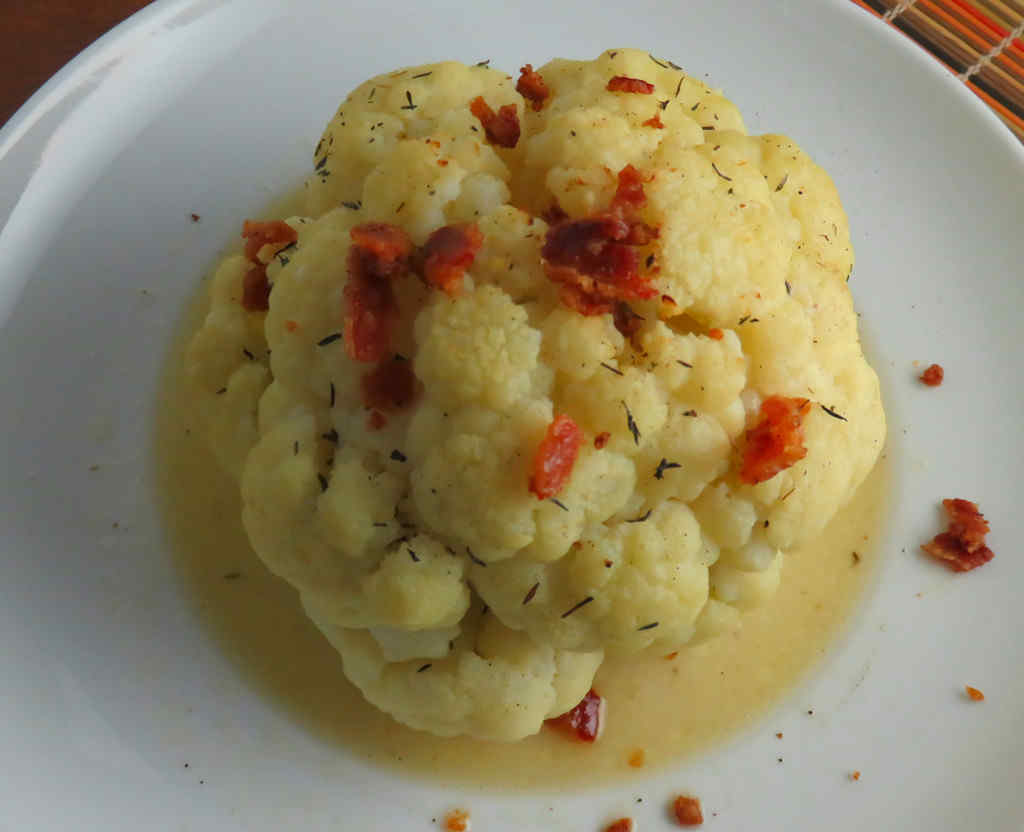
Roasted Cauliflower on the Char-Broil Big Easy
This roasted cauliflower came out absolutely delicious. Tender and flavor-packed, with just a hint of smokiness from the bacon. And as with anything I cook on my Big Easy, it was easy to make.
Check out this recipe
11
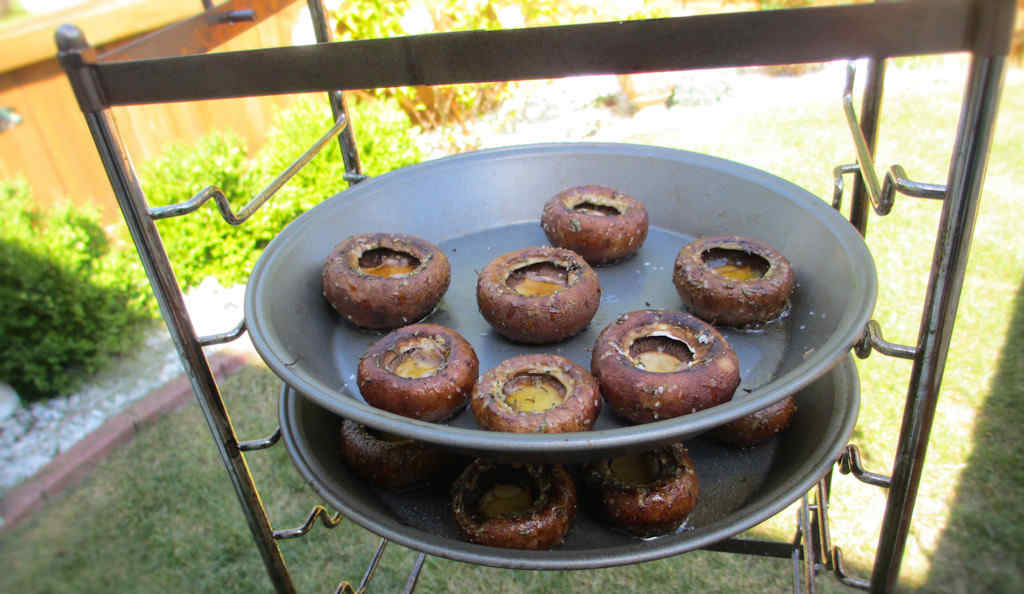
Herb Roasted Mushrooms on the Char-Broil Big Easy
I used smaller baby portabella mushrooms but you can use any mushrooms you wish, even mixing up types when you make herb roasted mushrooms on the Char-Broil Big Easy. Just keep in mind that larger mushrooms or mushrooms with thicker caps might take a bit longer to cook.
Check out this recipe
12
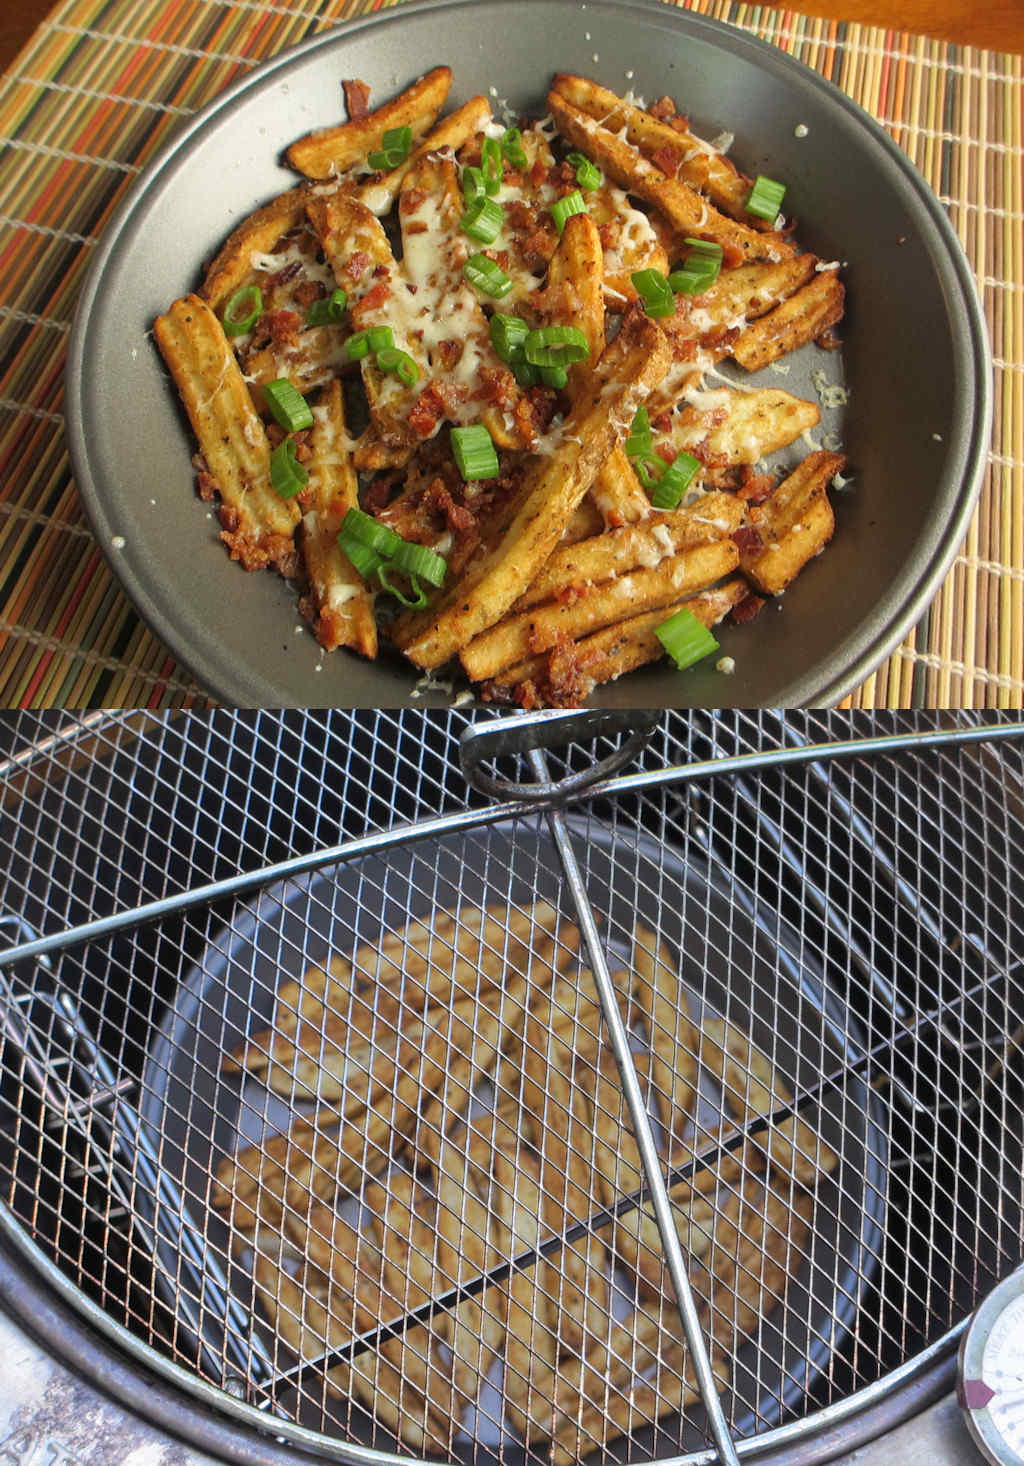
French Fries on the Char-Broil Big Easy
Woo hoo! French fries on the Char-Broil Big Easy! Crispy, hot French fries! Perfection in a pan, and ready in only minutes. Don’t want to heat up the house with the oven making fries during the warmer months? Just toss some (frozen) fries into the Big Easy!
Check out this recipe
Charbroil The Big Easy Bunk Bed Basket…
  • Expands the cooking space of The Big Easy
  • Perfect for cooking two chickens at once

The Best Big Easy Main Dish Recipes

If you’ve followed Life’s A Tomato for any amount of time, you know my Char-Broil Big Easy gets a serious workout all year long. Char-Broil markets it as an oil-less turkey fryer, and yes, it absolutely crushes a Thanksgiving turkey, but that name really sells it short.

Jump to the List

The Char-Broil Big Easy is great at cooking just about everything – I’ve done appetizers, sides, and even desserts on it – but I particularly love using mine for main dishes. That’s where this cooker really earns its spot on my patio.

The Best Big Easy Main Dish Recipes

A Cooking Beast!

What makes it so perfect for main dishes is the TRU-Infrared technology. You get that beautiful, crispy, golden-brown, almost fried exterior without ever having to deal with gallons of oil, splatter, or that heavy fried feeling. On the inside, everything stays ridiculously juicy and tender. It’s that combination of crispy outside, moist inside that makes it ideal for almost any protein you can think of.

EZ. PZ.

It’s also the most foolproof way I know to cook a main course. Most of my recipes come down to the same simple formula: a little oil, your favorite seasoning or rub, and about 10 minutes per pound. No overnight brines, no babysitting charcoal, no constant flipping and checking temps. You load up the basket, drop it in, close the lid, and go make your sides. I get rotisserie-style results with a fraction of the effort, and I don’t have to heat up the whole kitchen to do it.

Cook This. Cook That.

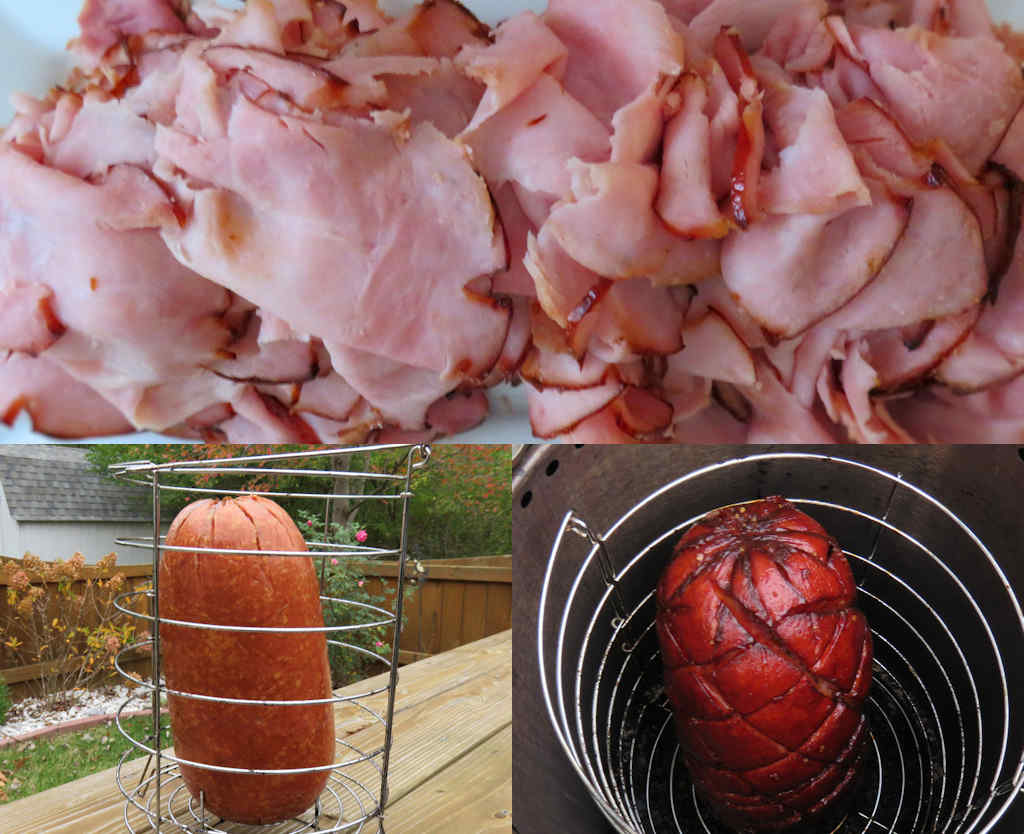
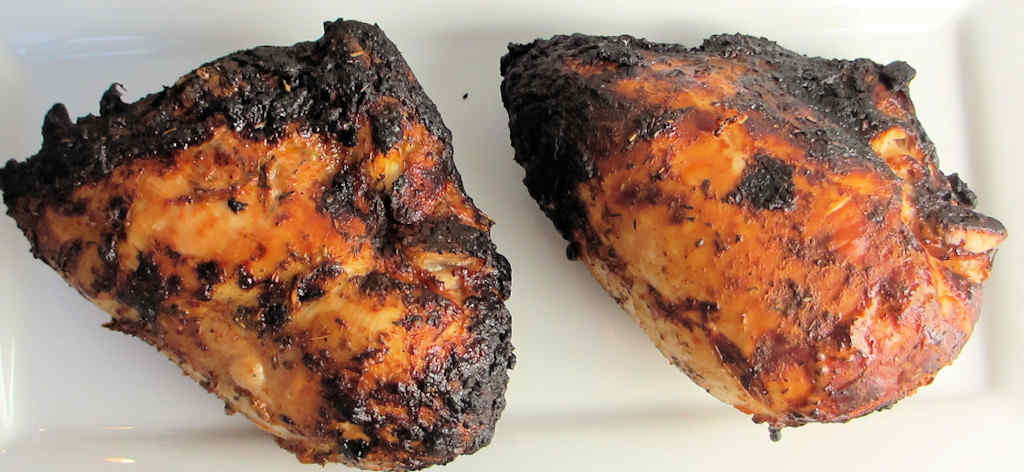
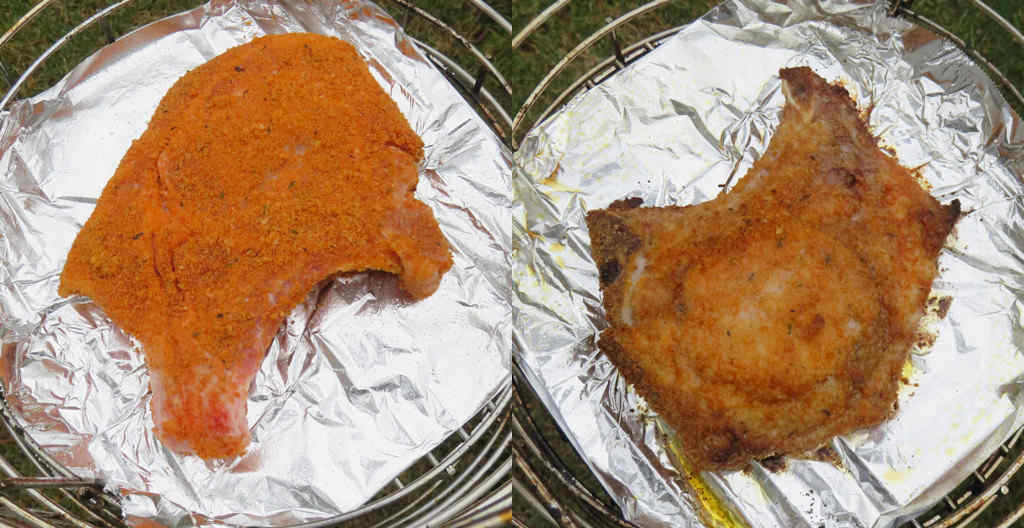
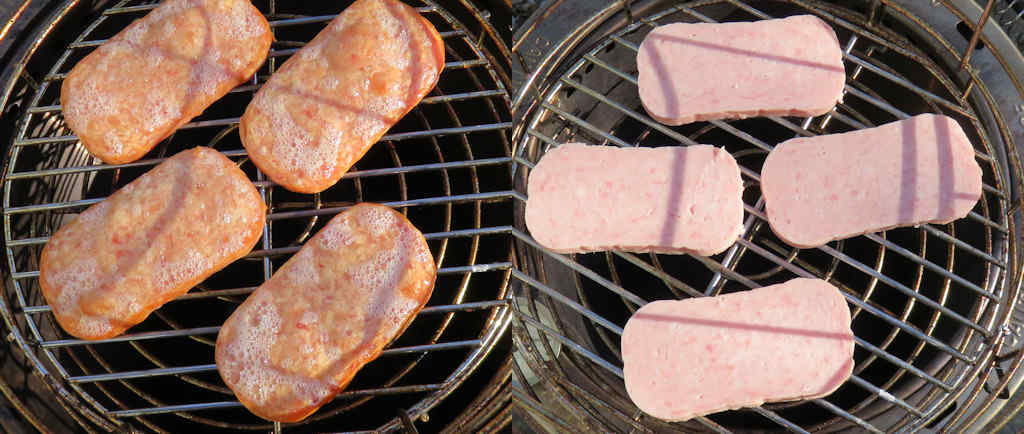
Over the years I’ve cooked just about every main dish you can imagine on mine. We’re talking a 16-pound turkey with no brine and no fuss, Old Bay crab legs that I can never seem to stop eating, honey-chipotle glazed ham with a crispy edge and super-moist center, Shake ‘N Bake pork chops that were unbelievably tender, super-fast Cajun marinated chicken, baby back and St. Louis ribs that fit perfectly when cut down to 11 inches, pulled pork that shreds perfectly for sandwiches in a fraction of my smoker time, garlic lobster tails, simple roast chickens, and yes – even SPAM and hot dogs that came out way better than they had any right to be.

It’s my go-to for both quick weeknight dinners and big weekend cooks, and it’s saved me more than once when I needed a main dish that was guaranteed to impress without a lot of stress.

Let’s Go!

So I decided it was time to round up all of my best hits in one place. Here are some of my favorites!

The List

1
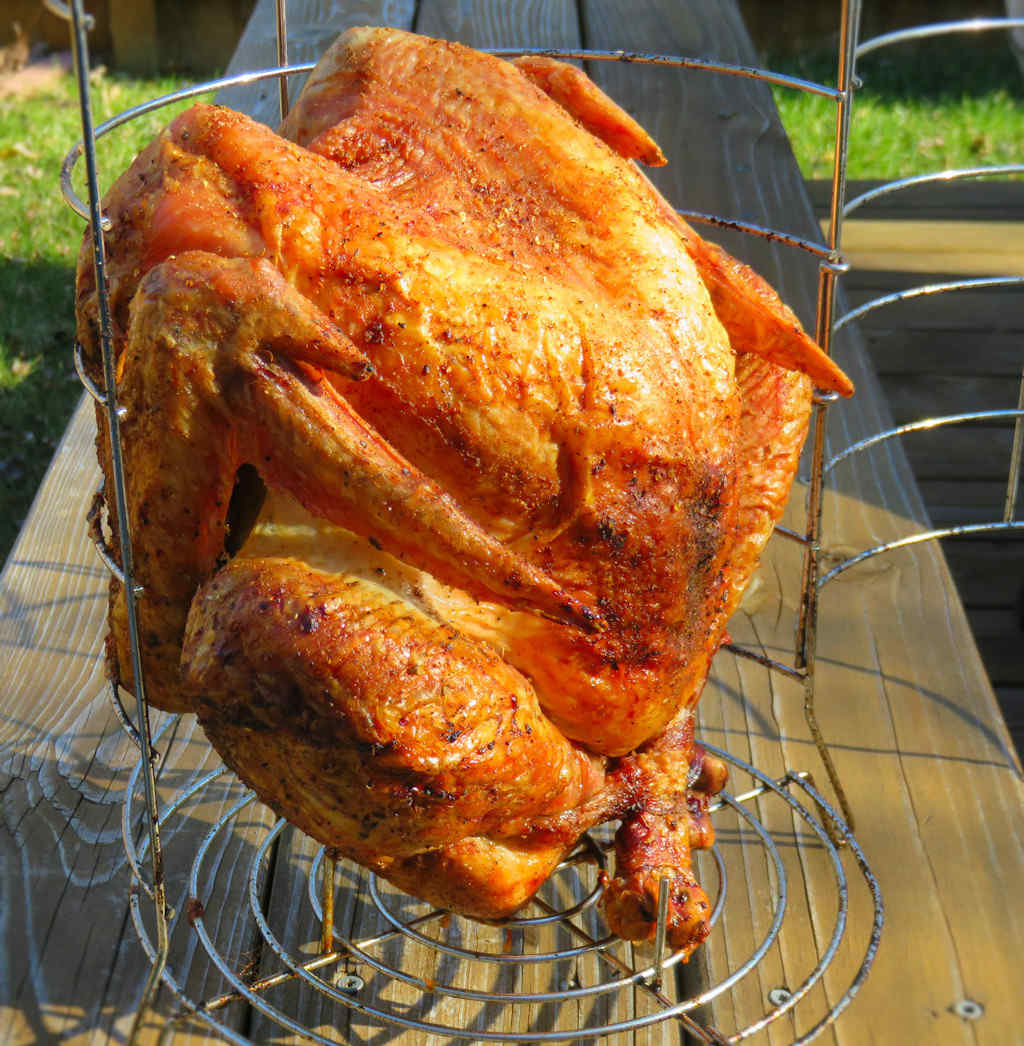
Easy Large Turkey on the Char-Broil Big Easy
No brines. No fancy rubs. Just a 16 pound turkey, a little oil, and some seasoning and 10 minutes per pound.
Check out this recipe
2
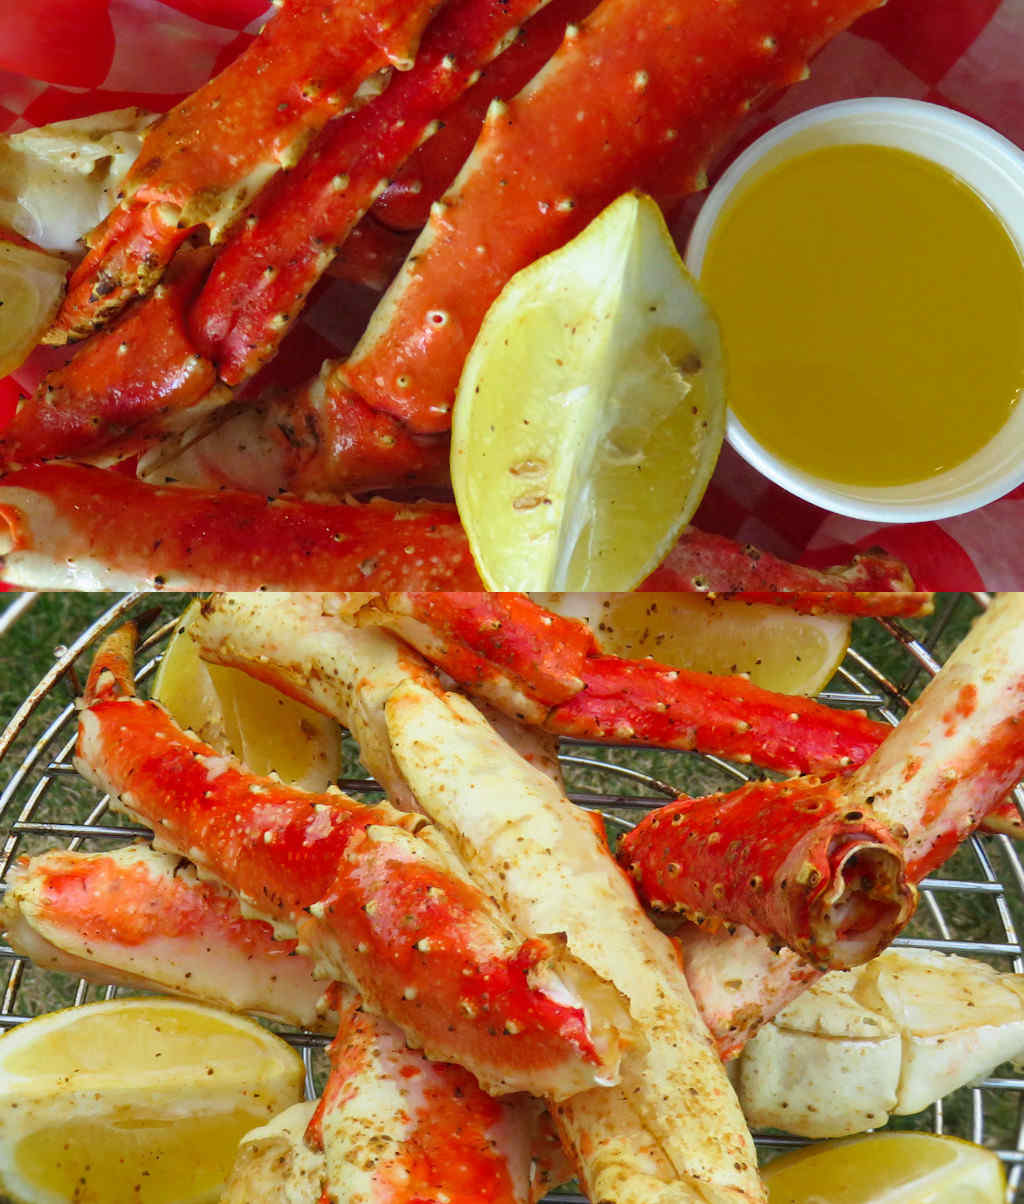
Old Bay Crab Legs on the Char-Broil Big Easy
I can eat a scary amount of crab legs. Fortunately, I don’t have to tell you just how much a ‘scary amount’ is, but when the crab legs are as great as these Old Bay crab legs cooked on my Char-Broil Big Easy, I cannot control myself.
Check out this recipe
3
Honey-Chipotle Glazed Ham on the Char-Broil Big Easy
I’m a big fan of cooking honey-chipotle glazed ham on the Char-Broil Big Easy. The ham gets a nice roasted flavor, a bit of a crispy outside, and a super-moist inside. 
Check out this recipe
4
Cajun Marinated Chicken on the Char-Broil Big Easy
Ready in less than an hour it’s perfect sliced. Perfect cubed over salads. Perfect picked up and devoured.
Check out this recipe
5
Shake 'N Bake Pork Chops on the Char-Broil Big Easy
Shake ‘N Bake Pork Chops on the Char-Broil Big Easy
Crazy tasty, the chops were unbelievably moist and tender. Every bite was so good, I hated coming to the end. 
Check out this recipe
6
Spam on the Char-Broil Big Easy
SPAM on the Char-Broil Big Easy
Yep, I did it. I was expecting not-so-spectacular results. What I got was deliciousness
Check out this recipe
7
Hot Dogs on the Char-Broil Big Easy
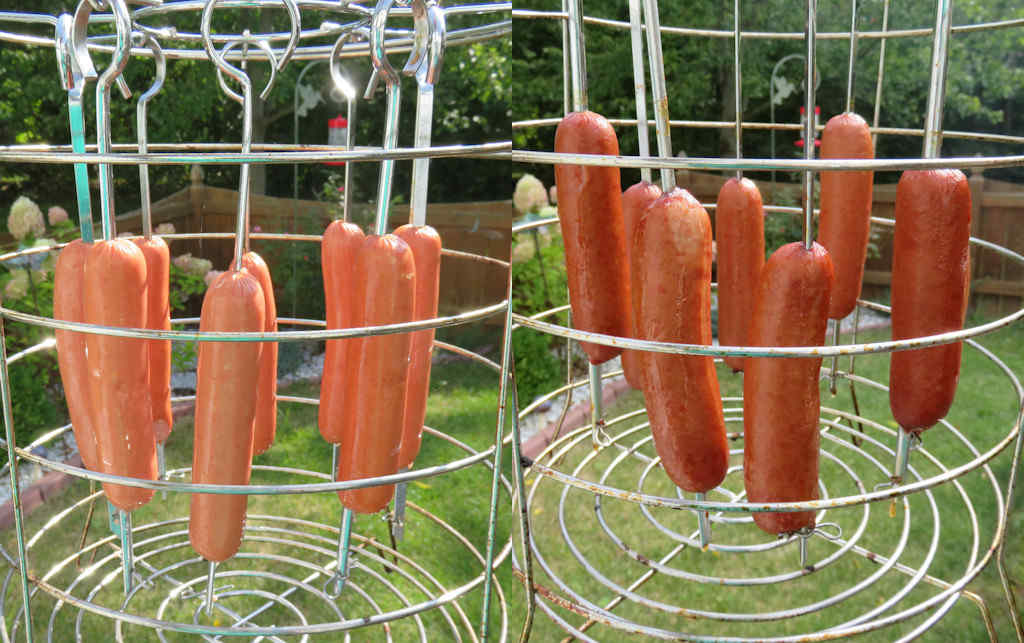
I could’ve fired up my gas grill to cook a batch of hot dogs. Or lit some charcoal. That’s when I had a ‘duh’ moment. The Big Easy! It cooks everything great, so why not use it!
Check out this recipe
8
Garlic Lobster Tails on the Char-Broil Big Easy
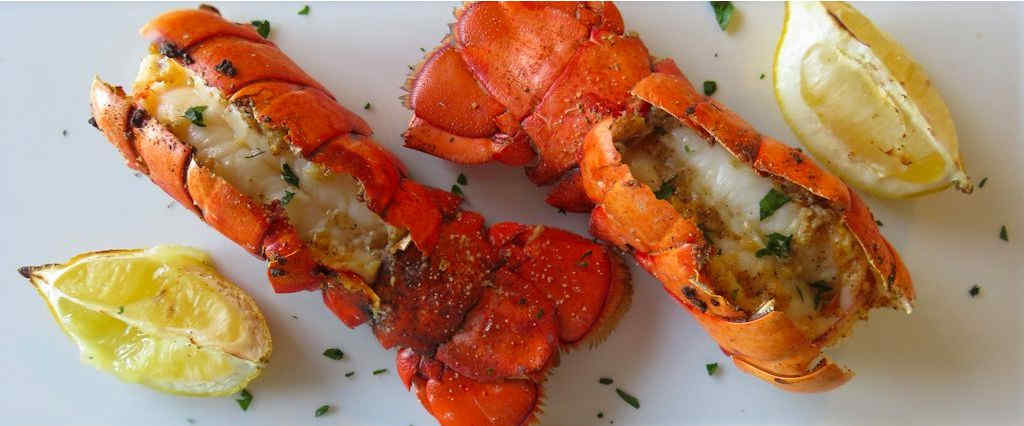
Tender, buttery, garlicky lobster tails cooked absolutely spot-on perfect. .
Check out this recipe
9
Chiavetta's Chicken on the Char-Broil Big Easy
Chiavetta’s Chicken on the Char-Broil Big Easy
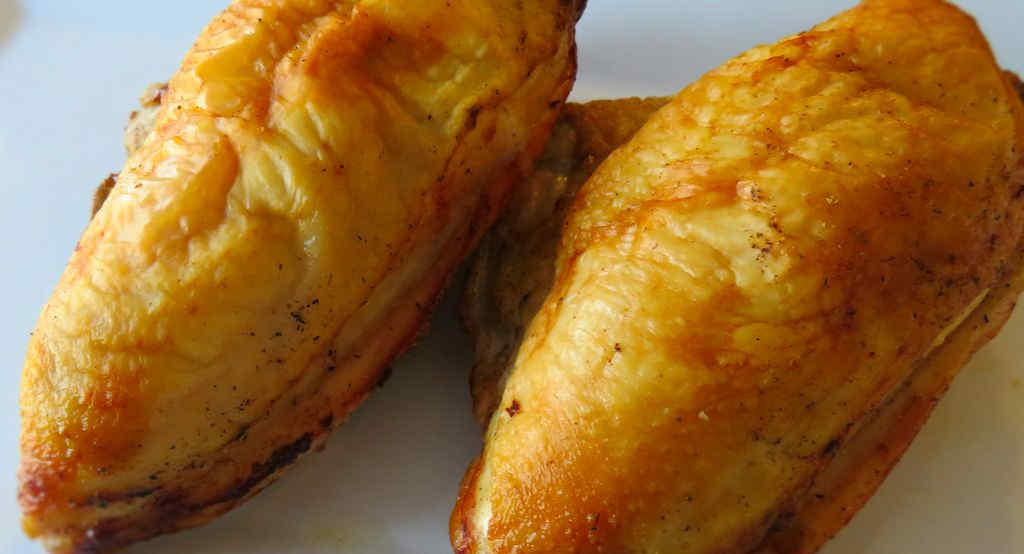
Roasted on the Char-Broil Big Easy, the chicken had a wonderful garlicky, vinegary flavor with wonderfully crunchy skin.
Check out this recipe
10
Simple Roast Chicken using the Char-Broil Big Easy
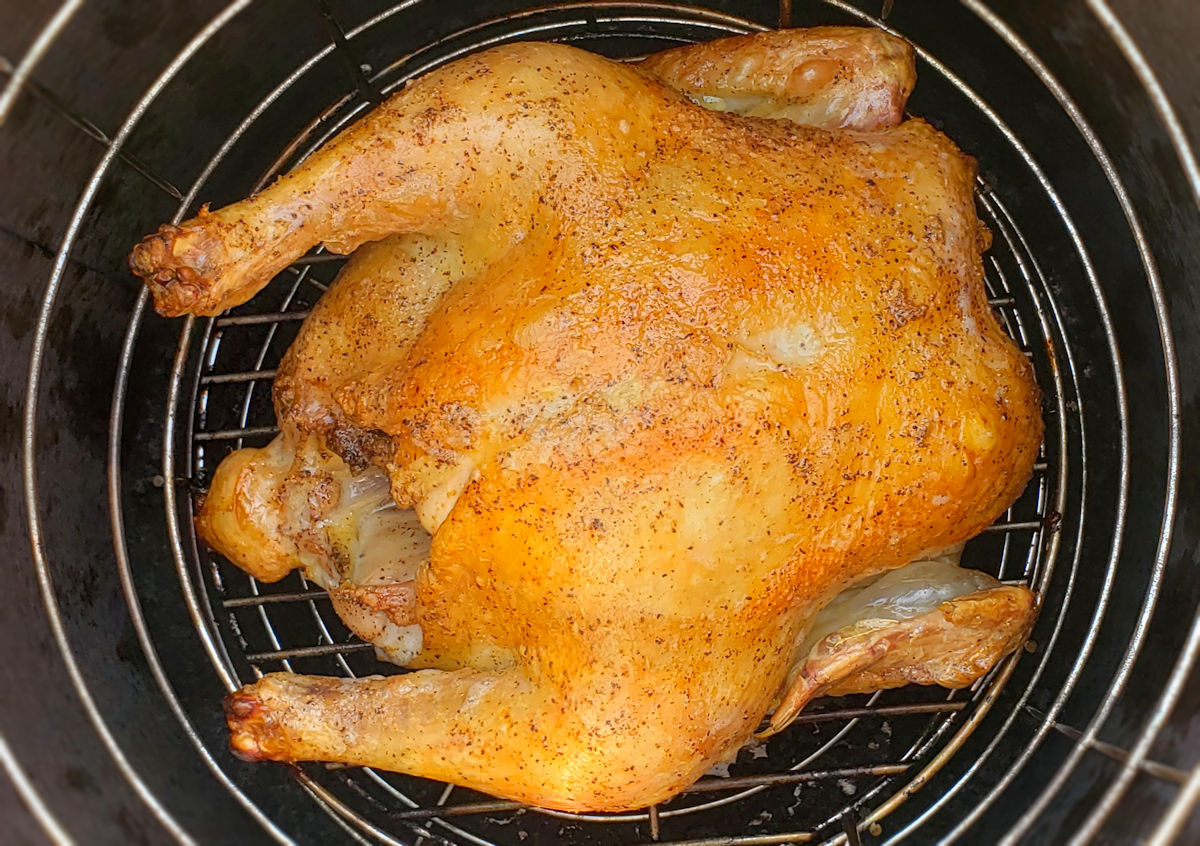
Delicious chicken time-after-time.
Check out this recipe
11
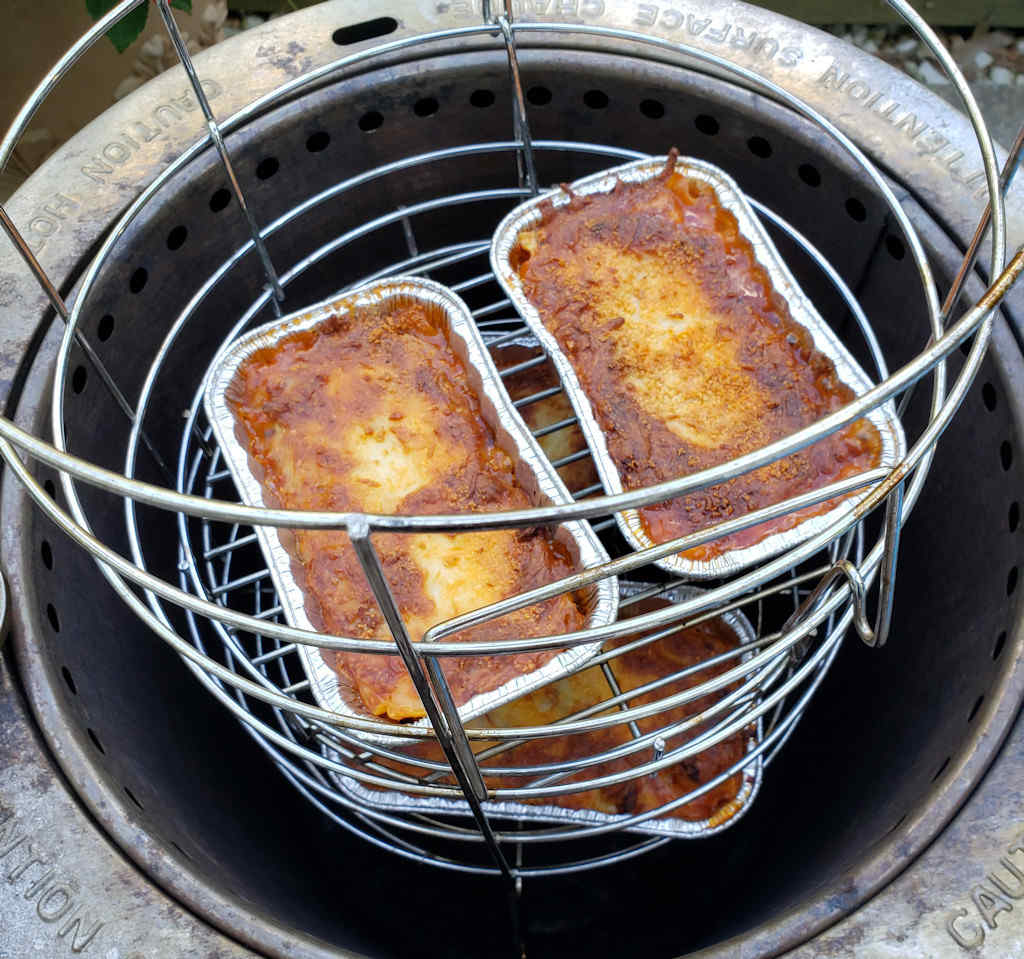
Mini Lasagna on a Big Easy
Mini Lasagna on the Char-Broil Big Easy
Fantastic lasagna cooked in no time!
Check out this recipe
12
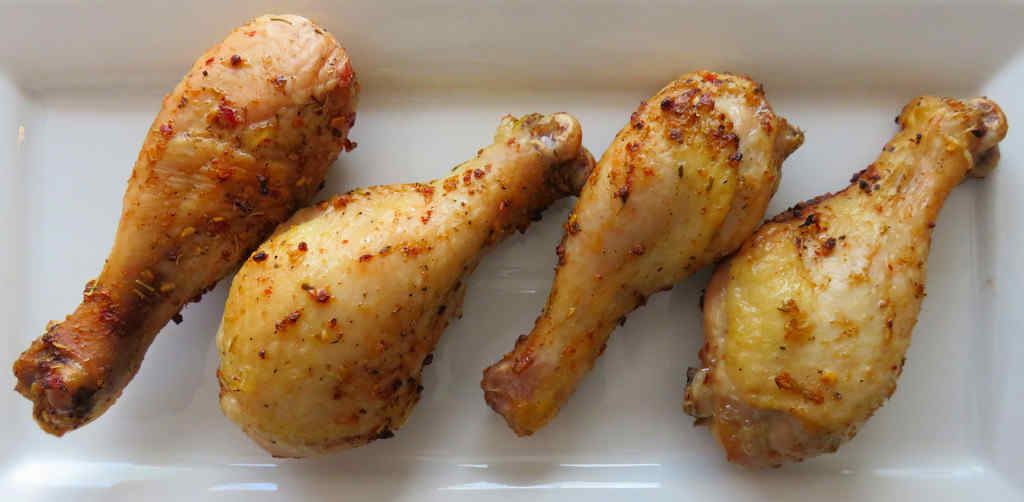
Kick'N Chicken Legs on the Char-Broil Big Easy
Kick’N Chicken Legs on the Char-Broil Big Easy
These Kick’N chicken legs on the Char-Broil Big Easy came out fantastic, just like all the other poultry I’ve ever cooked on the Big Easy. Super moist and tender.
Check out this recipe
13
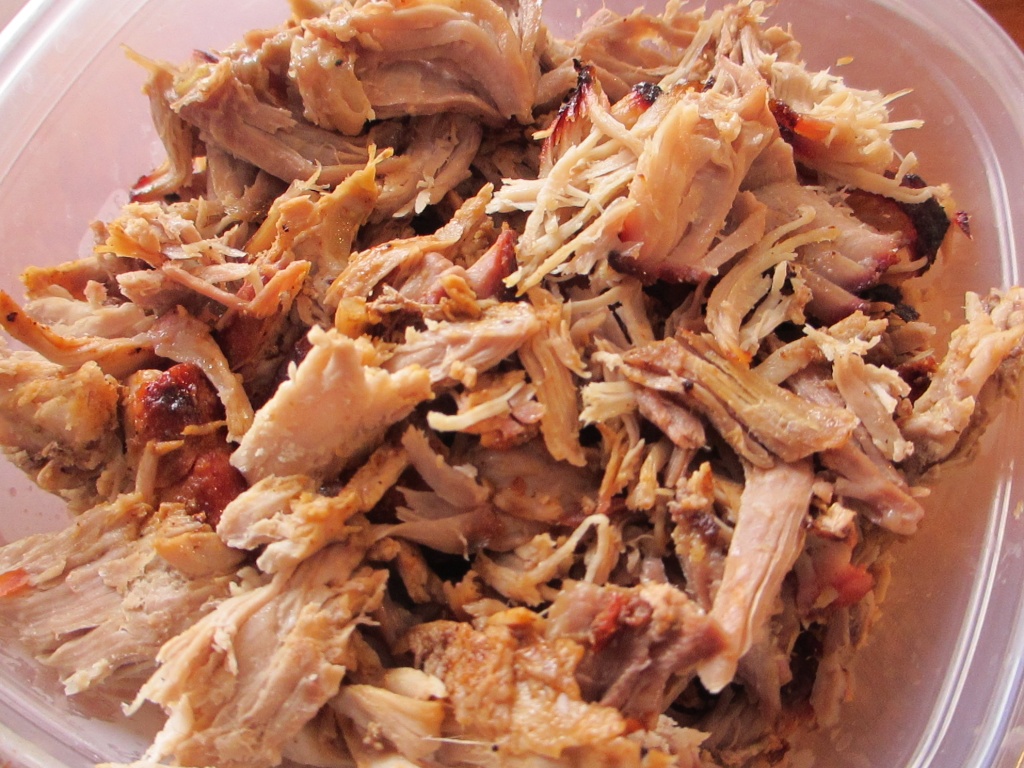
Pulled Pork on the Char-Broil Big Easy
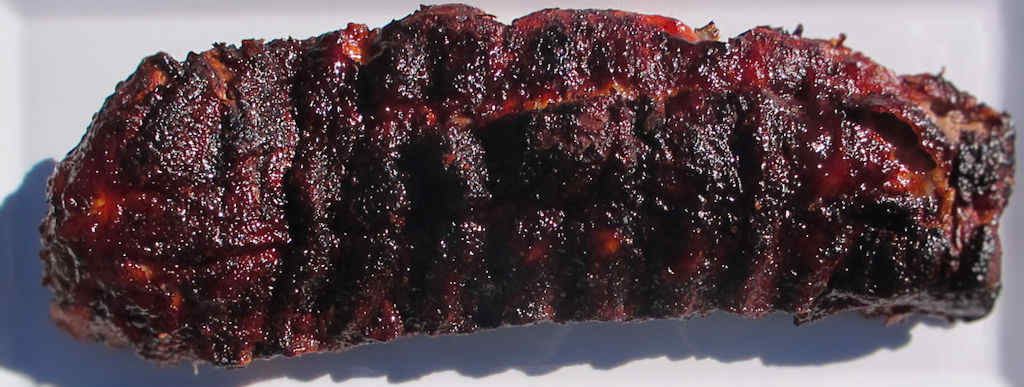
Cooking a pork butt on the Big Easy was not only easy and quick (compared to a 10-12 hour cook time on my smoker), but the end product came out super moist and tender. The meat shreds very easily, perfect for BBQ sandwiches or my favorite, BBQ pulled pork baked potatoes.
Check out this recipe
14
Baby Back Ribs on the Char-Broil Big Easy 2
Baby Back Ribs on the Char-Broil Big Easy
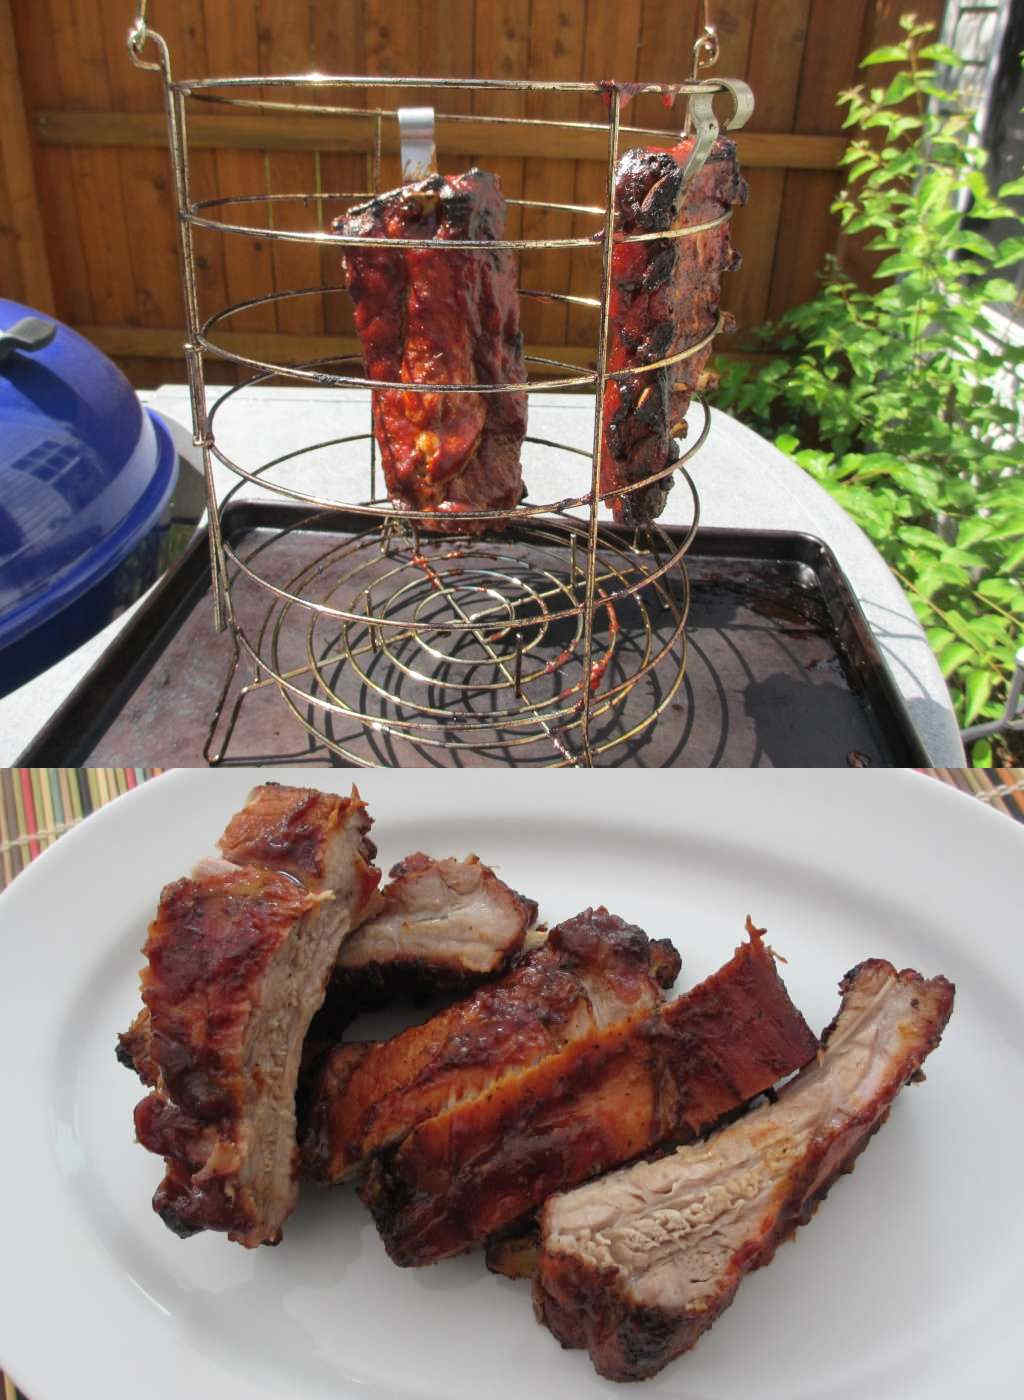
I’d make these ribs again. And again. You can fit 2 racks into the Big Easy (they have to be cut to fit as they have to be around 11″ or so or less in length).
Check out this recipe
15
St. Louis Ribs on the Char-Broil Big Easy
I could not have been happier with how great these St. Louis-style ribs on the Char-Broil Big Easy came out. 
Check out this recipe
16
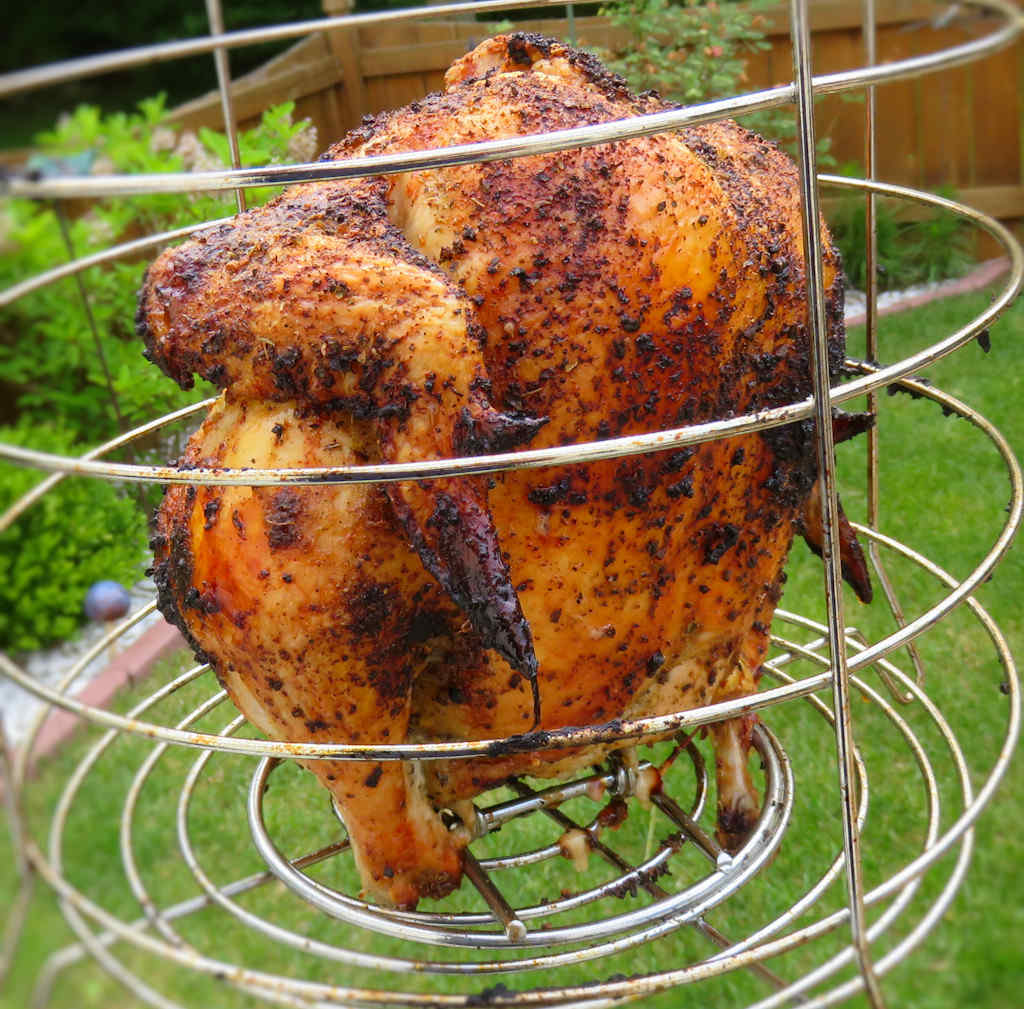
Beer-Can Seasoned Chicken on the Char-Broil Big Easy
The seasoning is so good you can leave out the beer can. The Big Easy cooks up chicken so moist and tender you won’t notice it’s not there, and the Weber seasoning packs such great flavor you’ll be as happy as if you did use the beer.
Check out this recipe
Charbroil The Big Easy Bunk Bed Basket…
  • Expands the cooking space of The Big Easy
  • Perfect for cooking two chickens at once

The Best Big Easy Appetizer And Dessert Recipes

Most folks buy the Char-Broil Big Easy thinking they’re getting a safer, easier way to fry a Thanksgiving turkey without all that oil, and that’s exactly how I started too. That first turkey was so juicy on the inside and so perfectly browned on the outside that I was instantly hooked. But after years of cooking on it almost every single week here at Life’s A Tomato, I can tell you the Big Easy is so much more than a turkey fryer.

Jump to the List

The Char-Broil Big Easy is great at cooking everything, including appetizers and desserts. Here are some of my favorites!

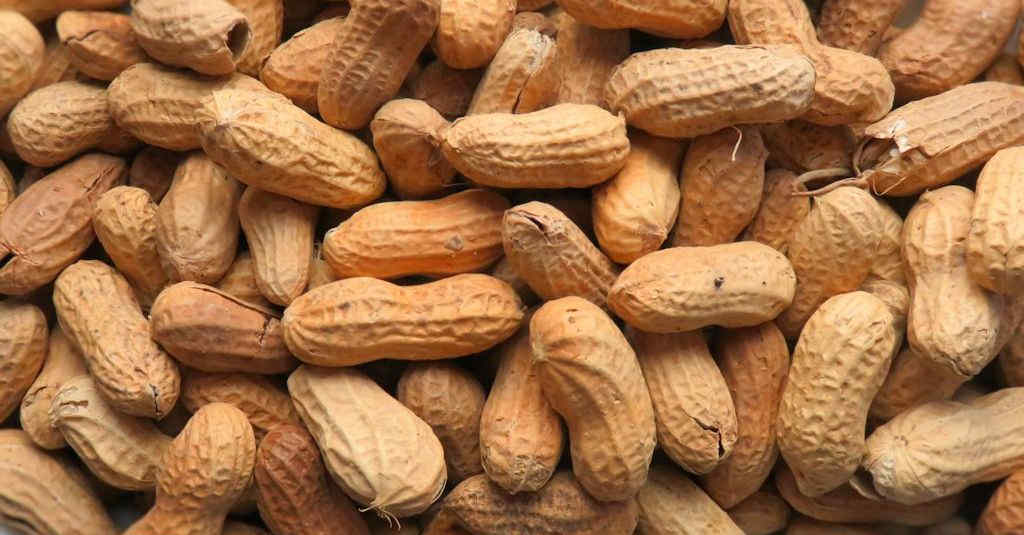
Roasted Peanuts on the Char-Broil Big Easy

What makes it such a powerhouse for appetizers and desserts is that TRU-Infrared heat. You get even, high heat that roasts instead of just burning, so you get crispy, caramelized edges without flare-ups and without having to stand over a grill babysitting everything. And because it’s all happening outside in that tall cooking basket, your kitchen stays cool and clean. No smoky oven, no pot of hot oil splattering, no extra dishes.

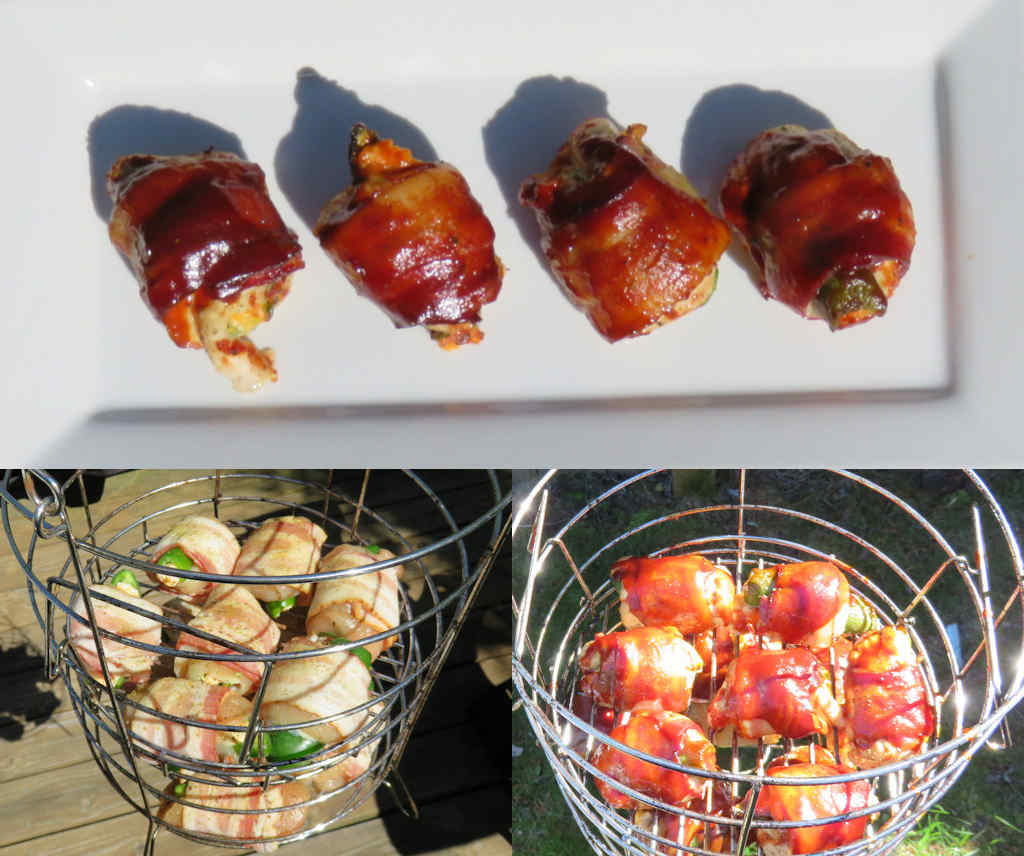
For appetizers, that’s a game-changer. I can throw in a big batch of Yard Bird Wings, Bacon Jalapeno Tots, or my Bacon BBQ Chicken Bombs and have them done quickly with that perfect combination of charred outside and juicy inside. It roasts peanuts and pumpkin seeds in just a few minutes with a deeper, nuttier flavor than you ever get from the oven, and things like BBQ Shrimp in Oyster Shells and Pickle Poppers come out with a little smoky roast that you just can’t replicate inside. It’s become my go-to for game days, backyard parties, and any time friends say “bring a snack.”

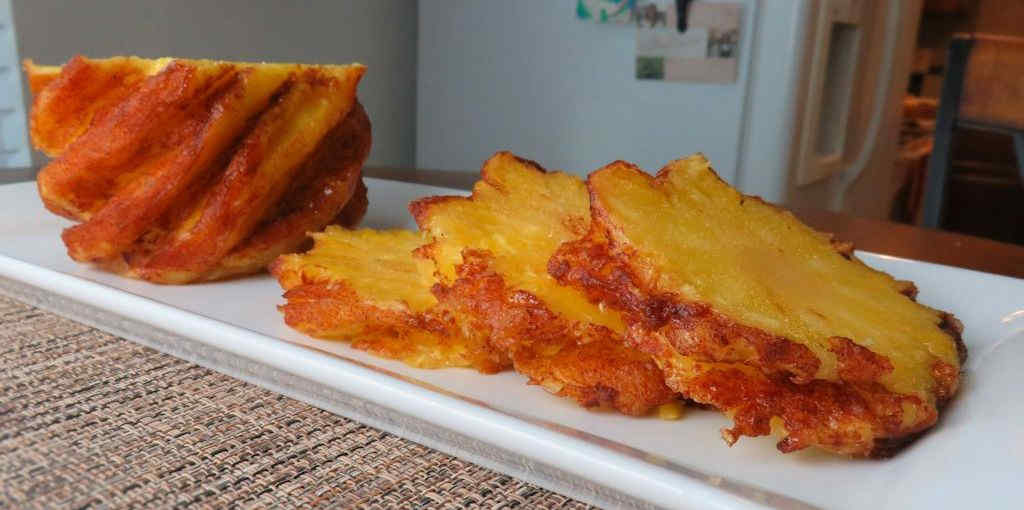
Then there’s the dessert side, which is where people are always the most surprised. That same infrared heat caramelizes sugar beautifully. My Brazilian Pineapple brushed with coconut milk and rolled in cinnamon-sugar gets perfectly tender and caramelized, and yes — even Loaded Roasted Twinkies. They puff up, get a little toasty on the outside, and then you can load them with whatever you’ve got in the pantry. It’s the world’s easiest Big Easy dessert and it proves this cooker can handle sweet just as well as savory.

Let’s Get To It!

So I went through the archives and pulled together this roundup of the recipes I actually make over and over again. These aren’t just experiments — they’re the appetizer and dessert recipes my family and friends ask for by name.

The List

1
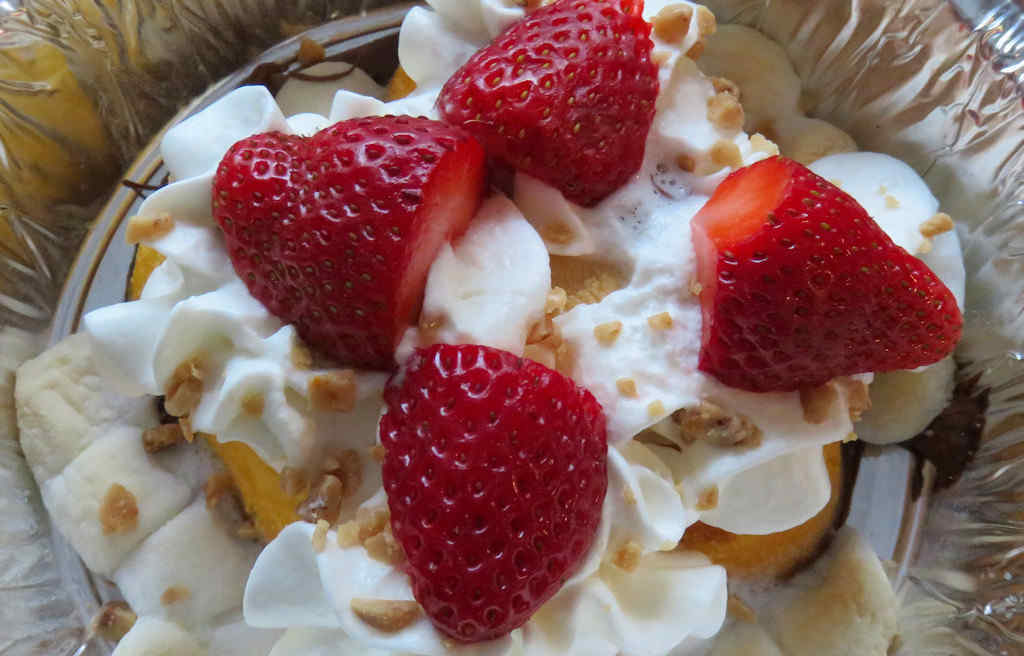
Loaded Roasted Twinkies on the Char-Broil Big Easy
This is the world’s easiest dessert. And they can be topped with darn near anything you have in the pantry, fridge or freezer. 
Check out this recipe
2
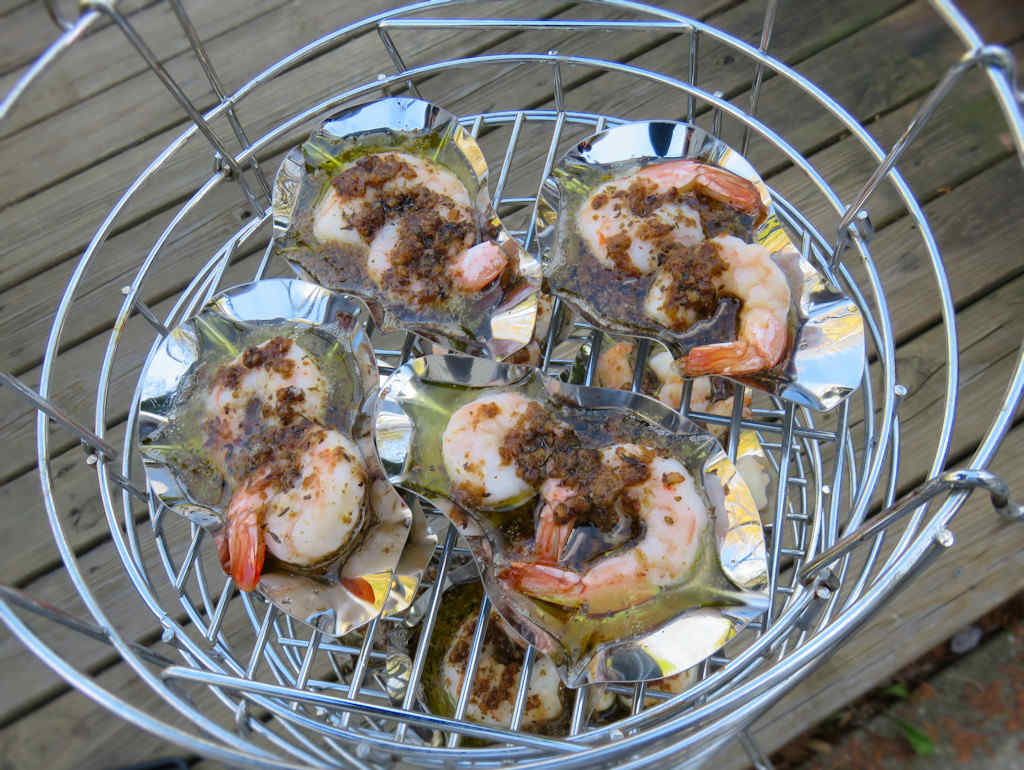
BBQ Shrimp in Oyster Shells on the Char-Broil Big Easy
BBQ Shrimp in Oyster Shells on the Char-Broil Big Easy are so good you'll find yourself eating making them again and again!
Check out this recipe
3
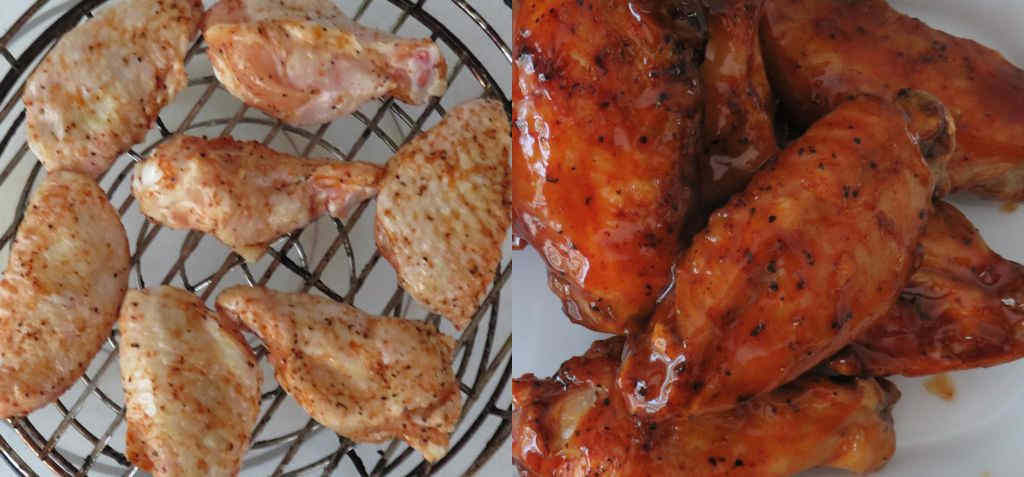
Yard Bird Wings on the Char-Broil Big Easy
Yard Bird wings are always my go-to way of cooking wings.
Check out this recipe
4
Brazilian Pineapple on the Char-Broil Big Easy
Deliciously sweet pineapple, brushed with coconut milk and sprinkled with cinnamon-infused sugar. Roasted to perfection. Brazilian pineapple on the Char-Broil Big Easy is a win.
Check out this recipe
5
Roasted Peanuts on the Char-Broil Big Easy
Deliciously roasted peanuts ready in no time!
Check out this recipe
6
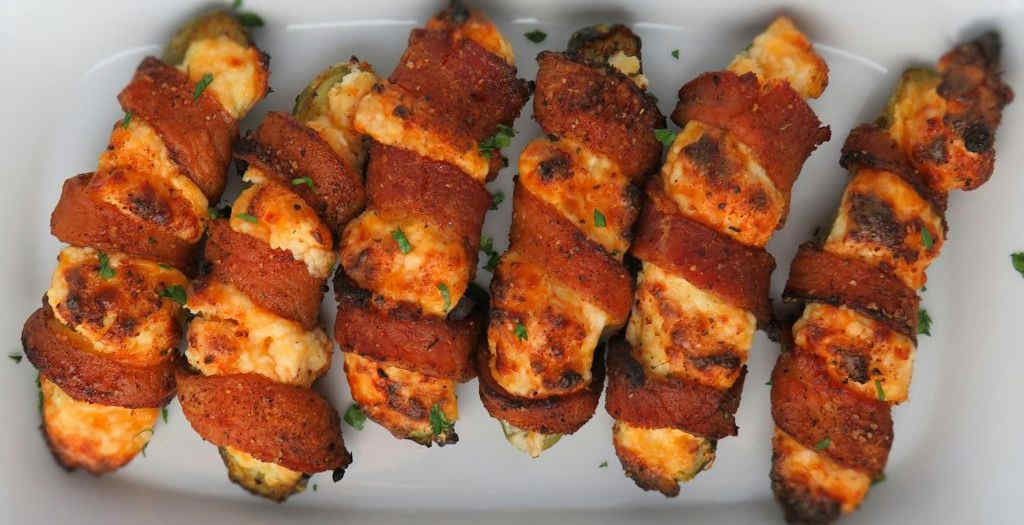
Pickle Poppers on the Char-Broil Big Easy
“They’re too darned spicy”, Aunt Martha said. Well, today is Aunt Martha’s lucky today because now she can chow down on some super-tasty pickle poppers without worrying about the heat.
Check out this recipe
7
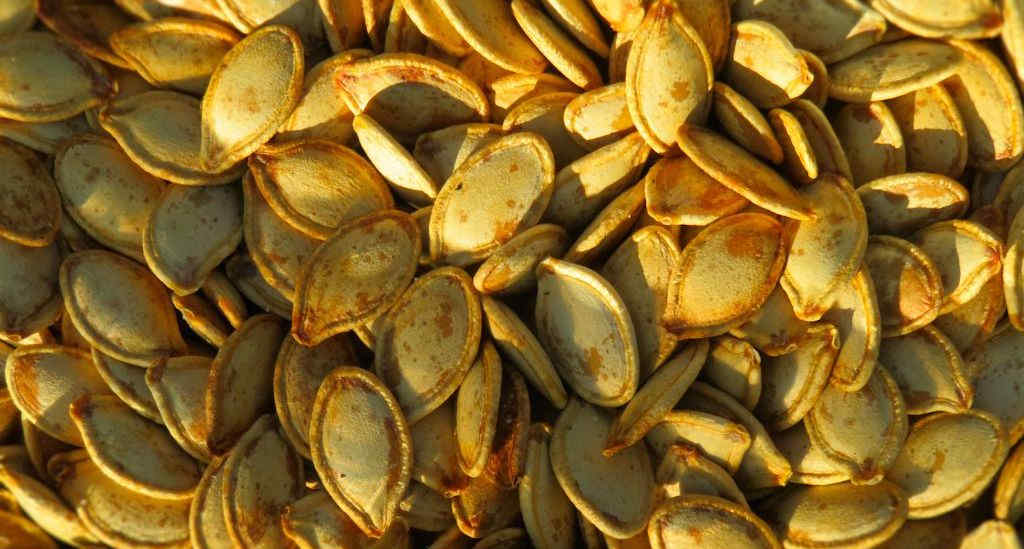
Roasted Pumpkin Seeds on the Char-Broil Big Easy
Crunchy salty seeds ready in no time!
Check out this recipe
8
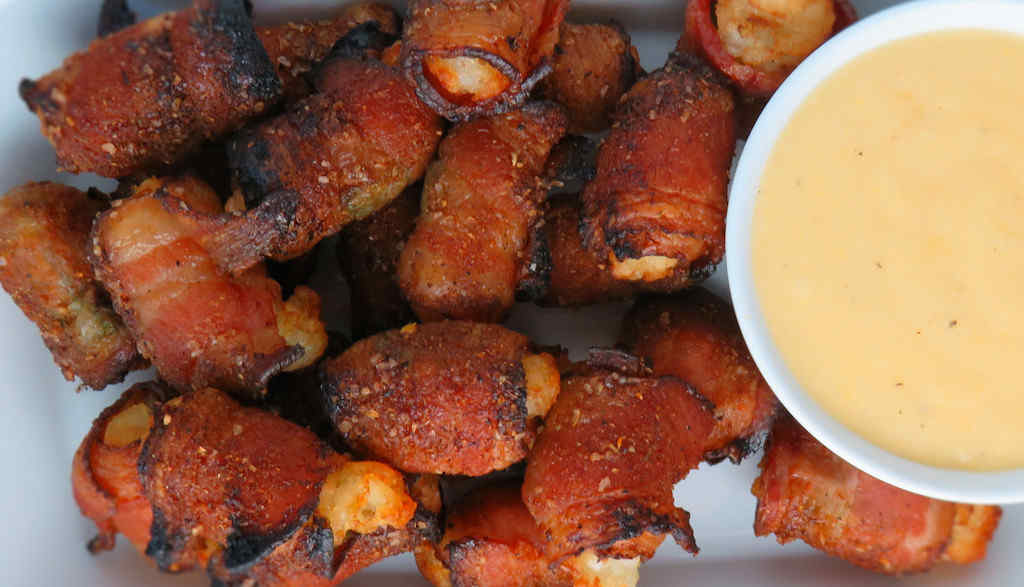
Bacon Jalapeno Tots on the Char-Broil Big Easy
The key to cooking bacon-wrapped tater tots on the Char-Broil Big Easy is to cook them until they just start to char. They won’t be super crispy yet. That happens after you take them out of the cooker and they cool. The bacon will crisp up as it sits.
Check out this recipe
9
Bacon BBQ Chicken Bombs on the Char-Broil Big Easy
Good doesn’t even come close to describing these. Each bite pops with tender, moist chicken, cheese-stuffed jalapenos, bacon and BBQ sauce.
Check out this recipe
Charbroil The Big Easy Bunk Bed Basket…
  • Expands the cooking space of The Big Easy
  • Perfect for cooking two chickens at once

Slow Cooker Ranch Corn Chips

Well, that was embarrassing. I’m guessing that these slow cooker Ranch corn chips were supposed to last at least a few hours. Heck, it says ‘makes 12 servings’ in the recipe. So much for that idea. They’re just a little too good to sit around. They didn’t last long and I’d be tempted to say it’s more like 4 servings…. or 2. Packed with Ranch flavor, you can’t beat this simple snack recipe. The fact that I’m addicted to Ranch flavors didn’t help me with my self-control. Again.

Slow Cooker Ranch Corn Chips

The Search For Corn Chip Perfection

The recipe for slow cooker Ranch corn chips calls for a single 9.75 ounce bag of chips. I found that our bag had about a cup of crumbs at the bottom. You can’t use those in this recipe. I recommend that you grab 2 bags and sort through them, only using the best chips you find. Save the crumbs to grind and thicken chili. Or sprinkle them on top of salads in lieu of croutons or bacon.

Sale
Crock-Pot 7-Quart Manual Slow Cooker, Family Size…
  • Generous Capacity: 7-quart slow cooker that…
  • Cooking Flexibility: High or low slow cooking…

I would point out that the recipe does say to let the chips cool before serving. You’re probably going to find that difficult to do. “The waiting is the hardest part” as Tom Petty once sang.

Also try my quick fix Tex-Mex corn chip chili.

Slow Cooker Ranch Corn Chips
Print Pin
5 from 1 vote

Slow Cooker Ranch Corn Chips

Packed with Ranch flavor, you can't beat this simple snack recipe.
Course Appetizer
Cuisine American
Keyword corn chips, crockpot, Ranch, slow cooker
Prep Time 5 minutes
Cook Time 2 hours
Cooling time 1 hour
Servings 12
Calories 126kcal

Ingredients

Instructions

  • Place the chips in a large bowl.
  • In a small bowl, stir together the melted butter and the dip seasoning.
  • Pour butter mixture over the chips, gently stirring them with a spatula as you pour so they get covered.
  • Gently stir until the chips are well coated with the butter mixture.
  • Place chips in a slow cooker on high, uncovered, for 2 hours, stirring every 20 minutes or so.
  • Spread the chips out on a large piece of wax paper and let cool before serving.

Notes

You might need to grab 2 bags of chips so that you can get enough perfect chips to make a batch. Our bag had quite a few crumbs in it so we ended not being able to use a good cup worth of them. 

Nutrition

Calories: 126kcal | Carbohydrates: 15g | Protein: 2g | Fat: 7g | Saturated Fat: 1g | Polyunsaturated Fat: 3g | Monounsaturated Fat: 2g | Trans Fat: 1g | Cholesterol: 1mg | Sodium: 136mg | Potassium: 45mg | Fiber: 1g | Sugar: 1g | Vitamin A: 17IU | Calcium: 49mg | Iron: 1mg

Nutritional values are approximate.

Sale
Reynolds Kitchens Slow Cooker Liners, Regular…
  • Package Includes: Six (6) Reynolds Kitchens Slow…
  • Easy Cleanup: These strong, reliable slow cooker…

Outback Steakhouse Bloomin’ Fried Shrimp (Copycat Recipe)

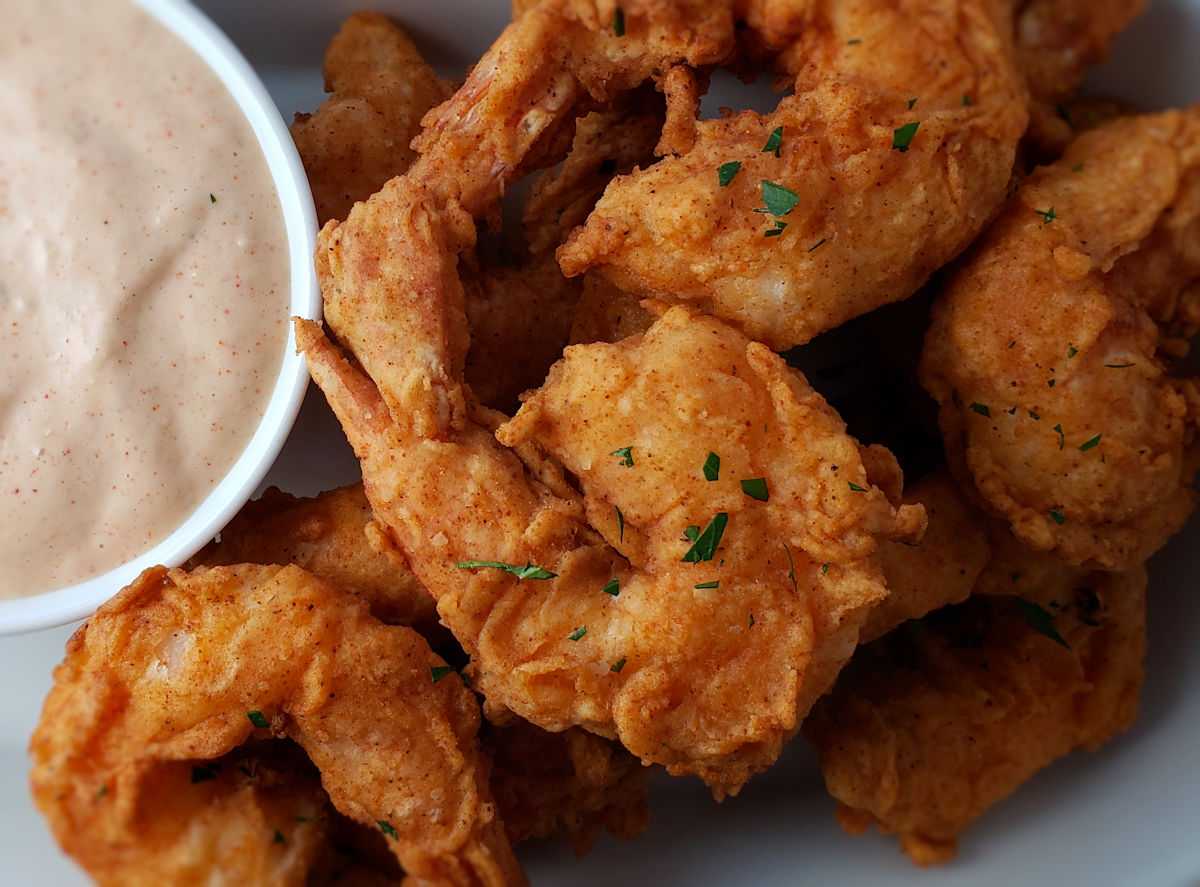
Oh, how I do love perfectly battered, perfectly fried shrimp. As soon as I took my first bite of this copycat recipe of Outback Steakhouse Bloomin’ Fried Shrimp I knew I should’ve made more. A whole lot more And I should’ve doubled the sauce recipe, too. The shrimp are seasoned just right. They’re tender. The batter stays on and that’s a major plus. My goodness, is there anything worse than taking a bit of fried food and having all of the batter come off with that first taste? The dipping sauce is different. Kind of cocktail sauce-like, but mayonnaise-based. It’s quite good and would be great with fried fish or even on a fish sandwich. These are great shrimp. I’d make these time and time again.

Outback Steakhouse Bloomin' Fried Shrimp (Copycat Recipe)

The Perfect Combination

The key to making these copycat recipe Outback Steakhouse Bloomin’ fried shrimp is to not over-cook them. For me, that means about 90 seconds. I use 16-20 count (large) shrimp. If you’re new to frying shrimp, I recommend starting with just one little ole shrimp. Fry it, and keep an eye on the time. When you think it’s done pull it out and try it (after cooling of course). If it’s too done, knock 15 seconds off the cook time and try another test shrimp. Not done enough? Add 15 seconds and try again.

If you’re cooking your shrimp in batches, give the oil some time to get hot again in-between adding more shrimp. You don’t want to cook shrimp in less-than-hot oil. The better your deep-fryer, the better it’ll recover in-between batches.

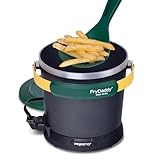
The Presto Fry Daddy is perfect for making smaller batches of food. It only uses a few cups of oil and comes to temperature quickly. Clean-up is easy too!

Sale
Presto 05427 FryDaddy Electric Deep Fryer
  • SPECIAL GREEN/GOLD EDITION: Our best-selling…
  • FOUR SERVINGS: Makes four servings of french fries…

Also try my copycat of the Outback Steakhouse Gold Coast coconut shrimp.

Copycat Outback Steakhouse Bloomin' Fried Shrimp
Print Pin
5 from 1 vote

Outback Steakhouse Bloomin’ Fried Shrimp (Copycat Recipe)

Fantastic shrimp with an equally-fantastic dipping sauce.
Course Appetizer or Main
Cuisine American
Keyword deep-fried, shrimp
Prep Time 15 minutes
Cook Time 15 minutes
Servings 4
Calories 470kcal

Ingredients

For the Bloomin' Sauce

For the shrimp

Instructions

For the Bloomin' Sauce

  • Whisk together all ingredients in a small bowl.
  • Refrigerate until ready to use.

For the shrimp

  • Heat 3" of oil to 350 F in a deep fryer or Dutch oven.
  • In a pie plate or shallow bowl, combine the flour, paprika, garlic powder, salt, pepper and cayenne.
  • In another pie plate or shallow bowl, stir together the buttermilk and water.
  • Place a wire rack over a cookie sheet.
  • Coat the shrimp in the flour mixture and shake off any excess.
  • Roll the shrimp in the buttermilk and shake off any excess.
  • Return the shrimp to the flour mixture and coat again. Shake off any excess and transfer to the wire rack.
  • Working in batches if needed, fry the shrimp for 1-2 minutes (I prefer 1 minute and 30 seconds), turning once, until golden brown. Remove to another wire rack or a paper towel-lined plate.
  • Serve with the Bloomin' sauce for dipping.

Notes

Make extra sauce. It’s yummy!

Nutrition

Calories: 470kcal | Carbohydrates: 54g | Protein: 9g | Fat: 24g | Saturated Fat: 5g | Polyunsaturated Fat: 13g | Monounsaturated Fat: 5g | Trans Fat: 0.1g | Cholesterol: 18mg | Sodium: 1026mg | Potassium: 219mg | Fiber: 2g | Sugar: 5g | Vitamin A: 411IU | Vitamin C: 9mg | Calcium: 91mg | Iron: 3mg

Nutritional values are approximate.

Lodge Silver 12 Inch Aluminum Foil Dutch Oven…
  • YOUR NEW GO-TO DUTCH OVEN LINERS: The Lodge Dutch…
  • WHAT’S COMPATIBILE? This dutch oven liner pairs…
IPROUDER Cast Iron Trivet 2 PCS Set, 8-inch, Meat…
  • Made of cast iron and seasoned with natural…
  • Raises meats, sourdough bread, pies, and other…

Sour Cream Sloppy Joes

Wow. Just wow. Someone went and messed with my beloved Sloppy Joes and to my shock, they made them better. I didn’t think that was possible. And they’re not just a bit better, but a WHOLE LOT better! These sour cream Sloppy Joes are different. Totally different. It’s a cross between a traditional version with a creamy sauce and Asian-inspired flavors. It might sound weird, but it works and it works great!

Sour Cream Sloppy Joes

A Crazy Good Variation On The Classic

I’m not sure I would’ve eaten sour cream Sloppy Joes as a kid. I was pretty much stuck on the usual old-school way of making them. Now, I’d jump on these like a bull dog on a pork chop. I loved them. My wife loved them. They were a big hit here. If I could back in time, I’d tell little kid me to ask mom if she would make these instead. She’d probably leave out the hot sauce, though.

I like to use my good ole trusty Dutch oven to make this soup and pretty much darned near anything like it on my stovetop. It’s nice and big and sturdy. That extra weight helps it maintain and distribute heat perfectly. As an added bonus, it’s actually pretty easy to clean up too!

Amazon Basics Enameled Cast Iron Dutch Oven Pot…
  • OVEN SAFE DESIGN: Withstand temperatures up to…
  • EXCELLENT HEAT RETENTION: This heavy-duty cast…

Also try my delicious copycat Manwich sloppy joes.

Sour Cream Sloppy Joes
Print Pin
5 from 1 vote

Sour Cream Sloppy Joes

I'm not sure I would've eaten sour cream Sloppy Joes as a kid. Now, I'd jump on these like a bulldog on a pork chop.
Course Main
Cuisine American
Keyword beef, sandwich
Prep Time 5 minutes
Cook Time 20 minutes
Servings 8
Calories 435kcal

Equipment

Ingredients

Instructions

  • Heat oil in a large skillet or Dutch oven. Add the onion and sauté until just starting to soften.
  • Add in the ground beef. Brown, breaking into small pieces as it cooks.
  • Reduce heat to medium. Stir in the basil, sour cream, chili sauce, soy sauce, hot sauce and salt and pepper to taste. Stir.
  • Toast the buns if desired.
  • Serve beef mixture on buns. Don't be shy with it and make sure to keep it sloppy!

Notes

Serve along with plenty of napkins.

Nutrition

Calories: 435kcal | Carbohydrates: 28g | Protein: 20g | Fat: 26g | Saturated Fat: 12g | Trans Fat: 1g | Cholesterol: 75mg | Sodium: 620mg | Potassium: 429mg | Fiber: 2g | Sugar: 7g | Vitamin A: 260IU | Vitamin C: 5mg | Calcium: 137mg | Iron: 4mg

Nutritional values are approximate.

Sale
Mueller Pro-Series All-in-One, 12 Blade Mandoline…
  • Meal Prep MVP – A practical and innovative way to…
  • 12 Diverse Blades – With nine interchangeable…
OXO Good Grips 4 Piece Stainless Steel Measuring…
  • Set includes: 1/4 cup, 1/3 cup, 1/2 cup and 1 cup
  • Magnetic handles keep Cups together for storage…
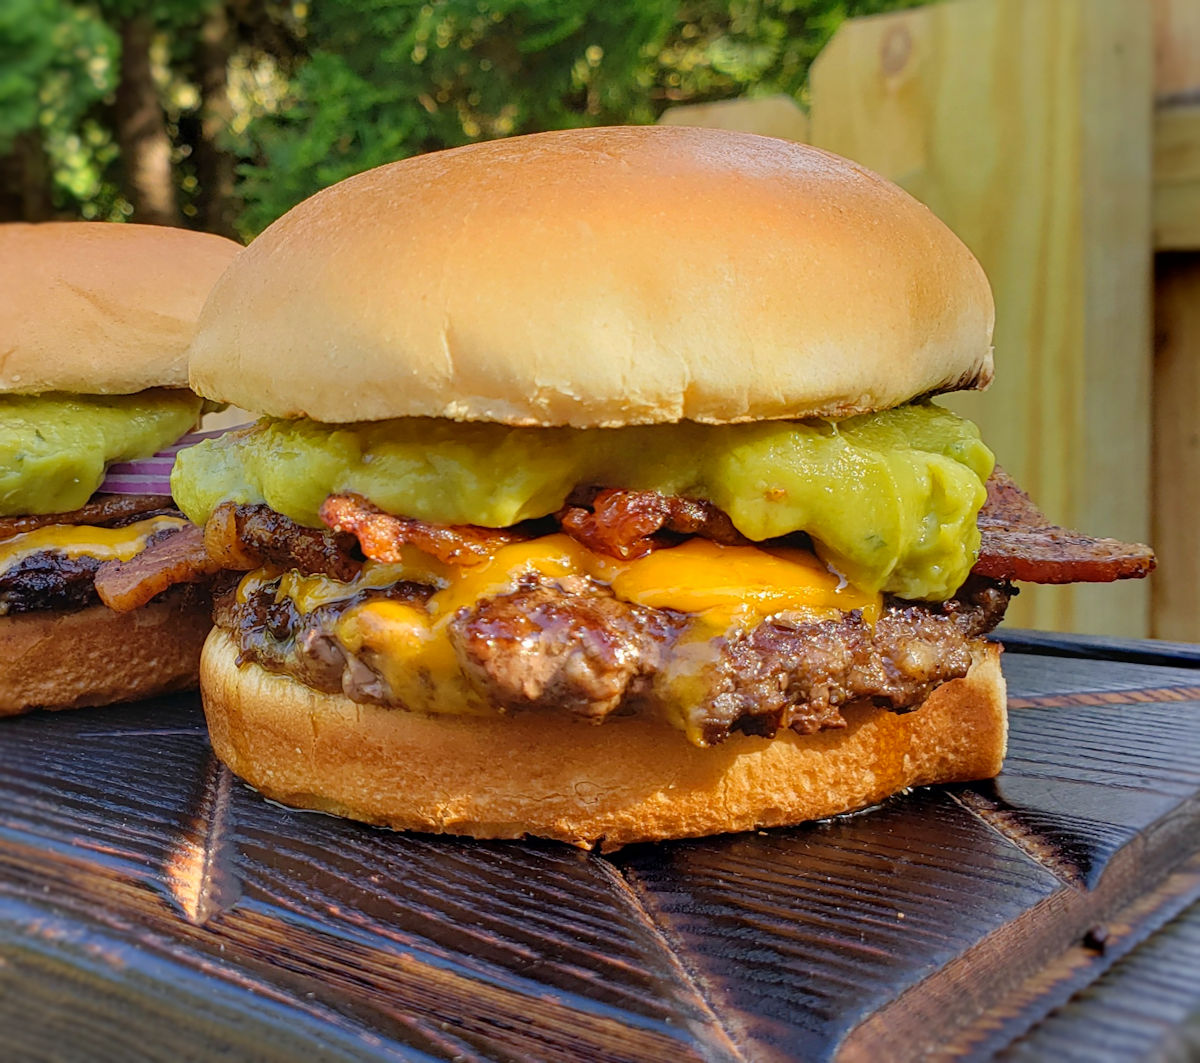
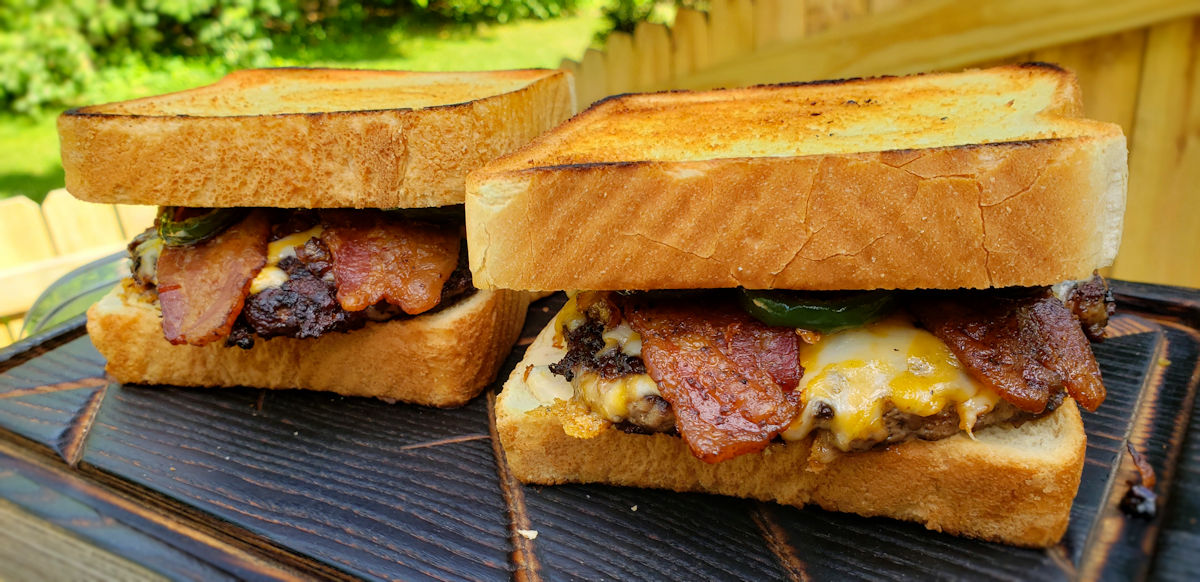
Spicy Texas Toast Smash Burgers

Why is it that any burger served on Texas toast just tastes better? There’s just something special about it. It certainly rounds out these great spicy Texas Toast smash burgers. Thin patties, cooked perfectly, with that little crust around the edges. Ooey gooey cheese. Bacon. Roasted jalapenos and caramelized onions. Oh, and a sauce. A fantastic burger sauce. This is my kind of burger.

Spicy Texas Toast Smash Burgers

Stay Cheesy, My Friend

I prefer Colby jack cheese on my spicy Texas toast smash burgers. It’s so creamy and it melts so well. Any good melting cheese will work. But trust me on the Colby jack. If you’re lucky, you can find jalapeno Colby jack. A little more heat is a good thing.

The Right Bread for the Job

Go big with the burger sauce. Don’t just dollop a teaspoon or two on the bread. Load it up. The sauce is fantastic, lightly smoky, lightly spicy. And don’t worry, the Texas toast can more than handle it without getting soggy and leaving you with burger sadness. That isn’t going to happen here.

The equipment

Here’s the equipment I use. You can get by using two cast iron skillets. Use a larger skillet for cooking the burgers, and a smaller one to smash the burgers and keep them flat. Since I’m a cooking gadget collector, I prefer to use a few more tools.

The griddle

First, a griddle. You can buy griddles that sit on top of your grill grates or ones that replace them. Just about every grill I have has a griddle on it. I use them for a lot of things, not just smash burgers. You want one that can be placed over the hottest part of your grill so it gets screaming hot.

Lodge Pro-Grid Reversible Grill/Griddle…
  • Dual-Sided Plate: The Lodge Pro-Grid Reversible…
  • Time-Tested Even Heat Distribution: This durable…

A burger press

Next, you need a burger press. You can use a heavy cast iron skillet, like I mentioned. Or get a burger press. For easy cleanup I wrap mine in foil first. When I’m done, just peel off the foil and toss. Super easy. Get a press that’s at least big enough to cover two burgers. You only smash one at a time, but if you want to keep them flat, you want to rest the press on top so bigger (and heavier) is better. Plus I’ve found that a bigger, heavier press tends to stay on the burgers whereas a smaller, lighter one is hard to keep centered on the burgers, especially if you have a bunch of them cooking at once.

Whaleme Blackstone Burger Press Set – 7″ Round…
  • Food-Grade Cast Iron Burger Press : Our barbeque…
  • Grooved Bottom Design&Non-Stick Surfaces : Our…

A dome

Next up, a dome. While not 100% required, it does speed the time it takes to melt the cheese and it does it in a nice even fashion. In my opinion you don’t really need one if you’re using a super melty cheese, such as American, but for thicker slices like say a deli pepper jack, you want the cheese to melt before you over-cook the burger and that’s where a dome comes in handy.

Cuisinart CMD-108 Melting Dome, 9″,Stainless steel
  • EVEN MELTING: Traps heat under the dome to quickly…
  • ENHANCED FLAVOR: Griddle dome retains moisture to…
Cuisinart CMD-388 Melting Dome, 6″, 2-Pack
  • 2 Pack of 6″ diameter domes
  • Concentrates heat to cook evenly

Cleaning time!

Lastly, you need something to clean your griddle. I like to clean mine when I’m done cooking, but you can do it at the start instead. I use one of these pad holders with a griddle cleaning pad. Then I add a bit of water to my griddle then use the pad (connected to the holder) to scrub off any big chunks and get up some of the grease. I don’t go crazy with it, I always heat the heck out of my griddle before cooking, but I get the worst. The long arm on the pad holder makes it perfect for scrubbing a hot griddle, too.

3M Scotch-Brite Griddle Cleaning, 4 in x 5.25 in…
  • TOUGH CLEANING POWER: Very tough, non-rusting…
  • LONG-LASTING: High quality bonding resin system…

Also try my smash burger patty melts.

Spicy Texas Toast Smash Burgers
Print Pin
5 from 2 votes

Spicy Texas Toast Smash Burgers

Juicy, super tasty, slightly spicy smash burgers that you'll make again and again!
Course Main
Cuisine American
Keyword smash burgers, spicy
Prep Time 1 hour
Cook Time 15 minutes
Total Time 1 hour 15 minutes
Servings 4
Calories 931kcal

Ingredients

For the burger sauce

For the burger topping

  • 1 white onion diced
  • 1 large jalapeno stemmed, seeded and cut into thin rings
  • 1 tablespoon vegetable oil plus another splash or two

For the smash burgers

Instructions

For the burger sauce

  • In small bowl, stir together all ingredients until well combined.
  • Cover and refrigerate until ready to serve.

For the burger topping

  • Heat the oil in a medium skillet over medium heat. Note: You can make this on the grill, just place the skillet over a hot part of the grill. I prefer to make it on the stovetop ahead of time.
  • Add the onion and season with salt. Sauté for 40-45 minutes or until the onions are completely softened and turn golden brown, stirring often.
  • Remove the onions to a plate.
  • Add a splash or two of oil to the skillet and add the jalapeno.
  • Sauté until the jalapenos are softened and are starting to turn golden brown.
  • Remove to another plate and reserve until ready to use.

For the smash burgers

  • Fire up your grill for high heat. Place a griddle or a large cast iron pan over the highest heat.
  • Season the ground beef with salt and pepper and form into four 4 ounce balls (not patties!).
  • Place the balls of beef on the griddle and let cook for one minute. Just let them cook, don't mess with them.
  • Take your press and flatten out the patties. I like to use the point of the press and work my way around the ball first, doing a little section at a time and then finally I press down on the entire patty to flatten it out. You can also just flatten out the ball all at once. At this point I also like to season the patties some more.
  • Let the patties cook until you start to notice a little char along the edges. Flip, season again if desired, and continue cooking another minute or so until the other side is charred. The burgers are thin so they will cook very quickly so watch out.
  • Add the cheese slices. If desired, cover in a dome to help the cheese melt.
  • Toast the bread. Slather one side of each slice with the sauce.
  • Cut the bacon pieces in half and put 3 halves onto 4 of the slices of bread.
  • Remove the patties from the grill and place on top of the slices of bread with the bacon. Top with the onions and some jalapeno slices. Devour immediately.

Notes

Add a little hot sauce to the sauce mix for a little more kick.

Nutrition

Calories: 931kcal | Carbohydrates: 40g | Protein: 37g | Fat: 69g | Saturated Fat: 24g | Polyunsaturated Fat: 9g | Monounsaturated Fat: 21g | Trans Fat: 1g | Cholesterol: 135mg | Sodium: 1607mg | Potassium: 468mg | Fiber: 3g | Sugar: 7g | Vitamin A: 372IU | Vitamin C: 6mg | Calcium: 224mg | Iron: 15mg

Nutritional values are approximate.

Meykers Hamburger Press Patty Maker 150 Paper…
  • Saving Storage Space : The detachable solid…
  • Making Hamburger Elegantly – Perfectly…
Gandeer 3 Pcs Cast Iron Grill Press 8 x 4 Inch…
  • Quality Material: the bacon press is made of food…
  • Practical Wood Handle Design:Featuring a…
Katbite 300Pcs 6×6 Inches Patty Paper, Burger…
  • Perfect Size: 6×6 inches of 300 count patty paper…
  • Non-Stick & Easy to Clean: Patty paper use the…

Cedar-Plank Nacho Cheese Doritos

I had a big time hankerin’ for some Doritos the other day. I was craving that classic crunch and flavor. Well, sorta. I was craving a little something different too. So I made some cedar-plank nacho cheese Doritos. I didn’t go crazy with the cedar. After all I’m not making salmon here. I just wanted to add a little crunch and to kick the flavors up a bit. And boy did I ever get what I was lookin’ for!

Cedar-Plank Nacho Cheese Doritos

Flavors And Crunch Enhanced

Cedar-plank nacho cheese Doritos get a nice little roast, and little char to them. The cedar aroma is there, but it’s light. Perfect. There’s just a slight taste of cedar to the chips. The nacho cheese flavor that we all love is still there but it’s stronger. Better. Hot off the grill, these little bites of heaven disappear in seconds.

Make Extra. You’ll Need Them.

You’ll definitely want to make several planks of these. Nice thing is that they take only minutes too make, so you can always just toss some more chips on the same plank over and over. I think you can get at least four good batches of chips on a single soaked plank before needing to soak it more.

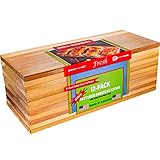
Cedar Grilling Planks – 12 Pack – Made In USA
  • Textured Grilling Planks for More Smoke and More…
  • 5.5″. x 11.00″ x 1/3″ – Upgraded Thickness!

Also try my cedar-plank Twinkies.

Cedar Planked Nacho Doritos
Print Pin
5 from 1 vote

Cedar-Plank Nacho Cheese Doritos

Nice and crispy, with a hint of cedar smoke.
Course Snack
Cuisine Main
Keyword cedar plank, tortilla chips
Prep Time 1 hour
Cook Time 5 minutes
Servings 4
Calories 147kcal

Ingredients

Instructions

  • Soak plank (or planks if you need more than one) in water for at least 1 hour.
  • Fire up your grill to medium-high heat, around 400 F.
  • Place the plank over indirect heat. Add the chips. Close the lid.
  • Let the chips grill for 2-5 minutes. Check them at least once. If they start to turn dark brown or char on the edges, remove them.
  • Let cool slightly before serving.

Notes

Note: If you prefer a stronger cedar flavor and aroma, place your soaked plank over direct heat for a few minutes first. Get a nice char on the plank. Then move it to indirect heat and add the chips.

Nutrition

Calories: 147kcal | Carbohydrates: 17g | Protein: 2g | Fat: 8g | Saturated Fat: 1g | Polyunsaturated Fat: 3g | Monounsaturated Fat: 3g | Trans Fat: 0.1g | Sodium: 196mg | Potassium: 63mg | Fiber: 1g | Sugar: 1g | Vitamin C: 0.1mg | Calcium: 39mg | Iron: 0.3mg

Nutritional values are approximate.

Cedar Grilling Planks – 12 Pack – Made In USA
  • Textured Grilling Planks for More Smoke and More…
  • 5.5″. x 11.00″ x 1/3″ – Upgraded Thickness!