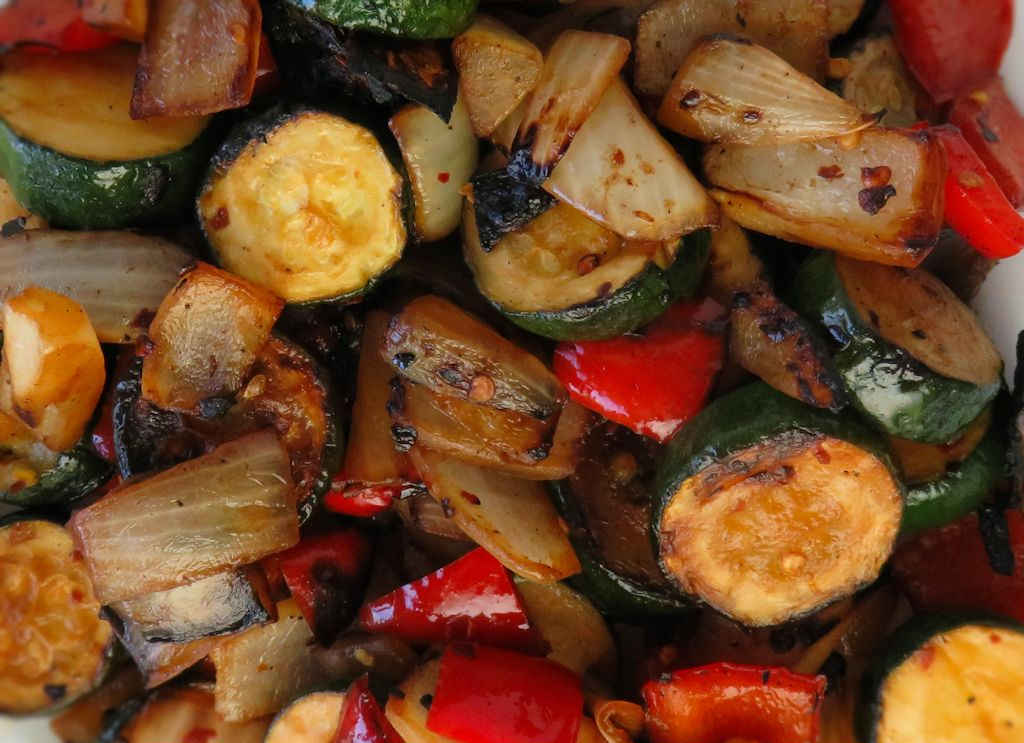
I need more grilled sides like these Asian grilled vegetables. It’s a simple way to make flavor-packed vegetables with little fuss or mess. I use a vegetable grill basket and place it on my grill alongside whatever else I’m grilling, be it burgers, dogs, or whatever. In no time I have the perfect delicious side dish.
Choose Your Vegetables
I used bell pepper, onion and zucchini when I made Asian grilled vegetables, but really you can use any vegetables you can find as long as they all have about the same cooking time. If you’re using something that needs longer to cook (like carrots) you might want to steam them a bit first or add them to the basket and let them cook by themselves for a while before adding the remaining ingredients.

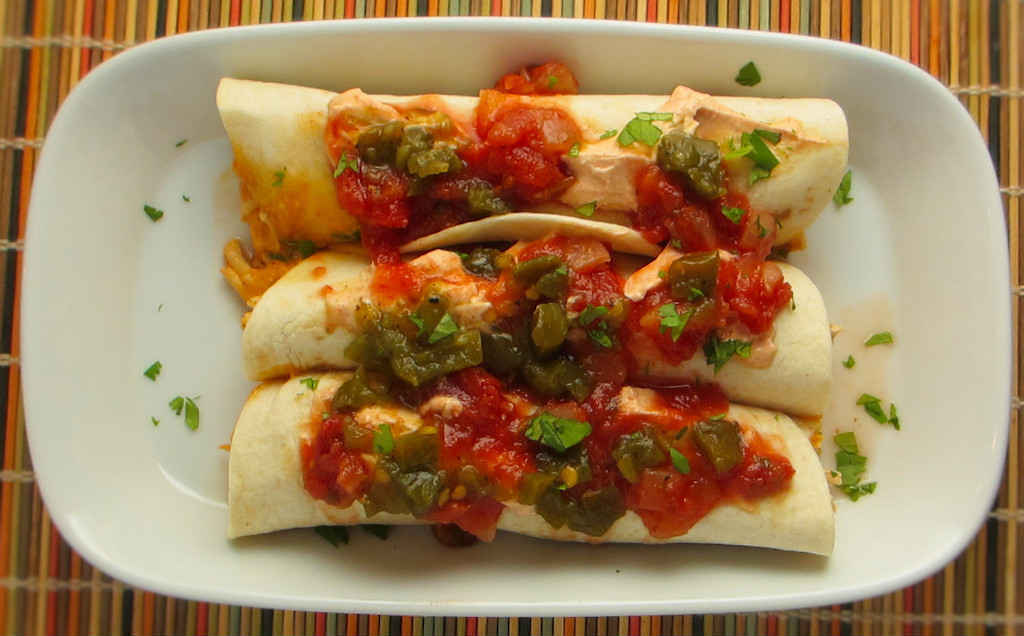
Also check out my broccoli in Hoison sauce, made on the grill too but just as easy on the stovetop.
Asian Grilled Vegetables
Ingredients
- 1 red bell pepper cut into squares
- 1 onion quartered and separated
- 3 zucchini cut into 1/2″ slices
- 2 tablespoons sesame oil
- 2 tablespoons soy sauce
- ½ teaspoon garlic powder
- ½ teaspoon dried red pepper flake
Instructions
- Fire up your grill for indirect cooking.
- Place all ingredients into a large bowl and toss to coat. Let sit for 30 minutes, stirring often.
- Transfer ingredients to a grill basket. If you don’t have a grill basket tear off a large sheet of foil and add the mixture to the center of the piece. Fold up and seal tightly.
- Place onto grill and cook for 5 minutes or until the vegetables start to soften and get a little char on them. Stir and continue cooking until the vegetables are the desired doneness. I like mine to still have a bit of crunch.
Notes
Nutrition
Nutritional values are approximate.