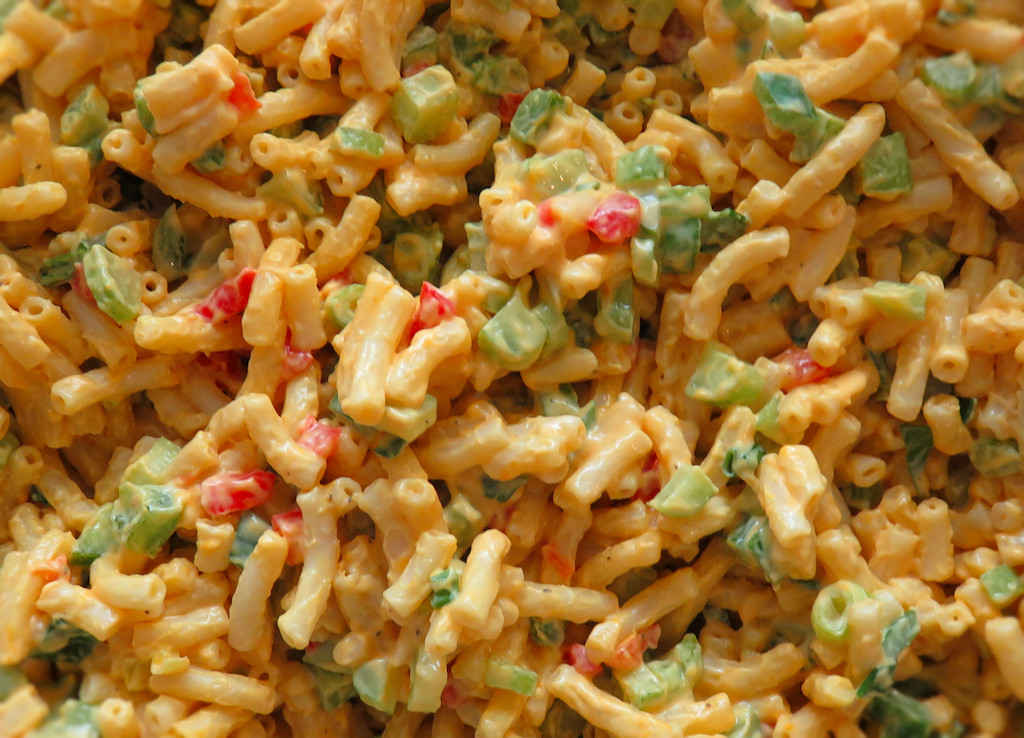
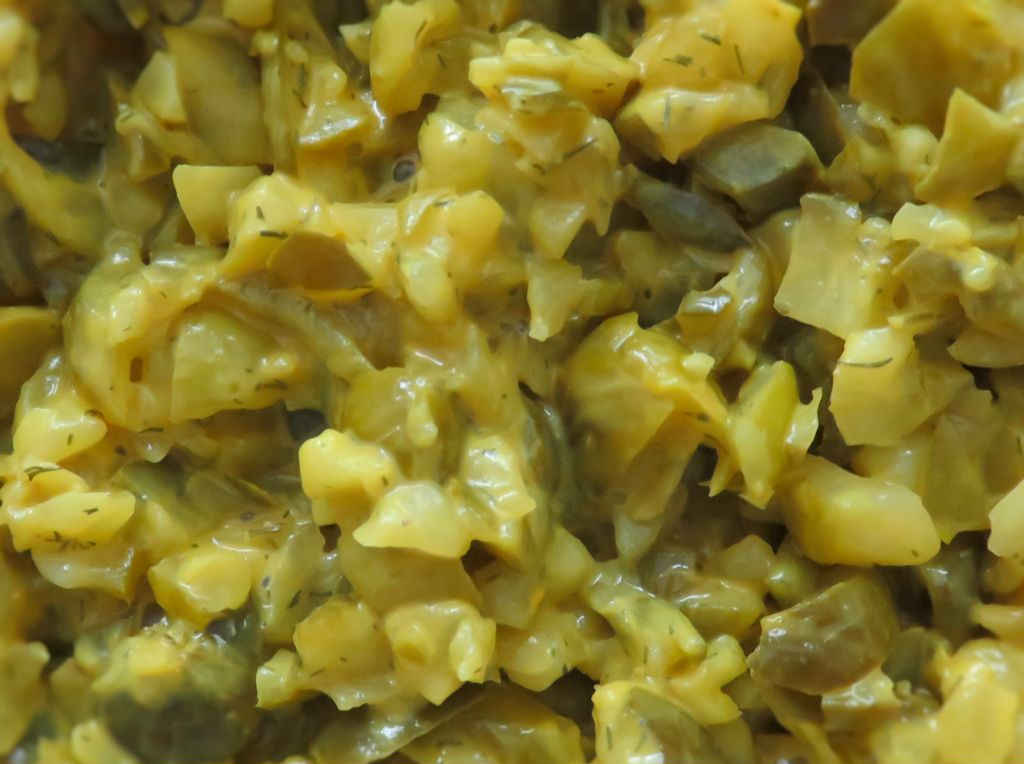
I just made a big batch of my quick fix spicy pickles. Man, they are good! But making them left me with a container full of dill pickle pieces. Ends, small pieces, little chunks. The parts that didn’t cut the mustard so to speak. So, what to do with those pickle scraps? Make quick fix pickle relish! I not only loved it, I thought it was much better than the store-bought stuff.
Make The Spicy Version, Too
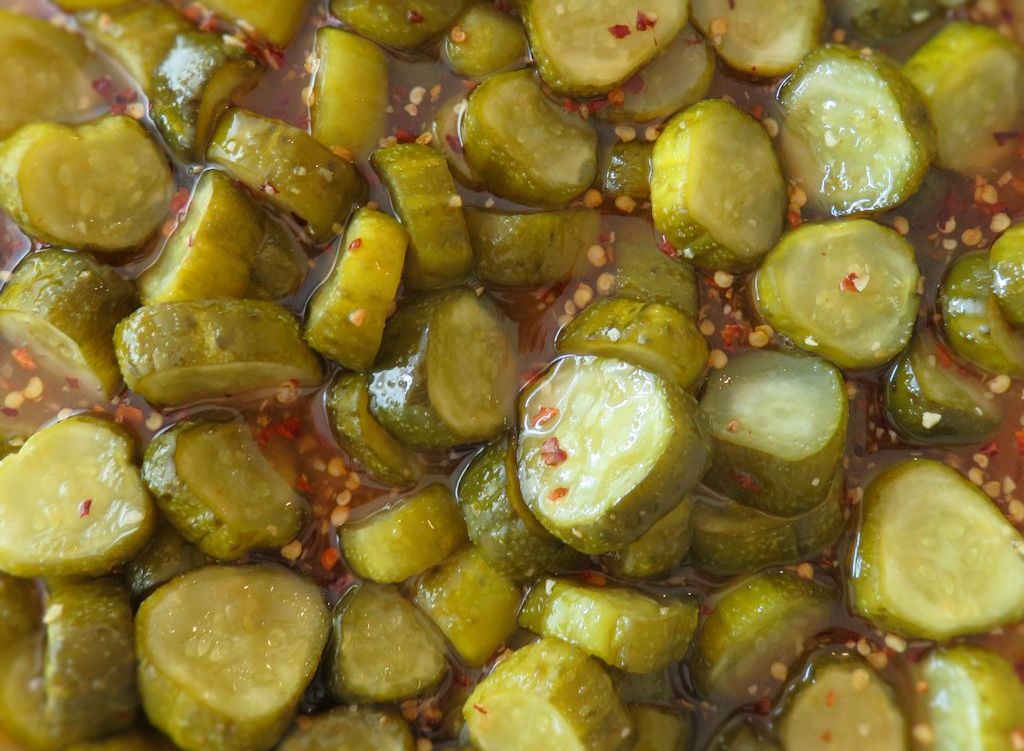
For a spicy version of this quick fix pickle relish, just add a few good pinches of dried red pepper flake. You’ll want to let the relish ‘get happy’ in the fridge for a few hours before using it so that it gets good and spicy. Stir every once-in-a-while to help speed things along.

Also try my quick fix spicy pickles.

Quick Fix Pickle Relish
For a spicy version of this quick fix pickle relish, just add a few good pinches of dried red pepper flake. You’ll want to let the relish ‘get happy’ in the fridge for a few hours before using it so that it gets good and spicy.
Servings 1 cup
Calories 59kcal
Equipment
Ingredients
- 1 cup dill pickle diced
- ¼ cup prepared yellow mustard
- 1 tablespoon pickle juice from the pickles
- 1 tablespoon fresh dill chopped (or use 1 teaspoon dried dill, to taste)
Instructions
- Combine all ingredients.
- Refrigerate until ready to use.
Notes
Stir before serving.
Nutrition
Calories: 59kcal | Carbohydrates: 7g | Protein: 4g | Fat: 3g | Saturated Fat: 1g | Trans Fat: 1g | Sodium: 1958mg | Potassium: 220mg | Fiber: 4g | Sugar: 2g | Vitamin A: 337IU | Vitamin C: 2mg | Calcium: 97mg | Iron: 2mg
Nutritional values are approximate.