You’re at this post for a reason. Maybe, like me, you actually like Steak-Umms. Like many, I was first exposed to them in a school lunch cafeteria years and years ago. And like many kids of the time, I would go home and beg mom to get them so I could have a steak sandwich there too. Mom wasn’t too keen on them, but would buy them for me as a rare treat. I’d have them about as simple as you could get: fried the Steak-Ummm, put it on a bun or white bread with ketchup, eat. Well, now I step things up with my quick fix steak sandwich, made using the Cuisinart Griddler.
Easy Is Right. And Good.
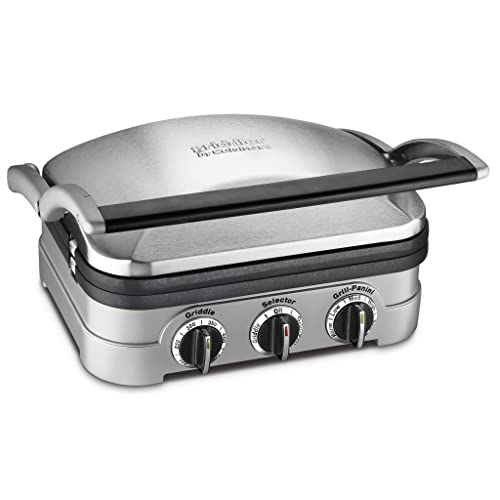
The Griddler makes making a steak sandwich about as easy as you can get. Having the two big cooking griddles lets you cook several things at once. Without it, I’d end up with a skillet for the Steak-Umms, another for the onions and peppers, and I’d probably fire up the oven or toaster just to toast my sub roll. Sheesh, that’s a lot of stuff when I can do it all on my Griddler.
The History Of Steak-Umms
The history of the Steak-Umm is actually rather interesting. You can read about it here.
You can also make outstandingly good smash burgers on the Griddler.
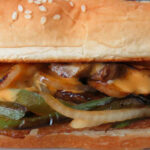
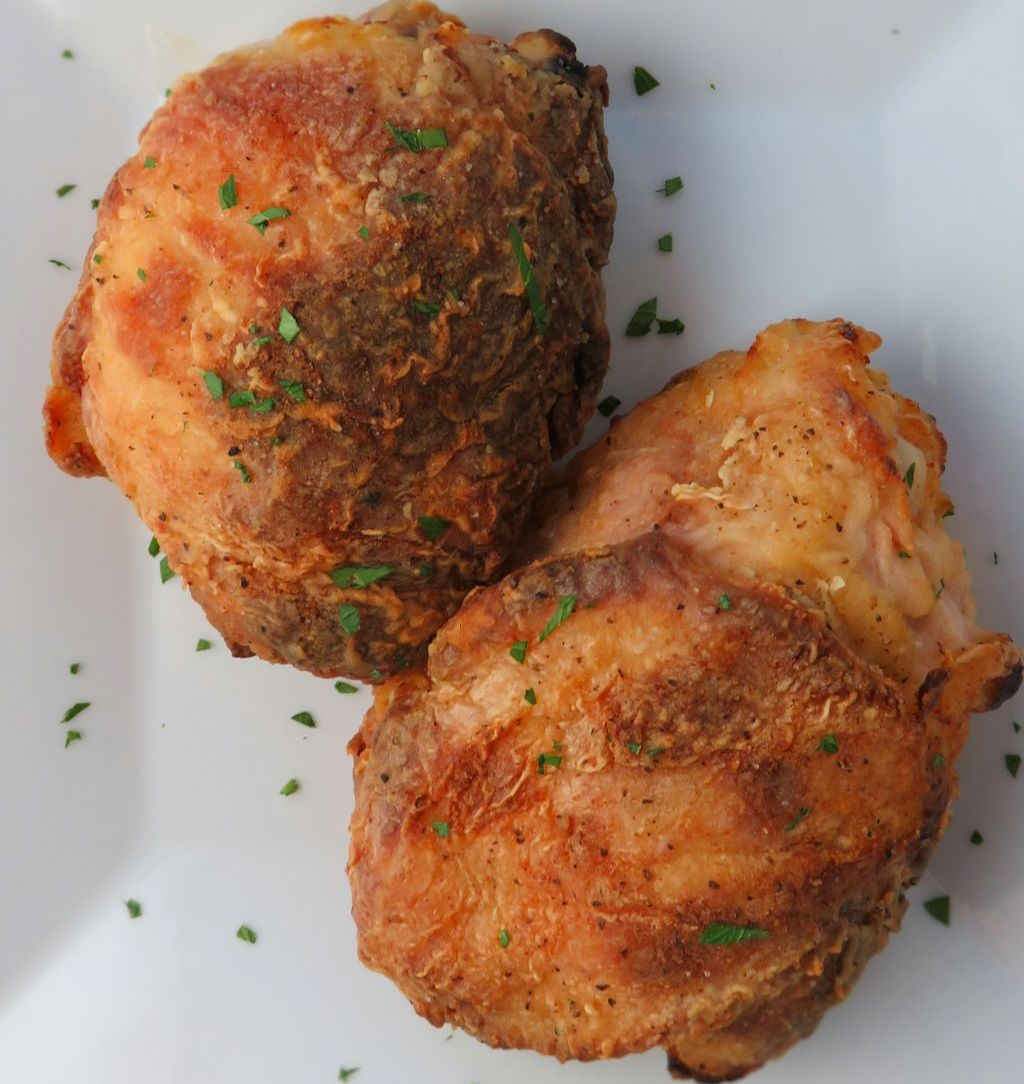
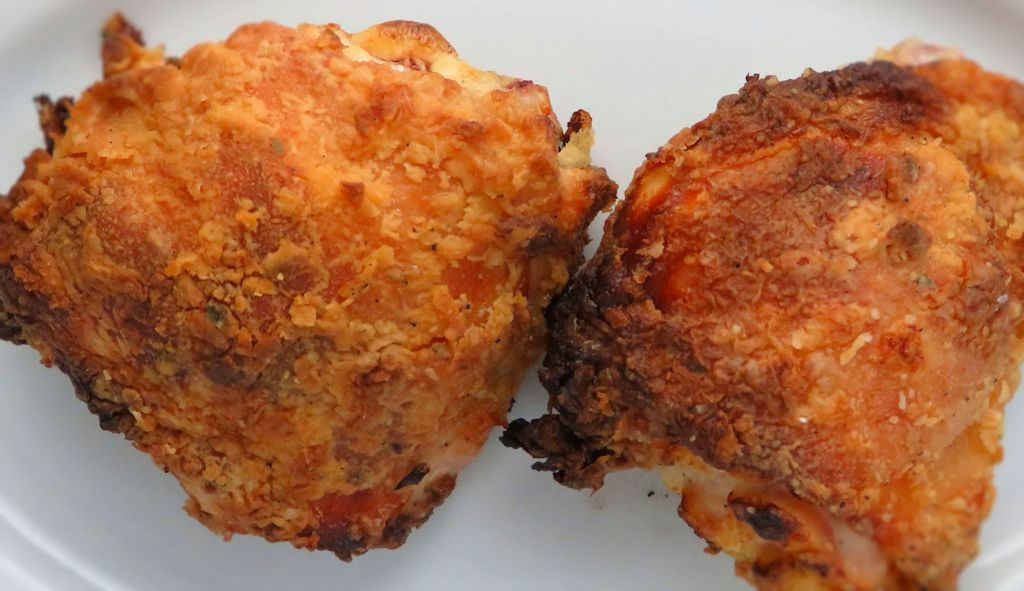
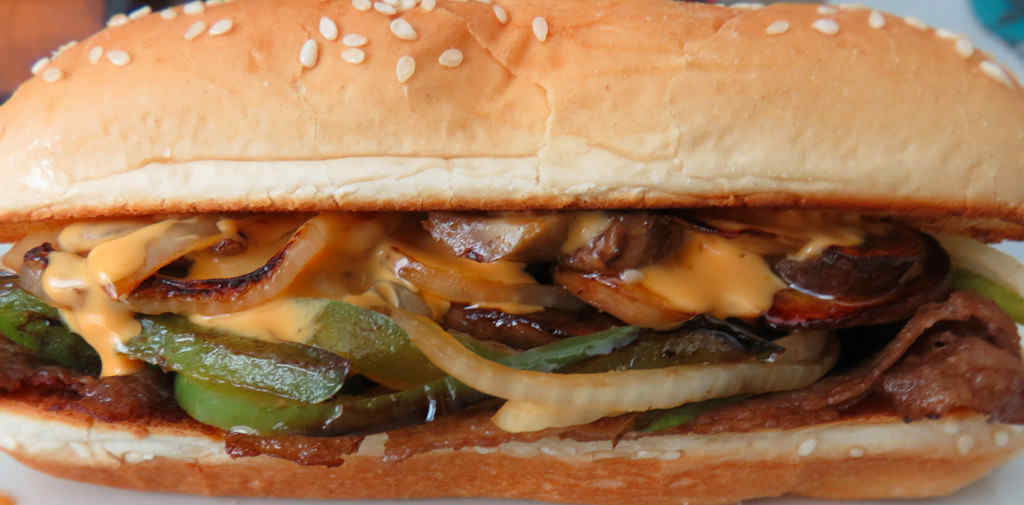
Quick Fix Steak Sandwich using the Cuisinart Griddler
Equipment
Ingredients
- 1 hoagie sandwich roll split
- 1 slice Steak-umm or other thin-sliced frozen steak
- ¼ green bell pepper sliced thin
- ¼ cup mushrooms sliced thin
- ¼ cup onion sliced thin
- 1 teaspoon vegetable oil
- kosher salt to taste
- ground black pepper to taste
- 2 tablespoons Cheez Whiz or other cheese dip, warmed
Instructions
- Open your Griddler so that the griddle plates are open flat. You want to use the smooth griddles.
- Turn the Griddler Selector knob (the center one) to 'griddle'. Set the temperature knob to 425 F, the maximum.
- Once the green light is lit, indicating that the Griddler is at 425 F, you can begin cooking.
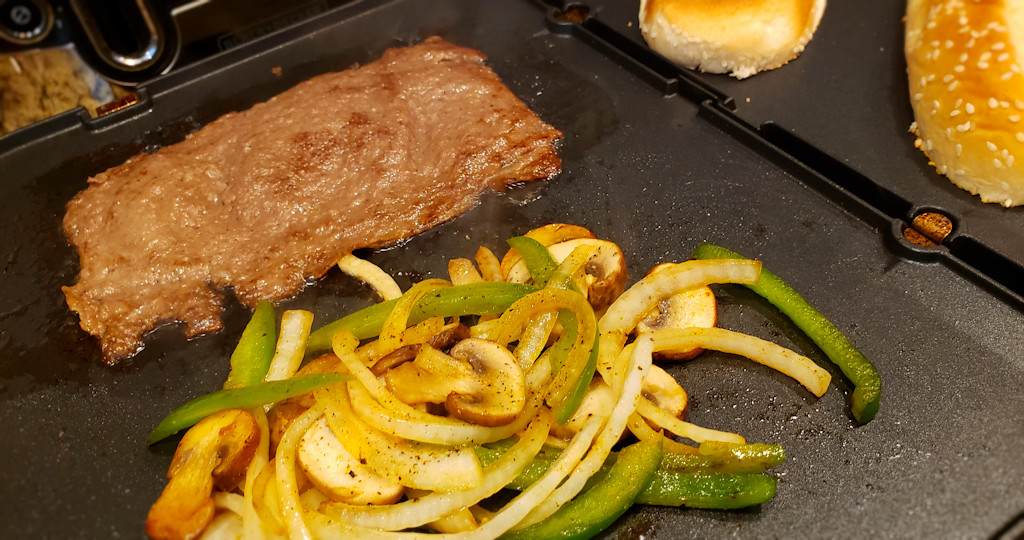
- Place the bell peppers and onion in a small bowl. Drizzle with the oil and season with salt and pepper. Stir and transfer to one side of one of the griddle plates. See my picture for how I arrange things on the Griddler.
- On the other plate place the bread halves. Let them toast as long as desired as the rest of the ingredients cook.
- Let the onion and peppers cook for 5 minutes, stirring a few times.
- Add the mushrooms to the onion and peppers. Stir and cook another 5 minutes. The vegetables should be just starting to turn tender.
- Place the Steak-umm on the griddle plate alongside the vegetables. Season as desired.
- Continue cooking the Steak-umm until it starts to brown along the edges. Flip and continue cooking until done.
- Assemble the sandwich by placing the Steak-umm on the bottom bread half. Add the cooked vegetables. Drizzle on the cheese, add the bread top.
Notes
Nutrition
Nutritional values are approximate.