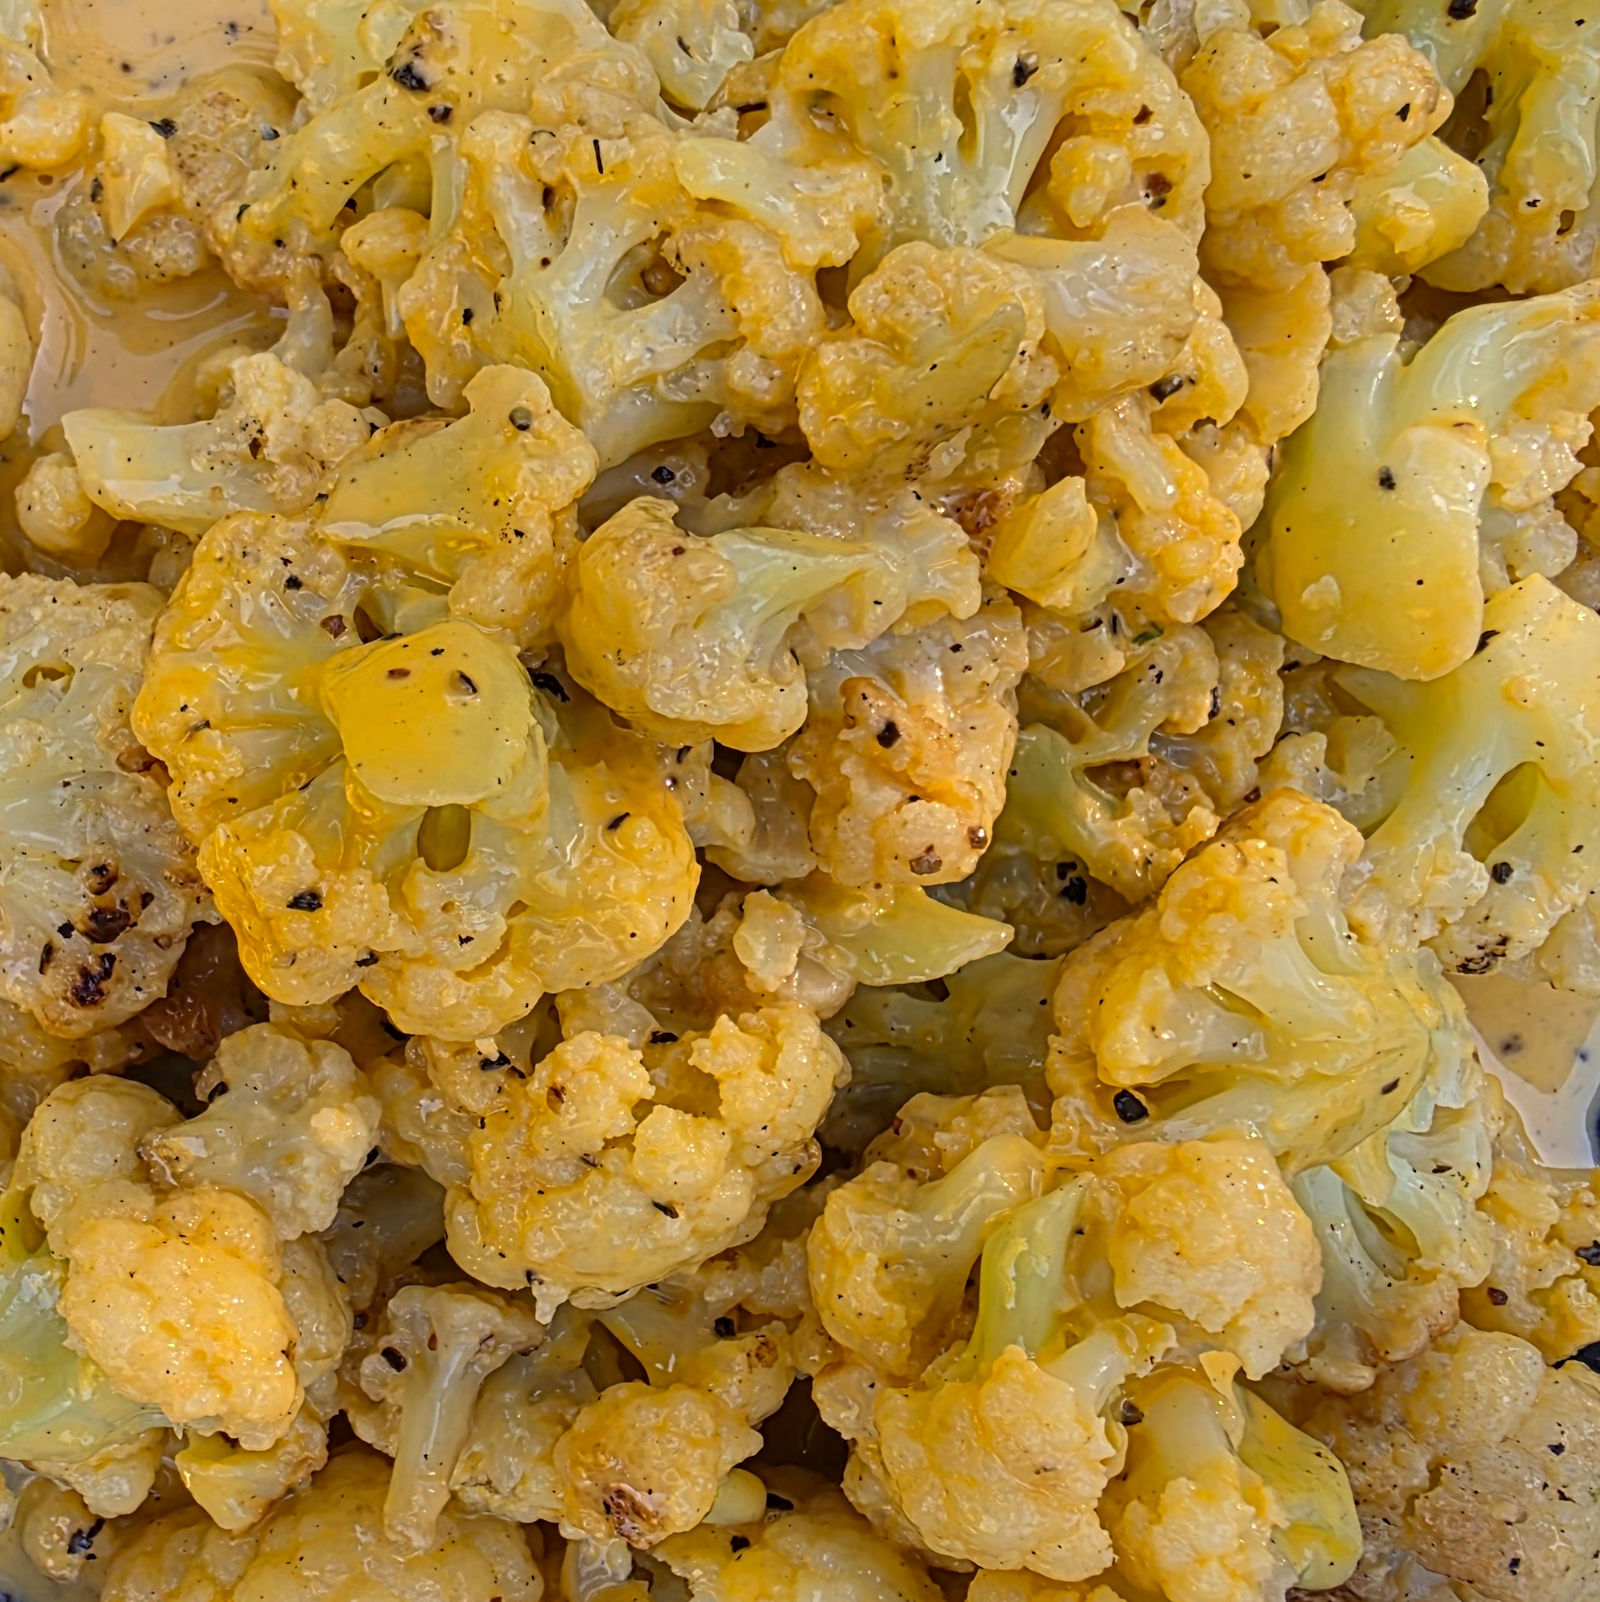
My outdoor griddle isn’t just for smash burgers, quesadillas and pizzas. I even use it for side dishes such as this easy cheesy cauliflower. Now, this might not be the healthiest side dish I’ve ever made outside. But it sure was one of the tastiest! And it’s definitely one of the easiest! This is the perfect thing to serve alongside my griddled smash burger!
Is Cheese Ever Optional?
You could leave out the cheese sauce. And just make easy cauliflower using an outdoor griddle. A little salt and pepper. Serve it up. And it’d be good. But for me, to get to ‘great’ you gotta add the cheese sauce. Kraft makes this crazy easy crazy good Velveeta sauce that comes in a little foil packet. You just pour the sauce into a bowl and microwave it for 30 seconds and boom! Instant cheese sauce perfect for something like cauliflower!
Open the bag of cauliflower and place on the griddle. Use your spatula to mound the cauliflower in a small circle.
Give the cauliflower a few good squirts of water and season well with salt and pepper.
Cover and let the cauliflower cook for 5 minutes.
Take a quick peek inside. I like to give the lid a good shake first or you can stir the broccoli with the lid off. If the cauliflower is drying out add more water. Feel free to add more salt and pepper too.
Keep cooking for up to 12 minutes total. Check it one more time after 10 minutes to make sure more water and/or seasoning isn't needed.
Remove the cauliflower to a medium bowl.
Empty the contents of the cheese sauce packet into a microwavable bowl and heat per package instructions, 30 seconds. Stir.
Spook the cheese sauce over the cauliflower .
Stir to combine.
Serve immediately.
Notes
This recipe can be made using fresh cauliflower instead. Bring a pot of lightly-salted water to a boil. Add the cauliflower and boil for 3-4 minutes until bright green and just starting to soften. Remove to an ice bath to cool completely. Drain well before placing onto the hot griddle.
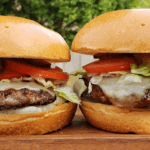
If I’m going to take the time to fire up a grill for burgers, I’m not going to make boring ones. That doesn’t mean they have to be complicated, though. These Backyard Brew smash burgers pack a lot of flavor in each and every bite. The sauce on the burgers, as crazy easy as it is to make, is delicious. Steak sauce. Beer. That’s it. No fancy steak sauce. The cheap stuff. No fancy beer, either. Good ole Budweiser does just fine. Or whatever you want to use. Heck, you’re grilling. Probably got a beer already in your hand. Use that one. A little cheese and fresh toppings, all on good buns, and you’ve got one great dinner.
A Lot Of Flavor.
Once you’ve made a smash burger or two you’ll find them to be as easy to make as the non-smash ones. Before long you’ll be a master at it, making great burgers like these Backyard Brew smash burgers. My only suggestion when you make these is: use lots of the sauce. It’s good and it works great with grilled beef. Kinda figures, right? Steak sauce. Beer. The perfect pairing. Now on a burger.
Here’s the equipment I use. You can get by using two cast iron skillets. Use a larger skillet for cooking the burgers, and a smaller one to smash the burgers and keep them flat. Since I’m a cooking gadget collector, I prefer to use a few more tools.
The griddle
First, a griddle. You can buy griddles that sit on top of your grill grates or ones that replace them. Just about every grill I have has a griddle on it. I use them for a lot of things, not just smash burgers. You want one that can be placed over the hottest part of your grill so it gets screaming hot.
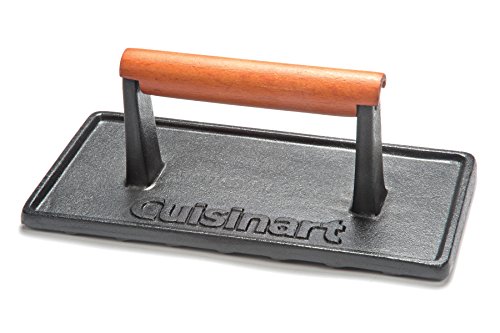
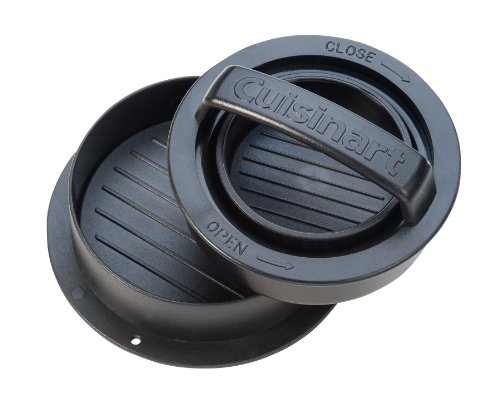
Next, you need a burger press. You can use a heavy cast iron skillet, like I mentioned. Or get a burger press. For easy cleanup I wrap mine in foil first. When I’m done, just peel off the foil and toss. Super easy. Get a press that’s at least big enough to cover two burgers. You only smash one at a time, but if you want to keep them flat, you want to rest the press on top so bigger (and heavier) is better. Plus I’ve found that a bigger, heavier press tends to stay on the burgers whereas a smaller, lighter one is hard to keep centered on the burgers, especially if you have a bunch of them cooking at once.
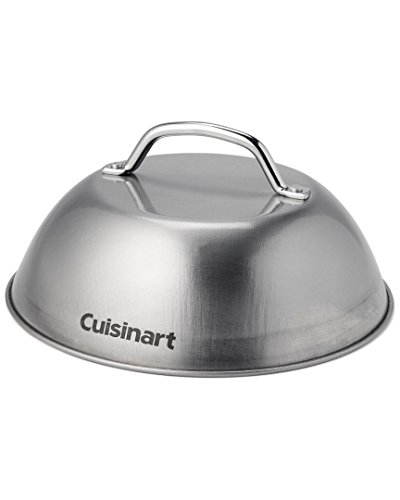
Next up, a dome. While not 100% required, it does speed the time it takes to melt the cheese and it does it in a nice even fashion. In my opinion you don’t really need one if you’re using a super melty cheese, such as American, but for thicker slices like say a deli pepper jack, you want the cheese to melt before you over-cook the burger and that’s where a dome comes in handy.
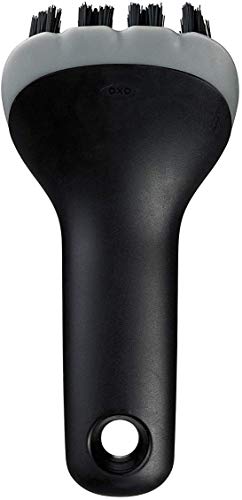
Lastly, you need something to clean your griddle. I like to clean mine when I’m done cooking, but you can do it at the start instead. I use one of these pad holders with a griddle cleaning pad. Then I add a bit of water to my griddle then use the pad (connected to the holder) to scrub off any big chunks and get up some of the grease. I don’t go crazy with it, I always heat the heck out of my griddle before cooking, but I get the worst. The long arm on the pad holder makes it perfect for scrubbing a hot griddle, too.
Combine all ingredients in a small sauce pan over medium-high heat.
Bring to a simmer then reduce heat to low.
Keep warm until ready to use.
For the burgers
Fire up your grill for medium-high heat. Place a griddle or a large cast iron pan over the highest heat.
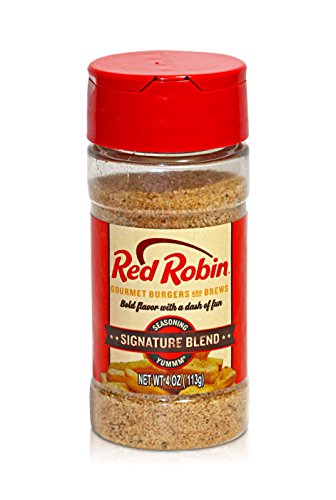
Season the ground beef with the seasoning, mix and form into four 4 ounce balls (not patties!).
Place the balls of beef on the griddle and let cook for one minute. Just let them cook, don’t mess with them.
Take your press and flatten out the patties. I like to use the point of the press and work my way around the ball first, doing a little section at a time and then finally I press down on the entire patty to flatten it out. You can also just flatten out the ball all at once. At this point I also like to season the patties some more.
Baste the patties liberally with the Brew Sauce.
Let the patties cook until you start to notice a little char along the edges. Flip, season again if desired, and continue cooking another minute or so until the other side is charred. The burgers are thin so they will cook very quickly so watch out.
Baste the patties liberally with more of the Brew Sauce.
Top patties with cheese and let cook another 30 seconds to melt the cheese.
Toast the buns. Remove.
Add the patties to the bottom buns. Top with onion, tomato, lettuce and pickles.
Notes
If you have extra Brew Sauce you can slather it onto the buns before serving the burgers.
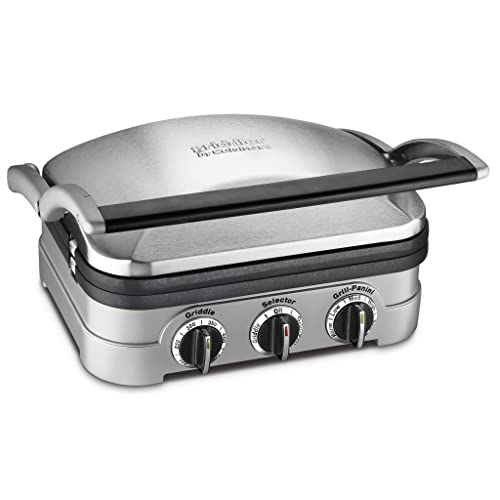
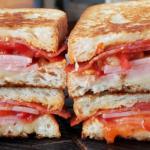
My Cuisinart Griddler is easily one of my favorite kitchen tools. Breakfast, lunch and dinner, it can always be counted on to make a great meal. Today I wanted a quick sandwich for lunch. But quick doesn’t mean boring. Not when I’m making some easy spicy relish paninis! Made in only minutes, these lunchtime treats pack a little bit of heat (but not too much). Crunchy bread and melted cheese bring it all together in no time at all! Easy spicy relish paninis using the Cuisinart Griddler are reason enough to have the griddle on your countertop!
Good Meats. Good Cheese. Good Bread.
The ingredients for a great panini are simple: use good ingredients. Don’t skimp. I prefer Italian meats, like salami or mortadella, but any decent deli meat will do. And grab a cheese that likes to melt easily. For the bread, my recommendation is to not use something with too many big ‘holes’ in it. If you do, spread the relish on in-between the meat and cheese layers so it doesn’t escape through the bread holes. You’ll end up enjoying these easy spicy relish paninis using the Cuisinart Griddler as much as I did!
Pre-heat your Griddler with the dials set for high-heat panini griddles.
Set out the bread slices on a cutting board or counter top.
Top with the meats and cheese.
Top the sandwiches with the relish. Be heavy handed or go light with it, it's up to you.
Add the top slices of bread to form the sandwiches.
Brush the outsides of the bread slices with the oil.
Transfer to the Griddler and close the lid. Cook until the bread is golden brown and crunchy.
Remove and let cool slightly before slicing (if desired) and serving.
Notes
Do not put a lot of pressure on the griddle lid while cooking as it will cause the meats and cheese to escape. Try to keep the lid level so that the tops of the sandwiches cook evenly.
As much as I love a long day’s smoke on my smoker of a big ole hung of pork shoulder, ending with delicious, fantastic pulled pork, I also enjoy an easier version in the slow cooker (er… crockpot). Two totally different approaches result in an enjoyable finish. My ‘usual’ slow cooker approach involves a bottle of smoky BBQ sauce and a few other ingredients. This slow cooker Heinz 57 pulled pork takes that simple concept to a whole new place. This was totally fantastic. Slightly BBQ-ish, a bit tangy, and oh, oh so great. I could eat this all day long. I just piled it high between two burger buns. That’s all I needed. And I was happy!
Almost Beefy
Ok, it may sound odd but this slow cooker Heinz 57 pulled pork was almost BBQ beef-like in texture and taste. I guess it was the steak sauce fooling my brain. It reminded me of a beef sandwich we used to get in high school. Wait… could that have actually been pork? Maybe. Well either way, this was great. I wouldn’t change a thing about it. I thought about adding a few pickles like I would a smoked pulled pork sandwich. Or maybe some onion. But that was totally not necessary. Just buns and pork. And life was good.
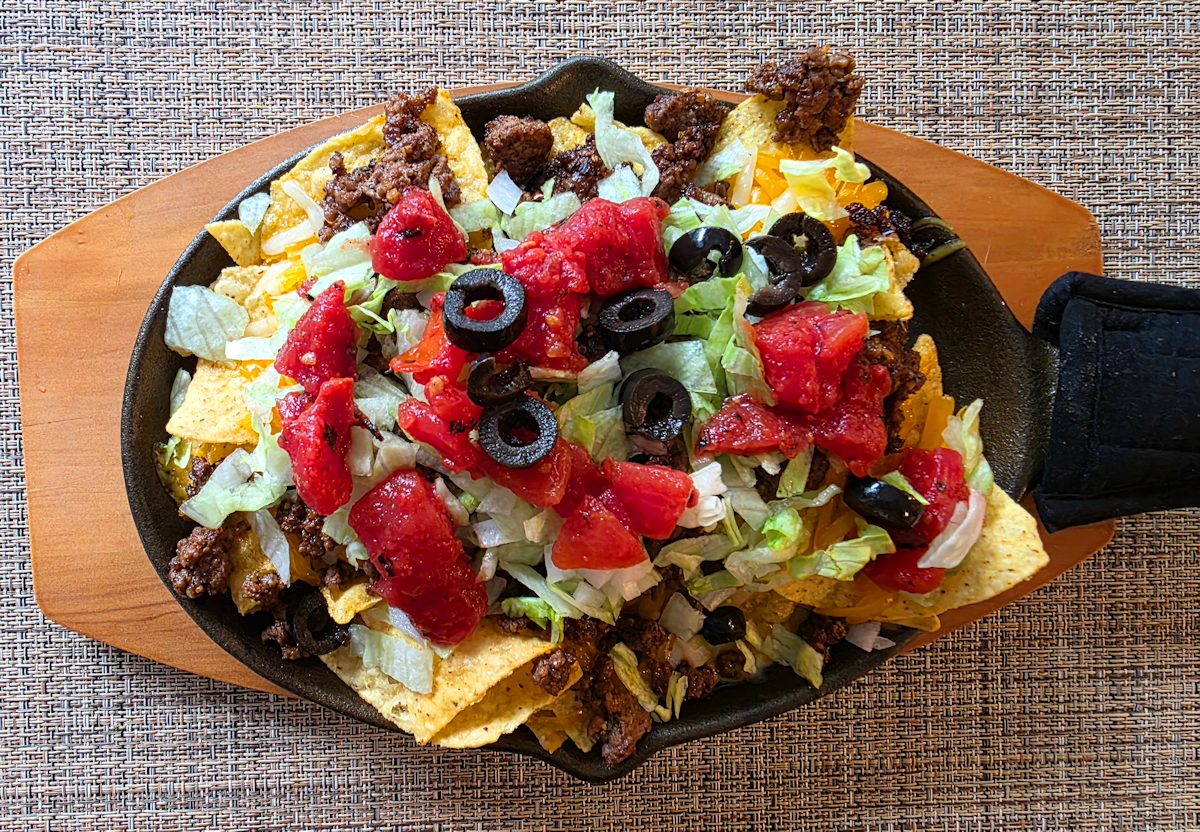
I love my outdoor griddle. It’s huge and cooks evenly, perfect for everything I want to make on it. Today I made ground beef nachos using an outdoor griddle. Now, usually, I’ll make this on the stovetop and in the oven. But, I love cooking outside so that’s where I went. I could’ve also made it on my indoor griddle, though it’s quite a bit smaller. No matter what griddle you use, this is a great easy way to have a delicious dish in really not much time at all.
That Crunch
A really well seasoned beef is key to these ground beef nachos using an outdoor griddle. And cooking it over high heat to get that great browned, slightly crunchy, texture. The beef smells amazing as it cooks. You know you’re in for something good as soon as it hits the griddle.
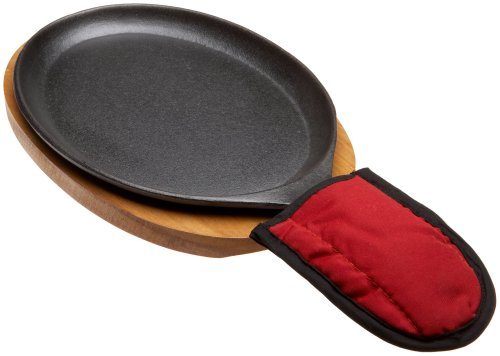
I use a few cast iron fajita skillets for serving my nachos. First, they’re kinda neat. Second, I can top them with the tortilla chips and place them over a low-heat area of my griddle to heat. If I’m cooking inside I just slide them into the oven over 225 F for 5-10 minutes. The chips get nice and crunchy and warm. Just remember, the skillets are hot. And that means the handles on them are hot. Don’t accidentally grab them with your bare hands, and always serve them with their little oven mitts covering the handles.
The Toppings
Beyond the delicious beef, chips, and cheese, everything is up to you. I like to have a combination of flavors and textures. I also like to have a few cold toppings, such as lettuce or sour cream. If I’m serving these with taco sauce I usually put it on the side because you never know how much you might want.
Crumble the ground beef onto the griddle and begin to brown. Break up the meat as it cooks using a spatula.
When the beef is about halfway cooked add the seasoning and stir. Continue cooking until done.
Meanwhile, divide the chips between the skillets and place them on a part of the griddle over low heat. Sprinkle with the cheese.
Once the meat is done and the cheese is melted, divide the ground beef between the skillets.
Using a pot holder, remove the skillets from the griddle and place into their heat-proof holders.
Add remaining desired nacho toppings and serve. Make sure you remind everyone that the skillet handles are hot!
For the taco seasoning (store leftover in an air-tight container)
Combine all ingredients in a bowl and mix well. I prefer to then transfer it to a spice grinder and give it a little grind so the resulting mix is a little finer.
To use, add 2-3 tablespoons to every 1 pound of ground beef.
Notes
Feel free to add onions or tomatoes to the beef as it cooks.
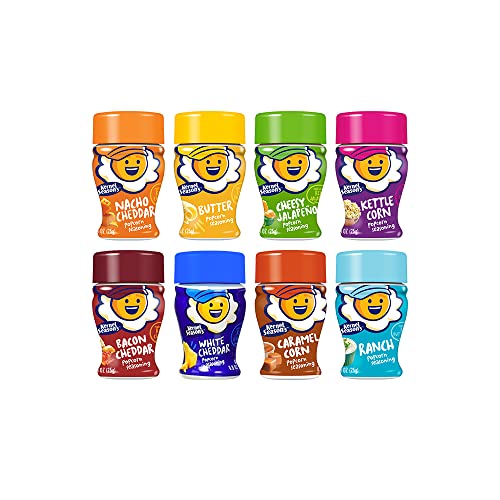
Popcorn is a favorite snack in our house. It even finds its way to our lunch table as a side, replacing chips or pretzels. It doesn’t have to be fancy popcorn, either. Just good ‘n tasty. Crunchy. Sometimes plain. Sometimes buttered. And often, tossed in this delicious nacho cheese popcorn seasoning. My goodness is this stuff ever good.
Go Light. Ok, Just Kidding. Go Heavy.
You can ‘dust’ your popcorn with this delicious nacho cheese popcorn seasoning. You know. ‘Show it’ some flavor. Or you can get serious and really load up. Either way, this is great stuff with lots of flavor. Not some weird cheese thing. But flavor. The perfect combination of spices. So whether you’re serving plain popcorn or buttered, you’ll want to toss it this treat first!
These quick fix habanero pineapple potato chips are different. Very different. If you’re tired of the same old 3 or 4 supermarket chip flavors, you’re gonna cure yourself with the first bite. Pineapple flavored chips are different for starters. A little sweet. Tropical. Then comes the heat. Habanero heat. ‘Not fooling around’ heat.
Cheap Chips. Great Results.
You don’t have to start out with expensive, name-brand chips when you make some quick fix salt pepper and garlic pineapple habanero chips. In fact, you’re gonna have great results with the cheapest chips you can find. Personally, I recommend wavy chips with ridges. Those ridges and waves help trap the seasonings and keep them on the chips. No big seasoning mounds in the bottom of the bowl here. You want that stuff to stick.
Go Light
I usually am pretty heavy handed with the seasoning when I flavor my chips. Not in this case, though. The seasoning is pretty forward. I recommend starting light and adding more after tasting, if needed.
I’m a meat-and-potatoes kind of guy. So when it comes to time to make a sandwich, I’m not looking for finger sandwiches. I want meats. And toppings. And lots of both. That’s why I make this baked Italian grinder. I’m not leaving the table hungry after this. I’m leaving happy. Real happy.
We Have The Meats
Load up your baked Italian grinder sandwich the meats and cheeses you like. I listed some of the ‘classic’ ones in the recipe. You do you. I like the hot Italian pack from Aldi but most grocery stores have a decent selection. You can go ‘not-so-Italian’ too if you want. Heck, bologna? You bet. Rotisserie chicken? Sure. You can’t go wrong with this salad. The dressing is great. The rest will follow.
I almost always use Blue Plate mayonnaise in the dishes I make. I think it is the best around. If you can’t find it locally you can pick it up online for a fair price.
In a small bowl, stir together the butter, parmesan, garlic powder and salt. Spread over the top cut half of the bread. Load it up, use it all.
Layer the meats and then the cheese on the lower cut half of the bread.
Transfer to a baking sheet and bake until the bread is golden brown and the provolone is melted.
For the salad topping
While the grinder sandwich bakes, make the grinder salad topping by whisking together the mayonnaise, vinegar, Italian seasoning, salt, pepper, and garlic powder.
Add the shredded lettuce, tomatoes, and pepperoncini and mix.
When the sandwich is done baking, remove it from the oven and add the salad over the top of the melted provolone cheese. Load it up nice and thick, using all of the mixture.
Add the bread top and push down firmly with one hand while slicing into 4 equally-sized pieces.
Serve.
Notes
You can use any combination of deli meats that you like.
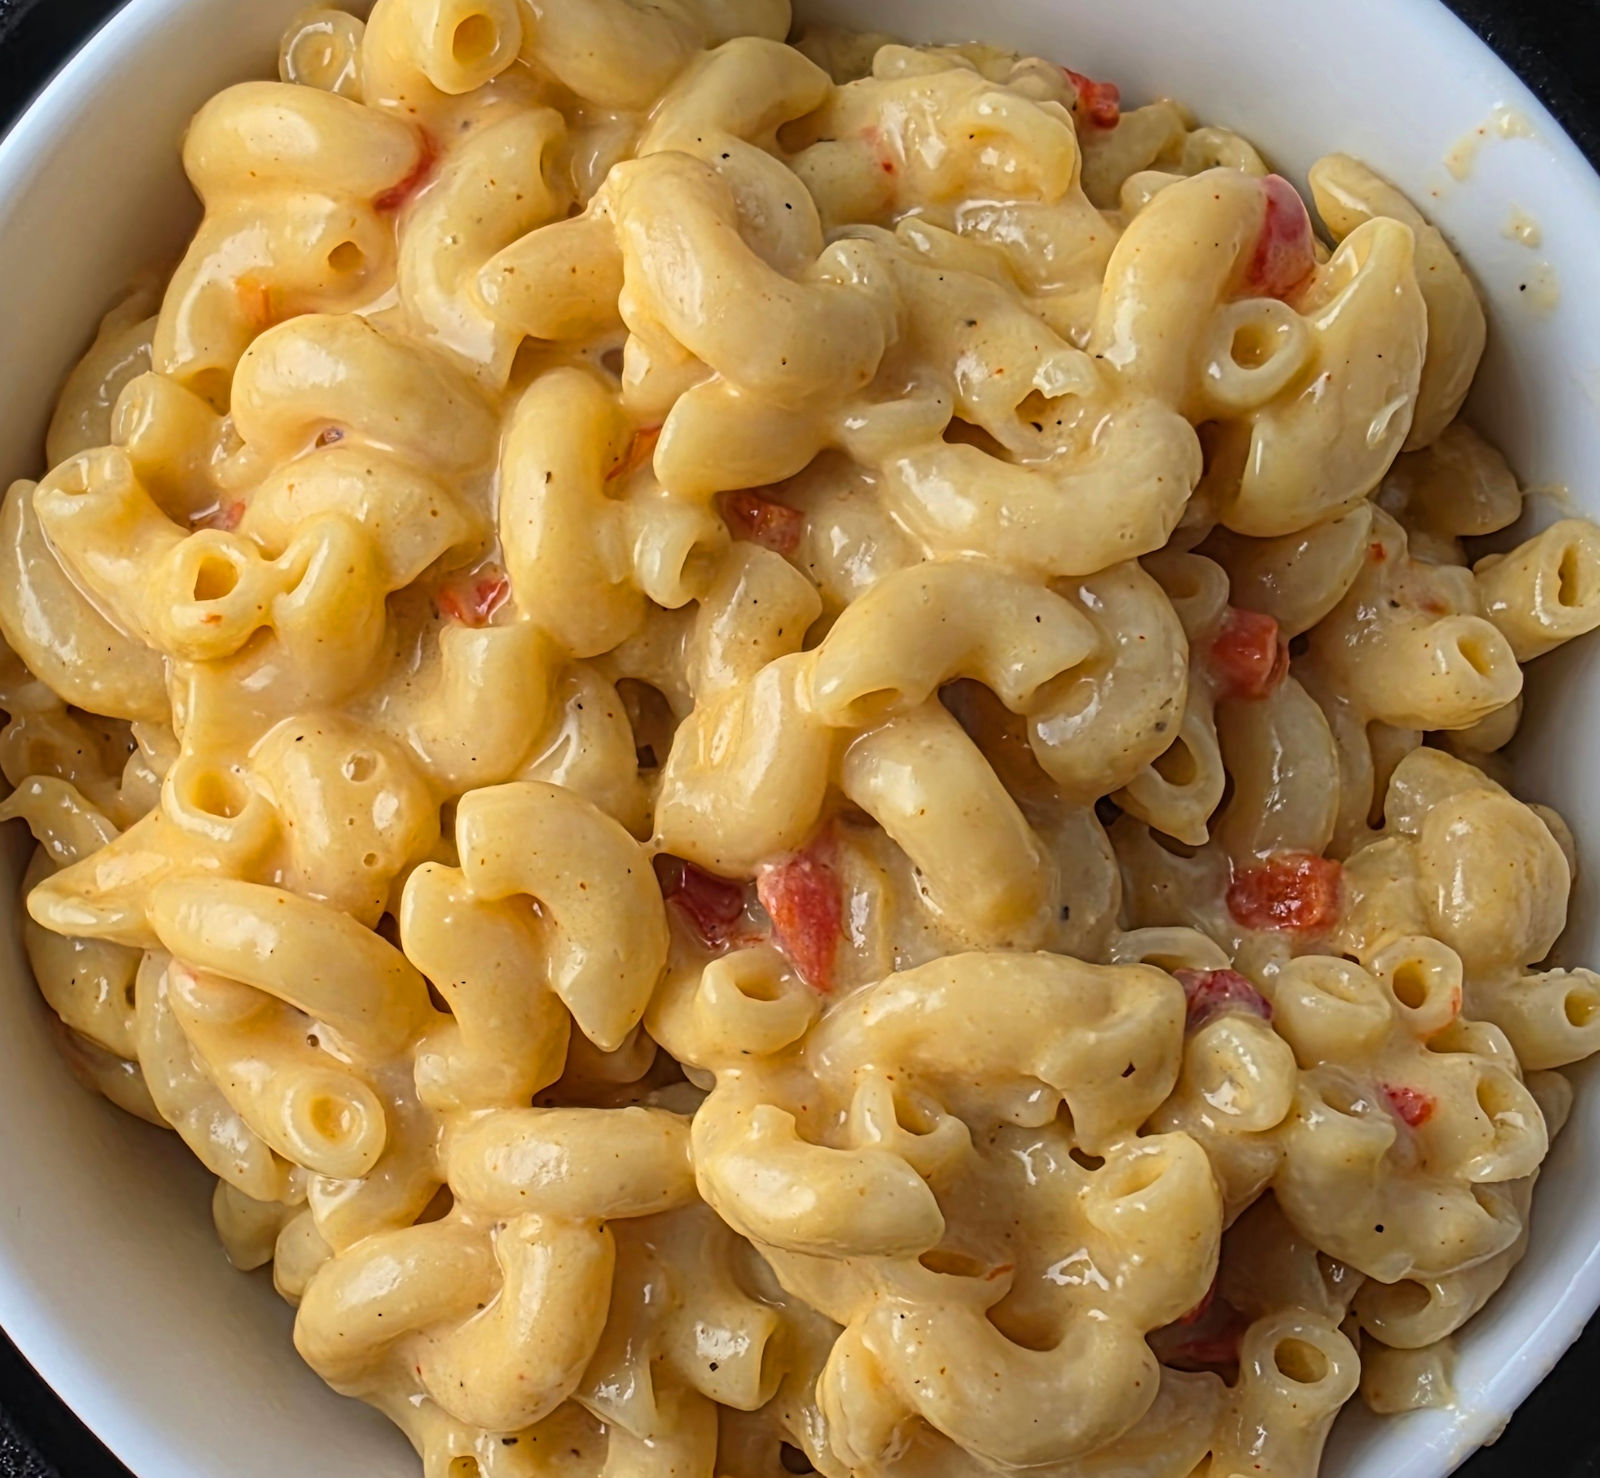
We hit a patch of cool fall weather here and I got into nesting mode quick. I needed some warm, tasty comfort food. Something cheesy. Something creamy. And something easy. Out came the crockpot and soon, I was enjoying a batch of slow cooker pimento macaroni and cheese. The perfect fall dish. Nothing complicated here, just good ole eats!
Live Mas
I coulda changed up this slow cooker pimento macaroni and cheese. And I might the next time I make it. But it’s great just as it is. Classic flavors with lots of cheese. What’s not to love?
If was thinking of changes I might consider adding some roasted chopped green chiles. Or even jalapenos. Or I might change up the cheese. I used ‘normal’ Velveeta, but Mexican blend would be great too! And ya know, there’s always room for more cheese, so don’t be afraid to add more!
You can easily double this recipe and make a big batch for a family get-together. Like Thanksgiving! It’s perfect for that!
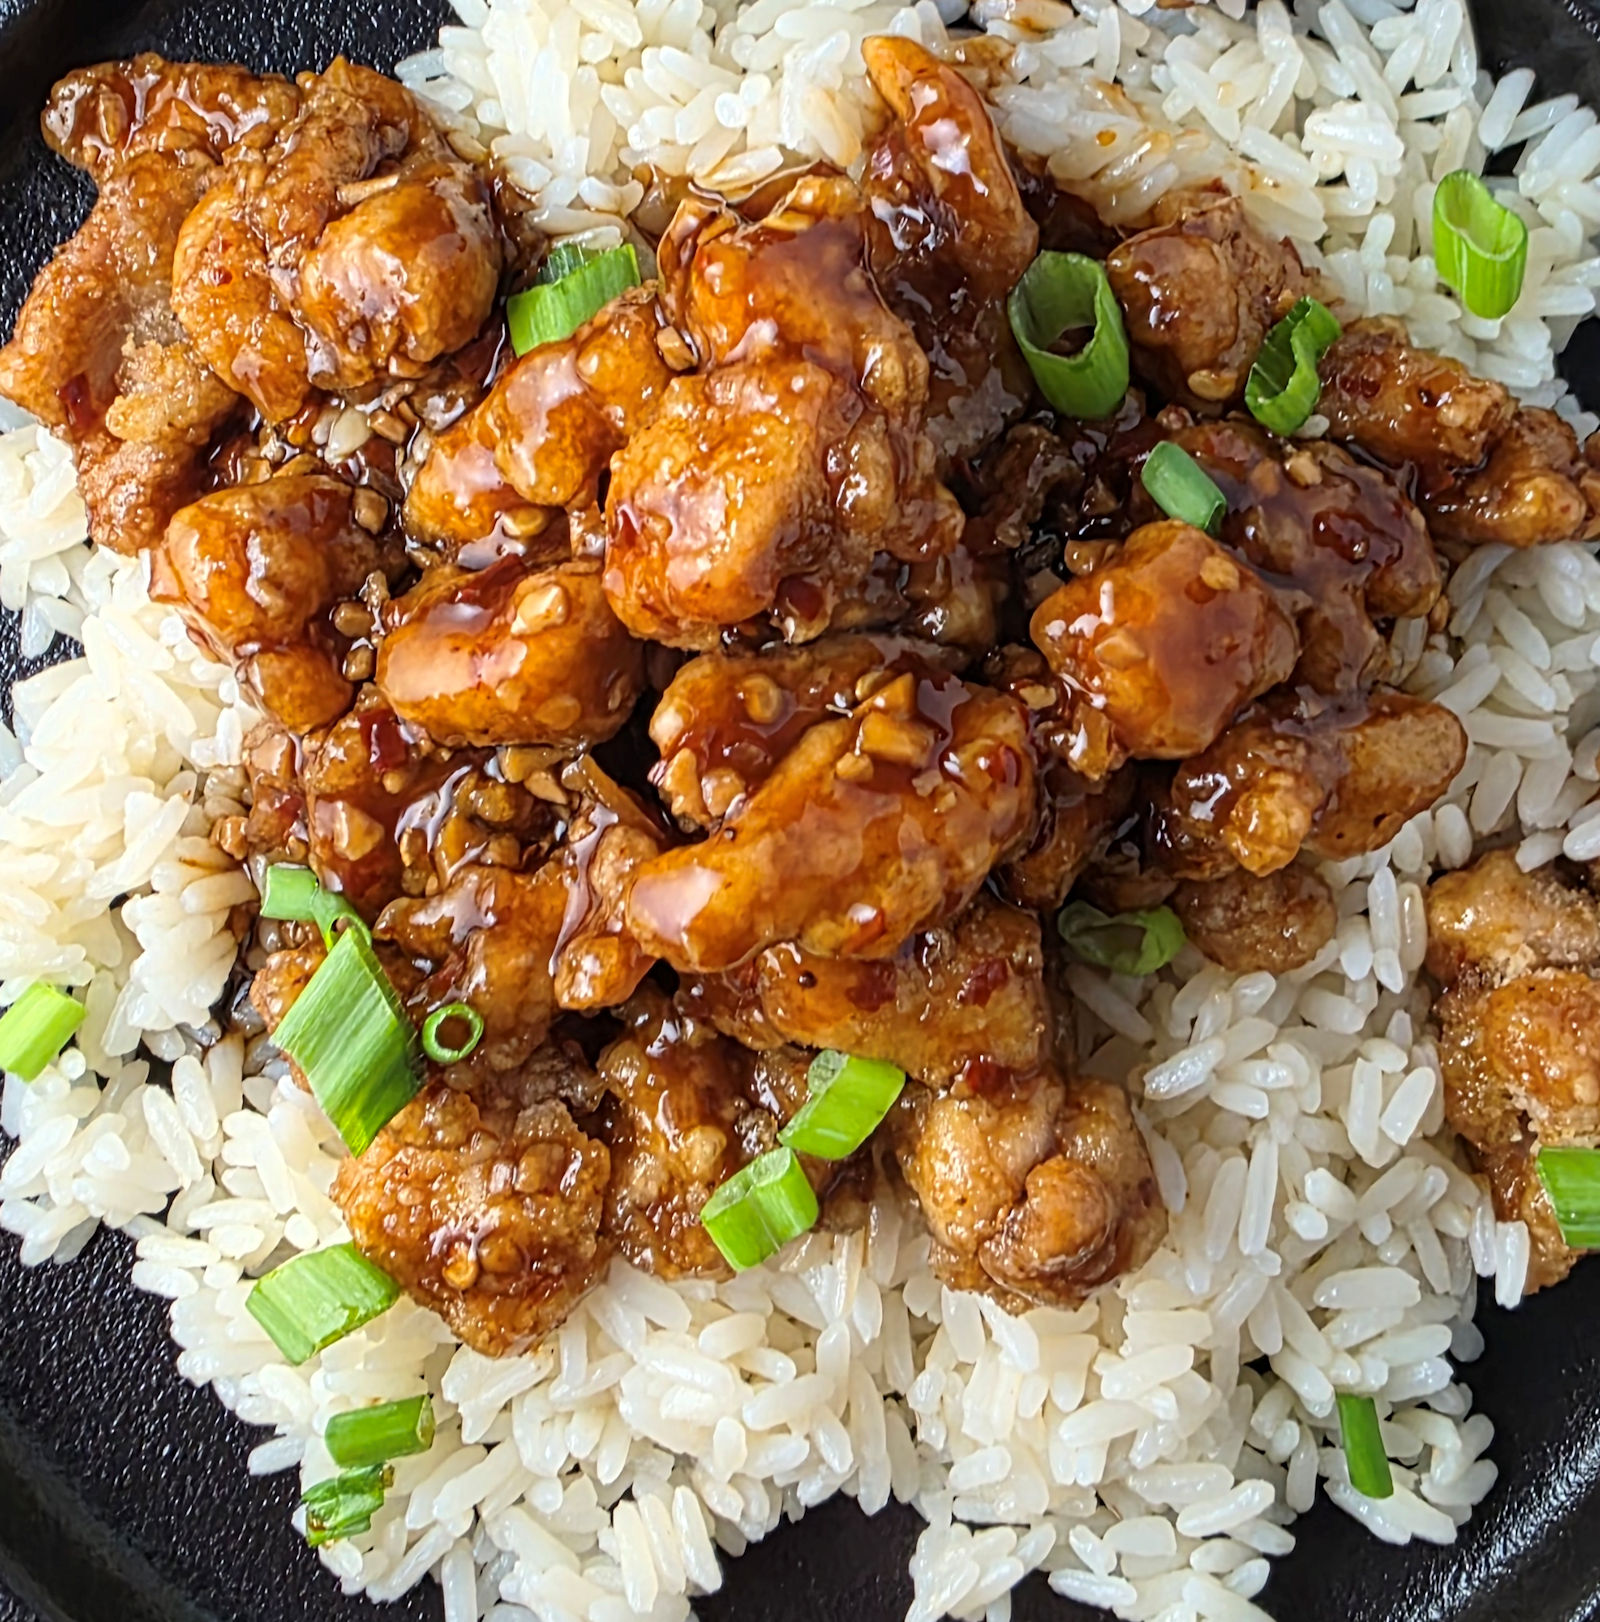
Oh me. Oh my. This General Tso’s chicken made me so happy. The sauce hit the spot for me. Nicely sweet. And a little heat, too. Crunchy chicken bites. Served over rice. Nothing complicated, nothing fancy, but oh so delicious! I loved the sauce so much that I made a big huge batch and kept it in the fridge for a few days, using some for this chicken dish and some for deep-fried wings! Oh my!
Sweet Heat
I love the combination of sweet and heat in this General Tso’s chicken. You might not want so much spiciness in yours. If not, just cut back on the red pepper flake. But don’t leave it out. It adds a lot to this dish.
I used boneless skinless chicken thighs, cut into bite-sized pieces for this dish. You can use chicken breasts too. Try and cut your chicken into equally-sized pieces so that they call fry evenly. Larger pieces will take longer to cook, obviously. You can also pull one out and test the temperature on it before deciding if yours are all ready.