Note: This recipe was developed using the Char-Broil Big Easy Oil-Less Fryer. If you are cooking using the Char-Broil Smoker-Roaster Grill you should cook with the lid open and the temperature set to High. You might also need to adjust the cooking time.
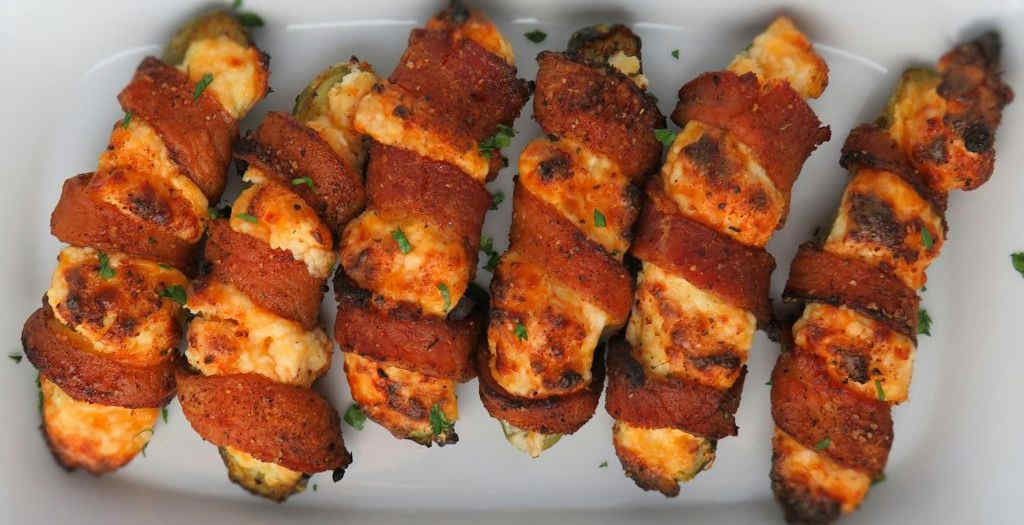
Sure, you’ve made jalapeno poppers on your Char-Broil Big Easy. Quite a few times if you’re like me. And you loved them. But Aunt Martha didn’t like them one bit. “They’re too darned spicy”, she said. Well, today is Aunt Martha’s lucky today because now she can chow down on some super-tasty pickle poppers on the Char-Broil Big Easy without worrying about the heat. Plus they’re totally cool!
Easy. Different. And Delicious.
Make sure you read my notes in the recipe. They’ll make making these pickle poppers on the Char-Broil Big Easy a breeze. I really liked the change from the ‘usual’ jalapeno poppers. They’re hard to stop eating, so make sure you make a big batch. If you haven’t already, invest in a Bunk Bed Basket or two for your Big Easy. It gives you a lot more cooking space.

It’s always a good idea to keep a few spare grease trays on hand for your Char-Broil Big Easy.

Love your Big Easy as much I love mine? Check out my Big Easy Add-Ons page and my free Big Easy eCookbook!
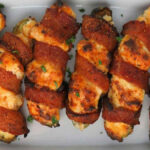
Pickle Poppers on the Char-Broil Big Easy
Ingredients
- 6 baby dill pickles
- 6 slices bacon
- 4 ounces cream cheese softened
- ¾ cup sharp cheddar cheese shredded
- ½ clove garlic minced
- Toothpicks
- Your favorite seasoning
Instructions
- Preheat oven to 350 F.
- Meanwhile, slice the pickles in half horizontally.
- Using a melon baller carefully scoop out the centers of the pickles. Set aside. NOTE: I found it much easier to just use my finger nail (with a food-safe glove on) to do this.
- Line a baking sheet with foil.
- Add bacon slices and bake for 20 minutes to partially cook the bacon.
- Remove to a paper towel-lined plate to drain.
- Cut each piece of bacon in half lengthwise. NOTE: The easiest way to do this is to roll each piece up and then make a single cut down the middle.
- Combine the cream cheese, cheddar, and garlic,
- Working in batches, form about a tablespoon of the cheese mixture into a shape like a fat cigarette that will fit into the cavity of the pickles.
- Working in batches, add shaped cheese to the pickle centers.
- Secure one end of a piece of bacon to the end of the pickle slice by inserting a toothpick horizontally.
- Wrap the bacon around the rest of the pickle, also securing the other end with a toothpick.
- Fire up your Big Easy.
- Lightly dust pickle poppers with your favorite seasoning and transfer to a Big Easy basket.
- Cook in the Big Easy for 20 minutes or until the bacon starts to char and the cheese has melted.
- Let cool slightly before serving.
Notes
Nutrition
Nutritional values are approximate.