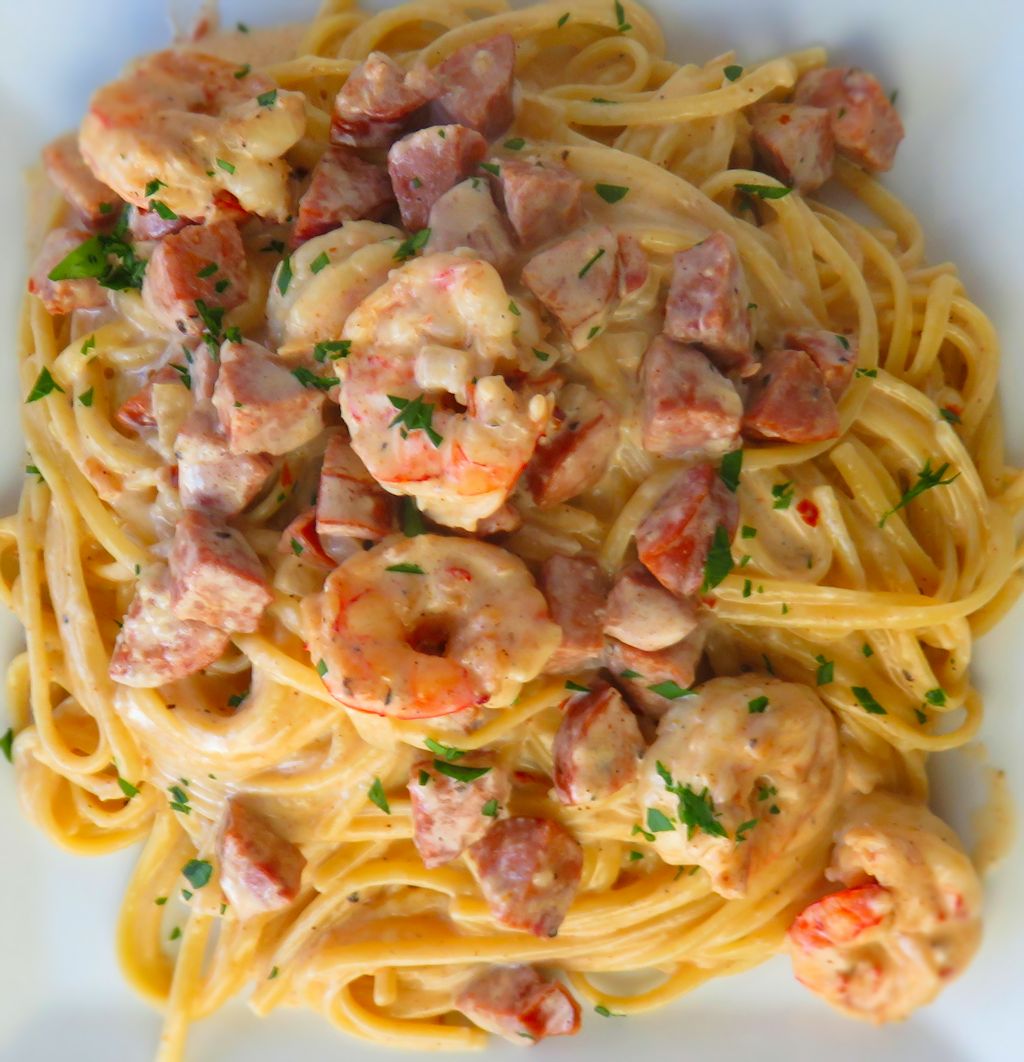
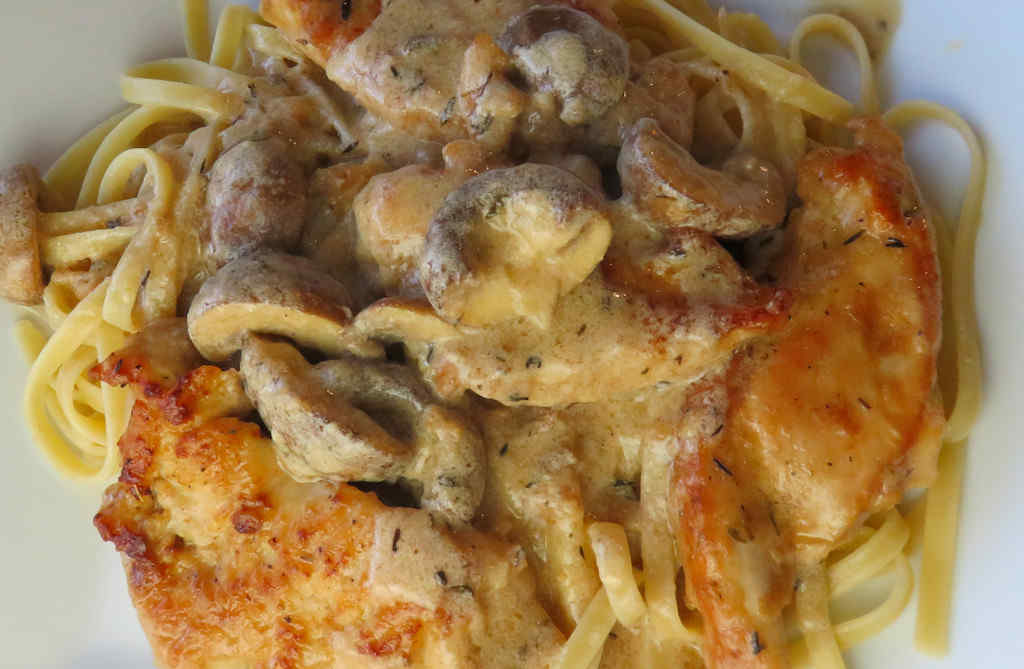
This mushroom Asiago chicken dish was the perfect therapy for a Sunday evening. By therapy I mean it was fun to make. A great distraction before going back to work the next day. And it was oh so tasty good. The perfect way to cap off a week and start a new one. It isn’t complicated, but then it isn’t all out of a box or can either.
Deliciously Creamy
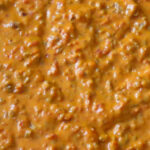
This mushroom Asiago chicken is crazy creamy good. Personally, I wouldn’t hesitate to add a pinch or two of red pepper flake to give it just a bit of a kick. That’s just me, I like a bit of spice in everything. The chicken has a nice buttery flavor and is oh so tender and juicy. I was worried it might dry out or get a bit touch after frying in the flour, but no, it sure didn’t!
I love the nuttiness of Asiago cheese, but there is a limit. There is a such thing as too much for me. So start slow when you add the cheese, tasting as you go, until it is just perfect.
I like to use my good ole trusty Dutch oven to make this chicken and pretty much darned near anything like it on my stovetop. It’s nice and big and sturdy. That extra weight helps it maintain and distribute heat perfectly. As an added bonus, it’s actually pretty easy to clean up too!

Also try my Buffalo chicken Alfredo.
Mushroom Asiago Chicken
Equipment
Ingredients
- 2 large chicken breasts boneless, skinless
- 2 tablespoons unsalted butter
- 2 tablespoons olive oil divided
- ½ cup all-purpose flour
- Kosher salt
- ground black pepper
- 8 ounces cremini mushrooms sliced
- 1 clove garlic minced
- 1 ½ cups dry white wine
- 3 sprigs fresh thyme
- ½ cup heavy cream
- ¼ cup Asiago cheese shredded
- Egg noodles pasta or rice, cooked per package instructions
Instructions
- Slice the chicken breasts horizontally.
- Place between sheets of wax paper and pound with a meat mallet until very thin (about 1/4").
- Cut into large strips.
- Add the butter and 1 tablespoon of the olive oil to a large skillet over medium heat.
- Place the flour in a pie plate and season with 1 teaspoon of salt and 1/2 teaspoon of pepper. Stir to combine.
- Dredge the chicken pieces in the flour then transfer to the skillet.
- Saute until golden brown on all sides.
- Remove to a plate.
- Add the remaining olive oil to the skillet.
- Add the mushrooms and saute until just starting to soften.
- Add the garlic and saute for another minute.
- Add the wine and scrape up any bits on the bottom of the pan.
- Bruise the thyme (if using fresh, otherwise, crumble the dried thyme) and add to the pan.
- Return chicken to the pan.
- Bring to a boil then reduce to a simmer.
- Cover and let simmer for 15 minutes.
- Remove chicken pieces to a plate again.
- Stir in the cream and cheese until melted.
- Reduce by half, stirring often.
- Add the chicken back and heat thoroughly.
- Serve over warm egg noodles, pasta, or rice.
Notes
Nutrition
Nutritional values are approximate.