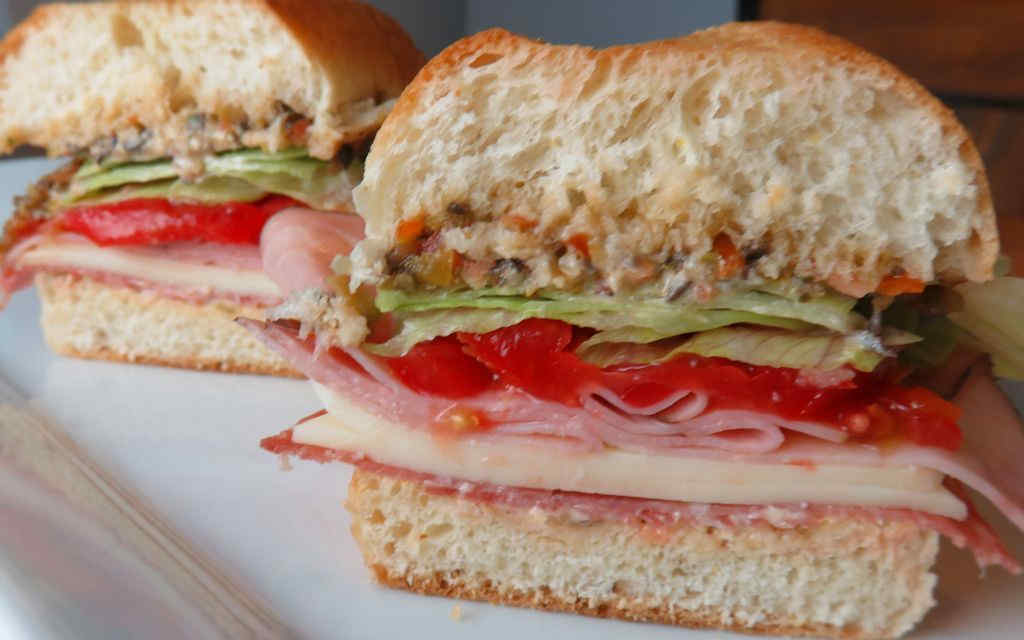
Muffuletta sandwiches are tied with pastrami sandwiches on my list of all-time-favorite sandwiches. I often make my own pastrami. And I often make my own olive salad. But doing either is kind of a time-consuming process. These Cajun Muffuletta po boys are not only easier to make, they’re beyond crazy good. Delicious deli meat and cheese slices are combined with a spread that has a great mustard-y spiciness to it. The olive salad is divine and really, I could just eat it out of a bowl by itself.
A Crazy Good Sandwich
Don’t let the number of ingredients in these Cajun Muffuletta po boys scare you off. This recipe is well worth rounding them up. And many are things you probably already have on hand. Once you have the spread and the salad you’re good-to-go to make the best sandwich you’ve had in a long, long time.
I almost always use Blue Plate mayonnaise in the dishes I make. I think it is the best around. If you can’t find it locally you can pick it up online for a fair price.

Also try my slow cooker New Orleans roast beef po boy.

Cajun Muffuletta Po Boys
Equipment
Ingredients
For the sandwich
- 1 loaf French bread
- 4 ounces deli ham sliced thin
- 4 ounces Genoa salami sliced thin
- 4 ounces Provolone cheese sliced thin
- 4 ounces Mozzarella cheese sliced thin
- 1 cup olive salad see below
- 2 tablespoons Po'Boy spread see below
- 1 cup iceberg lettuce shredded
- 1 tomato sliced thin
Marguerite's Creole Poboy Spread
- ½ cup mayonnaise
- ¼ cup Creole mustard
- 1 tablespoon ketchup
- 1 tablespoon dill pickle relish
- 1 tablespoon prepared horseradish
- 1 pinch kosher salt
- 1 teaspoon hot sauce
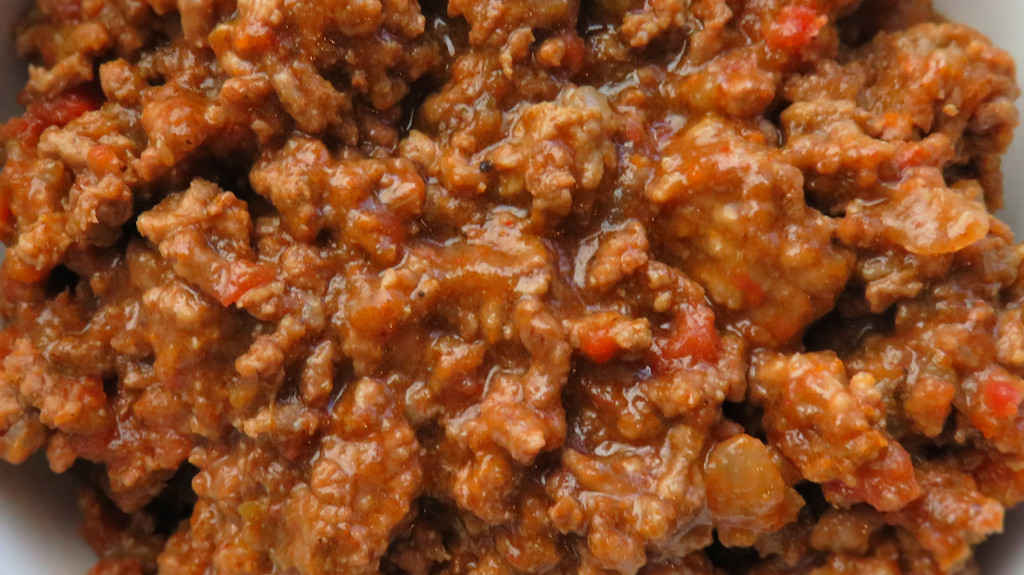
Creole Olive Salad
- 1 cup pimento-stuffed green olives
- 1 cup black olives
- ½ cup tomatoes chopped
- 2 cloves garlic chopped
- ¼ cup pickled jalapenos
- 1 tablespoon green onions sliced
- 1 tablespoon fresh parsley chopped
- 1 tablespoon capers
- 2 teaspoons dried oregano
- 1 teaspoon Cajun seasoning
- 3 tablespoons red wine vinegar
- ½ cup extra virgin olive oil
Instructions
For the sandwich
- Cut the bread in half horizontally.
- Slather the top half of the bread with the poboy spread and the bottom with the olive salad.
- Add the meats and cheeses, followed by the shredded lettuce and tomatoes.
- Add top bread half and slice in half. Serve.
Marguerite's Creole Poboy Spread
- Whisk together all ingredients. Refrigerate for at least 30 minutes before using.
Creole Olive Salad
- Place all ingredients except for the oil into a food processor. Pulse until chopped and blended but do not over blend.
- Transfer to an airtight container. Pour the oil over the top of the salad and seal. Refrigerate overnight before using.
Notes
Nutrition
Nutritional values are approximate.