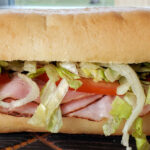
If I was going out to grab a sub, I’d be heading to Jersey Mike’s. No question about it. I’d get a sub Mike’s way, with vinegar and oil and salt and pepper and it’d disappear in no time. And if I wanted to make the same great sandwich at home, I’d make my copycat Jersey Mike’s sub. But if I’m in a big hurry and still want a great sandwich, I make my quick and easy cold cut sub sandwich. It’s not too different than what I can get at Jersey Mike’s. Main difference is that I use an off-the-shelf sub dressing that makes every sub great.
Don’t Forget The Salt And Pepper
It may sound odd, but I actually think the two ingredients that are essential to a tasty quick and easy cold cut sub sandwich are salt and pepper. Onions need seasoning. The tomatoes definitely need seasoning. And of course the lettuce needs it too.
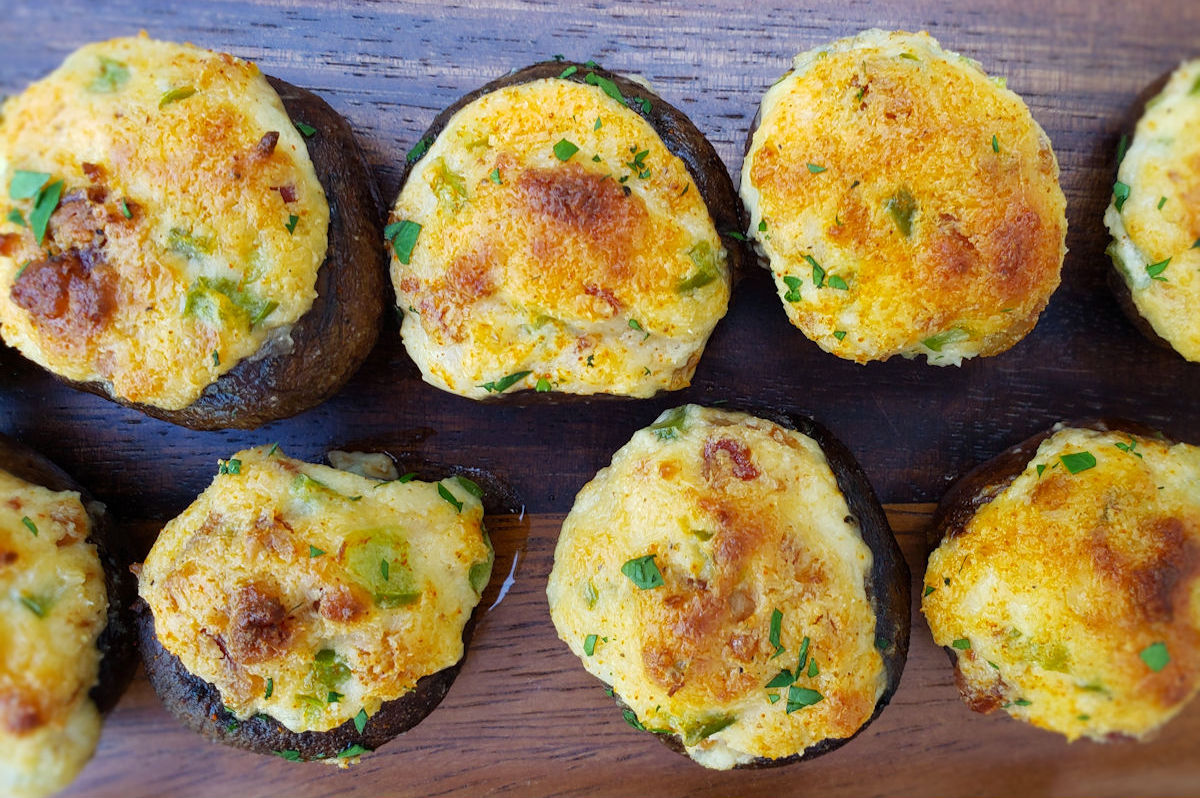
These baked bacon and cheese stuffed mushrooms are the perfect baked appetizer. Tender mushrooms that still have a little ‘bite’ to them. The cheese mixture is fantastic. Three different cheeses and a little seasoning combine with bacon and bell pepper for bite after bite of deliciousness. I say ‘bite’, but if you use small mushrooms you can pop these little treats into your mouth like popcorn. Sure, I did.
Make Ahead For Easy Party Treats
You can pre-make these baked bacon and cheese stuffed mushrooms by doing steps 1-8 then refrigerating the mushrooms for later. Then, when you’re ready to finish them, remove them from the fridge and let come to room temperature for 30 minutes before transferring to a hot oven to cook and heat thoroughly. I’ve found that you can make them up to 24 hours ahead of time and they’ll be fantastic. Of course you can easily double or triple the recipe if you’re serving a larger crowd.
I highly recommend that you shred or grate your own cheese at home. Don’t buy the pre-shredded or pre-grated stuff. It has stuff added to it to keep it from sticking together. That ‘stuff’ affects how the cheese melts. Shred it yourself and use the good stuff.
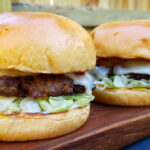
You can’t go wrong with these pico de gallo smash burgers. They’re very easy to make and come out very juicy. A simple pico de gallo topping adds flavor and freshness, without overpowering the thin, crispy delicious patty. A little cheese and you’re good-to-go. Nothing fancy here, just a fantastic easy burger.
The Perfect Refreshing Burgers
I make smash burgers a lot. They’re the perfect quick dish. And there are literally an unlimited number of ways to top them. My pico de gallo smash burger is a great example. If don’t have pico in your grocery store, and don’t want to go through the trouble of making it, you can substitute a good chunky salsa.
I like for my pico de gallo to be good and cold before I top my burgers.
The equipment
Here’s the equipment I use. You can get by using two cast iron skillets. Use a larger skillet for cooking the burgers, and a smaller one to smash the burgers and keep them flat. Since I’m a cooking gadget collector, I prefer to use a few more tools.
The griddle
First, a griddle. You can buy griddles that sit on top of your grill grates or ones that replace them. Just about every grill I have has a griddle on it. I use them for a lot of things, not just smash burgers. You want one that can be placed over the hottest part of your grill so it gets screaming hot.
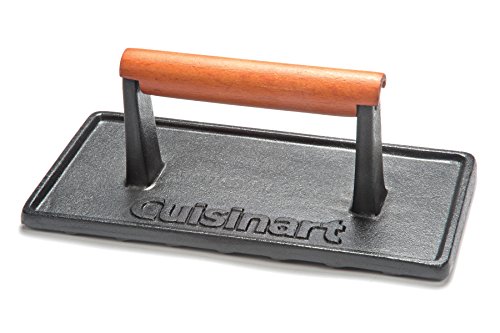
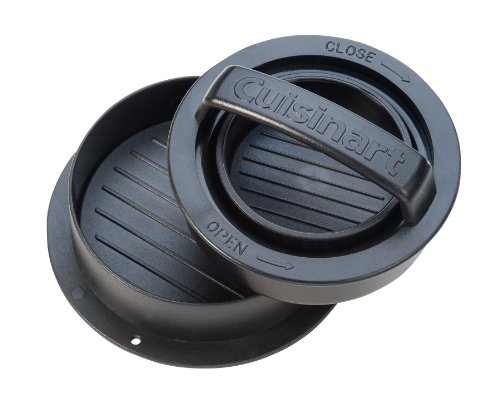
Next, you need a burger press. You can use a heavy cast iron skillet, like I mentioned. Or get a burger press. For easy cleanup I wrap mine in foil first. When I’m done, just peel off the foil and toss. Super easy. Get a press that’s at least big enough to cover two burgers. You only smash one at a time, but if you want to keep them flat, you want to rest the press on top so bigger (and heavier) is better. Plus I’ve found that a bigger, heavier press tends to stay on the burgers whereas a smaller, lighter one is hard to keep centered on the burgers, specially if you have a bunch of them cooking at once.
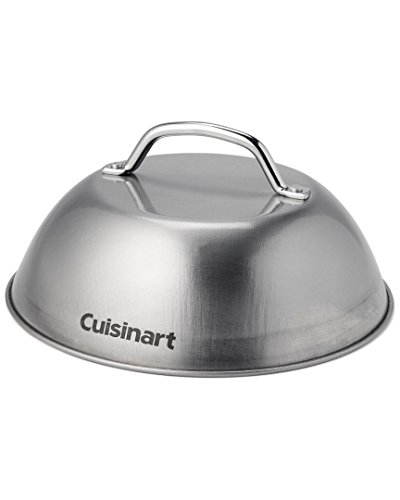
Next up, a dome. While not 100% required, it does speed the time it takes to melt the cheese and it does it in a nice even fashion. In my opinion you don’t really need one if you’re using a super melty cheese, such as American, but for thicker slices like say a deli pepper jack, you want the cheese to melt before you over-cook the burger and that’s where a dome comes in handy.
Lastly, you need something to clean your griddle. I like to clean mine when I’m done cooking, but you can do it at the start instead. I use one of these pad holders with a griddle cleaning pad. Then I add a bit of water to my griddle then use the pad (connected to the holder) to scrub off any big chunks and get up some of the grease. I don’t go crazy with it, I always heat the heck out of my griddle before cooking, but I get the worst. The long arm on the pad holder makes it perfect for scrubbing a hot griddle, too.
Fire up your grill for high heat. Place a griddle or a large cast iron pan over the highest heat.
Season the ground beef and form into four 4 ounce balls (not patties!).
Place the balls of beef on the griddle and let cook for one minute. Just let them cook, don't mess with them.
Take your press and flatten out the patties. I like to use the point of the press and work my way around the ball first, doing a little section at a time and then finally I press down on the entire patty to flatten it out. You can also just flatten out the ball all at once. At this point I also like to season the patties some more.
Let the patties cook until you start to notice a little char along the edges. Flip, season again if desired, and continue cooking another minute or so until the other side is charred. The burgers are thin so they will cook very quickly so watch out.
Add 1/4 cup of cheese to each patty. If desired, cover in a dome to help the cheese melt.
Toast the buns.
Remove, add the patties and serve topped with 1/4 cup of pico de gallo each.
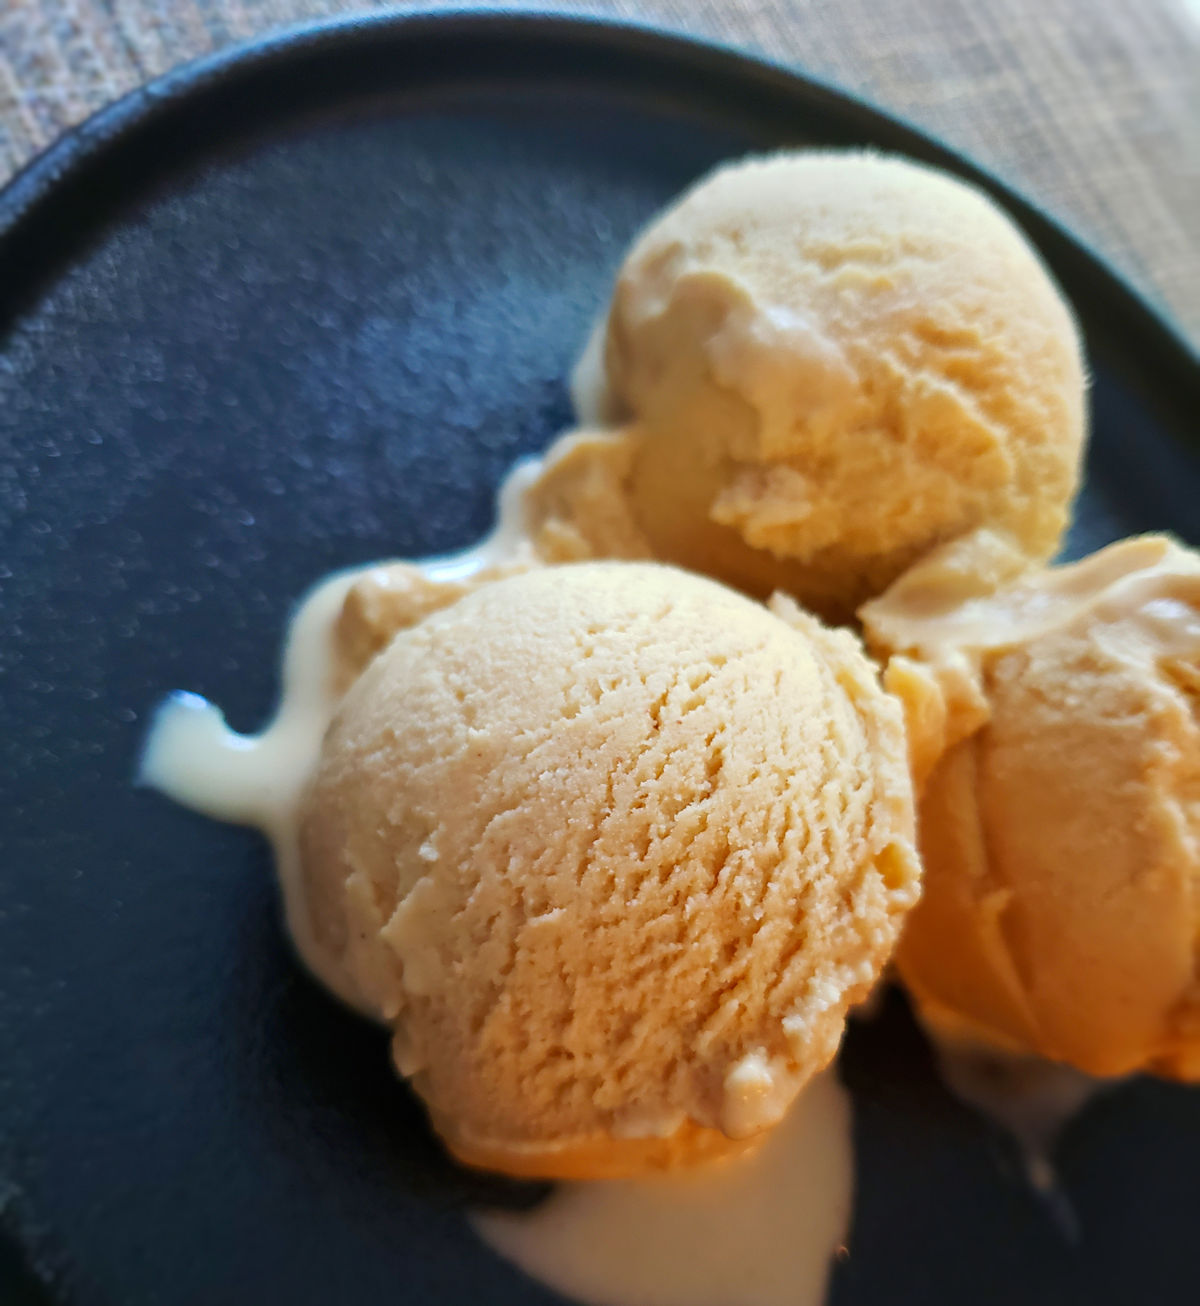
If you’re a peanut butter-aholic, this easy homemade peanut butter ice cream is for you. In no time at all you can enjoy delightful spoon after spoon of this delicious, creamy, smooth peanut butter flavor-packed treat. You seriously could not find an easier recipe for a fantastic ice cream. This will satisfy the peanut butter lover in you!
Customize Your Ice Cream
You could embellish this easy homemade peanut butter ice cream. If you wanted to, that is. You don’t have to. I thought it was fantastic made just as the recipe states. It’s creamy delicious and packed with peanut flavor. But, I can see wanting to add a little crunch or something else maybe. Perhaps a few handfuls of toasted peanuts. That’d be good, for sure. And a good drizzle of chocolate syrup? That’d take it way over the top!
I use my lil Cuisinart ice cream maker for this and all the ice creams that I make at home. It keeps me in the ‘easy’ mode because it’s easy to use and easy to clean. All I have to do is make sure that I put the freezer bowl into the freezer a good day ahead so that it gets super cold.
Oh me. Make me drool. These juicy smash burgers were packed with flavor. And oh, so juicy good! Smashed to perfection and cooked on a hot griddle, the patties get that nice little char around the edges. That crunch. That’s the sign of a good smash burger right there!
Keep It Simple
I tend to keep the toppings on my juicy smash burgers (and all my smash burgers for that matter) pretty simple. The patties are the real star of the show here. So for me, it’s a not-too-strong-of-a-cheese (Swiss), chopped iceberg, a little onion and some ketchup, mayonnaise, and mustard. There’s nothing fancy going on here. The patties have a great texture to them thanks to the bread crumbs. The flavor comes from beef-flavored onion soup mix. And the juiciness comes from adding mayonnaise into the patties. This recipe makes 8 patties, which is a good thing because I could easily eat two!
The equipment
Here’s the equipment I use. You can get by using two cast iron skillets. Use a larger skillet for cooking the burgers, and a smaller one to smash the burgers and keep them flat. Since I’m a cooking gadget collector, I prefer to use a few more tools.
The griddle
First, a griddle. You can buy griddles that sit on top of your grill grates or ones that replace them. Just about every grill I have has a griddle on it. I use them for a lot of things, not just smash burgers. You want one that can be placed over the hottest part of your grill so it gets screaming hot.
Next, you need a burger press. You can use a heavy cast iron skillet, like I mentioned. Or get a burger press. For easy cleanup I wrap mine in foil first. When I’m done, just peel off the foil and toss. Super easy. Get a press that’s at least big enough to cover two burgers. You only smash one at a time, but if you want to keep them flat, you want to rest the press on top so bigger (and heavier) is better. Plus I’ve found that a bigger, heavier press tends to stay on the burgers whereas a smaller, lighter one is hard to keep centered on the burgers, specially if you have a bunch of them cooking at once.
Next up, a dome. While not 100% required, it does speed the time it takes to melt the cheese and it does it in a nice even fashion. In my opinion you don’t really need one if you’re using a super melty cheese, such as American, but for thicker slices like say a deli pepper jack, you want the cheese to melt before you over-cook the burger and that’s where a dome comes in handy.
Lastly, you need something to clean your griddle. I like to clean mine when I’m done cooking, but you can do it at the start instead. I use one of these pad holders with a griddle cleaning pad. Then I add a bit of water to my griddle then use the pad (connected to the holder) to scrub off any big chunks and get up some of the grease. I don’t go crazy with it, I always heat the heck out of my griddle before cooking, but I get the worst. The long arm on the pad holder makes it perfect for scrubbing a hot griddle, too.
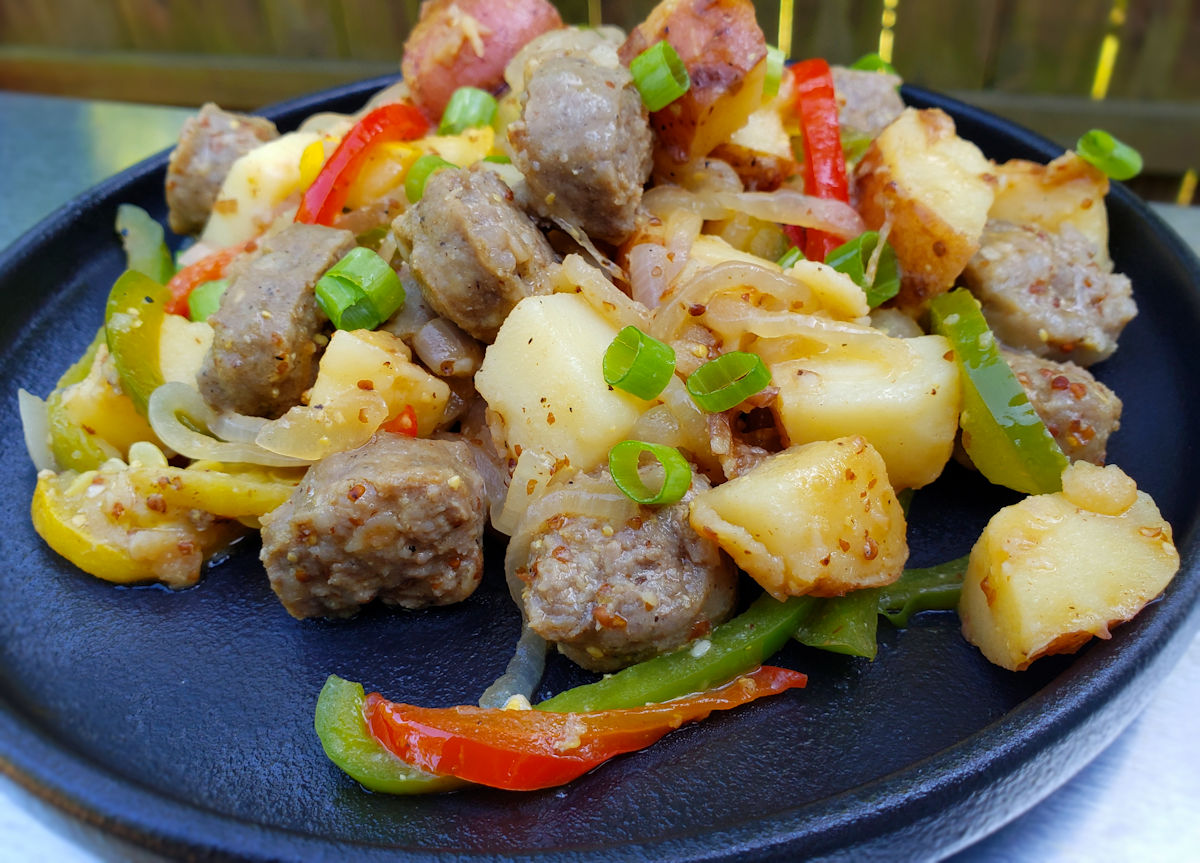
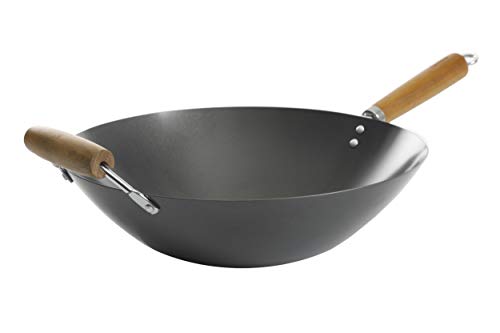
This bratwurst stir-fry was different. And very tasty. I never thought about cooking bratwurst in a wok ala stir-fry. I’m usually a grill-my-brats kinda guy. This dish is like having a bratwurst dinner, including potatoes and vegetables, all in one! And of course there’s mustard! You can’t have bratwurst without mustard.
Get Some Texture
Make sure to get the bratwurst ‘bites’ in this bratwurst stir-fry nicely browned and slightly crispy around the edges. You want a little contrast with the rest of the dish of tender potatoes, squash, peppers and onions. Plus, it gives the bratwurst that almost-grilled texture. If you want a little more crunch, feel free to add a little peeled and diced apple.
Go Mustardy
I wanted a fairly strong mustard flavor so I used a good, grainy mustard when I made this. I also used a bit more than the recipe calls for.
Heat the oil in a large skillet over wok over medium-high heat.
Add the bratwurst pieces and cook, stirring often, until lightly browned and getting crispy around the edges, 5 or so minutes. Remove with a slotted spoon to a plate or small bowl.
Add the potato chunks and cook for 5 minutes or until just starting to soften. Remove to the plate with the bratwurst.
Add the squash and cook until just tender, 2-3 minutes. Remove to the plate with the bratwurst.
Add the bell peppers and onions and cook until tender, stirring, 3-4 minutes.
Add the bratwurst, potatoes and squash back to the skillet.
Stir in the garlic and cook 3 minutes.
In a small bowl, whisk together the mustard, beer and Worcestershire sauce. Add to the meat mixture.
Reduce heat to medium-low. Simmer slowly, stirring occasionally, until the sauce reduces slightly. Taste and add salt and pepper to taste. You may also want to add more mustard.
Serve garnished with the green onions.
Notes
You can use any combination of vegetables you want. Always start cooking the thicker, harder vegetables (such as carrots) first since they take longer to cook.
In my opinion, just about every recipe needs Old Bay seasoning. It’s what makes this southern pimento cheese something different, something special. I knew exactly where this yummy mixture was heading the moment I spied the recipe. I was going to pile it up high on a slice of grilled bologna. The perfect topping for the perfect sandwich. I could’ve used it as a dip. Or inside an omelet. Or really, I could just sit down with a spoon and a bowl of southern pimento cheese (ok, that might be a stretch, but not much of one).
Shred Your Own Cheese
Whenever making a dish like this southern pimento cheese I always shred the cheese by hand. I buy a big ole block of cheese and put some muscle into a shredder. The pre-shredded stuff has things added to it to keep it from sticking together. You don’t want that in your pimento cheese. So do it by hand like I do.
Update: Oh my goodness! No more hard work shredding my cheese! I love this shredder! It’s one of the best kitchen gadgets I’ve ever purchased.
I knew exactly where this yummy mixture was heading the moment I spied the recipe: piled up high on a slice of grilled bologna, toping off the perfect sandwich.
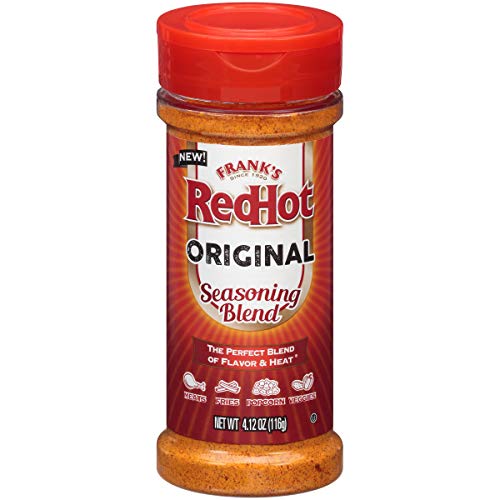
And BOOM! Like that these quick fix Frank’s RedHot Original Seasoning potato chips were gone. “The perfect blend of flavor and heat” is what the bottle says. And the bottle does not lie. Why someone hasn’t come out with these chips in bags I do not know. They could retire on a beach somewhere if they did. Well, until then, I’ll just make them at home in just a few minutes. Sadly, I won’t be retiring on a beach, though!
The Simple Steps To Chip Success
The keys to making quick fix Frank’s RedHot Original Seasoning potato chips are simple. Use ruffled (wavy) potato chips so that you get seasoning in every ridge and valley. And equally as important, use a lot of the seasoning. Heck, if you want lightly seasoned chips go to the market! There’s bag after bag of meh-flavored chips! Now’s your chance to bring some flavor to each and every crunch!
Don’t search out the expensive chips for this dish. El cheapo chips work just fine. In fact, they could easily be better. You want chips with a bit of oil still in them from the frying process. When you heat them that oil will come to the surface. That’s the ideal time to season them.
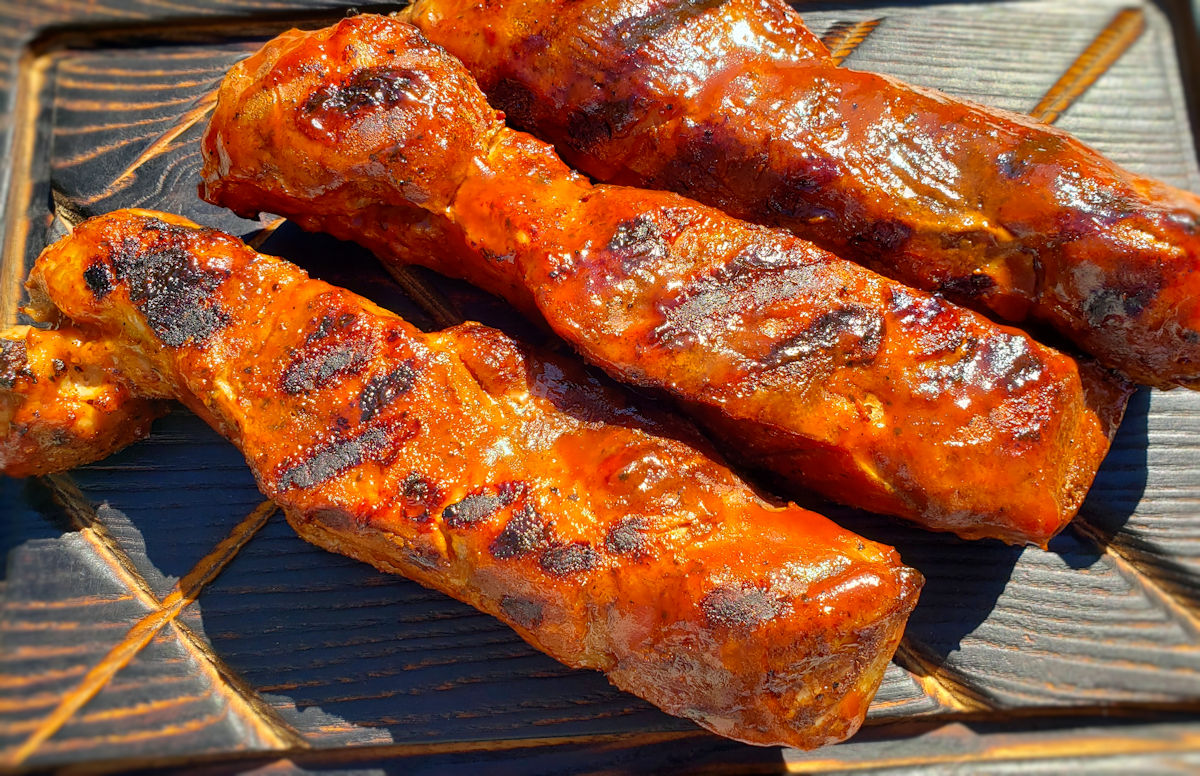
These BBQ sous vide country style ribs have been on my radar for a while now. I love country style ribs. I usually sear them on the stovetop then finish them in the oven, served over sauerkraut. Yum. This time I went the sous vide route, finishing the ribs on a hot gas grill. A little hickory BBQ sauce gives the impression that the ribs were cooked low and slow on a smoker. Or close enough, at least. The result was tender, very juicy, very flavorful ribs.
Tender as you want it to be
You get to decide how tender you want your BBQ sous vide country style ribs to be. The first time I made them I went 4 hours. At that point the ribs have a good chew but aren’t tough. If you like a good tug to your ribs, 4 hours will get you where you want to be. But for more tender ribs you really might want to go 6 if not 8 hours. The full 8 hours is a bit much for me only because I do want a little ‘bite’ to my meat. I’d settle on 6. You can squeeze the ribs in the bag after 4 hours, and every hour or so after that, to see if the ribs are getting to where you want them. Just note your favorite cook time for the next time you make them. Because there will be a next time.
I use an Anova sous vide cooker. It’s my immersion circulator workhorse!
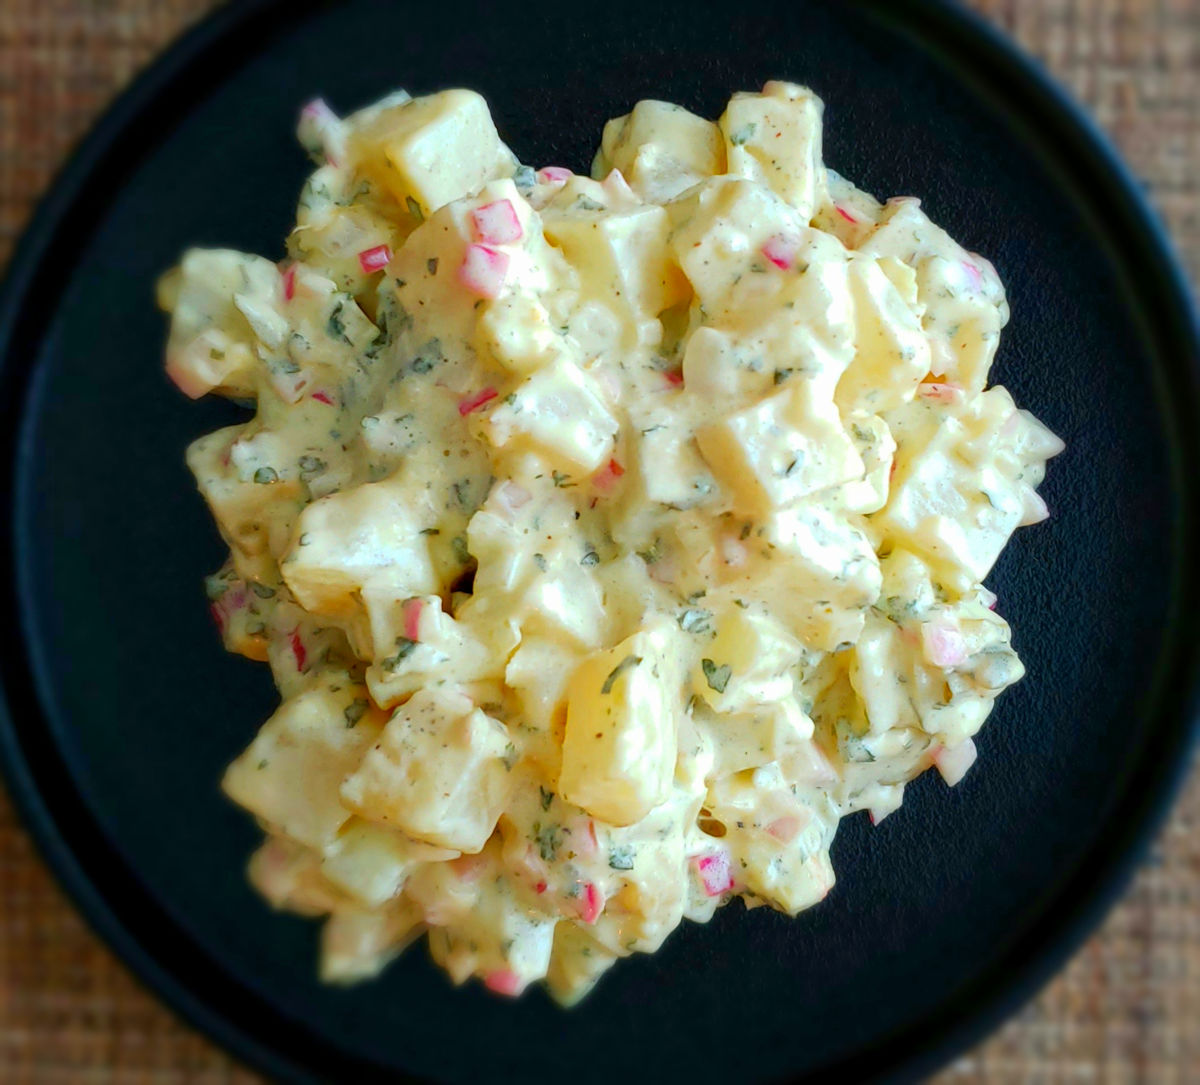
I could go for a New Yorker sandwich from McAlister’s Deli right now. Boy would that ever be good. And a side of potato salad. Please. Or, I could make a copycat McAlister’s Deli potato salad at home. True, my pastrami sandwich isn’t quite as good as theirs, but this potato salad is. This is easily my favorite. I could sit down with a (large) bowl of this any time and finish it off. The perfect crunch, creaminess, and flavors. This is reminiscent of a classic version, but one that has been amped up. A lot.
Baked, Not Boiled
I like to bake my potatoes for my copycat McAlister’s Deli potato salad. Some people (oh, say, like my wife) prefer to boil them. I like them baking because first, I think baking adds more flavor and more importantly, prevents flavor from being lost to the boiling water. I also like how baking keeps the size and shape of the potato. Baked potato chunks are nice and squared. Boiled are round from being bounced around in a torrent of bubbling water. Go baked, I say!
I almost always use Blue Plate mayonnaise in the dishes I make. I think it is the best around. If you can’t find it locally you can pick it up online for a fair price.
Poke a few holes in each potato with a sharp knife.
Bake for 40-60 minutes, or until done as desired. Cooking time depends on the size of the potatoes and how much 'crunch' you want to your salad. I use a bamboo skewer to test for doneness.
Remove potatoes from oven and let cool.
Meanwhile, in a small bowl, combine the vinegar, dried parsley and celery flakes. Set aside to let the dried herbs rehydrate, stirring every 5 minutes or so.
In a medium bowl combine the red onion, relishes, mustard and sugar.
Peel the potatoes.
Chop potatoes into cubes and add to the bowl containing the onion mixture.
Gently toss the potatoes to coat.
Gently stir in the vinegar and dried herb mixture.
Add half of the mayonnaise and stir. If you want a creamier salad add more mayonnaise.
Sprinkle with the celery salt.
Taste and add salt and pepper to taste. If you want, also add more celery salt but be careful. It's strong stuff and can quickly overwhelm the salad. I happen to like it so I added more.