Note: This recipe was developed using the Char-Broil Big Easy Oil-Less Fryer. If you are cooking using the Char-Broil Smoker-Roaster Grill you should cook with the lid open and the temperature set to High. You might also need to adjust the cooking time.
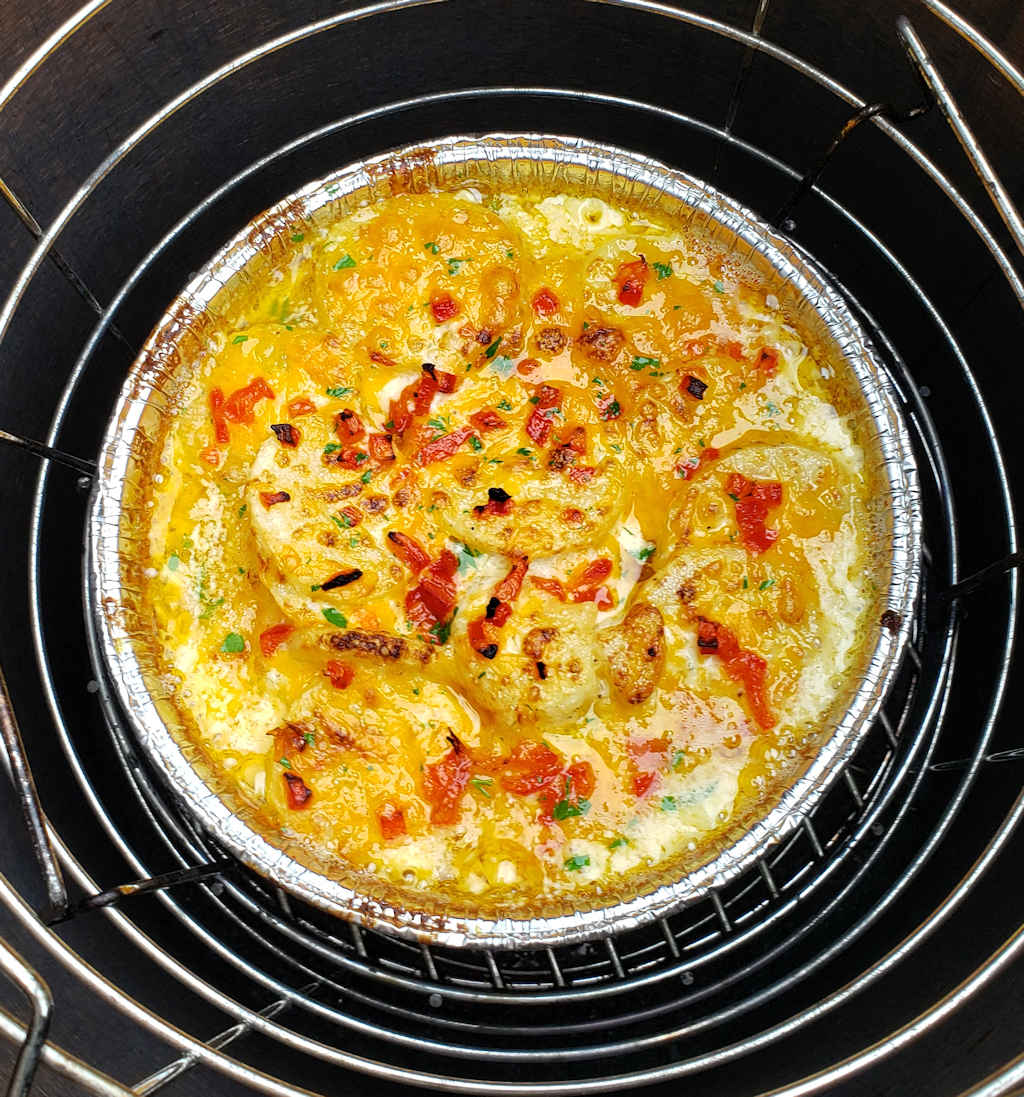
What could be better than potatoes packed with flavor and roasted on a grill? Yeah, nothing. These easy roasted potatoes were made on the Char-Broil Big Easy in no time flat. The Big Easy is a great side-making machine. And it doesn’t heat up the house, which is sure great these days because it’s HOT here in Indiana!
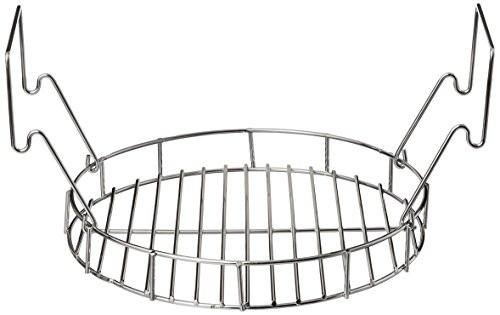
Get A Bunk Bed Basket For More Room
You can fit a single disposable pan (for 3/4 pounds of potatoes) in the basket that comes with your Big Easy. Get a bunk bed basket and you can do a full 1 1/2 pounds of potatoes at once. You have to get a bunk bed for your Char-Broil Big Easy to make great side dishes like these easy roasted potatoes.
Fire up your Big Easy. Meanwhile, prepare the potatoes.
Place the potatoes into a microwave-safe bowl.
Microwave for 3 minutes on high. Stir and check for doneness.
Microwave another 2 minutes (or longer if needed) until just tender. Do not over-cook, they need to have a little bite to them.
Drizzle the potatoes with the oil.
Sprinkle with the remaining ingredients.
Stir to coat completely.
Divide the potatoes between two disposable pans and transfer the pans to a Big Easy basket fitted with a Bunk Bed so you can cook both pans at the same time.
Place the basket into the Big Easy and cook for 10 minutes or until the potatoes start to turn golden brown around the edges.
Carefully remove the pans from the Big Easy and serve.
Notes
You can substitute baby potatoes. If using multiple baskets, the potatoes towards the bottom may cook faster than those up top.
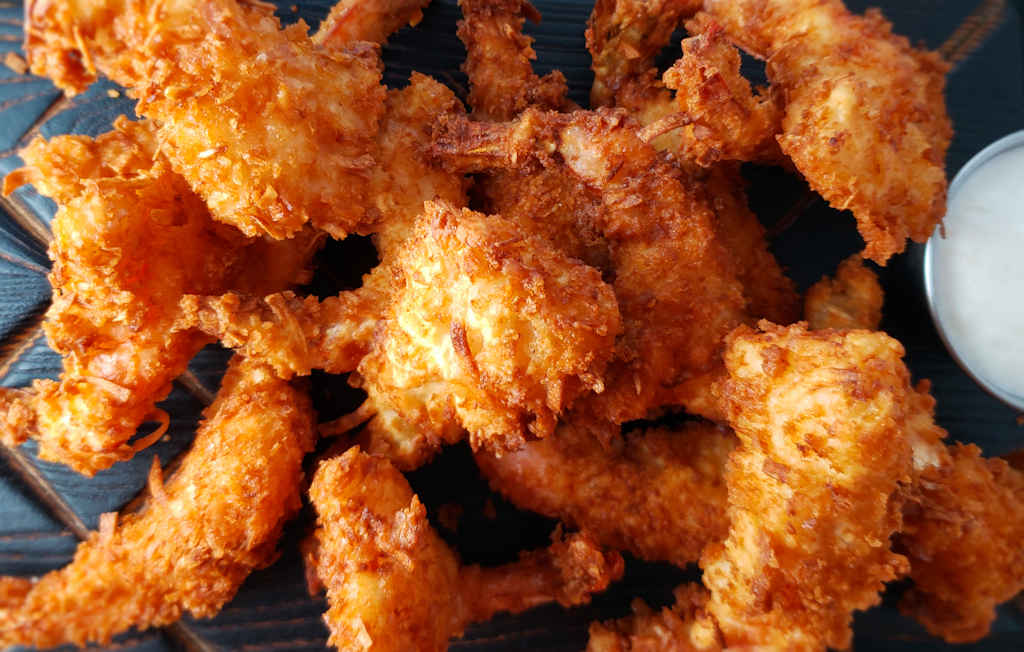
I’m a fried shrimp addict. You’d think that by now I’d have enough recipes for making them. Yet I’m always on the look out for more and more. I came across this recipe from a roadside eatery in Texas, Mac and Ernie’s, and knew I had to make it. Not so much because the breading seemed different, but because it uses evaporated milk. And what a difference it makes! Crispy crunchy lightly spicy outside, tender, slightly sweet inside, Mac and Ernie’s fried shrimp are exactly what I was craving.
Fresh-Caught Is Better-Tasting
I used fresh-caught Florida shrimp for my Mac and Ernie’s fried shrimp. I try to get either gulf shrimp or Florida shrimp and avoid the farm-raised imported shrimp as much as possible. The taste difference is noticeable. Why go through the effort of frying your own shrimp only to use poorer quality shrimp?
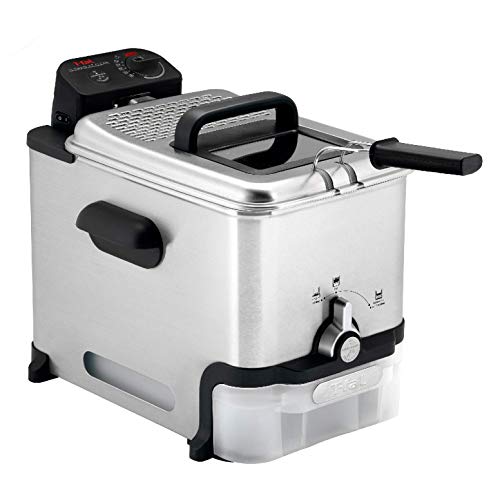
I get out my big deep fryer when it’s time to fry a large batch of food. It comes to temperature quickly and it maintains that temperature perfectly. It has a built-in oil filter and storage unit so I can re-use the oil several times.
I have a major league addiction to Merkts sharp cheddar cheese spread. Truth is, I can’t tell you how many are in my fridge. I can’t tell you how many boxes of rounds I have in my pantry. Well, sadly, there are times when I run out of spread and my local grocery runs out too. Sad times indeed. Time to make a copycat version of Merkts sharp cheddar cheese spread at home! Delightfully creamy, lightly sharp, this is the cheese spread dreams are made of. We often have this with our weekday lunches. Served with crackers it’s a really great snack!
Add Some Kick
I usually use pepper jack cheese in my copycat Merkts sharp cheddar cheese spread. Yeah, it might not be a true copycat at that point, but oh, oh me, that slight kick really is awesome. It’s not like that little bit of pepper made it super spicy, but just enough. Like I needed an excuse to smear more cheese spread on my crackers!
I do recommend that you let the spread get happy in the fridge overnight before serving. If you prefer your spread a little more spreadable, let it sit at room temperature 15 minutes before using.
Place all ingredients except for the half and half into a large food processor. Blend for 1 minute, stopping every 15 seconds or so to scrape the sides.
Add the half and half and continue blending for 1-2 minutes, stopping every 15 seconds or so to scrape the sides. You want the mixture to be smooth. If needed, add more half and half. Ours comes out perfect without it and it matches the consistency of the real spread.
Blend for 1 minute. Take the lid off and use a spatula to scrape down the sides.
Transfer spread to a bowl. Cover and refrigerate for 1 hour to overnight.
Serve sprinkled lightly with more paprika.
Notes
For best results, let the cheese come to near room temperature before serving.
I picked up a case of Hatch chiles once they were in season last summer. I ended up roasting most of them. They freeze really well. That’s great because I can then use them throughout the rest of the year, in everything from sauces to slaws. Roasted Hatch chile slaw is a sweeter, more mellow version of my roasted poblano slaw. The Hatch chiles add such a great mild chile pepper flavor without a spicy kick. Now, if you prefer spiciness, add a minced jalapeno or two or three.
No Hatch Chiles? Use Green Chiles Instead.
Not everyone has access to fresh Hatch chiles (which is kind of sad, really, because I’ve really fallen in love with cooking with them). You can substitute canned chopped green chiles, or green bell pepper if prefer. Of course you can’t call it roasted Hatch chile slaw if you !
I almost always use Blue Plate mayonnaise in the dishes I make. I think it is the best around. If you can’t find it locally you can pick it up online for a fair price.
To roast the pepper a grill is best, but you can also throw them on a pan under the broiler, turning often, until the skin is nice and charred. Place in a bowl, covered, for 15 minutes then remove the charred skin. Don’t place the roasted peppers under running water, that’ll wash away some of that great roasted flavor.
Roasted Hatch chile slaw is a sweeter, more mellow version of my roasted poblano slaw. The Hatch chiles add such a great mild chile pepper flavor without a spicy kick. Now, if you prefer spiciness, add a minced jalapeno or two or three.
Cotija cheesecrumbled, or topping (or substitute crumbled Feta), optional
Instructions
Roast the chiles on your grill or under your broiler until the skin is blackened. Let cool slightly then remove the burnt skin. Remove the seeds and stem and chop.
Place the chiles, cabbage and cilantro into a large bowl. Combine.
In a small bowl, whisk the remaining ingredients not including the cheese.
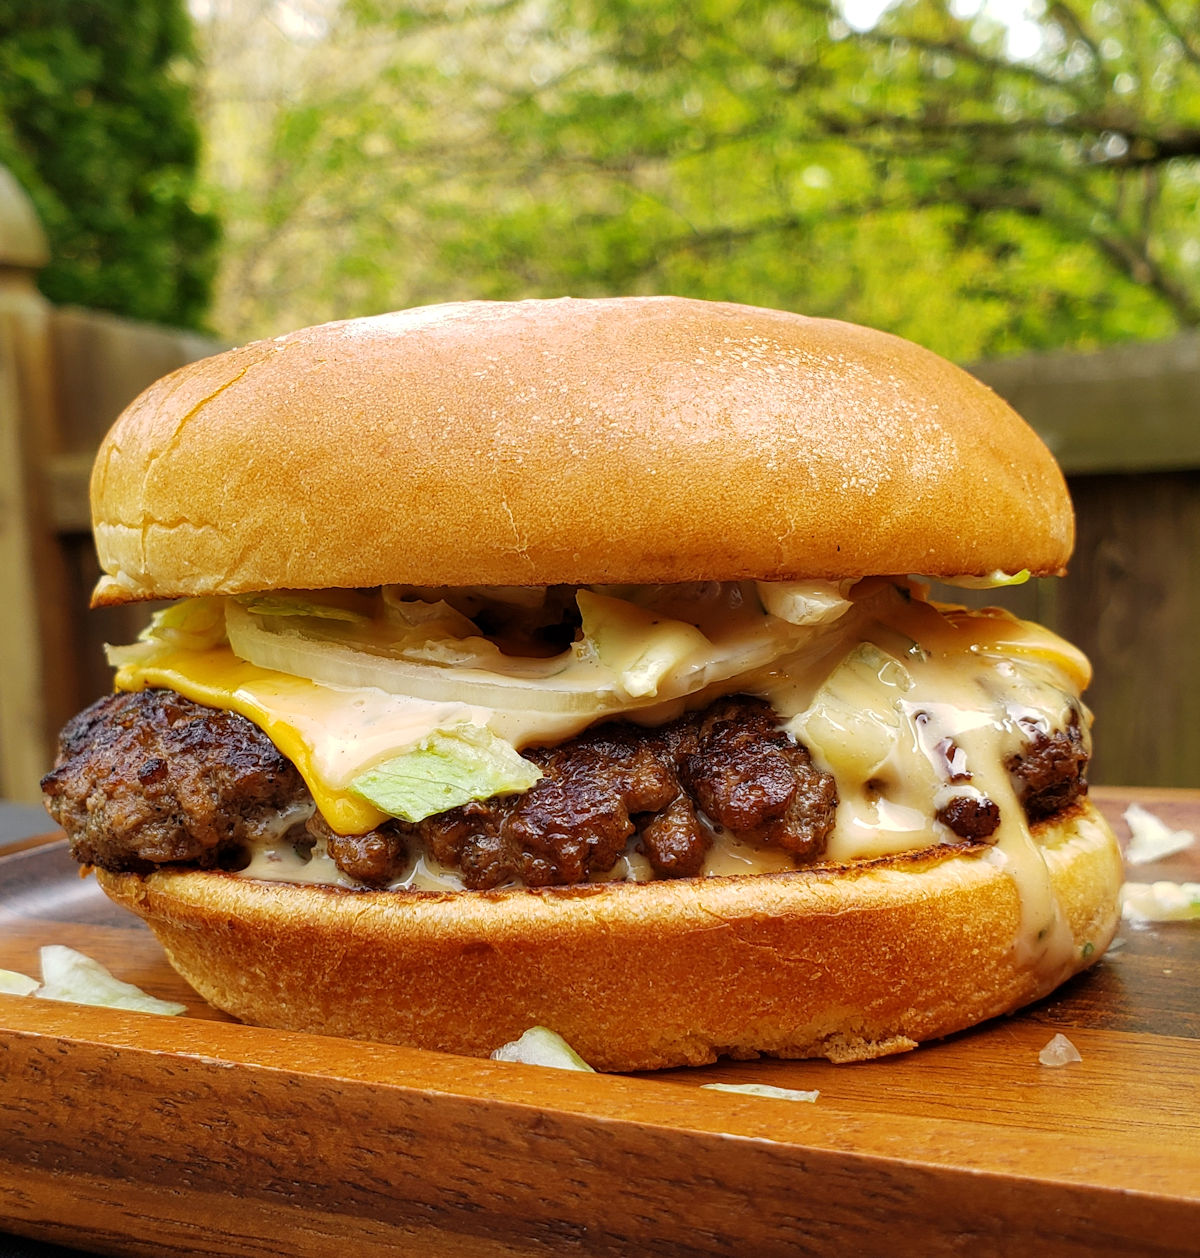
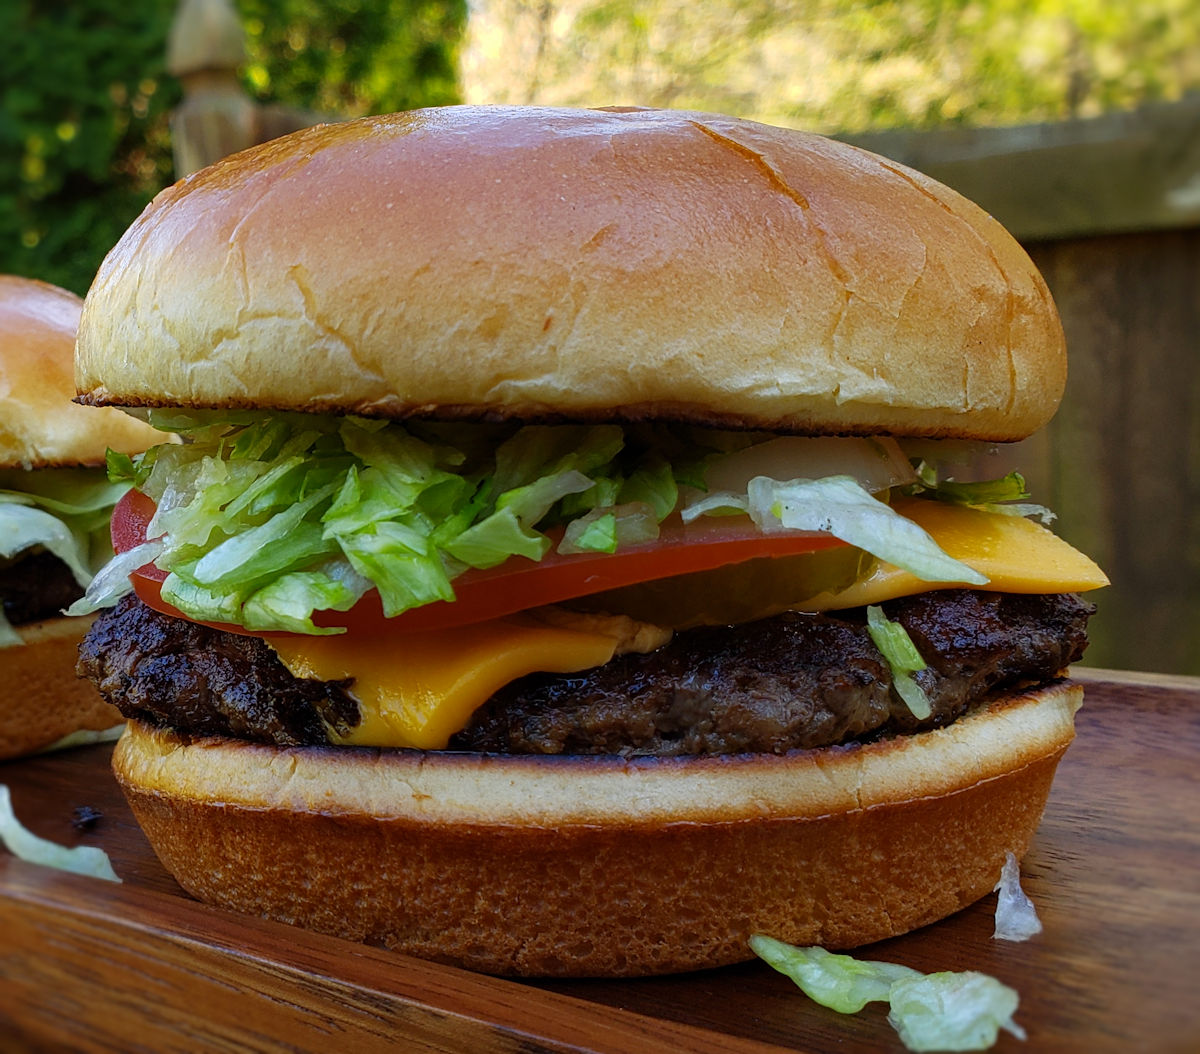
Now THIS is a burger! This isn’t some dainty, fit-in-the-palm-of-your-hand two-bite burger. This is an elbows-out, juice-running-down-your-forearms, do-the-burger-hunch burger. Two all beef patties. Very special sauce. Lettuce. Cheese. Onions. Pickle. Sesame seed buns. These Cowboy Big Mac Smash Burgers (based on a recipe from Kent Rollins) are the kind of burger I find in my dreams.
The Best Burgers Are Smashed
Nine times out of ten, when I make burgers, I make Smash Burgers. I love the crispy edges, the thin patties, the fresh toppings… Cowboy Big Mac Smash Burgers aren’t messing around. Now, that being said, if you want to make these as single burgers you can and they’re just as delicious! Trust me! Sometimes I just can’t handle those monster-sized patties. So I do single patties instead, and I’ll even use 4.5 ounce patties instead of 8. I used to use 4 ounces, but I’ve found that 4.5 ounces ‘smash’ out to a size that covers the burger buns perfectly.
In a small bowl, whisk together the mayonnaise, pickle relish, mustard, adobo sauce, vinegar, sugar, garlic powder, onion powder and smoked paprika.
Fold in the onion. Cover and refrigerate for 2 hours before you're ready to make the burgers.
For the burgers
Fire up your grill for direct medium-high heat cooking.
Season the burger patties with salt and pepper on both sides. Don't be shy with the seasoning.
Place the patties on the grill. Smash down with a spatula or grill press.
Grill the burgers for 2-3 minutes per side.
Top the patties with cheese and grill until they've reached your desired doneness and the cheese is melted. Remove from the grill.
Take 2 of the bun tops and cut off the tops. These will be the two middle buns for the Big Macs. Discard the bun bottoms or use them for something else (like making bread crumbs, feeding the birds, etc).
Toast the buns and two bun slices on the grill as desired.
Make the burgers by first spreading some of the sauce on the bun bottoms.
Add some of the lettuce and a burger patty. Top with the sliced bun.
Slather the top of the sliced bun with more of the sauce. Add lettuce, the remaining patties, pickles and top bun.
I was looking for something a bit different, a change from my usual burger sauce. When I found this BBQ Thousand Island burger sauce I thought that it was a really interesting twist on a classic ‘special sauce’. The addition of chili sauce, BBQ sauce, and Worcestershire really sets this sauce apart from the others. It’s different in a very good, tasty way. If you’re tired of using the ‘same ole’ stuff on your burgers, make this sauce. It’ll make your burgers decidedly better.
This is one Great Burger Sauce
I prefer a smoky sauce in my BBQ Thousand Island burger sauce. Usually. Sometimes I go the spicy route and add a BBQ sauce with a little kick. I do tend away from using a sweeter sauce, though. It’s your call of course as to which you use, but for me a sweet sauce just didn’t work out. Maybe it’s just me.
If I had served these Old Bay southern fried shrimp on a platter I would’ve given them a ’10’ out of 10 possible points. But, served in a basket I give them an ’11’. That’s because baskets make everything taste better. True story. Smash burgers? Better in a basket. Onion rings or fries? Way better in a basket. Ditto fried fish and a host of other foods.
As easy as they were to make, these southern fried shrimp pack serious flavor thanks to one of my favorite seasonings, Old Bay. There’s no such thing as too much Old Bay for me. Make these shrimp and serve them with fries… and then sprinkle the fries with Old Bay and you’ll be happy too.
Tail On. Tail Off. Perfect Either Way.
I prefer to keep the tails on when I make Old Bay southern fried shrimp. I like having the handles. And I also like to think that the tails slow me down a bit. Otherwise, I’d just pop them in my mouth like popcorn and the entire basket would be gone before I knew it. The tails increase the time I have to enjoy them because they are GREAT!
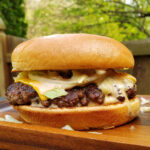
Smash burgers are a popular meal in our house. They’re easy to make, cook up in no time, and most important, they remind me of the classic diner burgers of my youth. I will go out of my way for a good griddled burger no matter where I am. Fortunately, I can make them quite easily on my backyard grill with just a few tools. Thin patties, seasoned simply with just salt and pepper, cooked over onion until the perfect lightly crunchy edges are obtained. Served on toasted buns with traditional toppings, such as pickles, tomato, lettuce. A little ketchup, sure. Maybe a little mustard. And even a little mayonnaise. Whatever you prefer, no matter what you add, you’ll enjoy a great burger.
The Right Tools For The Job
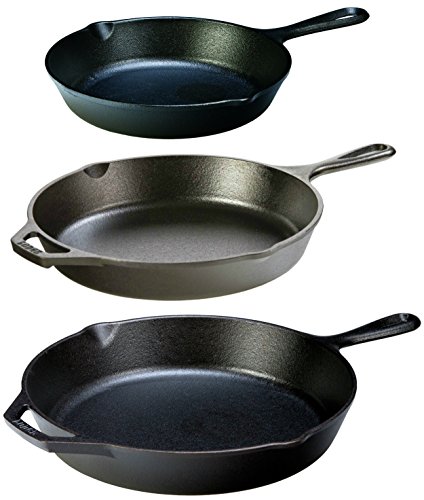
Here’s the equipment I use. You can get by using two cast iron skillets. Use a larger skillet for cooking the burgers, and a smaller one to smash the burgers and keep them flat. Since I’m a cooking gadget collector, I prefer to use a few more tools.
A Griddle
First, a griddle. You can buy griddles that sit on top of your grill grates or ones that replace them. Just about every grill I have has a griddle on it. I use them for a lot of things, not just smash burgers. You want one that can be placed over the hottest part of your grill so it gets screaming hot.
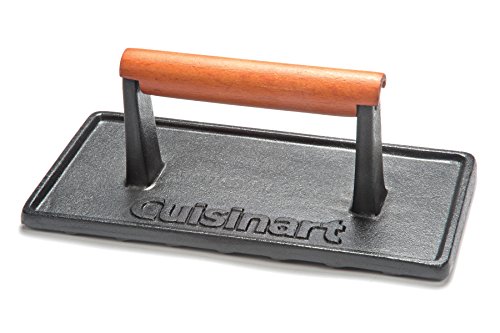
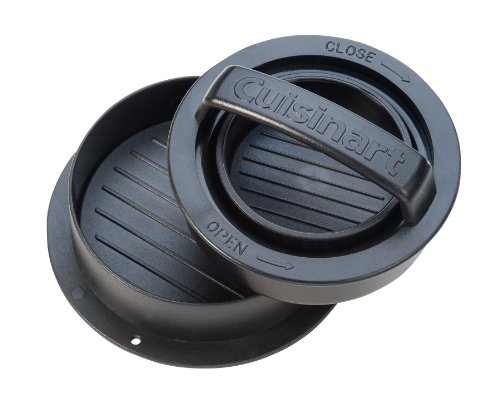
Next, you need a burger press. You can use a heavy cast iron skillet, like I mentioned. Or get a burger press. For easy cleanup I wrap mine in foil first. When I’m done, just peel off the foil and toss. Super easy. Get a press that’s at least big enough to cover two burgers. You only smash one at a time, but if you want to keep them flat, you want to rest the press on top so bigger (and heavier) is better. Plus I’ve found that a bigger, heavier press tends to stay on the burgers whereas a smaller, lighter one is hard to keep centered on the burgers, specially if you have a bunch of them cooking at once.
Next up, a dome. While not 100% required, it does speed the time it takes to melt the cheese and it does it in a nice even fashion. In my opinion you don’t really need one if you’re using a super melty cheese, such as American, but for thicker slices like say a deli pepper jack, you want the cheese to melt before you over-cook the burger and that’s where a dome comes in handy.
Lastly, you need something to clean your griddle. I like to clean mine when I’m done cooking, but you can do it at the start instead. I use one of these pad holders with a griddle cleaning pad. Then I add a bit of water to my griddle then use the pad (connected to the holder) to scrub off any big chunks and get up some of the grease. I don’t go crazy with it, I always heat the heck out of my griddle before cooking, but I get the worst. The long arm on the pad holder makes it perfect for scrubbing a hot griddle, too.
Smash burgers are a popular meal in our house. They're easy to make, cook up in no time, and most important, they remind me of the classic diner burgers of my youth.
Place a griddle or a large cast iron pan over the highest heat.
Season the ground beef and form into four 4 ounce balls (not patties!).
Place on the onion slices on the griddle and divide into four equal piles. You want the piles to be about the size of your buns.
Place the balls of beef on top of the onion piles and let cook for one minute. Just let them cook, don't mess with them.
Take your press and flatten out the patties. I like to use the point of the press and work my way around the ball first, doing a little section at a time and then finally I press down on the entire patty to flatten it out. You can also just flatten out the ball all at once. At this point I also like to season the patties some more.
Let the patties cook until you start to notice a little char along the edges. Flip, season again if desired, and continue cooking another minute or so until the other side is charred. The burgers are thin so they will cook very quickly so watch out.
Add the cheese slices. If desired, cover in a dome to help the cheese melt.
Toast the buns.
Remove, add the patties and serve with desired toppings.
Devour immediately.
Notes
After you make a few smash burgers the process becomes very easy and always delivers great results.
My wife said that her mom would approve of these delicious slow cooker Sloppy Joes and that’s all I needed to know. That means they’re not only good, they’re great. I never got the opportunity to have her mom’s Sloppy Joes, but I know that her mom could cook like nobody’s business. The perfect thickness and the perfect beefiness, you’ll definitely want seconds.
Makes A Big Batch. And That’s A Good Thing.
This recipe for delicious slow cooker Sloppy Joes makes a good-sized batch, but it’ll disappear quickly. You can also freeze any extra. I like having it on hand because it makes for a great, fast lunch.
For a little kick add a few good pinches of red pepper flake or some big splashes of hot sauce.
I serve my delicious Sloppy Joes as simply as possible: on toasted hamburger buns, and always open-faced. When I was a little tyke, I would request that my mom get my hamburger buns extra toasty. I liked the contrast between the Sloppy Joe meat mixture and the super crunchy bread. I wasn’t a fan of Soggy Joes. That’s when the sauce has too much time to soak into the bread, getting it … ewww. I also prefer to serve my Sloppy Joes open-faced. You can get twice as much filling in that way. It’s not like I’m going to pick them up anyways!
My wife said that her mom would approve of these slow cooker Sloppy Joes and that’s all I needed to know. That means they’re not only good, they’re great.
Crumble the beef and sausage into a large skillet or Dutch oven over medium-high heat. Saute until almost browned, breaking up the meat as it cooks.
Add the onion, stir and continue cooking until it just starts to soften.
Drain and transfer to a lightly greased slow cooker.
Stir in the remaining ingredients except for the buns.
Cover and cook on low for 8 hours. If the mixture gets too dry add a small amount of water and stir. Remember, though, that you do want it to be nice and thick.
Serve on buns.
Notes
I also like to serve these open-faced on toasted buns.
I find myself making more and more dishes from Chef Vivian Howard’s book, Deep Run Roots. Her southern-inspired recipes are packed with flavor and tradition. I made a big batch of Chef Howard’s pimento cheese, which by itself is insanely good. Half went for sandwiches while the other half ended up in these delicious pimento cheese grits. Creamy and yummy. I love grits. Adding pimento cheese to them makes me love them even more. I didn’t think that was possible.
Quality Grits Make For… Great Grits!
I use corn grits polenta from Bob’s Mill. They cook up in about 30 minutes and always have the perfect texture and flavor, great for pimento cheese grits. You can substitute quick-cooking grits in a pinch. They only take about 5 minutes.