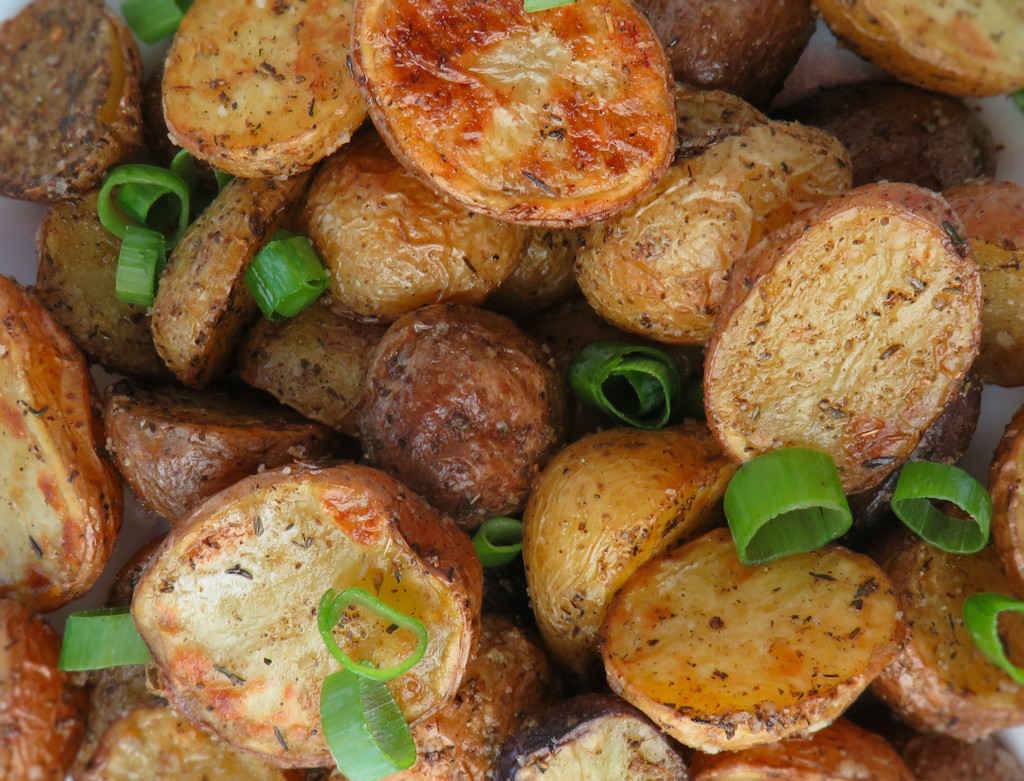
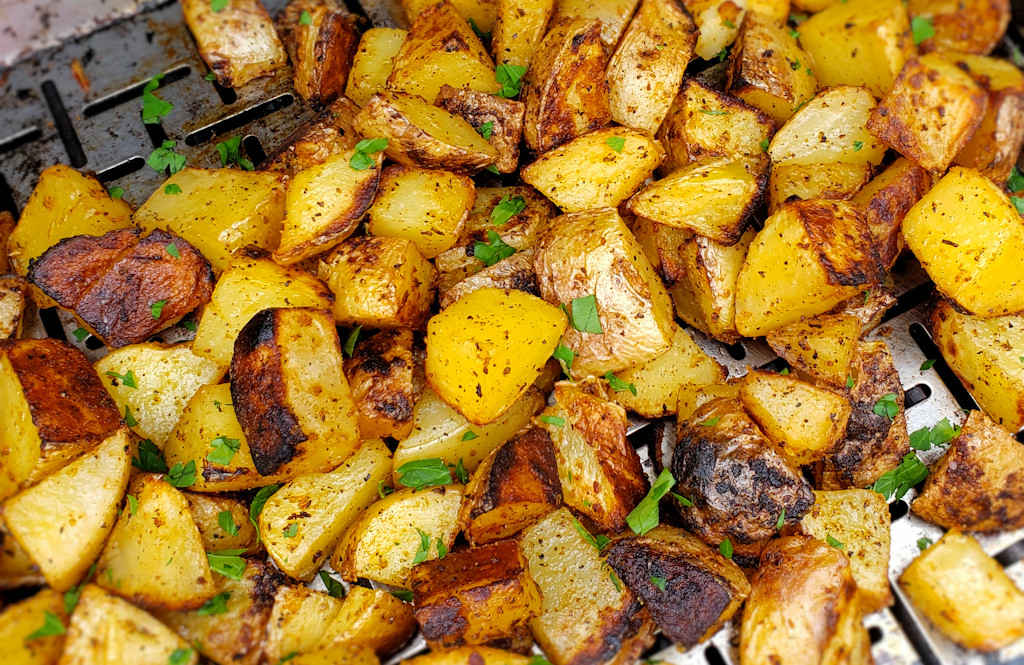
I’m always up for a quick side dish that lacks in effort but does not lack in taste. These herb roasted potatoes are a great go-to recipe. The potatoes have a wonderful light herb flavor. They’re creamy buttery inside (you can also use fingerling potatoes for even more buttery creaminess!). And they have one of my favorite things: crunchy skin.
Consistency Means Better
Make sure your potatoes are pretty much all equal in size when you make these herb roasted potatoes. You don’t want a bunch of big pieces mixed in with small ones or the cook times will vary. You’ll end up with big not-quite-done-potatoes and little over-done ones. You don’t want that. So if you have to, halve them or even quarter them to get them all the same sizes. You can also make this dish with either baby red potatoes or fingerlings.
Grab A Grill Basket
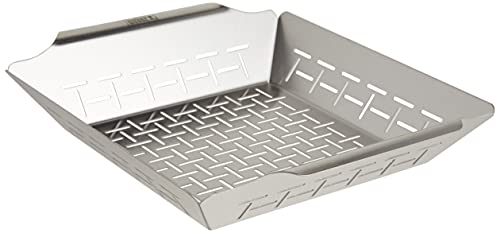
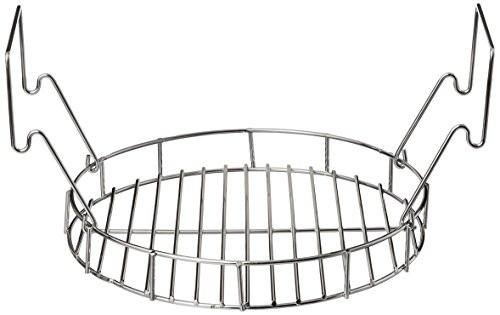
I also like to make these potatoes on my grills, either gas or charcoal or even electric. I use a grill basket like this one. It makes cooking them super easy, and I don’t have to worry about anything falling between the grill grates. Clean-up is also super easy. Grill baskets are a win and a must-have for grilling!
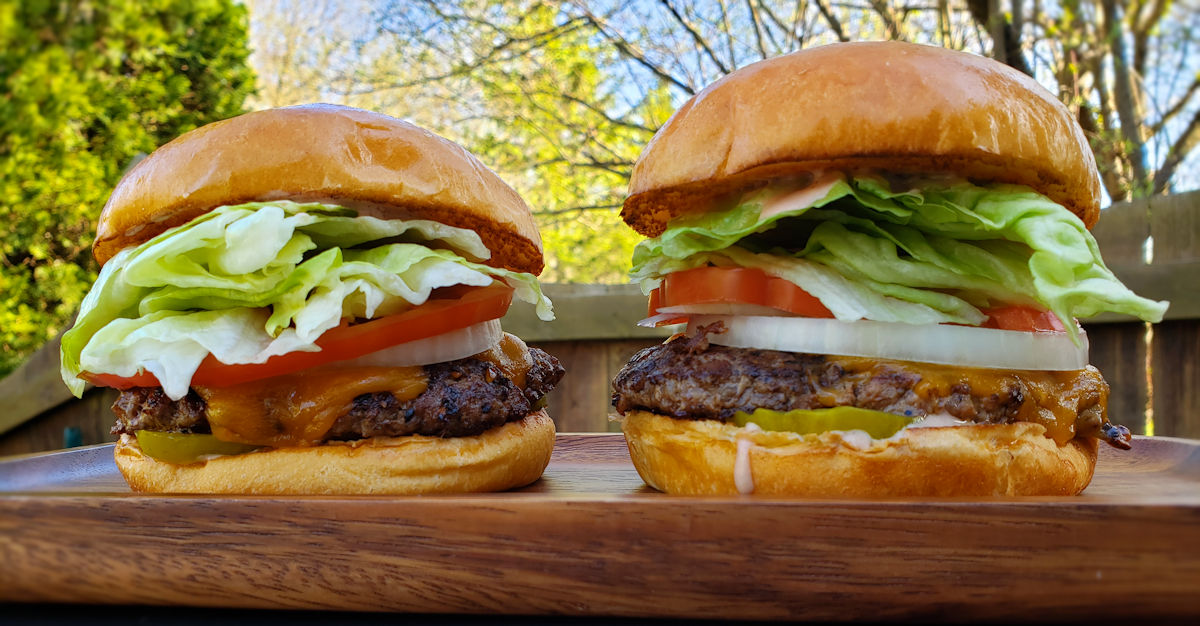
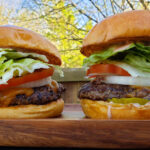
Oh man did these steakhouse smash burgers ever hit the spot. Juicy patties. Crisp fresh toppings. All with a wonderful creamy sauce that has a little tang that’s not so strong it hides all the great burger flavors. These burgers are proof that even the simplest sauce can make a ‘plain’ burger something special. I love smash burgers and this right here is exactly why. You can’t beat them, from ease-of-cooking to fantastic flavor, they’re always a winner.
The Perfect Smash Burgers
Making steakhouse smash burgers isn’t difficult. You don’t need a bunch of fancy equipment or a lot of time. Just a hot griddle and a burger press. Any griddle will do, whether it’s on a grill (I use my Weber), cooktop, stove or even a standalone outdoor flattop. Just get those patties nice and thin and use quality fresh toppings. And a great sauce. Once you have the steps down you’ll be cranking out smash burgers all day long with ease.
Of course you can use any toppings you want. Sometimes I just go with cheese. These burgers don’t have to be all fancy fru-fru. They just have to be great (and they are!).
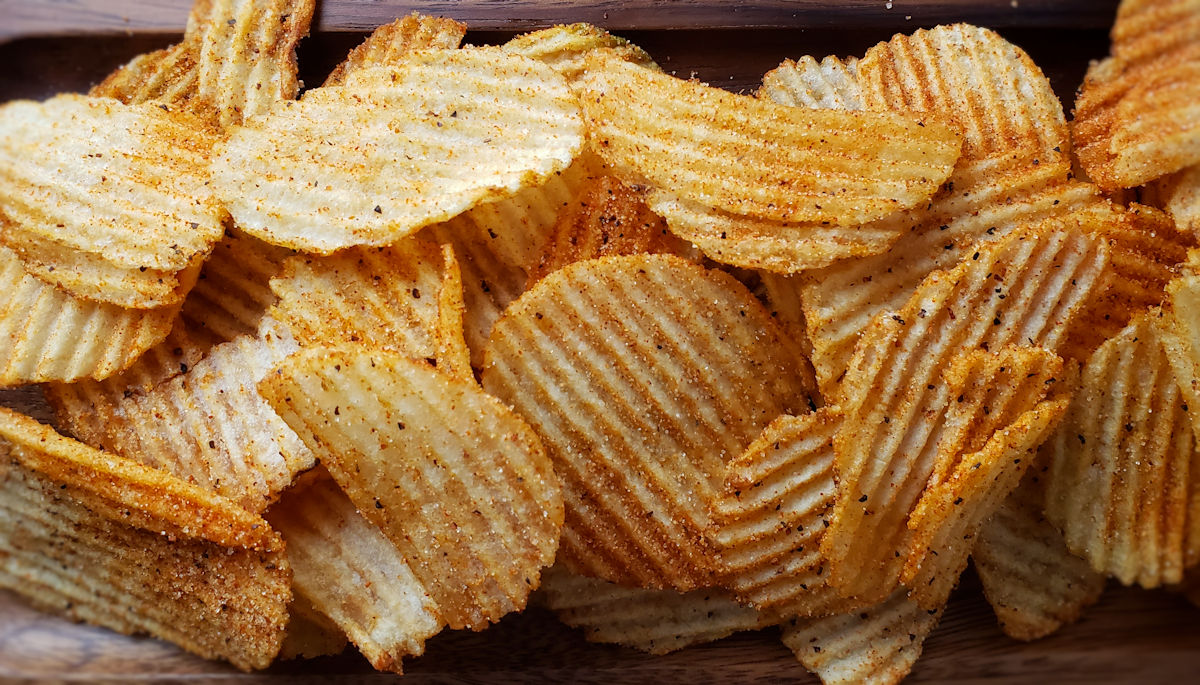
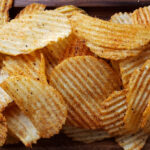
It’s happened to all of us. You buy a big ole bag of BBQ potato chips at the store. You open the bag and dive in and find… sadness. Half the chips aren’t seasoned. And the other half barely taste like BBQ. My quick fix barbecue potato chips solve this problem and will rid you of chip sadness in just 5 minutes. And it really can’t get any easier. Chips. Seasoning (which I picked up from Croix Valley Foods!) . Done. BBQ flavor on every chip. Not in hiding, either. Out front, up front and delicious!
The More Seasoning, The Better
Any time I make quick fix barbecue potato chips I have only one rule about the seasoning step: don’t be shy. Heck, we’re here for BBQ-flavor. Do it. And then add some more. Just be real gently tossing the chips because you don’t want to break them. And you don’t want to shake off the seasoning!
Not that I mean to over-stress it, but I will mention you don’t need any fancy fru-fru chips for this recipe. In fact, I’d stay away from them. You want wavy chips, preferably. Also, and frankly, you want chips that are a bit oily. Yep. Once heated, the chips will release that oil and that’s what you need to get the seasonings stuck on there good!
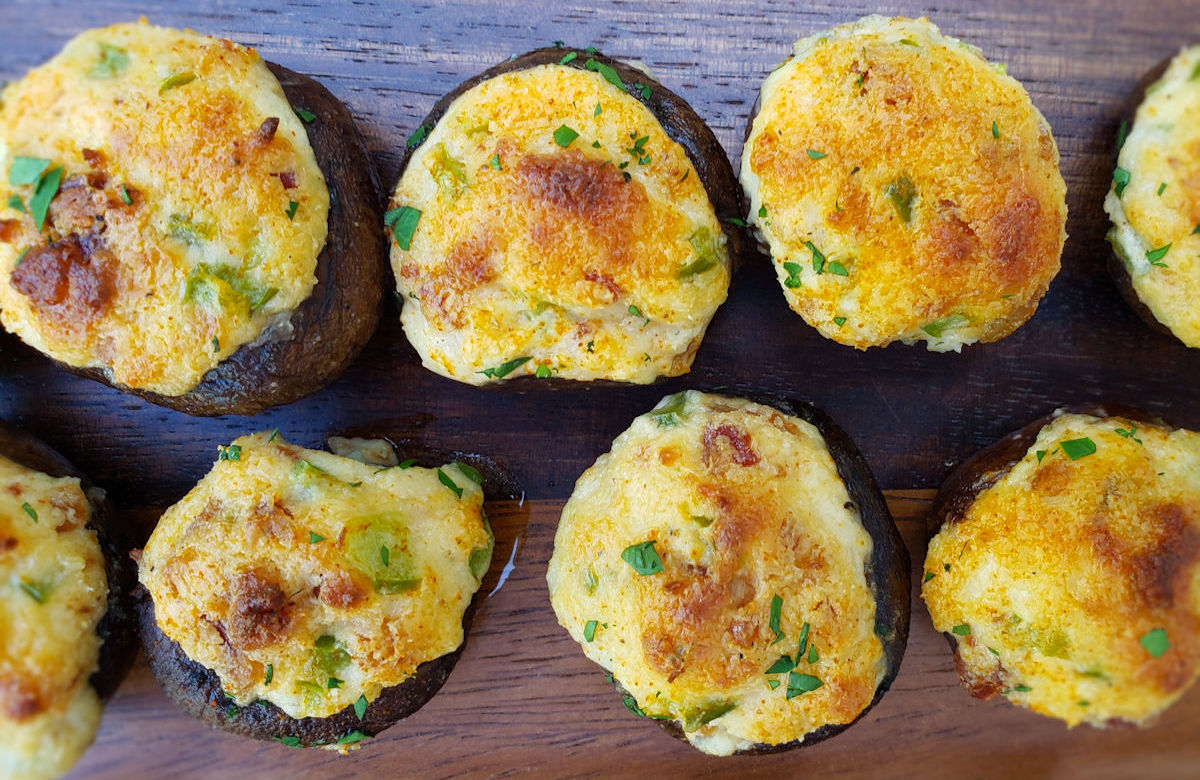
These bacon and cheese stuffed mushrooms on the Char-Broil Big Easy are the perfect grilled appetizer. Tender mushrooms that still have a little ‘bite’ to them. The cheese mixture is fantastic. Three different cheeses and a little seasoning combine with bacon and bell pepper for bite after bite of deliciousness. I say ‘bite’, but if you use small mushrooms you can pop these little treats into your mouth like popcorn. Sure, I did.
Eat ‘Em Like Popcorn
These disposable Dutch oven pans are perfect for making these bacon and cheese stuffed mushrooms on the Char-Broil Big Easy. They’re the perfect size for this recipe and they’re the perfect size for the Big Easy basket or bunk bed basket. They’re sturdy so you don’t have to worry about them collapsing. I use them for a lot of my Big Easy dishes.
I highly recommend that you shred or grate your own cheese at home. Don’t buy the pre-shredded or pre-grated stuff. It has stuff added to it to keep it from sticking together. That ‘stuff’ affects how the cheese melts. Shred it yourself and use the good stuff.
You can pre-make these mushrooms by doing steps 1-8 then refrigerating the mushrooms for later. Then, when you’re ready to finish them, remove them from the fridge and let come to room temperature for 30 minutes before transferring to a pre-heated Big Easy to cook and heat thoroughly.
It’s always a good idea to keep a few spare grease trays on hand for your Char-Broil Big Easy.
Preheat your oven to 400 F. Spray a small disposable pan with non-stick spray.
Clean the mushrooms and remove the stems.
Dip the mushrooms cap-side down into the butter and place onto the baking dish cap-side up.
Pour the remaining butter into the baking dish.
Sprinkle the mushrooms with salt. Bake 10 minutes. The mushrooms should just be soft and most of the water in them should be cooked out.
In a medium bowl, combine the cream cheese, Parmesan, Mozzarella, bacon, bell pepper and a pinch or so of cayenne. Add salt to taste.
Using a small spoon, gently fill each mushroom with the cheese mixture. Mound it up high. Place in a small disposable pan that will fit onto the Big Easy or place directly on a Big Easy basket or Bunk Bed Basket.
Sprinkle tops of the mushrooms with paprika.
Fire up your Big Easy and let it get good and hot.
Transfer the basket and/or pan to a Big Easy basket and place into the cooker. Cook 15-20 minutes or until the stuffing is hot.
Garnish with more bacon, bell pepper and parsley if desired and serve.
Notes
Try to use mushrooms that are all about the same size so they are all done around the same time.
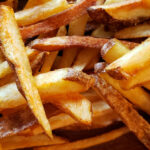
One of my favorite side dishes to make are crispy homemade French fries. The thin ones. The kind with crunch on the outside and fluffy yummy inside. I like to season my fries with something tasty, something a bit different than salt and pepper or adobo seasoning (actually a big favorite of mine). This copycat Freddy’s fry seasoning is perfect on hot-out-the-fryer fries. I mean like crazy good. The added sweetness and earthiness of the seasoning adds a totally different flavor than if I’d just used salt and pepper. I go heavy on this seasoning, it’s really flavorful!
Make A Batch. Keep It On Hand.
There’s only one thing I’d do differently next time I make this copycat Freddy’s fry seasoning: make a bunch more. It’s great on burgers. Baked potatoes. Cottage cheese. Just about anywhere that you think you should be using salt and pepper, use this instead.
I didn’t have turmeric on hand the first time I made this. A good substitute is dry mustard, which is what I went with. It’s a perfect replacement. You can also use cumin if you don’t have turmeric, but I’d use a bit less than the recipe calls for for the turmeric.
If I make a big batch of seasoning I like to keep it in these big spice bottles. I use blue painters tape to write the contents on the bottles. The tape comes off easily when if used up the seasoning!
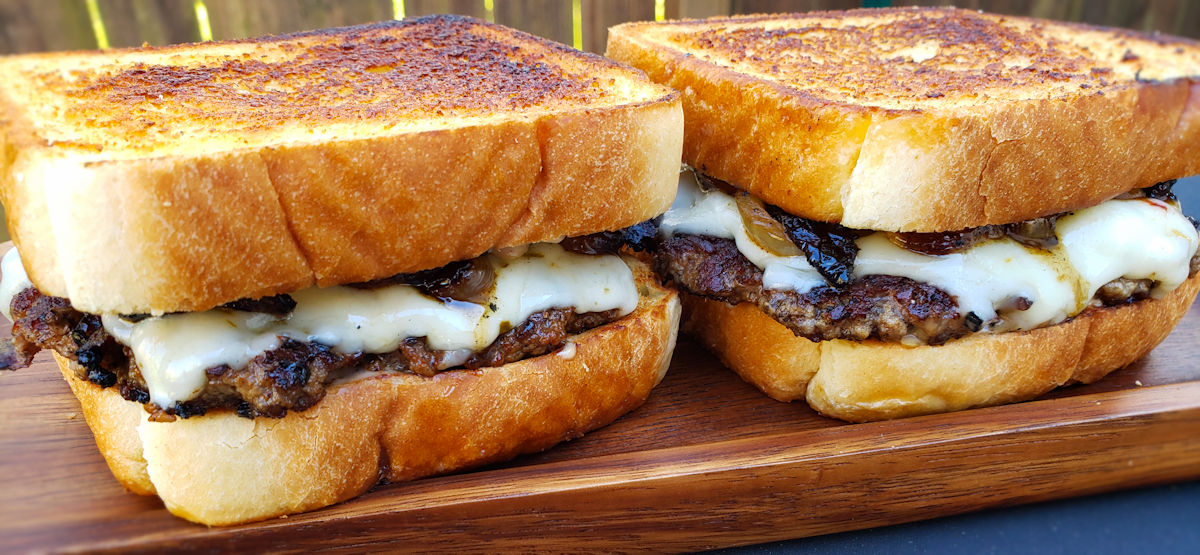
My wife and I had lunch at a burger pub the other day. She ordered their patty melt. It looked (and was) delicious. She said it was the best patty melt she’d ever had. “A challenge!” I thought. Time for me to get to making something even better. At home. And I did. These smash burger patty melts are now the best patty melts she’s ever had. They’re tastier. Juicier. And less messy. And made with our favorite, smash burgers instead of overly-thick patties.
Griddled To Perfection
To make smash burger patty melts, you’ll need some sort of griddle or grill pan or even cast iron skillet for your grill. I use a big ole cast iron griddle. Yes, I have one for most of my grills because they’re great for more than just burgers. I find myself using them all of the time. They don’t take up the entire grill surface so I can still cook on the grates too if I need.
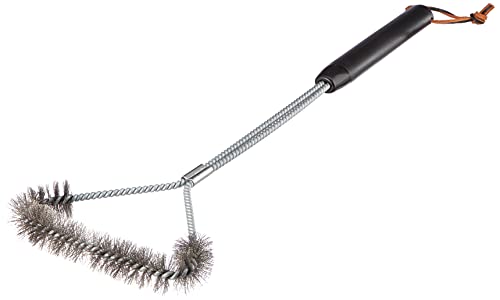
I don’t go crazy nuts obsessing about it, but I like to keep my griddle pretty clean. Especially if I’m toasting bread. No one wants yesterday’s chicken on today’s Texas toast. I use these scrubby pads attached to a long handle holder that prevents me from burning myself.
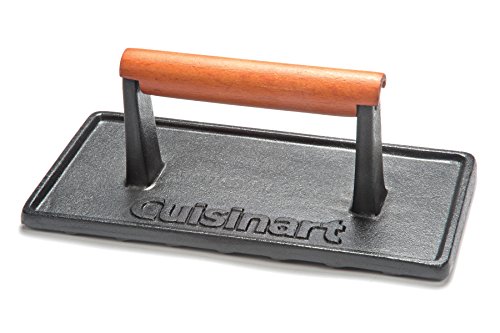
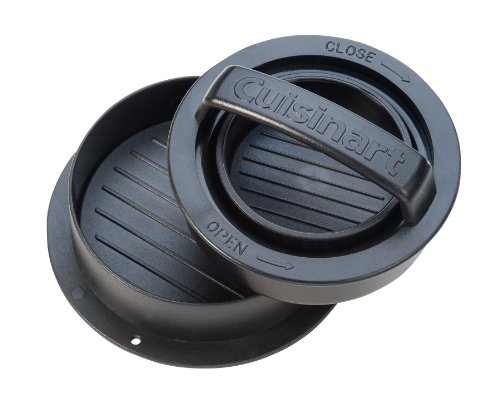
Last, I gotta get my patties thin and spread out. I use a burger press. I wrap the bottom in foil for easy clean up. This press makes for fantastic smash burgers with the right thickness so I get that little crunch around the edges. Perfect!
Fire up your grill with a griddle or grill pan over direct medium-high heat.
Clean your griddle well. I use a brush and water, it works better than a scraper. Just be careful adding water to a hot griddle. DO NOT have any body parts near the griddle when you add the water as it will instantly create a cloud of very hot steam. Then scrub, scrub, scrub. Repeat as necessary. You want the griddle clean to toast the bread.
Lightly spread a thin layer of mayonnaise on one side of each slice of bread. Working in batches if necessary, lay the bread mayo-side down on the hot griddle and toast for 2-3 minutes or until lightly brown and crunchy.
Flip and lightly brown the non-mayo sides too. Remove to a plate for the final assembly step.
Once the griddle is hot add 2 tablespoons of butter. Once melted add the onion and cook for 20 minutes or longer, until they are golden brown and caramelized. Stir and flip often with a spatula or tongs. If they start to burn reduce the heat. If they get too dry add a bit more butter.
Stir in the Worcestershire sauce and cook for 1 more minute. Remove to a bowl and cover with foil or a plate to keep warm.
Form burger into 4 5-ounce patties. Don't pack them tightly, just get them lightly shaped.
Season beef on both sides. Don't be shy with it.
Add remaining 2 tablespoons of butter to the griddle. Add the burgers. Let them cook for 3 minutes then smash out as thinly as possible using a burger press.
Continue cooking burgers until you see a bit of a crunchy edge. Flip.
Cook burgers another 3 minutes. Add 1 slice of Swiss and 1 slice of pepper jack to each patty.
Divide the onion between the patties. Grill another minute or two to melt the cheese.
Divide sauce between the non-mayonnaise sides of the bread. Use a little or a lot, it's up to you.
Add the cooked patties and top bread slices and serve!
Notes
This recipe is best made using a griddle on a gas or charcoal grill. You can also use a griddle grill. If you don’t have a griddle you can use a large cast iron skillet, but you’ll have to cook the burgers in batches.
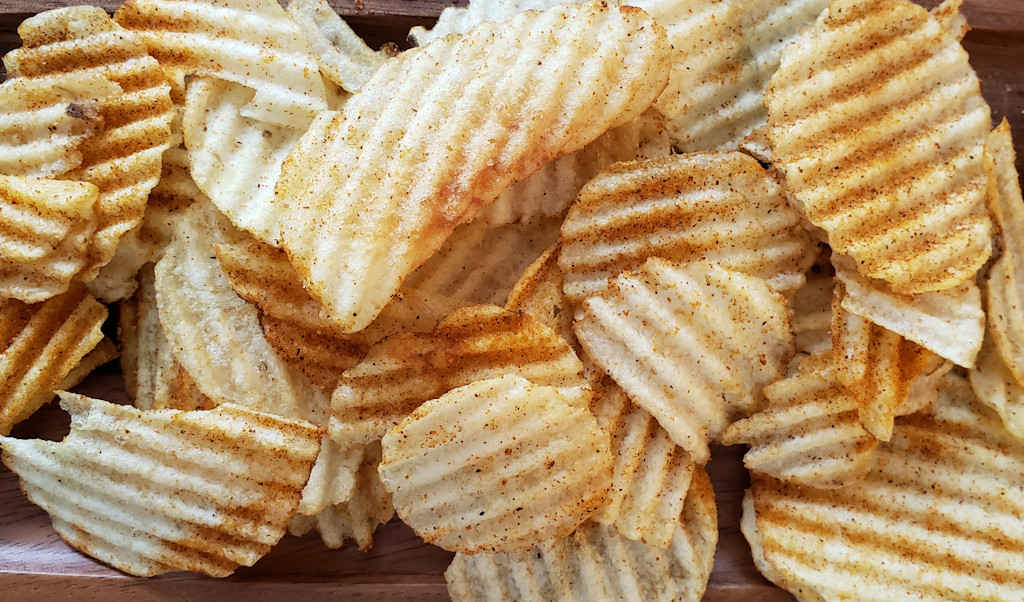
I find myself being un-impressed with most store-bought ‘spicy’ potato chips. Yeah, some are spicy, but they don’t taste good. And some taste great, but they sure aren’t spicy. The solution? Make some quick fix Desert Heat potato chips. Done in minutes, spiced just like I want, these are the chips I was searching for! I owned these chips. I could put as much darned seasoning on there as I want! All I need are some chips and Buffalo Wild Wings Desert Heat Wing Seasoning!
Ruffled Chips For The Win
I prefer to use wavy ruffled chips any time I make my quick fix Desert Heat potato chips. The thick chips hold up to being tossed in the seasoning. And the ridges give the seasoning more and more places to cling to, making sure I get nothing but flavor in each and every bite!
Not that I mean to over-stress it, but I will mention you don’t need any fancy fru-fru chips for this recipe. In fact, I’d stay away from them. You want wavy chips, preferably. And frankly, you want chips that are a bit oily. Yep. Once heated, the chips will release that oil and that’s what you need to get the seasonings stuck on there good!
This is my go-to dish when I am looking for a quick side for whatever I’m grilling (I love my Weber grills!) for dinner. These easy spicy grilled potatoes are packed with flavor. Yeah, they have a kick, but I control how much of a kick I’m in the mood for that day. The potatoes come out cooked perfectly. Creamy inside, with a light crunchy grilled exterior. Pre-cooking the potato ensures they all get cooked evenly. There’s nothing worse than biting into a pile of potatoes and finding one that is under-cooked. That’s potato sadness there. No one wants potato sadness!
Pre-Cooked Potatoes Are Easier
Since I’m already grilling I prefer to pre-bake the potatoes for these easy grilled spicy potatoes on the grill. They can also be done ahead of time in the oven at 400 F. For bigger potatoes I like to use potato nails to make sure the insides get done perfectly.
You can’t make these potatoes without a grill basket. The stainless steel ones from Weber have lasted me forever and the large-sized ones hold a ton of potatoes (or whatever I’m grilling).
Fire up your grill for indirect cooking. You want the temperature at the grates to be 350-400 F.
Rinse off the potatoes and pat dry.
Use a knife to poke 3-4 holes in the tops of the potatoes, going about 1/2 of the way into the potato.
If you’re using potato nails insert them now.
Drizzle the potatoes with just a bit of oil.
Use your hand to rub the oil all over the potato. If you don't want to get your hands oily just use a brush.
Sprinkle the potatoes with salt. Don’t be shy with it and make sure you get all sides.
Transfer the potatoes to the grill and cook for about 30-45 minutes. If you're not sure how consistent or high your grill temperature is, I recommend checking them after 30 minutes.
The potatoes are done when you can insert a knife or skewer and it enters the flesh but still meets with some resistance. You aren't fully cooking them, just getting them just soft. You don't want them to fall apart later when you cut them.
Remove and let cool slightly.
Meanwhile, crank up your grill for direct cooking over medium-high heat.
Cut the potatoes in 1/4" – 1/2" cubes and transfer to a large bowl.
Add a little splash of oil to the potatoes and stir gently to coat.
Sprinkle with salt, pepper, cayenne and garlic powder. My suggestion is don't be shy with any of them, but add them all to taste.
Stir gently to coat.
Transfer the potatoes to a grill basket and place on a hot grill over direct heat.
Grill the potatoes until they start to get golden brown with a light char on the bottoms.
Flip gently and cook until golden brown on the other side.
Remove from grill and transfer the potatoes to a platter.
Sprinkle with chopped parsley and serve.
Notes
If you want a less-spicy version, substitute paprika for the cayenne.This is a great recipe for using up those odd-shaped potatoes at the bottom of a bag of potatoes.
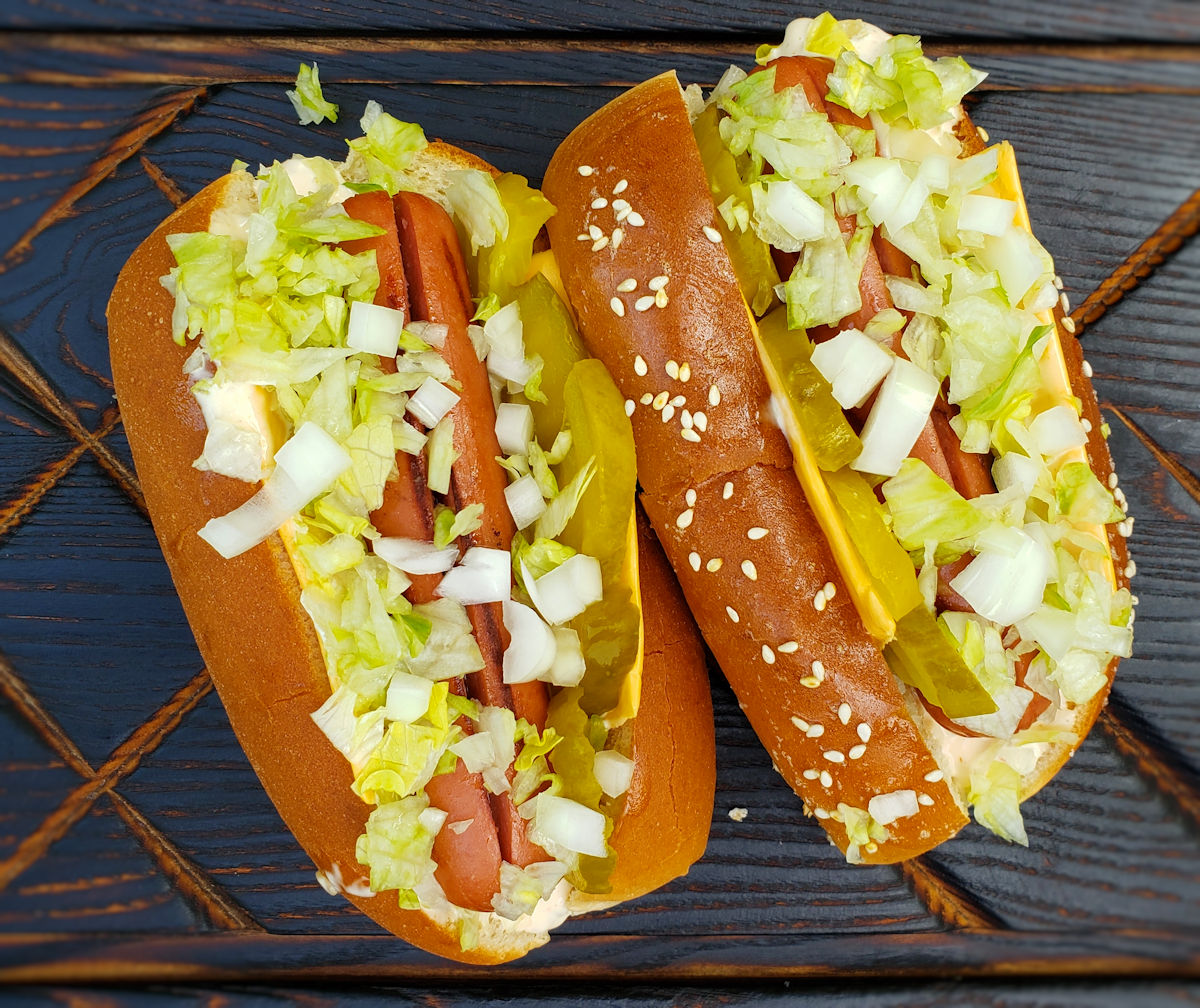
I wanted to make these Big Mac hot dogs the minute I saw the idea floating around in the online recipe world. First, I love Big Macs. I make a few crazy variations on them at home. I’ve made Big Mac smash burgers, subs, hoagies and sliders! I don’t need an excuse to make Big Macs. These hot dogs taste a lot like the fast food favorite and man, were they fun to make! I was smiling the entire time because it felt like I was making the real deal! They are cool and yummy at the same time!
And More Stuff. Have It Your Way.
Of course one of the advantages of making Big Mac hot dogs yourself is that you can kinda play around a bit. Me, I like a lot of onions and lettuce. Oh sure, give me a few extra pickles too. And extra of that special sauce. I want mine messy. The messier the better. Like sauce-running-down-the-front-of-my-arms messy. That’s the right kind of messy. My homemade version of the classic burgers are messy too.
I almost always use Blue Plate mayonnaise in the dishes I make. I think it is the best around. If you can’t find it locally you can pick it up online for a fair price.
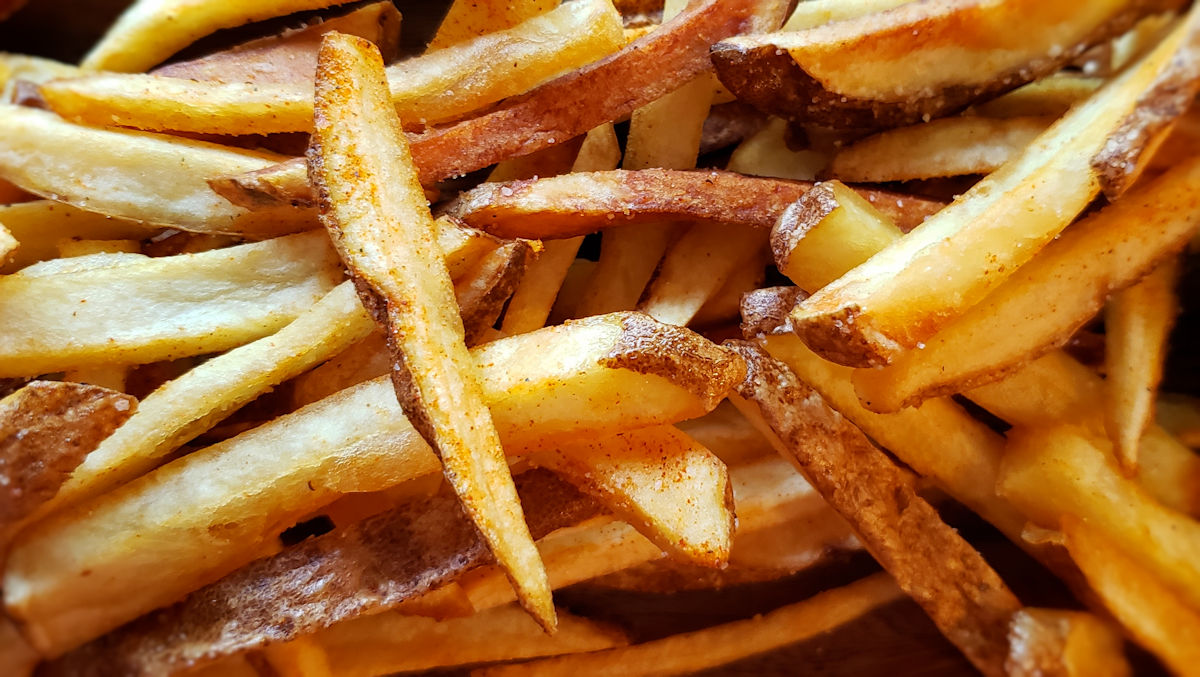
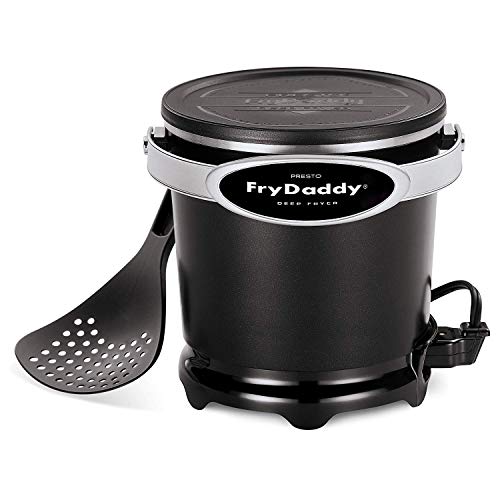
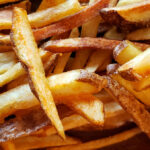
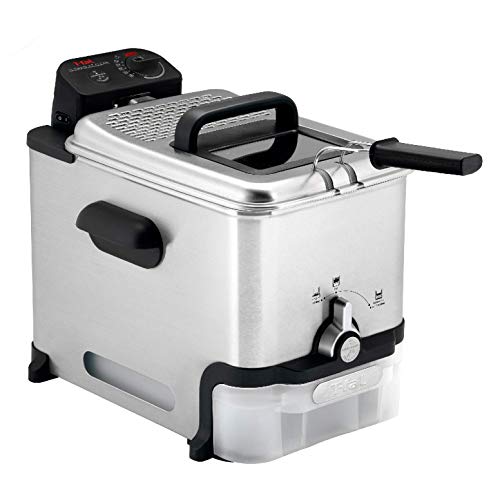
This is my go-to method for making a small batch of the best-tasting, crispiest French fries. Making delicious crispy fries using a Fry Daddy Fryer takes just a little bit of time and just a handful of ingredients. The end result is mouth-wateringly good and hard to resist. Most double-fried recipes require two different cooking temperatures. But, you can’t adjust the temperature on a Fry Daddy. Don’t let that worry you. These will be the best fries you’ve made. Or had.
The Keys To Perfect Fries Every Time
There are two key steps to making sure these crispy fries using the Fry Daddy Fryer come out perfectly. First, make sure you rinse the raw potatoes in cold water and keep rinsing until the water is clear. You want all that starch gone, as if you’re making rice. Second, let the fries come to room temperature (or near it) before the second frying.
The fries will crisp up just a bit more after they come out of the fryer so it’s ok to remove them just before you think they’re like you want them. It’s not critical, but after doing these a time or two you’ll get the timing for what’s best for you. Don’t worry, they’ll be great no matter what!
The Presto Fry Daddy is perfect for making smaller batches of food. It only uses a few cups of oil and comes to temperature quickly. Clean-up is easy too!
kosher saltor your favorite fry seasoning, to taste
Instructions
Fill a large bowl with cold water.
Slice the potatoes into thin, 1/8"-1/4" sticks. Try to keep them the same thickness.
Place fries into the water. Add more water if needed to keep them fully submerged.
Add the oil to the fryer and plug it in according to the manufacturer's instructions.
Drain the fries. Refill with more cold water. Stir the potatoes. Repeat this step (draining, refilling) until the water is no longer cloudy. This usually just takes me two times.
Drain the potatoes well and transfer to a large kitchen towel. Pat dry. Make sure you get them dry or they will splatter when you add them to the hot oil.
Working in batches if needed, fry the potatoes until just starting to turn a light brown. You are not cooking them fully, you do not want them to be golden brown yet. Do not over-crowd the fryer.
Remove the fries from the fryer using the slotted spoon that comes with the unit. Place on a wire rack over a baking pan to drain. Spread them out evenly.
Let the fries cool to room temperature, about 10 minutes.
Working in batches if necessary, return the fries to the fryer and finish cooking them. You want them nice and lightly golden brown. I've found that you can actually crowd the fryer a little more than usual for this step. The fries are mostly cooked, you're just crisping them up and giving them some color so a little extra potatoes in there isn't going to hurt. Just don't over-fill the fryer.
Remove the fries to the wire rack again to drain. Season well with salt. I prefer to transfer the fries from the rack to a large bowl, sprinkle them with the salt, and toss to season evenly.
Serve immediately.
Notes
If you haven’t tried your fries dipped in mayonnaise, now’s a great time to give it a whirl!