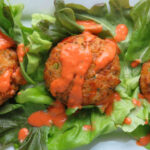
If you’re looking for an easy-to-make remoulade that really shines with seafood, this red pepper remoulade is it. I used the remoulade on crab cakes, but it’d be perfect with shrimp too. Or as a dipping sauce for fried fish fillets. It’s also great with other things, such as onion rings and yes, even French fries! It’s nice and creamy. It’s not spicy, but flavorful. It packs in a lot of flavor despite being incredibly easy to make.
Great On Sandwiches. Fantastic, Actually.
Another great use for red pepper remoulade? Yep, on roasted, grilled or fried shrimp po boy sandwiches. Burgers. Smear it all over those burger buns before serving. Man, that’s good eats!
If you prefer a spicier remoulade, substitute spicy chili sauce. Or just add a few pinches of dried red pepper flake or cayenne. Or just try my spicy remoulade instead!
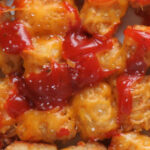
I created a ‘quick fix’ category here so I’d have a place to click on for my easiest recipes. A short list of ingredients and a short amount of time is the rule. Something you can throw together and yet still enjoy. Like these quick fix pizza tots. It doesn’t take much to take your standard frozen tater tots (one of my favorite go-to quick sides) and give them a little different flavor. In this case, the flavors of pizza.
Pizza Without The Dough
If I’d found some pepperoni slices in the pantry (trust me, I looked) I would’ve chopped them up and added them to these quick fix pizza tots when I added the cheese. Crumbled cooked Italian sausage would be great too! Just keep it quick, and easy. Canned black olives. Onion. Diced green bell pepper. These are all great ideas for topping this super-simple side dish.
I highly recommend that you shred or grate your own cheese at home. Don’t buy the pre-shredded or pre-grated stuff. It has stuff added to it to keep it from sticking together. That ‘stuff’ affects how the cheese melts. Get the real stuff.
I created a ‘quick fix’ category here so I’d have a place to click on for my easiest recipes. A short list of ingredients and a short amount of time is the rule. Like these quick fix pizza tots
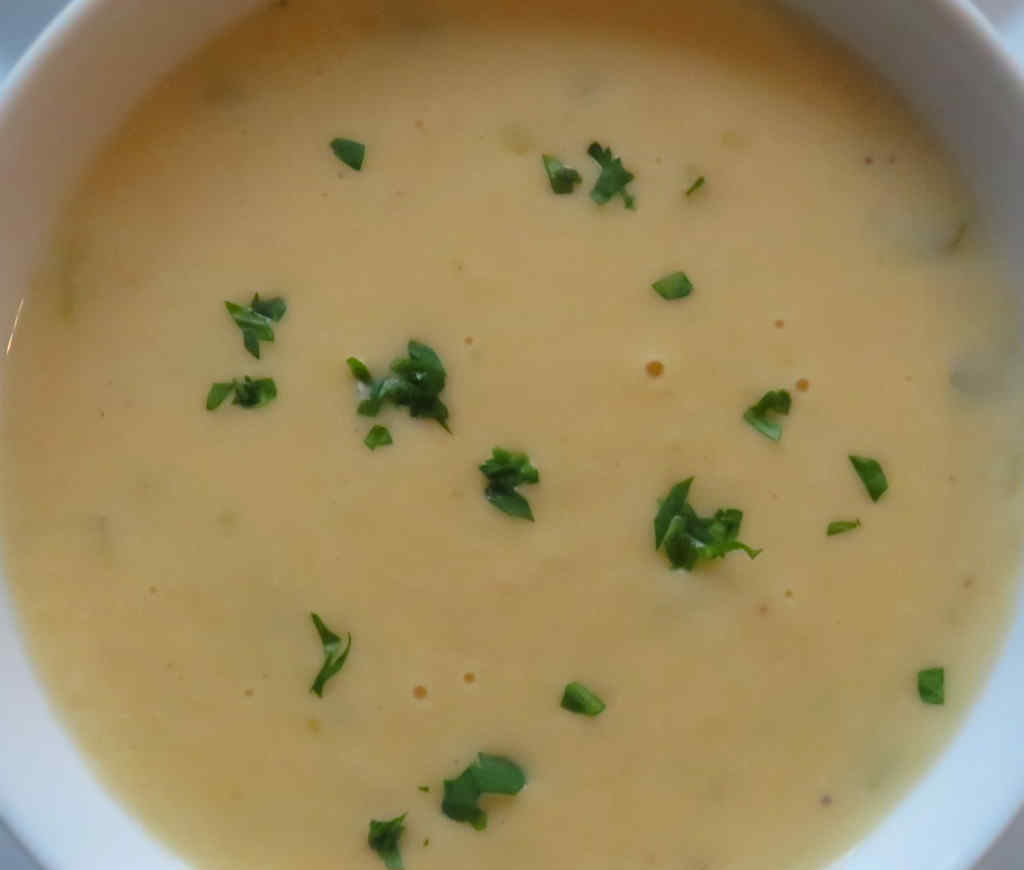
Here recently I bought my first ever case of Hatch chiles. I had no idea how big a case would be, but I do now. Over 150 peppers. I roasted them all, freezing some (whole) for later use. The rest, well, I put to work immediately. Starting with this wonderful roasted Hatch chile queso dip. The roasted chiles add such a fantastic flavor to what is your pretty-much-standard queso dip. A good queso dip that is mighty good to start with. Nice and creamy, this is the perfect dip for a party. I didn’t add any hot sauce, but you could. Just don’t go crazy with it, you don’t want to hide the taste of the peppers.
Great On Burgers, Too.
You can use this recipe for roasted Hatch chile queso dip to make a great topping for hamburgers. Or hot dogs. Just cut back on the half and half and let the sauce come to the desired thickness.
If you can’t find roasted Hatch chiles, you can substituted canned roasted chiles or, you can roast poblano or Anaheim chiles in the oven or on the grill and use those instead. Or get the real deal delivered directly to your door.
The roasted chiles add such a fantastic flavor to what is your pretty-much-standard queso dip (which is mighty good to start with). Nice and creamy, this is the perfect dip for a party.
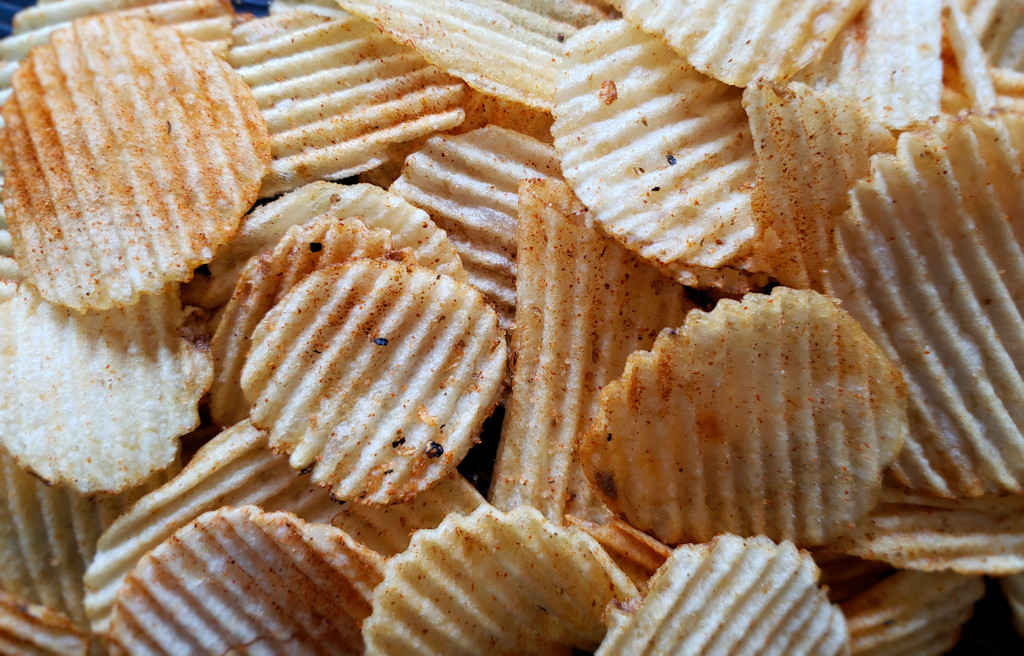
No reason to be locked into only a handful of flavored chips at the store when you can make them taste however you want! Today I made a big batch of my quick fix Bloody Mary potato chips. Potato chips. Bloody Mary seasoning. That’s it! And oh-so-good! They’re the perfect snack to enjoy while you’re enjoying a Bloody Mary! And the best part is I decide how much seasoning I get. No more of those barely-seasoned chips for me (or you!).
No Need For The Fancy Chips Here
You don’t need to grab the expensive potato chips when you make quick fix Bloody Mary potato chips. The key here is to warm up the chips just enough that the oils they were cooked in come back to the surface of the chips. That gives the seasoning something to cling to. No big pile of seasoning at the bottom of the bowl with these chips, nope. Nothing but flavor.
Of course, you can make homemade potato chips in a deep-fryer and then toss them in the seasoning too! Just don’t over-drain the chips as they come out of the hot oil or the flavors won’t have anything to adhere to. Make sure you get them good and coated.
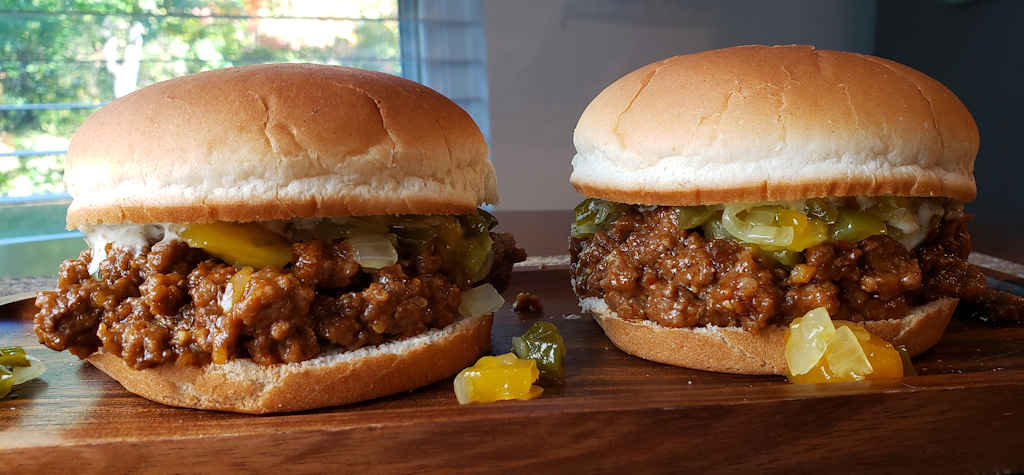
These mango jalapeno Sloppy Joes prove that the classic dish isn’t just for kids. They are packed with incredible flavors. Taco seasoning. Delicious marinade. Cheese. And a wonderful mango topping. Oh, and don’t forget the salsa verde mayonnaise! Darned different, and crazy good, I could not get enough of these! I highly recommend that you double the recipe!
A Wonderfully Different Sloppy Joe
I used frozen mango chunks when I made these mango jalapeno Sloppy Joes. They’re much easier to deal with than a whole fresh mango. I always have trouble cutting them! Our local grocery store has them packaged in 1 cup bags for making smoothies. One cup is exactly what you’ll need if you decide to double the recipe. It was a sign!
I like to use my good ole trusty Dutch oven to make this Sloppy Joe recipe and pretty much darned near anything like it on my stovetop. It’s nice and big and sturdy. That extra weight helps it maintain and distribute heat perfectly. As an added bonus, it’s actually pretty easy to clean up too!
Note: This recipe was developed using the Char-Broil Big Easy Oil-Less Fryer. If you are cooking using the Char-Broil Smoker-Roaster Grill you should cook with the lid open and the temperature set to High. You might also need to adjust the cooking time.
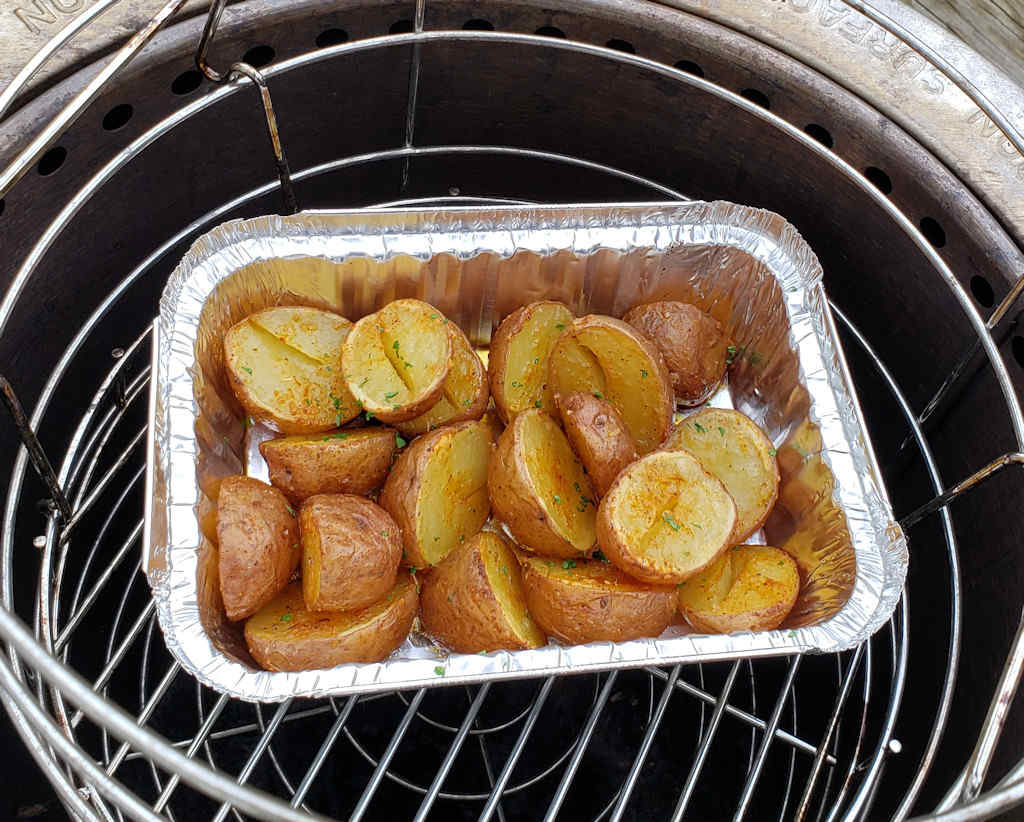
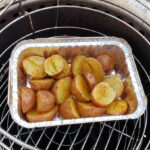
What could be better than potatoes packed with flavor and roasted on a grill? Yeah, nothing. These easy roasted potatoes were made on the Char-Broil Big Easy in no time flat. The Big Easy is a great side-making machine. And it doesn’t heat up the house, which is sure great these days because it’s HOT here in Indiana!
Get A Bunk Bed Basket For More Room
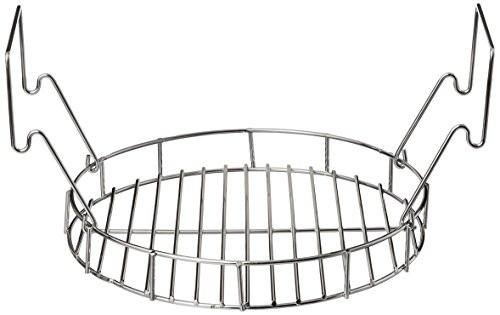
You can fit a single disposable pan (for 3/4 pounds of potatoes) in the basket that comes with your Big Easy. Get a bunk bed basket and you can do a full 1 1/2 pounds of potatoes at once. You have to get a bunk bed for your Char-Broil Big Easy to make great side dishes like these easy roasted potatoes.
Fire up your Big Easy. Meanwhile, prepare the potatoes.
Place the potatoes into a microwave-safe bowl.
Microwave for 3 minutes on high. Stir and check for doneness.
Microwave another 2 minutes (or longer if needed) until just tender. Do not over-cook, they need to have a little bite to them.
Drizzle the potatoes with the oil.
Sprinkle with the remaining ingredients.
Stir to coat completely.
Divide the potatoes between two disposable pans and transfer the pans to a Big Easy basket fitted with a Bunk Bed so you can cook both pans at the same time.
Place the basket into the Big Easy and cook for 10 minutes or until the potatoes start to turn golden brown around the edges.
Carefully remove the pans from the Big Easy and serve.
Notes
You can substitute baby potatoes. If using multiple baskets, the potatoes towards the bottom may cook faster than those up top.
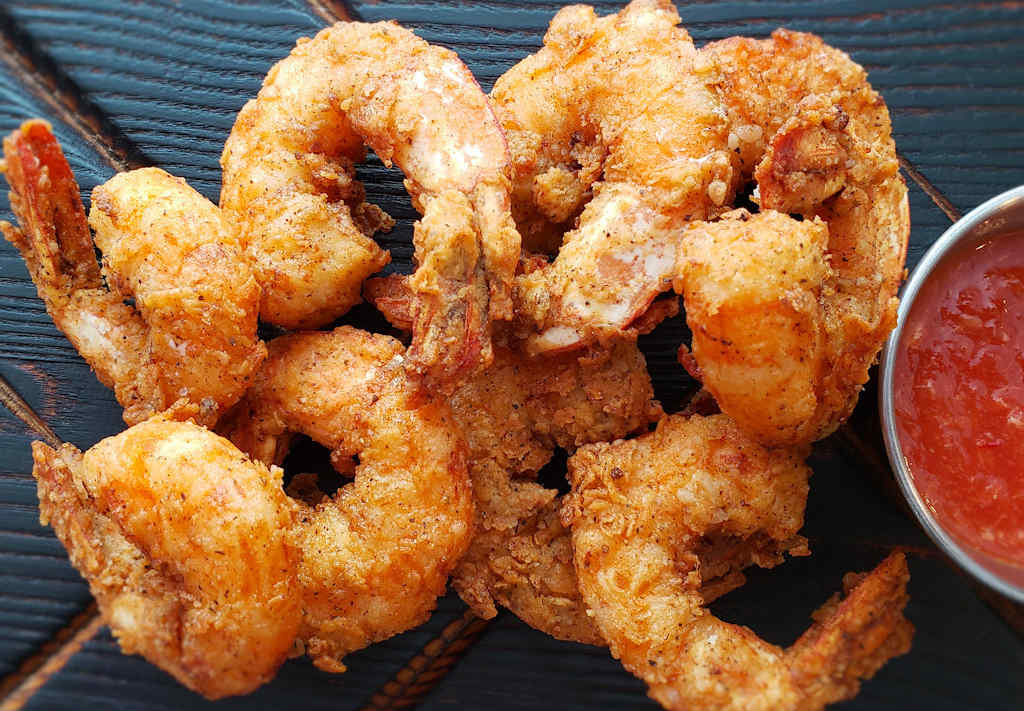
I’m a fried shrimp addict. You’d think that by now I’d have enough recipes for making them. Yet I’m always on the look out for more and more. I came across this recipe from a roadside eatery in Texas, Mac and Ernie’s, and knew I had to make it. Not so much because the breading seemed different, but because it uses evaporated milk. And what a difference it makes! Crispy crunchy lightly spicy outside, tender, slightly sweet inside, Mac and Ernie’s fried shrimp are exactly what I was craving.
Fresh-Caught Is Better-Tasting
I used fresh-caught Florida shrimp for my Mac and Ernie’s fried shrimp. I try to get either gulf shrimp or Florida shrimp and avoid the farm-raised imported shrimp as much as possible. The taste difference is noticeable. Why go through the effort of frying your own shrimp only to use poorer quality shrimp?
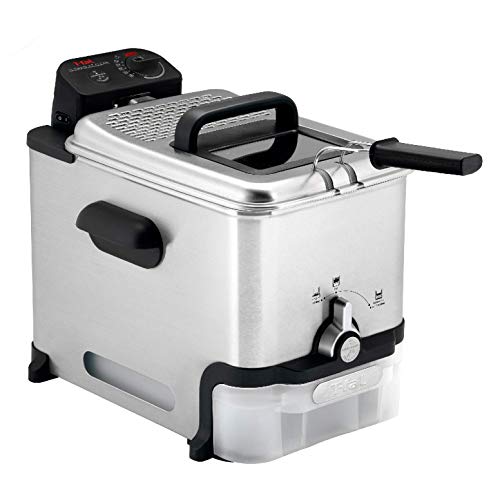
I get out my big deep fryer when it’s time to fry a large batch of food. It comes to temperature quickly and it maintains that temperature perfectly. It has a built-in oil filter and storage unit so I can re-use the oil several times.
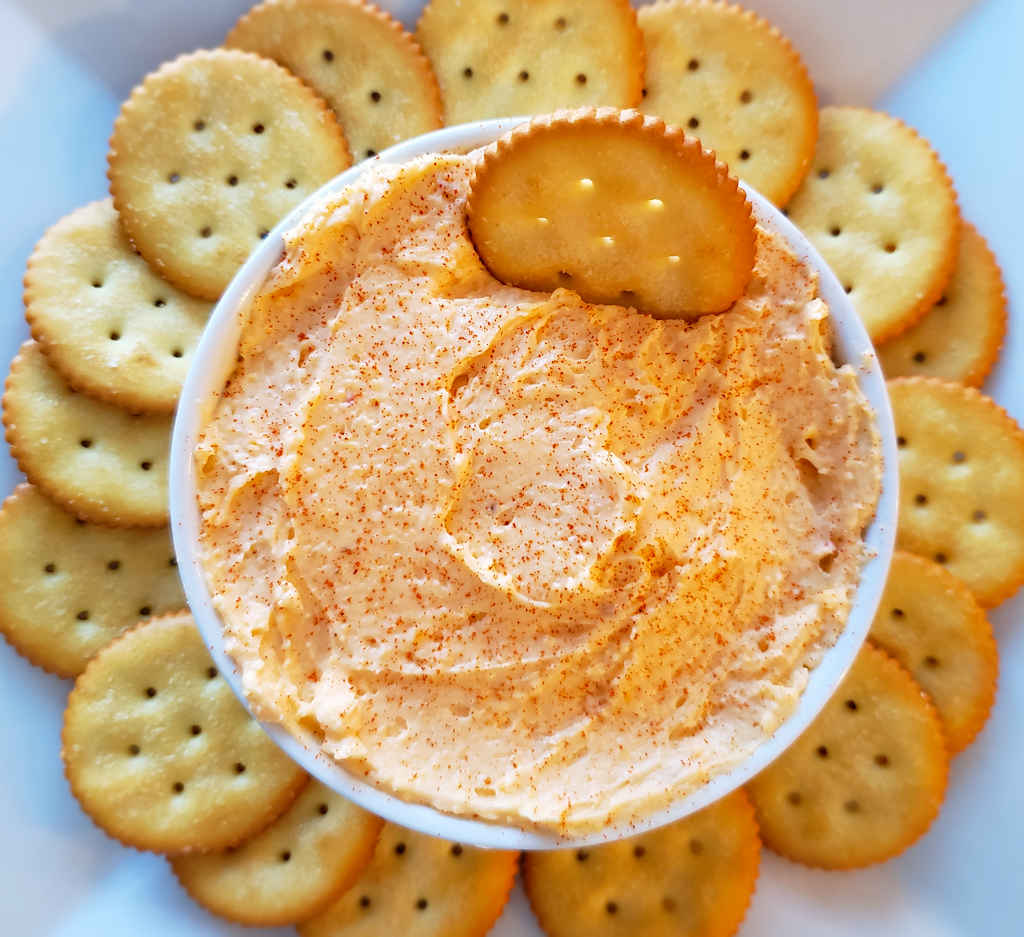
I have a major league addiction to Merkts sharp cheddar cheese spread. Truth is, I can’t tell you how many are in my fridge. I can’t tell you how many boxes of rounds I have in my pantry. Well, sadly, there are times when I run out of spread and my local grocery runs out too. Sad times indeed. Time to make a copycat version of Merkts sharp cheddar cheese spread at home! Delightfully creamy, lightly sharp, this is the cheese spread dreams are made of. We often have this with our weekday lunches. Served with crackers it’s a really great snack!
Add Some Kick
I usually use pepper jack cheese in my copycat Merkts sharp cheddar cheese spread. Yeah, it might not be a true copycat at that point, but oh, oh me, that slight kick really is awesome. It’s not like that little bit of pepper made it super spicy, but just enough. Like I needed an excuse to smear more cheese spread on my crackers!
I do recommend that you let the spread get happy in the fridge overnight before serving. If you prefer your spread a little more spreadable, let it sit at room temperature 15 minutes before using.
Place all ingredients except for the half and half into a large food processor. Blend for 1 minute, stopping every 15 seconds or so to scrape the sides.
Add the half and half and continue blending for 1-2 minutes, stopping every 15 seconds or so to scrape the sides. You want the mixture to be smooth. If needed, add more half and half. Ours comes out perfect without it and it matches the consistency of the real spread.
Blend for 1 minute. Take the lid off and use a spatula to scrape down the sides.
Transfer spread to a bowl. Cover and refrigerate for 1 hour to overnight.
Serve sprinkled lightly with more paprika.
Notes
For best results, let the cheese come to near room temperature before serving.
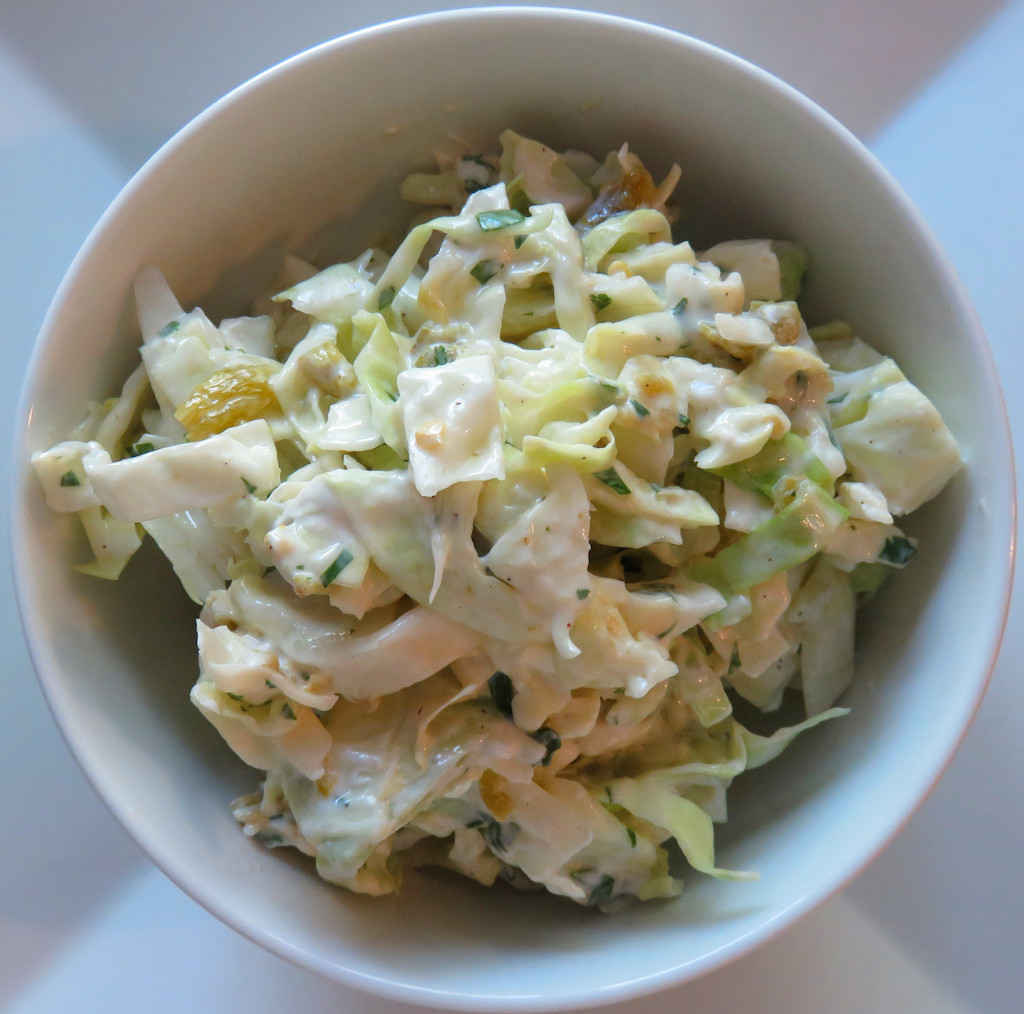
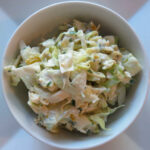
I picked up a case of Hatch chiles once they were in season last summer. I ended up roasting most of them. They freeze really well. That’s great because I can then use them throughout the rest of the year, in everything from sauces to slaws. Roasted Hatch chile slaw is a sweeter, more mellow version of my roasted poblano slaw. The Hatch chiles add such a great mild chile pepper flavor without a spicy kick. Now, if you prefer spiciness, add a minced jalapeno or two or three.
No Hatch Chiles? Use Green Chiles Instead.
Not everyone has access to fresh Hatch chiles (which is kind of sad, really, because I’ve really fallen in love with cooking with them). You can substitute canned chopped green chiles, or green bell pepper if prefer. Of course you can’t call it roasted Hatch chile slaw if you !
I almost always use Blue Plate mayonnaise in the dishes I make. I think it is the best around. If you can’t find it locally you can pick it up online for a fair price.
To roast the pepper a grill is best, but you can also throw them on a pan under the broiler, turning often, until the skin is nice and charred. Place in a bowl, covered, for 15 minutes then remove the charred skin. Don’t place the roasted peppers under running water, that’ll wash away some of that great roasted flavor.
Roasted Hatch chile slaw is a sweeter, more mellow version of my roasted poblano slaw. The Hatch chiles add such a great mild chile pepper flavor without a spicy kick. Now, if you prefer spiciness, add a minced jalapeno or two or three.
Cotija cheesecrumbled, or topping (or substitute crumbled Feta), optional
Instructions
Roast the chiles on your grill or under your broiler until the skin is blackened. Let cool slightly then remove the burnt skin. Remove the seeds and stem and chop.
Place the chiles, cabbage and cilantro into a large bowl. Combine.
In a small bowl, whisk the remaining ingredients not including the cheese.
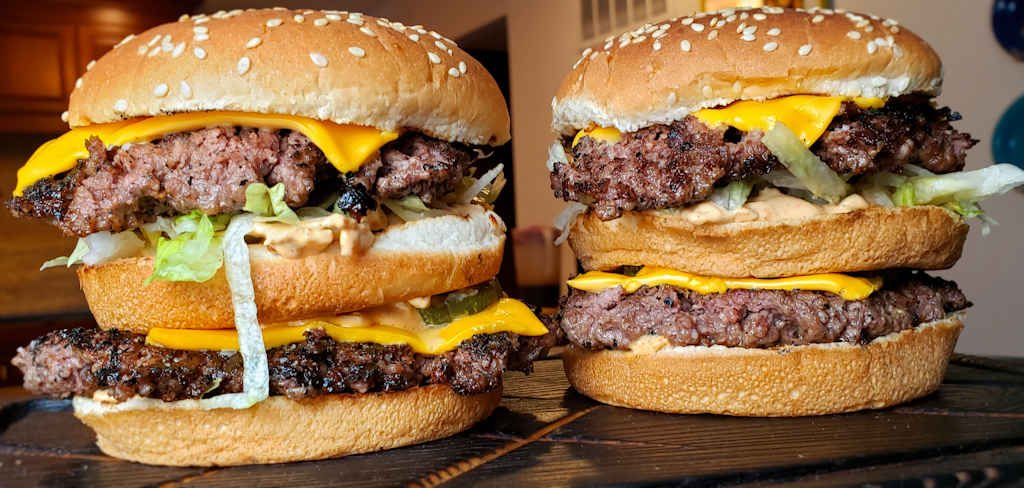
Now THIS is a burger! This isn’t some dainty, fit-in-the-palm-of-your-hand two-bite burger. This is an elbows-out, juice-running-down-your-forearms, do-the-burger-hunch burger. Two all beef patties. Very special sauce. Lettuce. Cheese. Onions. Pickle. Sesame seed buns. These Cowboy Big Mac Smash Burgers (based on a recipe from Kent Rollins) are the kind of burger I find in my dreams.
The Best Burgers Are Smashed
Nine times out of ten, when I make burgers, I make Smash Burgers. I love the crispy edges, the thin patties, the fresh toppings… Cowboy Big Mac Smash Burgers aren’t messing around. Now, that being said, if you want to make these as single burgers you can and they’re just as delicious! Trust me! Sometimes I just can’t handle those monster-sized patties. So I do single patties instead, and I’ll even use 4.5 ounce patties instead of 8. I used to use 4 ounces, but I’ve found that 4.5 ounces ‘smash’ out to a size that covers the burger buns perfectly.
In a small bowl, whisk together the mayonnaise, pickle relish, mustard, adobo sauce, vinegar, sugar, garlic powder, onion powder and smoked paprika.
Fold in the onion. Cover and refrigerate for 2 hours before you're ready to make the burgers.
For the burgers
Fire up your grill for direct medium-high heat cooking.
Season the burger patties with salt and pepper on both sides. Don't be shy with the seasoning.
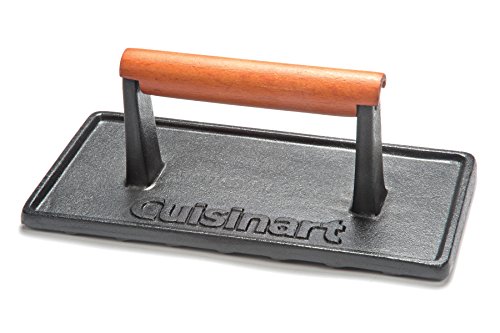
Place the patties on the grill. Smash down with a spatula or grill press.
Grill the burgers for 2-3 minutes per side.
Top the patties with cheese and grill until they've reached your desired doneness and the cheese is melted. Remove from the grill.
Take 2 of the bun tops and cut off the tops. These will be the two middle buns for the Big Macs. Discard the bun bottoms or use them for something else (like making bread crumbs, feeding the birds, etc).
Toast the buns and two bun slices on the grill as desired.
Make the burgers by first spreading some of the sauce on the bun bottoms.
Add some of the lettuce and a burger patty. Top with the sliced bun.
Slather the top of the sliced bun with more of the sauce. Add lettuce, the remaining patties, pickles and top bun.