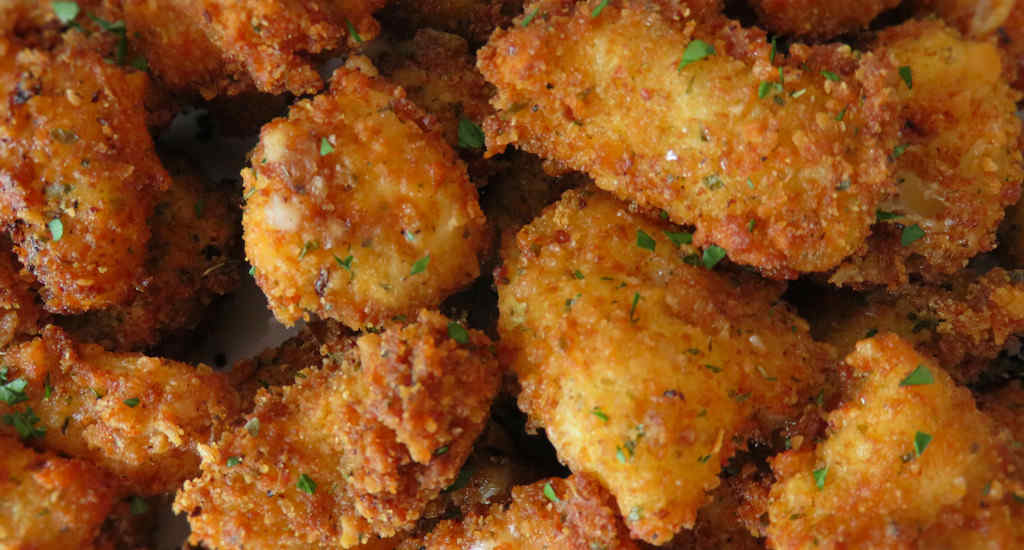
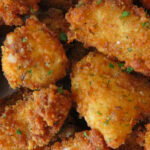
Oh my goodness. There should be a big ‘danger’ sign next to these copycat Culver’s cheese curds. Danger because you’re going to want to eat them all. Then you’re still going to want more. I so couldn’t stop eating them. They have this delicious crunchy outside. And tender, gooey, cheesy, melty, yummy insides. I thought I might need some sort of dipping sauce. Ya know, Ranch dressing maybe. Or warmed marinara. But oh no. Nothing else required. Just a lot of moaning with each and every bite.
Any Cheese Curds Will Do
I used dill cheese curds for my copycat Culver’s cheese curds. The dill went very well with the Italian-seasoned breadcrumbs. You can use anything you want. I have a container of jalapeno cheddar curds in my fridge right now. They’d be great with just regular breadcrumbs, seasoned with a bit of cayenne pepper for an extra kick!
I usually deep fry in my big fryer if I’m making a big batch and feeding a crowd. But if it’s just the two of us I’ll get out my Fry Daddy.
I get out my big deep fryer when it’s time to fry a large batch of food. It comes to temperature quickly and it maintains that temperature perfectly. It has a built-in oil filter and storage unit so I can re-use the oil several times.

This recipe is based on a recipe from CopyKat.
Copycat Culver’s Cheese Curds
Equipment
Ingredients
- 1 cup all-purpose flour
- ¼ teaspoon kosher salt
- 4 eggs
- 1 tablespoon whole milk
- 2 cups Italian-style breadcrumbs
- 16 ounces cheese curds
- vegetable oil for frying
Instructions
- Combine flour and salt in a shallow bowl.
- Stir until the salt is incorporated evenly.
- Break eggs into a second shallow bowl with 1 tablespoon of milk.
- Beat the eggs.
- Place breadcrumbs into the third bowl.
- Coat the curds first with flour, then the egg, and finally the bread crumbs. It is very important to coat the cheese curds evenly and thoroughly.
- Place coated curds on a wire rack resting in a rimmed baking sheet.
- Freeze the cheese curds for 30 to 60 minutes.
- Set up another wire rack on a baking sheet or line a plate with paper towels.
- Pour enough oil into a large skillet or a pot to reach about 2 inches of oil. Heat the oil over medium-high heat. Use a thermometer to make sure the temperature is 375 degrees.
- Frying a few curds at a time, carefully drop a few in at a time. Do not crowd the skillet. Fry for about 1 minute, turning them once. Cook until they are golden brown.
- Remove with a slotted spoon. Enjoy immediately.
Notes
Nutrition
Nutritional values are approximate.