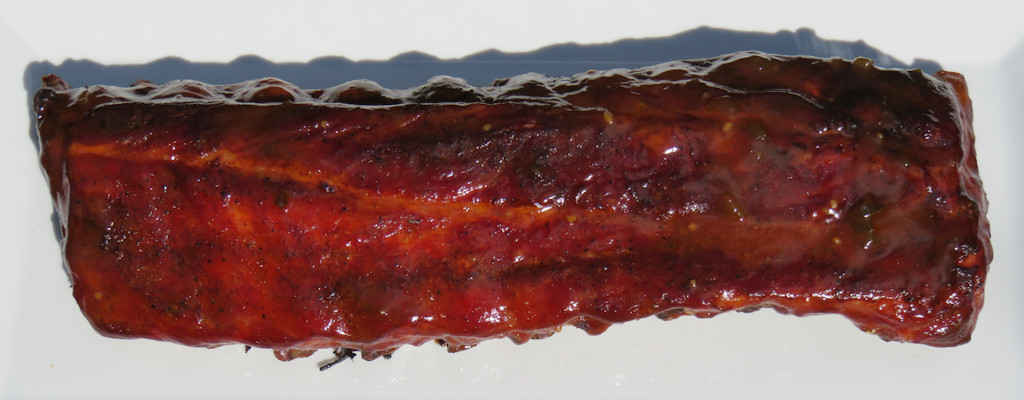
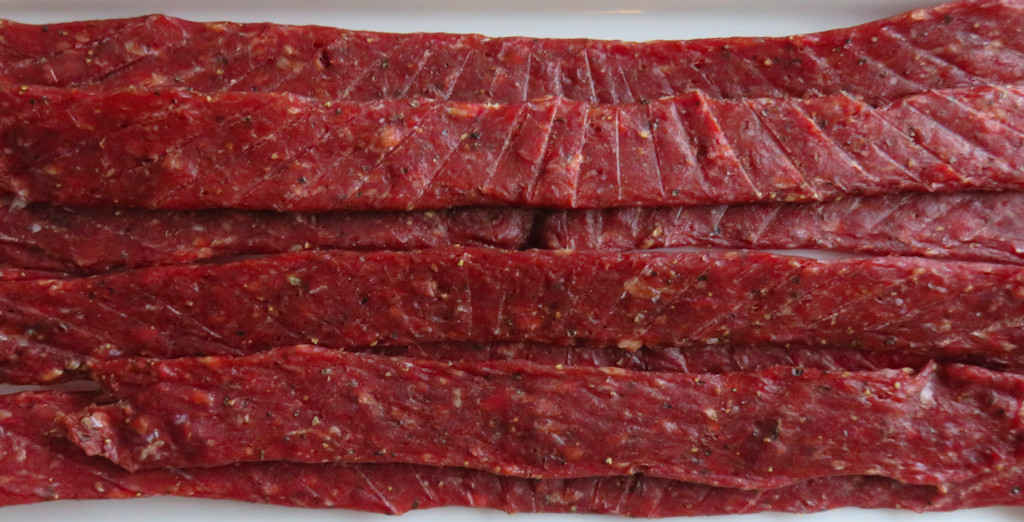
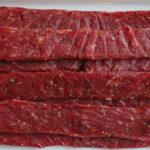
I love making jerky on my dehydrator. I’ve been using ground top round for my ground beef jerky, but any lean ground meat will work. I tend to prefer jerky with a lot of flavor. I’m not really into mellow jerky. Which is why I enjoyed the heck out of this Cracked Pepper N’ Garlic Ground Beef Jerky on the Nesco Snackmaster Pro made using a seasoning from Hi Mountain that I picked up at our nearby Cabela’s.
Very Peppery. Very Good.
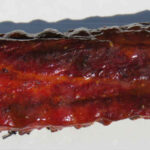
The jerky is definitely peppery (I used more seasoning than the package calls for because hey, like I said, I like my jerky to be packed with flavor!) with a nice hint of garlic that isn’t overwhelming. Cracked Pepper N’ Garlic Ground Beef Jerky on the Nesco Snackmaster Pro is so really, really tasty that you’ll enjoy more than you may want (so make a double batch!).
I grind my meat using my own grinder, but if you’re friends with your butcher (and you should be), you can get him to trim and grind it for you. Or if you prefer sliced jerky, your butcher can do that for you too. That’s why they’re there. Getting to know your butcher is a really good idea. Take the time to say ‘hi’ even if you don’t need anything the next time you see them.
I like to load up my dehydrator. To do that I picked up a handful of extra trays. They really add a whole lot more drying space! Since I have to rotate my trays, I write a number on each one on a piece of blue painter’s tape so I can keep track of them.

Also try my Hi Mountain pepperoni and sweet and spicy jerky.
Cracked Pepper N’ Garlic Ground Beef Jerky on the Nesco Snackmaster Pro
Equipment
- Jerky Cannon optional
Ingredients
- 2 pounds lean ground beef
- 2 tablespoon Hi Mountain Cracked Pepper N' Garlic Jerky Seasoning see my note below
- 2 teaspoons Pink Curing Salt comes with the seasoning (optional if you’re going to refrigerate the finished product)
- ½ cup water
Instructions
- Place beef in a resealable bag or container.
- Place meat, seasoning, curing salt and water into a mixer and mix for 5 minutes.
- Transfer meat to a resealable container or bag and refrigerate for up to 8 hours, massaging every hour or so to get the marinade distributed and absorbed evenly.
- Remove meat from the marinade. Add to a jerky gun and squeeze out onto Nesco trays.
- Add the dehydrator top, set to maximum temperature setting and dehydrate for 5 hours, rotating the trays (bottom to top) every 2 hours or so.
- To test for doneness remove a piece and let cool slightly. Try to bend the meat. If it gives and starts to tear at the bend it is done. If it bends without tearing return to the dehydrator and let it run another 15 minutes and test again. If the meat is crunchy it is overdone but still good. It’s really personal preference as to how you like your jerky. Soft, chewy, crunchy. There’s no wrong here.
- Let cool before storing in an airtight container.
Notes
Nutrition
Nutritional values are approximate.