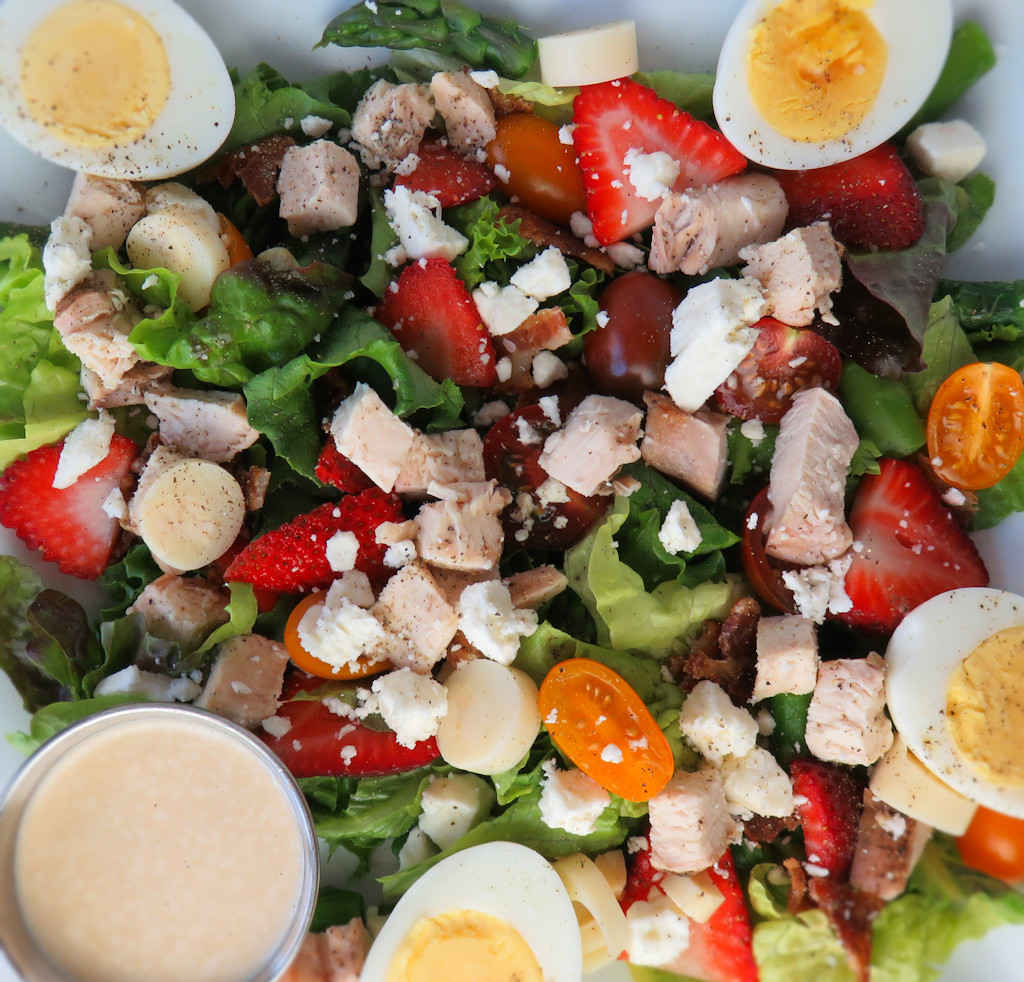
My wife quickly declared this sesame salad dressing as one of her all-time favorite salad dressings. She loved the light hint of sesame oil and soy sauce, with just a touch of sweetness. A light vinegar bite and creamy mayonnaise hit all the right notes for her. It’s not a thick sauce, not at all. It’s just slightly thicker than say, Italian dressing.
Your Patience Will Be Rewarded
Although you can try and rush this sesame salad dressing, don’t. Resist the temptation to do that. Let it rest at least 30 minutes before serving. And if you can, let it sit overnight so that the flavors get happy. And as I note in the recipe, you might want to adjust the sesame oil. Although my wife and I both are fans of sesame oil, we find that a little goes a long ways. We felt that one tablespoon was perfect for us. So, we recommend that you start with a little, taste, and add more if desired. You can always add more after it has set a while, too. You just can’t take it back out so use it sparingly if you’re like us and are a little sesame oil-shy!
My wife quickly declared this sesame salad dressing as one of her all-time favorites. She loved the hint of sesame oil and soy sauce, with just a touch of sweetness
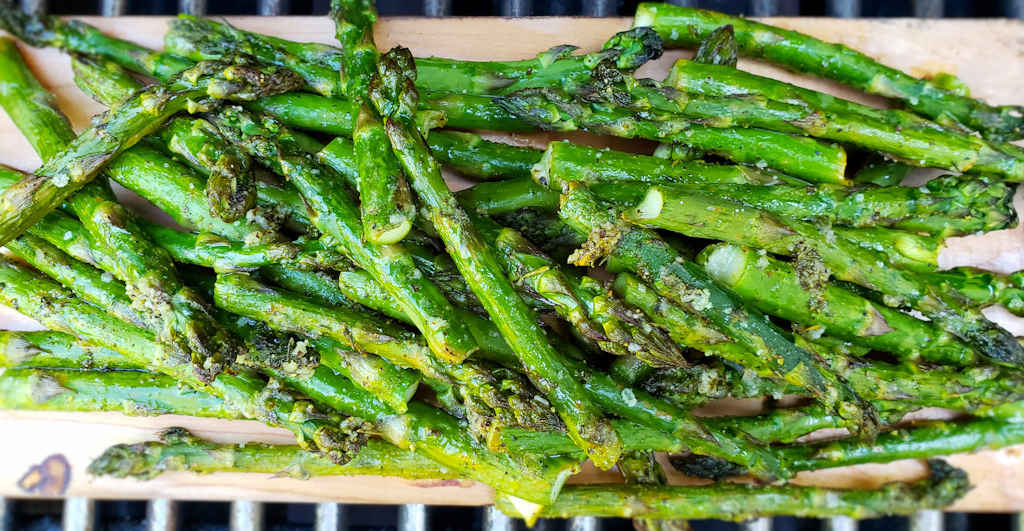
I should’ve bought more lemon pepper wing dust from Kosmo’s Q. Sure, I put it on wings. But I’ve found myself using it more and more on grilled vegetables. Like these planked lemon pepper asparagus. You can’t get much easier and you can’t get much more flavorful than this grilled side dish. The plank adds just a slight hint of cedar.
Asparagus Elevated
The seasoning adds a serious lemony peppery kick to anything including these planked lemon pepper asparagus. I’m not shy with it because I love it. You might want to start with less and see what you think. You can always add more. The asparagus will take on a great citrusy flavor with a hint of cedar and just the right amount of pepper. Perfect.
Place a cedar plank in water while preparing the asparagus.
Trim the asparagus. I've found the easiest way to do this is to just bend them until they break. They break right at the point where one piece is the woodsy stem part you discard and the other is the yummy edible part.
Fire up your grill for direct cooking, around 400 F.
Gently toss the sprouts with the oil. Just use enough to lightly coat them.
Sprinkle with the Kosmos Q Lemon Pepper wing dust. How much you add is up to you, but my opinion is more is better.
Transfer the asparagus to the plank.
Transfer to the grill and grill for 20-25 minutes or until the plank is charred and the asparagus is as tender as you prefer and has a little char on them too. I find myself taking the smaller pieces off and sampling them as they cook. Not only are they delicious it also helps me determine when they are done.
Notes
Kosmos Q wing dust contains enough salt so you won’t need to add any to the sprouts. You can add freshly ground black pepper if you like.Nutritional values do not include the wing dust.
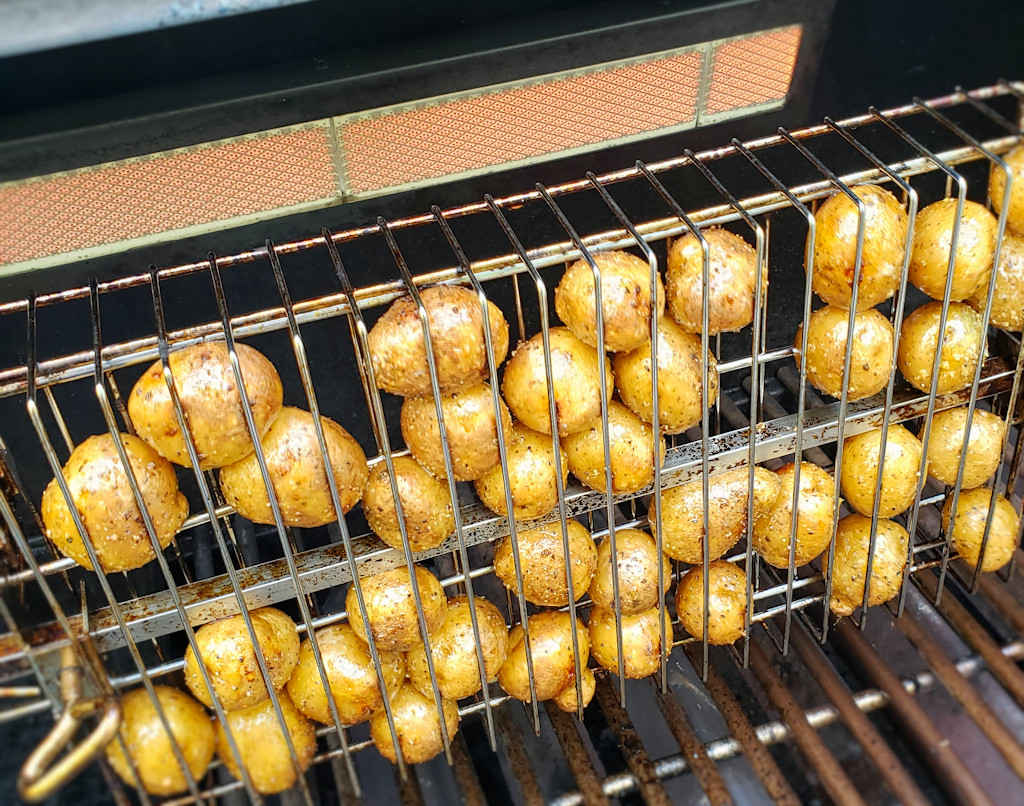
Oh how I do love roasted potatoes. I love the creamy insides. I love the crispy, golden skin. Baby potatoes are my favorites, but I’ll take a good roasted fingerling any day of the week, too! My ‘weapon of choice’ this time for making roasted potatoes was my gas grill rotisserie. It’s something I’ve been wanting to do for a while. Sure, I can roast potatoes directly on the grill or in a grill basket, but without paying attention to them, I can end up with an un-even roasting. Or worse, burning some while not cooking others. Not with the rotisserie. I get perfect potatoes, all around! Each and every one is fantastic!
No Bouncing Around, Please
I think one of the reasons my rotisserie roasted potatoes are so fantastic is the type of basket that I use. I could’ve used one of my bigger baskets. Like the one I use for peanuts or chicken wings. But I didn’t want my potatoes bouncing around like a bunch of bingo balls. Nothing good could come from all that potato violence.
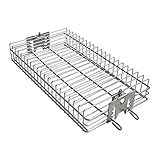
So instead I used my only Fire flat rotisserie basket. This lovely toy locks the potatoes in (you want to use ones that are all about the same size) and keeps them from banging into each other. You don’t want scarred, bashed-in potatoes. And you want as much of the oil and seasoning to stay on as possible. This basket performs perfectly.
Clean Up
I have to say, after using my rotisserie basket a few times I gave up on keeping it looking like it was new. You can try, for sure. Spray it with a bit of non-stick spray first. Scrub it well after use. Or you could do like I eventually did: just hit it with a sponge to get the hard stuff then put it into the dishwasher. Will it look new forever? Nope. Does it matter? Also nope.
Oh how I do love roasted potatoes. I love the creamy insides. I love the crispy, golden skin. Baby potatoes are my favorites, but I'll take a good roasted fingerling any day of the week,
Fill a pot fitted with a steamer rack with 1"-2" of water and bring to a boil.
Scrub the potatoes clean and add to the basket. Cover and let steam for 10 minutes or until just tender when poked with a toothpick. Transfer the potatoes to a colander to drain.
Fire up your grill for high heat cooking. You want direct heat below (and around) where your rotisserie basket will be.
Place the potatoes in a bowl and toss with a few splashes of oil and season well with salt and pepper.
Transfer the potatoes to the rotisserie, close and place on the grill.
Turn on the rotisserie, close the grill and let the potatoes roast for 10 minutes. Check for color. If the skin has a bit of a char to it remove and serve, otherwise keep grilling, checking every 5 minutes for doneness.
Notes
I prefer to steam, or partially cook, the potatoes before placing into the rotisserie. I like to grill them over very high heat so that the skin gets a slight crunch to it. If you cook the raw potatoes over very high heat without pre-cooking them the outsides may burn before the potatoes are tender inside.
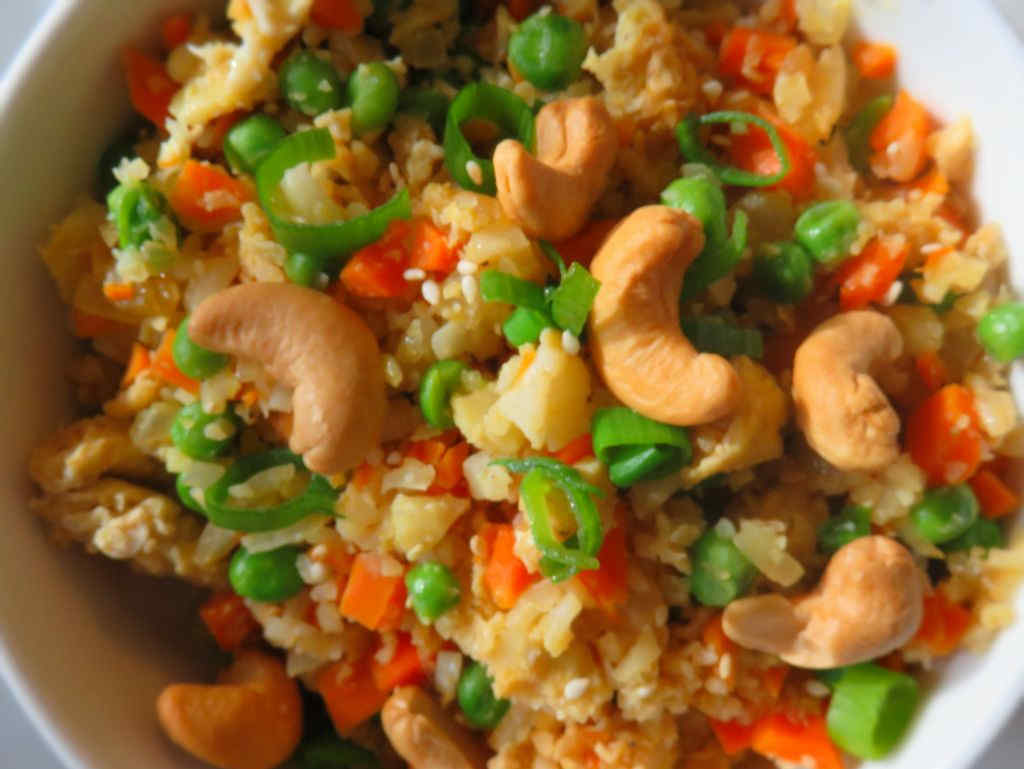
I have to admit it, I was very highly skeptical when it came time to make this simple cauliflower fried rice. My wife wanted a lower carbohydrate dish she could take for her lunches, and this is the one she picked. Well, my skepticism was unfounded, because it’s not just good, it’s great! By golly, I thought I was eating fried rice!
It’s Magic!
Making the ‘rice’ is easy. Just chop cauliflower florets fine, until they start to look like rice grains. A quick fry in hot oil, and boom! Cauliflower rice! Great as a side dish, simple cauliflower fried rice can be turned into a main dish in no time by adding cooked chicken.
I went light on the sesame oil and used the full amount of soy sauce.
I have to admit it, I was very highly skeptical when it came time to make this simple cauliflower fried rice. Well, my skepticism was unfounded, because it’s not just good, it’s great!
Rough chop the cauliflower and place into a food processor.
Pulse a few times until the cauliflower looks like tiny pieces of rice. Do not over process.
Add a tablespoon of olive oil to a large skillet over medium-high heat.
Add the cauliflower and saute for 5-10 minutes or until tender. Remove to a plate.
Wipe the skillet clean and add 1 tablespoon of sesame oil.
Add the eggs to the skillet, season and cook, stirring scramble for 3-5 minutes or until eggs are cooked through.
Transfer eggs to a plate. Wipe the pan clean.
Add the second tablespoon of sesame oil to the skillet.
Add the onion and carrots, cooking for 5 or so minutes, until softened.
Add the garlic and ginger to the skillet and cook for 1 minute.
Add the riced cauliflower, frozen peas and diced chicken (if using) to the skillet and cook for another 5 minutes or until cauliflower rice is cooked through, but still is a bit crunchy.
Add the egg back to the skillet, breaking it up as you stir.
Add the soy sauce and stir.
Sprinkle with sesame seeds. green onion and cashews to garnish.
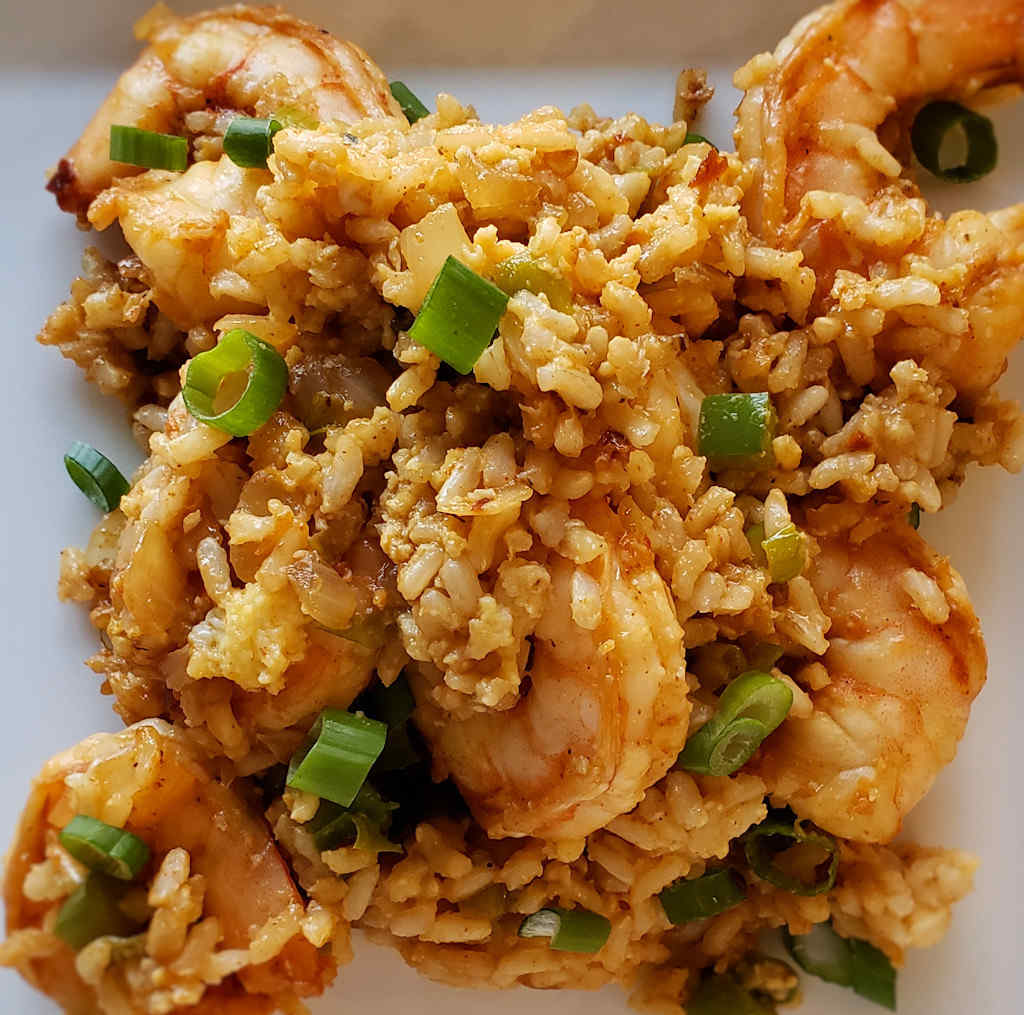
One of my wife’s favorite dishes is fried rice. She requests it often. I thought it was time to throw a curve ball and make a little twist, on the classic that she loves so much. Failure was not an option, because messing with a long-time favorite is risky business. I dove in and made Cajun shrimp fried rice. A fantastic variation on the classic, this dish contains wonderfully spicy shrimp in a traditional rice mixture. This was a major hit. My wife loved it!
You Could Add Stuff… Or Not.
This Cajun shrimp fried rice was perfect just as it was. I didn’t really feel a need to mess with it. Oh, I thought well, I could add some roasted peanuts or cashews. Or more sesame oil. Yeah, I could’ve done that. But I might’ve gotten looks. Best to make it just as it’s written, because it’s great!
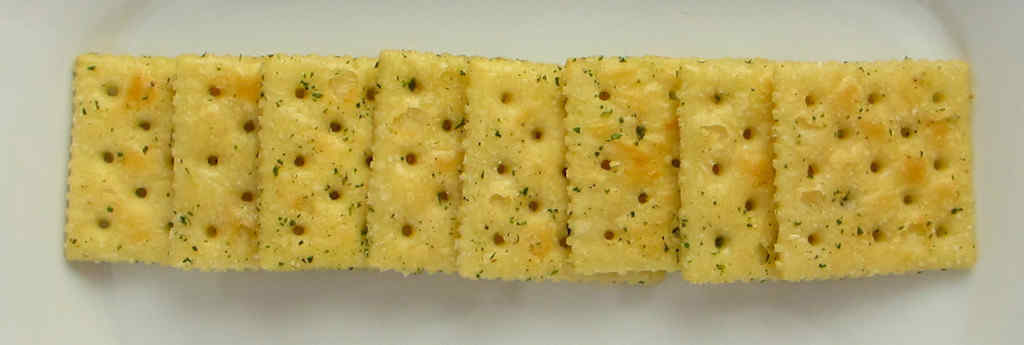
After making a sleeve of Fire-Eater saltines the other day, I had to keep trying other flavors. I mean, there’s good and then there’s crazy good. These Ranch saltines are definitely crazy good. Great Ranch flavor on a crunchy yummy cracker. That’s all you’ll need, trust me. Yes, you could slather a bit of cream cheese on them too, but I found them addicting enough just as they are. It’s the easiest snack cracker you could ever make.
Buy It Or Make It
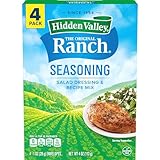
Buy Ranch seasoning in bulk or if you prefer you can make it at home. Check out my homemade version. And add more if you want. I’m a Ranch addict, so I put extra on my Ranch saltines.
Would it be wrong to dip these in Ranch dressing? Nope. That’s a silly question!
Flavor Me Crackers, Mate!
I use the same base recipe any time that I make flavored saltine crackers: a sleeve of crackers, 1/3 cup of oil, and whatever flavoring I am using. It’s just that simple. I try to not use super-salt seasonings as the crackers have a little salt on them to begin with.
Rock Me Gently
The recipe calls for putting the crackers into a resealable baggie along with the oil and seasoning and then tossing gently. I do mean ‘gently’, too. You start going crazy shaking the bag around like you’re saucing Buffalo wings or coating chicken legs in flour and bad things are going to happen. The crackers are gonna break. Crumbs will fly. The oil will combine with the cracker crumbs and form a paste. You don’t want any of that to happen.
So close the bag and slowly just turn it around. You don’t have to do it long. Just long enough to get the mixture distributed even. You want folks to grab a cracker and have it look just like the last one they ate.
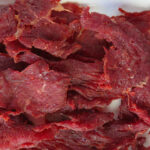
I’m a big fan of beef jerky, I’ve made it for years. And as good as it always was, I was always searching for a way to perfect my technique. More flavor. More tender, but still with a slight tug. Sous vide has done that for me and more. It’s the only way I make jerky now, drying it on my Nesco Snackmaster Pro. Sometimes I make my own flavors and sometimes, I order packages seasonings, like this Pepper and Garlic flavor from Wilton’s. This is great peppery jerky. It has a hint of garlic, but the main flavor is wonderful pepper and lots of it. I loved it!
Always Great, Time After Time
This approach to jerky is simple and highly repeatable so it’s not like you have to stress over the next batch being just as good as the last. Just mix up the seasoning with a bit of cure and add to thinly-sliced beef. A few hours in sous vide then onto the Nesco Snackmaster Pro dehydrator until perfectly dried. Not too tender, not too tough. Each and every time. Sous vide Pepper and Garlic Jerky on the Nesco Snackmaster Pro is easy and fantastic!
I like my jerky to be pretty flavorful so I usually end up adding a bit more seasoning than the manufacturer recommends. The Pepper and Garlic flavored seasoning definitely packs the pepper punch. But a little more punch is… better!
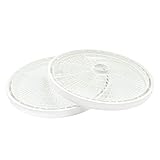
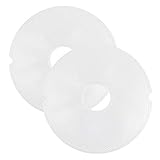
BPA FREE: Made of high-quality food grade plastic…
Paranoia Rules
I admit, I’m paranoid about my jerky. Even if I use pink curing salt. The sodium nitrites in the salt kill harmful bacteria as long as you’ve dried the meat properly and store it in air-tight containers away from sunlight. I keep mine in the fridge even though it’s not required. Even though I’ve made my share of jerky I still consider myself a newbie. And it’s not like I don’t have the room in the fridge. So in it goes!
Sous Vide Pepper and Garlic Jerky on the Nesco Snackmaster Pro
I like my jerky to be pretty flavorful so I usually end up adding a bit more seasoning than the manufacturer recommends. The Pepper and Garlic flavored seasoning definitely packs the pepper punch. But a little more punch is… better!
Set up your immersion circulator for 108 F sous vide.
Combine the jerky seasoning and salt cure per package instructions. Wilbur's has an excellent conversion chart if you need to adjust your quantities for the amount of beef being used. For the cure, visit this link here. For converting the sure cure quantity, visit this link.
Place the meat into a large bowl and sprinkle with the seasoning/cure mixture. DO NOT ADD WATER. Using your hands, mix the seasonings and meat well.
Transfer the meat to a sealable bag and vacuum seal. Make sure there are no leaks.
Transfer bag to sous vide setup and heat for 2 hours.
Increase temperature to 130 F and heat for an additional 4 hours.
Turn on your dehydrator and heat it to 160 F.
Remove the meat from the bag and transfer to the dehydrator. Do not overlap the pieces.
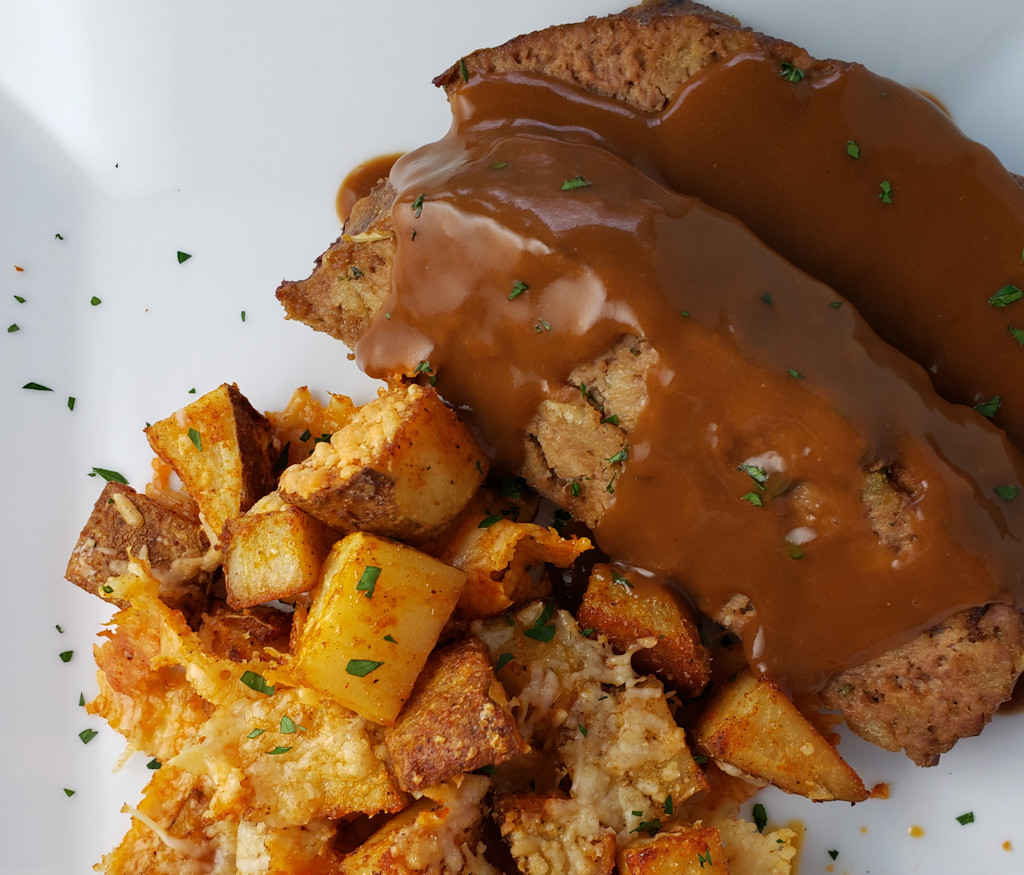
We were looking for the perfect side for our Stove Top stuffing meatloaf. We thought perhaps it would be mashed potatoes. Creamy homemade mashed potatoes would definitely be good with the wonderful brown gravy from the meatloaf. But we both wanted something a little crunchy, something roasted… something with more flavor than ‘just’ mashed potatoes. These crispy Parmesan potatoes were definitely the perfect side. We could not have found a better pairing for our stick-to-our-ribs meatloaf! The crispy edges were a good contrast to the meatloaf.
The Right Bite
The original recipe for these crispy Parmesan potatoes called for using fingerling potatoes. As much as we both love fingerlings, we felt that cubed Russets would give us more of that crunchy texture, more of that wonderful roasted-ness that we were both craving. Plus, I couldn’t find any fingerlings at my grocery store!
We made the right call as they were fantastic! Fingerlings probably would’ve been just fine. If I could’ve found them!
I highly recommend that you shred or grate your own cheese at home. Don’t buy the pre-shredded or pre-grated stuff. It has stuff added to it to keep it from sticking together. That ‘stuff’ affects how the cheese melts. Shred it yourself and use the good stuff.
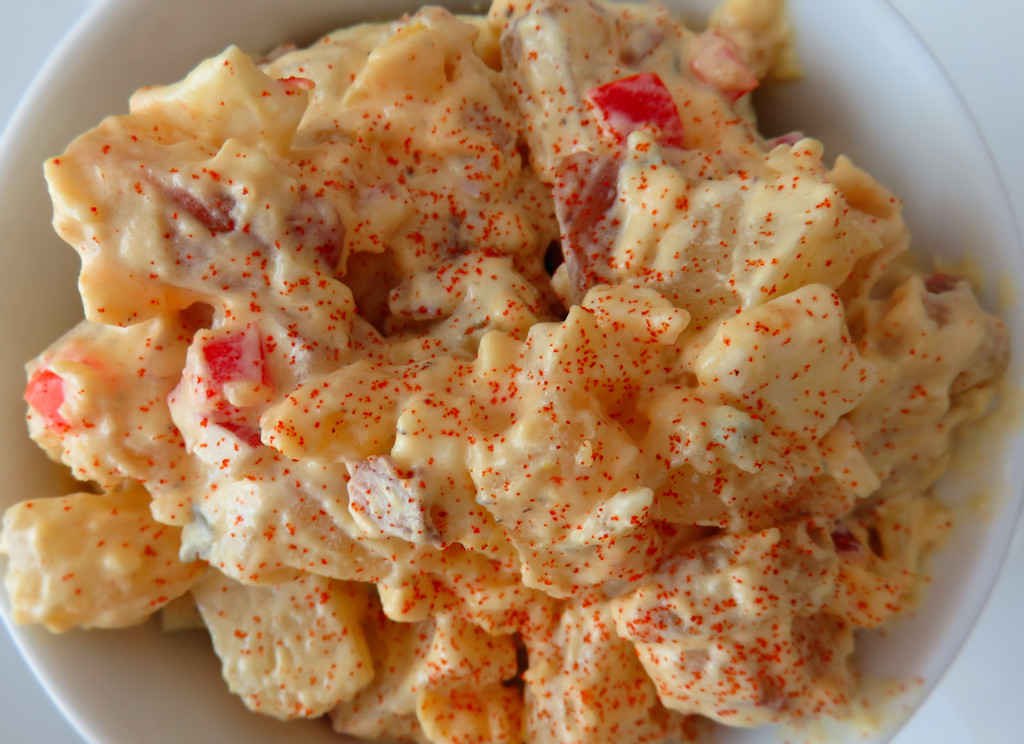
Everyone knows that grandma makes the best potato salad. No matter how you try, you can’t make yours quite as good. Well, this just-like-grandma’s potato salad is pretty darned close. I certainly had no problem devouring a big heaping helping of it. Or two. Yeah, it might look like grandma went through a lot of trouble, but this salad is actually pretty easy to make and boy, is it every delicious.
Better Mayonnaise Makes Better Salads
One thing that really makes just-like-grandma’s potato salad so good is the mayonnaise. You can’t use just anything, in my opinion. No, for that over-the-top great salad you want the best. So grab a jar of your favorite and you’ll be happy just like I was!
Most folks boil or bake their potatoes for potato salad. I prefer to steam mine in a steam basket. The potatoes keep their shape that way. It doesn’t really matter so much for the taste, but I think they look just a bit better and they hold up better, longer.
I almost always use Blue Plate mayonnaise in the dishes I make. I think it is the best around. If you can’t find it locally you can pick it up online for a fair price.
Cook the potatoes in a heavily-salted pot of gently boiling water until tender.
Drain and let cool enough to handle then cut into 1/2" cubes.
In a large bowl, combine the relish, mustard, garlic powder, onion powder, smoked paprika, eggs, onion, bell pepper, 1 1/2 cups of mayonnaise and salt and pepper, to taste. If the mixture is too dry add more mayonnaise and stir.
Add the potatoes and stir gently to coat.
Serve sprinkled with additional paprika.
Notes
I prefer to steam my potatoes so the skins stay intact.
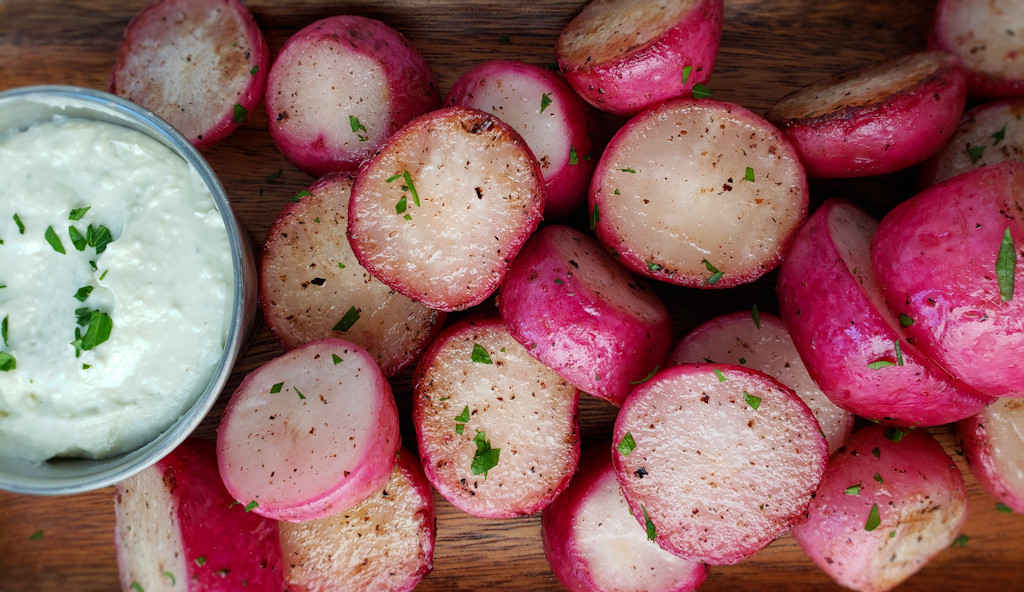
This is not my first time grilling radishes. I’ve even grilled black radishes before. And golden ones too. But this is my first time serving them grilled as an appetizer. A wonderful creamy gorgonzola butter tames the heat from the radishes, which take on a slightly soft exterior but still crunchy insides. These grilled radishes with gorgonzola butter are a little different and quite good. Never would I thought that radishes would make for a great appetizer. I’m happy that I made them. Very happy.
Cheese And Radishes? Yes. Oh Yes.
You don’t want to overcook your grilled radishes with gorgonzola butter. It’s easier if you select ones that are all roughly the same size so that they all cook in about the same amount of time. You want them to still have just a bit of crunch to them. You don’t want them all soft and mushy. They don’t take long to cook. Feel free to test them as you go with a fork or a skewer.
Got leftover gorgonzola butter? It’s great on burgers or grilled steaks.
Fire up your grill for direct cooking, 400 – 450 F.
Cut radishes in half.
Place in a bowl.
Drizzle with a little oil and season well with salt and pepper.
Stir to coat.
Transfer to a grill basket or skewer if desired. You can also cook the radishes directly on the grill if they are large enough to not fall between the grates.
Place the radishes on the grill and cook over high heat 4-5 minutes per side or until lightly browned.
Serve immediately with the gorgonzola butter for dipping.
Notes
Also great served with Ranch or blue cheese dressing for dunking!