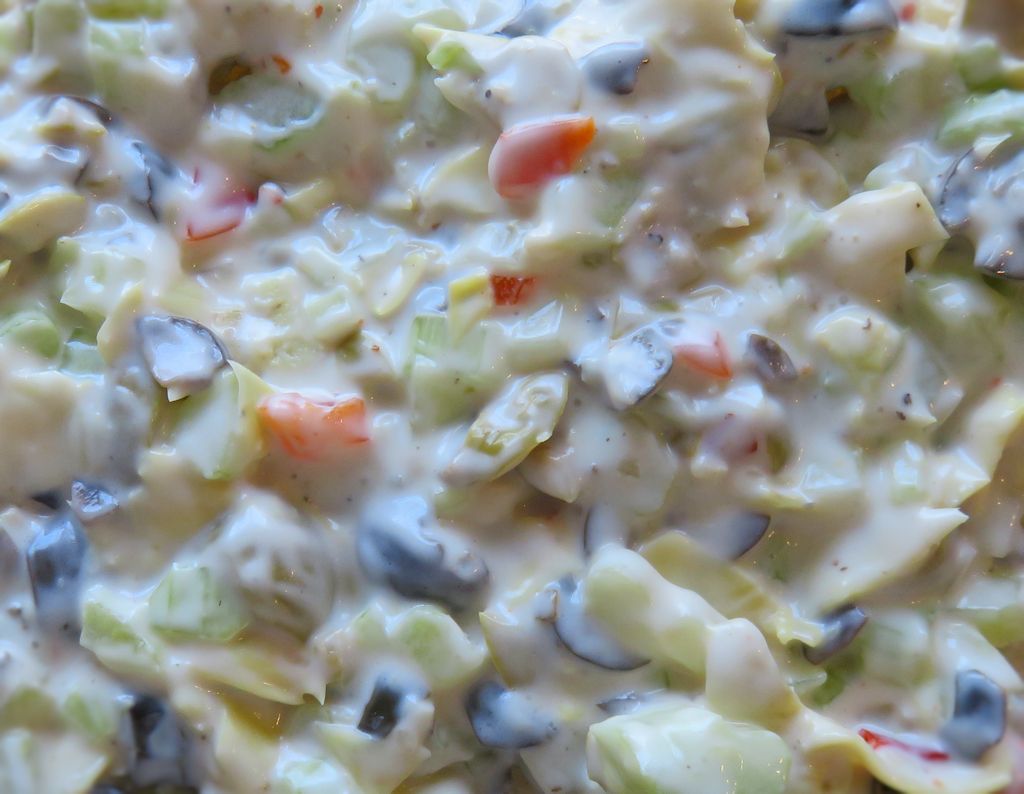
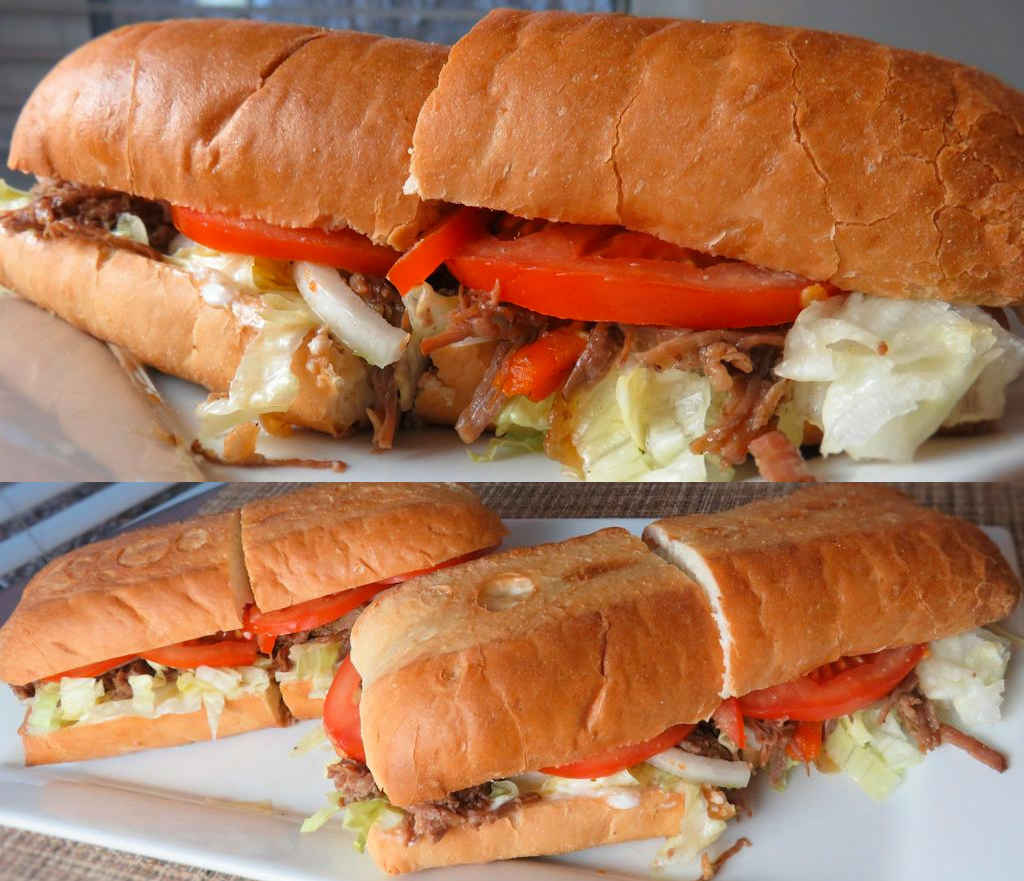
When I make Cajun slow cooker pot roast I have only one goal in mind: making the perfect pot roast po boy sandwich. Yeah, I could slice it and serve it with mashed potatoes. Or something else. But for me, chop it up fine, pile it up on a crusty roll with some creamy horseradish sauce, chopped lettuce, onion, and tomato and I’m not just sort of happy, I’m in heaven! I like having something crunchy to offset the tenderness of the beef. So, I like to add plenty of lettuce and onion to my sandwiches!
So Tasty And Yet So Easy
As simple as it is to make, this Cajun slow cooker pot roast is crazy full of flavor. And it’s so tender. And juicy. Oh, that juicy goodness. My mouth is watering just thinking back to my po boy. That sure was a mighty good sandwich. And messy. I’ve always said that the messier the sandwich, the better it’s going to be.
I use a nice French bread roll for my sandwiches. The outside has just right crunch, and the inside is nice and pillow-y soft. Not quite as good as the fantastic po boy bread you can find in New Orleans, but it’ll do in a bind!

Also try my slow cooker jalapeno pot roast.

Cajun Slow Cooker Pot Roast
Equipment
Ingredients
- 3-4 pound chuck roast remove any extra fat
- 3 tablespoons Cajun seasoning
- ¼ cup vegetable oil divided
- ½ cup carrots diced
- ½ cup celery sliced
- 1 cup onion chopped
- 4 cloves garlic minced
- ¼ cup red wine optional, can just add more broth or use water
- 2 cups beef broth
Instructions
- Rub the seasoning over the roast. Don't be shy with it.
- Heat 2 tablespoons of oil over medium heat in a large pan or Dutch oven.
- Add the carrots, celery and onion and saute until they just start to caramelize..
- Add the garlic and saute another minute, stirring.
- Remove the vegetables from the pan and place in a slow cooker set to low. Add the remaining oil.
- Add the chuck roast and sear well on all sides. Remove to the slow cooker.
- De-glaze the pan with the red wine, scrapping up any bits that are stuck to the bottom.
- Add the beef broth and reduce by 1/4th. Pour over meat and vegetables.
- Cover and cook for 8-10 hours or until tender.
- Carefully remove the meat and chop or slice as desired. I prefer to return the chopped or sliced meat to the slow cooker until I'm ready to use it.
Notes
Nutrition
Nutritional values are approximate.