
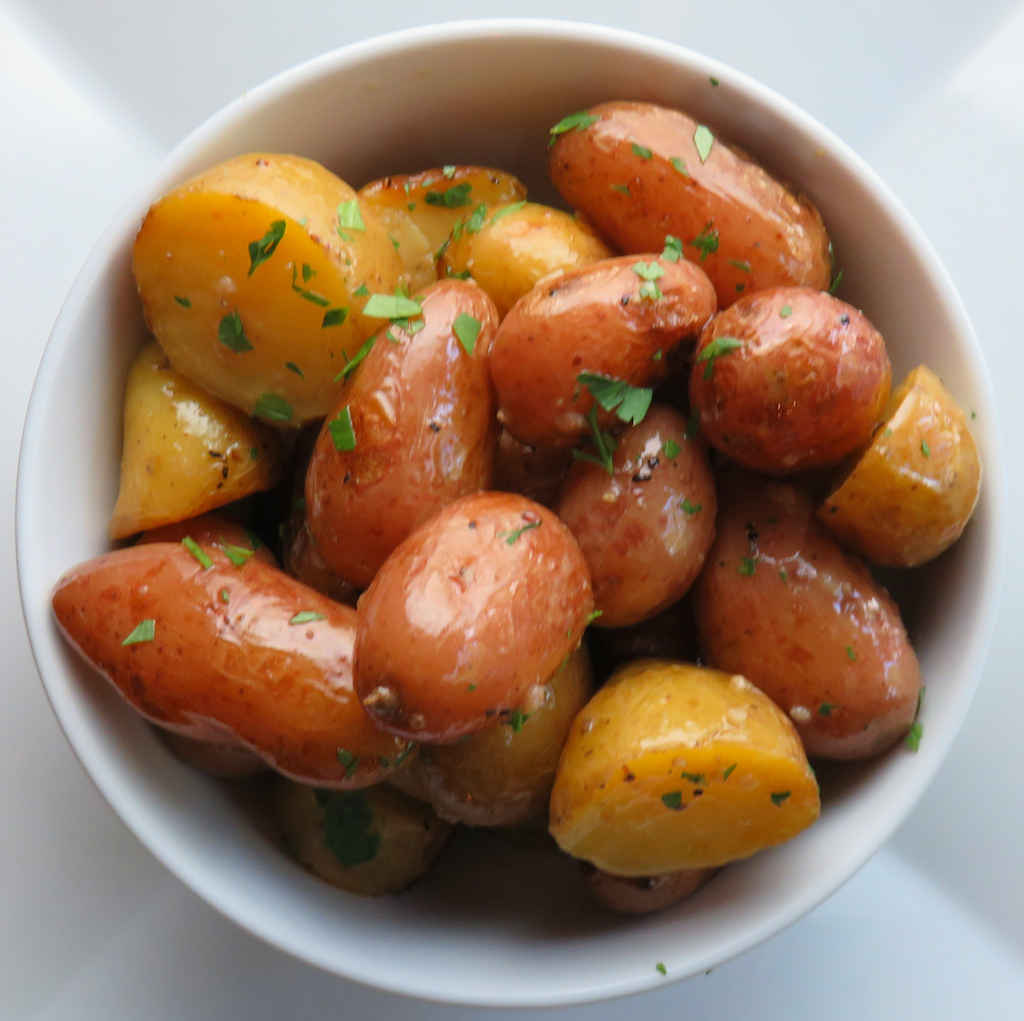
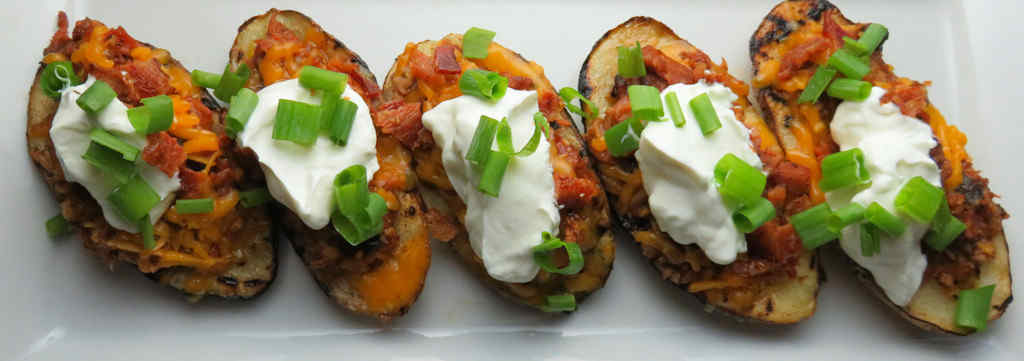
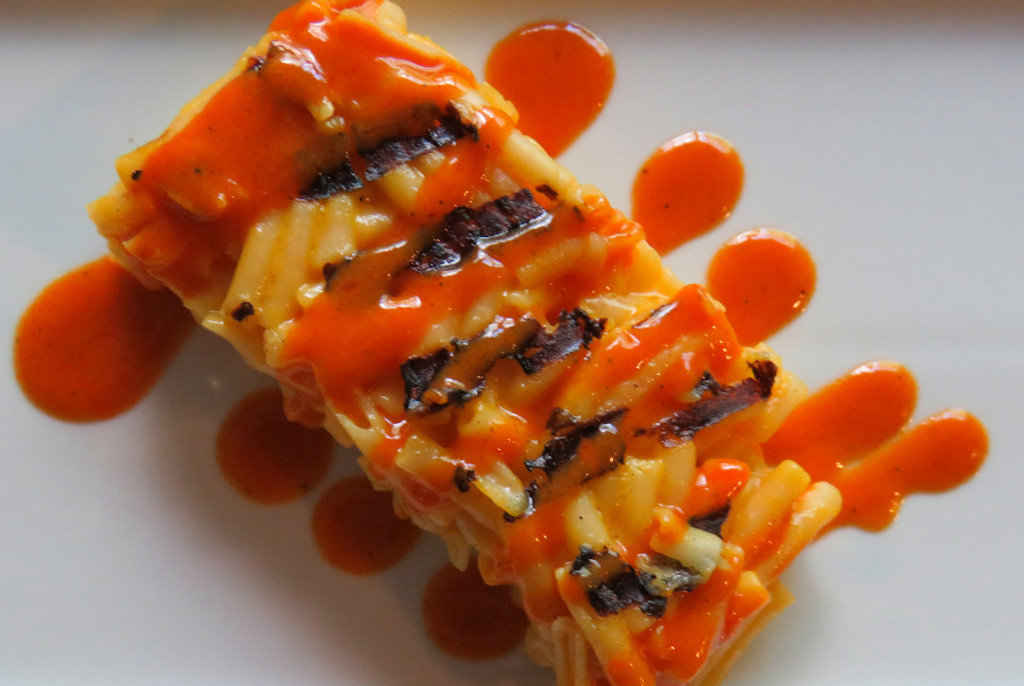
There aren’t a lot of grilled sides that I prefer just as much as the grilled main dish at a meal. The mustard-garlic dressing on these grilled potatoes really hit a note for me. Tender, buttery potatoes contrasted with tangy mustard and vinegar. I found the combination to be perfect, and easy to make to boot. This is the kind of dish that changes my mind about side dishes not being just as important as the main dish.
Good Mustard Makes For Great Potatoes
A good quality mustard is what really makes these potatoes special. My wife and I recently ran across The Mustard Man at an event at the Jungle Jim’s market in Fairfield, OH. After sampling each of the mustards I instantly picked up a bottle of each one. They are truly fantastic. Instead of whole grain mustard, I used The Mustard Man’s Simply Peppered mustard in the dressing for these grilled potatoes with mustard-garlic dressing. The light peppery flavor brought a nice little bite.

Also try my grilled potatoes with chive sauce, grilled baby potatoes and my yummy grilled Ranch potatoes. And my easy grilled Creole potatoes are always a hit!
Grilled Potatoes with Mustard-Garlic Dressing
Equipment
Ingredients
- 2 pounds potatoes all about the same size
- Kosher salt
- 3 tablespoons white wine vinegar
- 2 tablespoons whole grain Dijon mustard
- 2 cloves garlic minced
- freshly ground black pepper
- ½ cup extra-virgin olive oil
- vegetable oil
- ¼ cup parsley chopped
Instructions
- Boil the potatoes in a pot of salted water until just tender. Alternatively, steam the potatoes using a steamer.
- Drain and let cool slightly.
- Whisk together the vinegar, mustard and garlic.
- While still whisking, add the oil until emulsified.
- Season with salt and pepper.
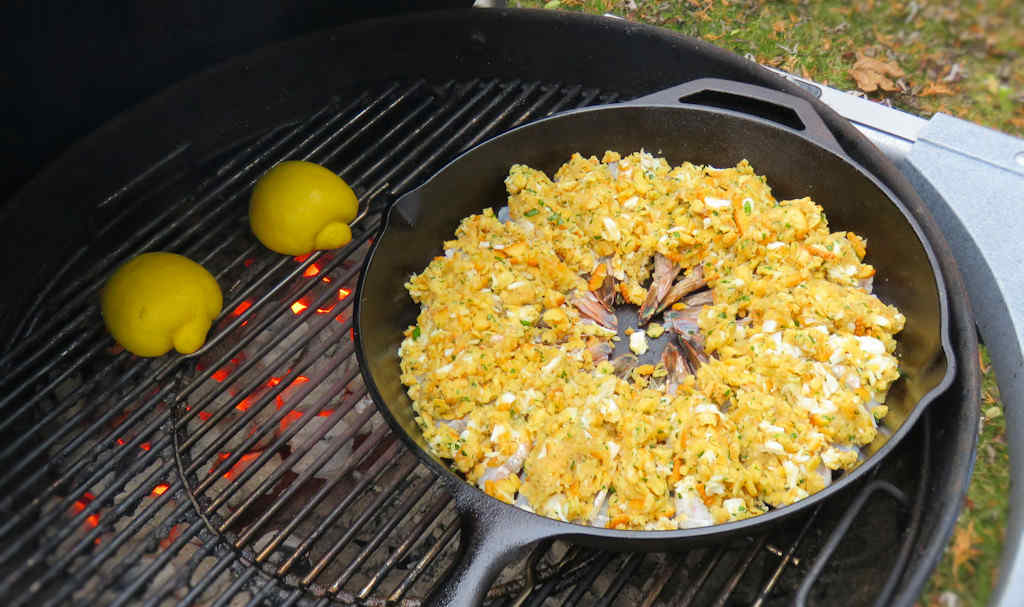
- Fire up your grill for medium-high cooking.
- Toss the potatoes with a little oil.
- Season with salt and pepper and add to a grill basket. Note: I put the grill basket over a sheet pan so that any excess oil drips off.
- Place the basket onto the grill and cook for 5-10 minutes, stirring gently, or until the potatoes are done and have a light char.
- Transfer potatoes to a large bowl and drizzle with the dressing.
- Toss to coat.
- Serve garnished with the chopped parsley.
Notes
Nutrition
Nutritional values are approximate.


