
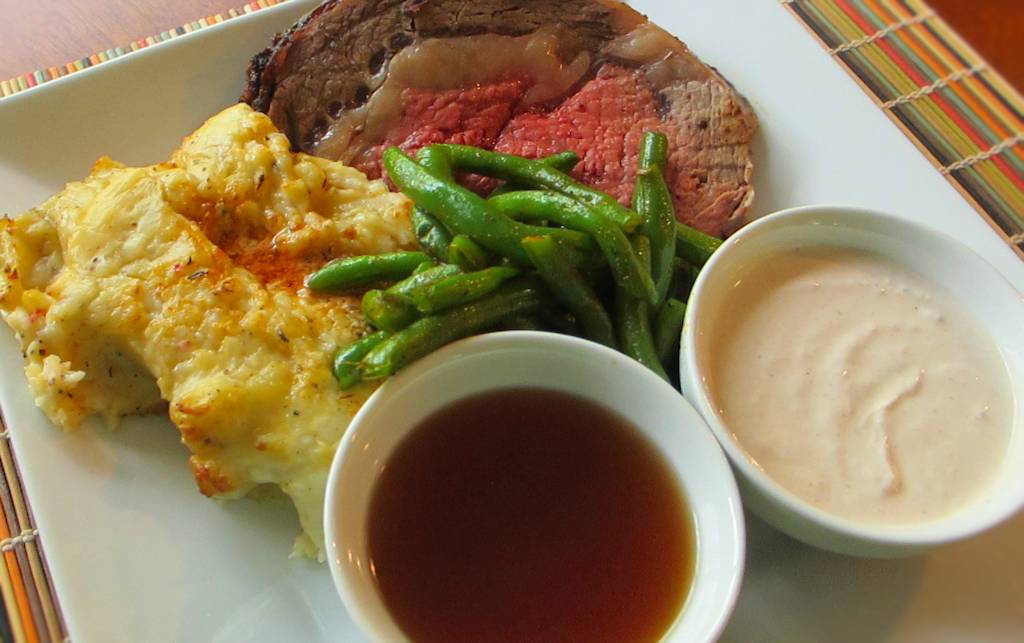
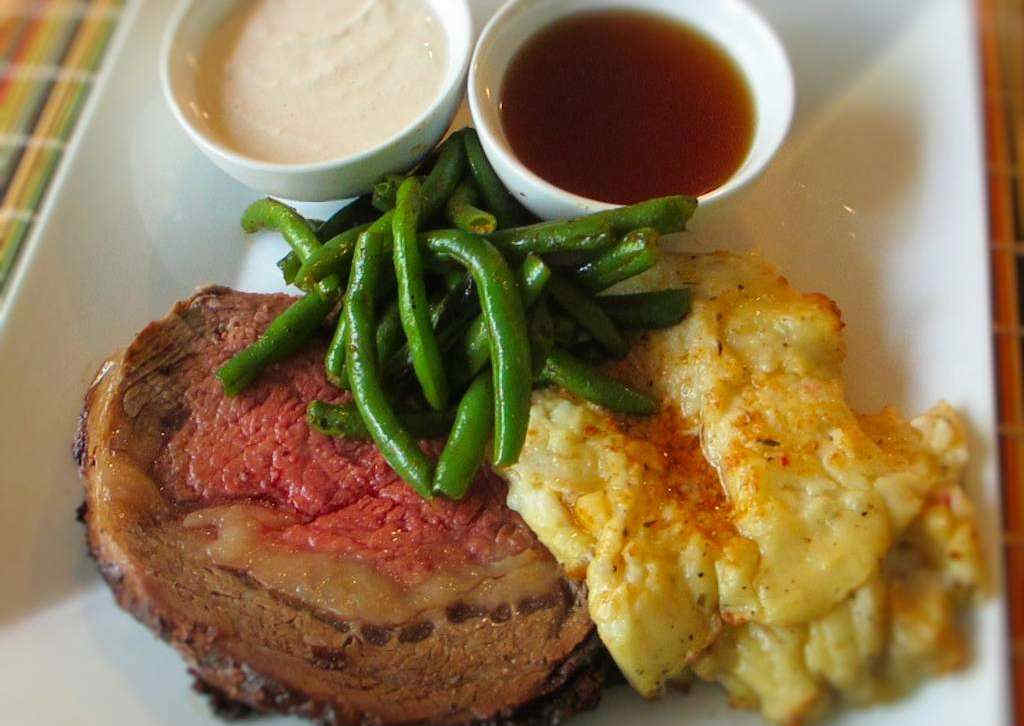
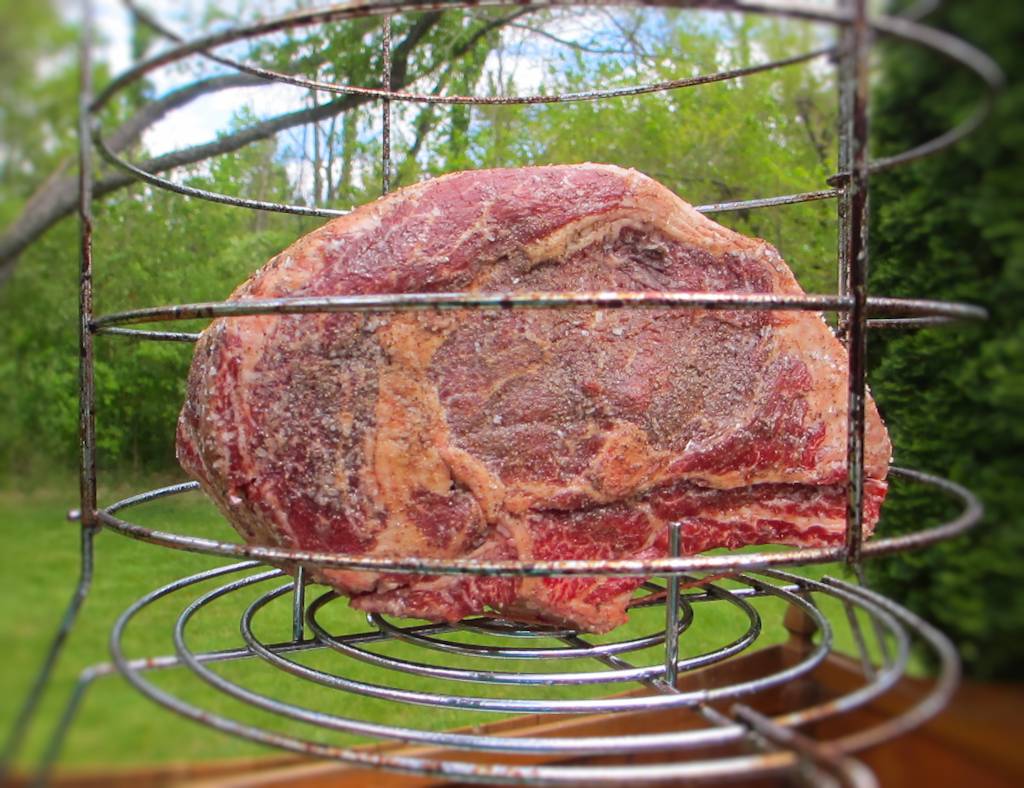
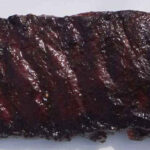
I made a fantastic prime rib on my Char-Broil Big Easy the other day. I needed a rockin’ good homemade au jus to go with it. And this is it. I couldn’t get enough drippings off the rib roast to make an au jus, so this was the next-best-thing. Great beefy flavor.
Makes A Lot. And That’s A Good Thing.
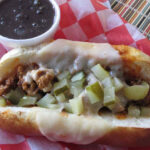
This recipe for homemade au jus makes a pretty good sized batch (about 3 cups or so), but if you’re like me you’ll use a good amount. I like to freeze any leftover sauce. It’s great for dipping French dip sandwiches too.
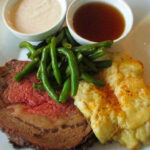
I also made a kickin’ Sriracha horseradish sauce for the prime rib. The entire dinner was absolutely fantastic. I still dream about it.
Homemade Au Jus
This recipe for homemade au jus makes a pretty good sized batch (about 3 cups or so), but if you’re like me you’ll use a good amount.
Servings 3 cups
Calories 2kcal
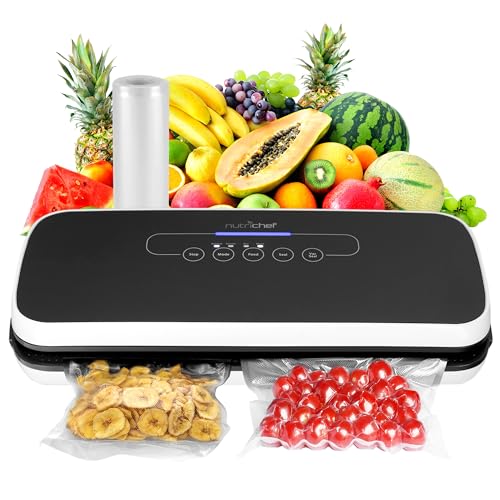
Equipment
Ingredients
- 3 cups water
- 4 cubes beef bouillon or 4 teaspoons beef bouillon granules
- 1 teaspoon soy sauce
- ¼ teaspoon garlic powder
- ground black pepper to taste
- kosher salt to taste
Instructions
- Put water, bouillon, and soy sauce in a medium saucepan and bring to a boil.
- Whisk in the garlic powder until combined.
- Season with salt and pepper as desired.
- Lower heat and keep warm until ready to serve.
Notes
Also great made using Better than Bouillon.
Nutrition
Calories: 2kcal | Carbohydrates: 1g | Protein: 1g | Fat: 1g | Saturated Fat: 1g | Sodium: 144mg | Potassium: 10mg | Fiber: 1g | Sugar: 1g | Vitamin C: 1mg | Calcium: 8mg | Iron: 1mg
Nutritional values are approximate.


