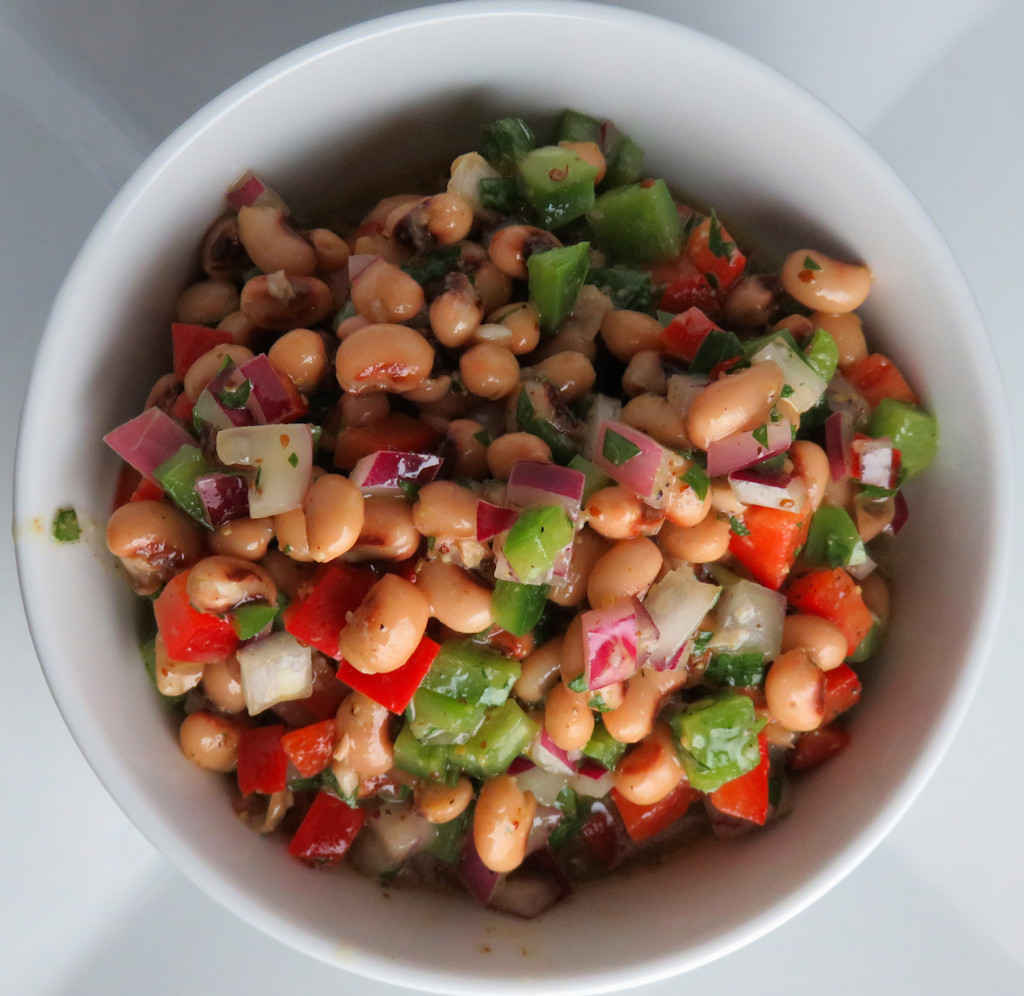
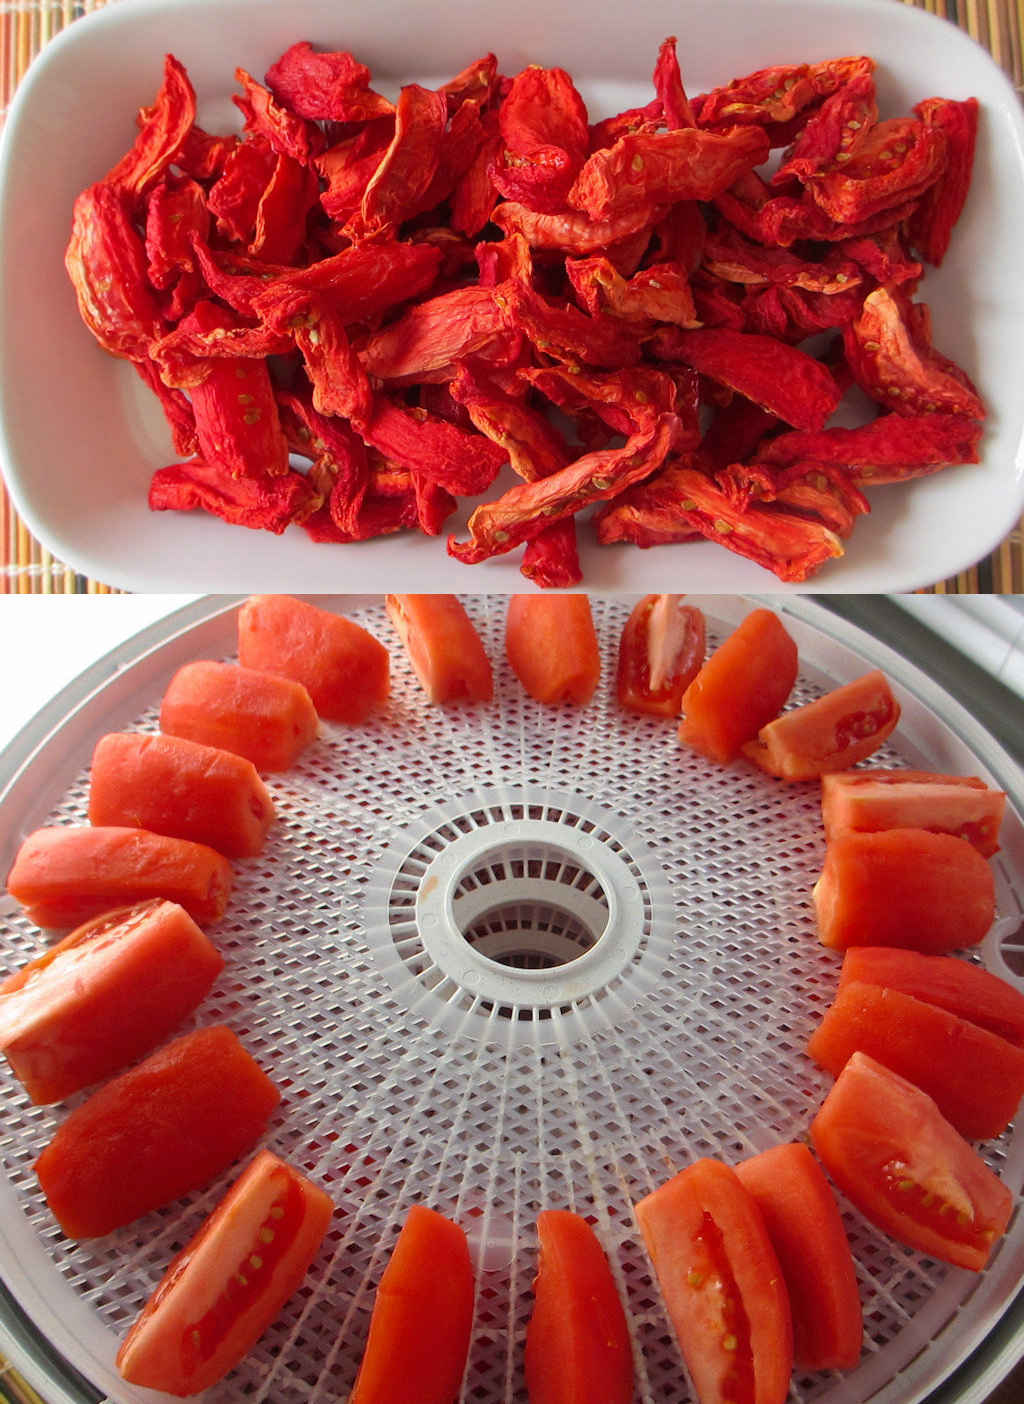
Wow! I was so happy with sun-dried tomatoes on the Nesco Snackmaster Pro. The process was about as easy as you can possibly get. You end up with pliable but not leathery tomatoes that can be used anywhere jarred sun-dried tomatoes are called for. Like sun-dried tomato hummus, which I made immediately after the tomatoes were ready. I used Roma tomatoes because they are cheap and don’t require me to remove the seeds. If you use bigger tomatoes you’ll have to seed them after removing the skins.
A Few Notes
These sun-dried tomatoes on the Nesco Snackmaster Pro aren’t packed in oil like those in jars. And I opted to not season them at all, though you can surely add basil or thyme or whatever flavors you want. It takes a lot of tomatoes to make a batch of sun-dried tomatoes. I made a big batch, and froze the leftovers in vacuum-sealed bags in the freezer.
I like to load up my dehydrator. To do that I picked up a handful of extra trays. They really add a whole lot more drying space! Since I have to rotate my trays, I write a number on each one on a piece of blue painter’s tape so I can keep track of them.

Also try my mushroom jerky using the Nesco Snackmaster Pro.
Sun-Dried Tomatoes on the Nesco Snackmaster Pro
Ingredients
- 5 pounds Roma tomatoes ripe
Instructions
- Fill a large bowl with ice and add water to create an ice bath.
- Bring a large pot of water to a boil.
- Working in small batches (4-5 tomatoes at a time), add tomatoes to boiling water and boil for 45 second to 1 minute at the most. If your tomatoes are small, 45 seconds should be enough. You aren’t trying to cook the tomatoes, only loosening the skin.
- Remove tomatoes to ice bath and let cool for 5 minutes before removing and peeling the skin. Most of my tomatoes peeled easily, but for some I had to use (gently) a vegetable peeler.
- Cut the tomatoes into quarters lengthwise and remove and tough green parts along with any stems.
- Add tomatoes to the dehydrator. I used screens, but you don’t need them.
- Turn dehydrator to 145 F and dry until the tomatoes are leathery, but not crispy. There should be no visible signs of water and no water should escape when you squeeze the tomatoes. Rotate the trays every hour to ensure consistent drying. Larger pieces may require longer drying times.
- Let tomatoes cool before using, or freeze and vacuum pack for later use.
Notes
Nutrition
Nutritional values are approximate.